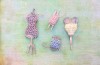
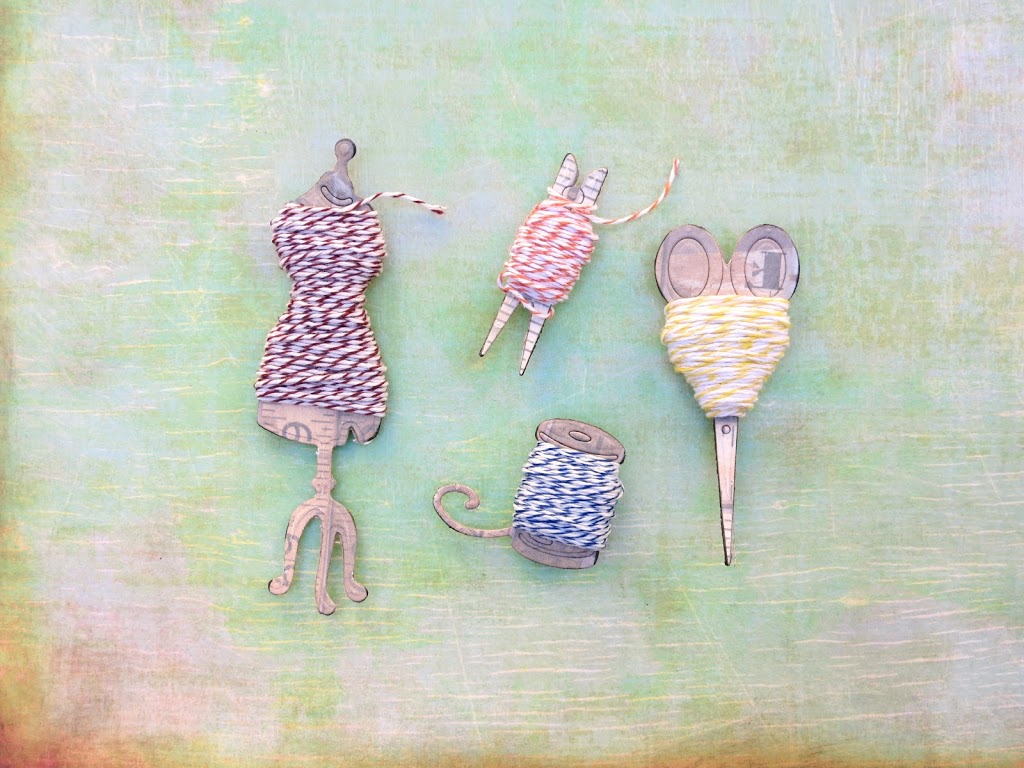
I’m always on the lookout for creative storage and organization solutions. Once I turned a cupcake holder into a washi tape organizer. I love organizational tools that I can make myself! My baker’s twine pile was always getting tangled, and I finally came up with a crafty way to keep it easy to find! I used dies and chipboard to make my own fun baker’s twine holder. These fun twine holders are easy to make with just a few supplies that you probably already have on hand!
- XCut Die Set: Haberdashery
- Paper Accents Chipboard
- Stick It Adhesive Sheets
- Tim Holtz Scrapbook Paper
- Baker’s Twine

Step one: Use the adhesive sheets to attach the desired scrapbook paper to the front and back of the chipboard. Peel the backing off the adhesive sheet, and place it on top of the chipboard. Then peel the top off the double sided adhesive and place the the scrapbook paper on top. Smooth out the paper until it’s flat and well adhered.
Step two: Cut the chipboard using the die cuts. I had to run my paper through the die cutter a few times to cut completely through the chipboard.
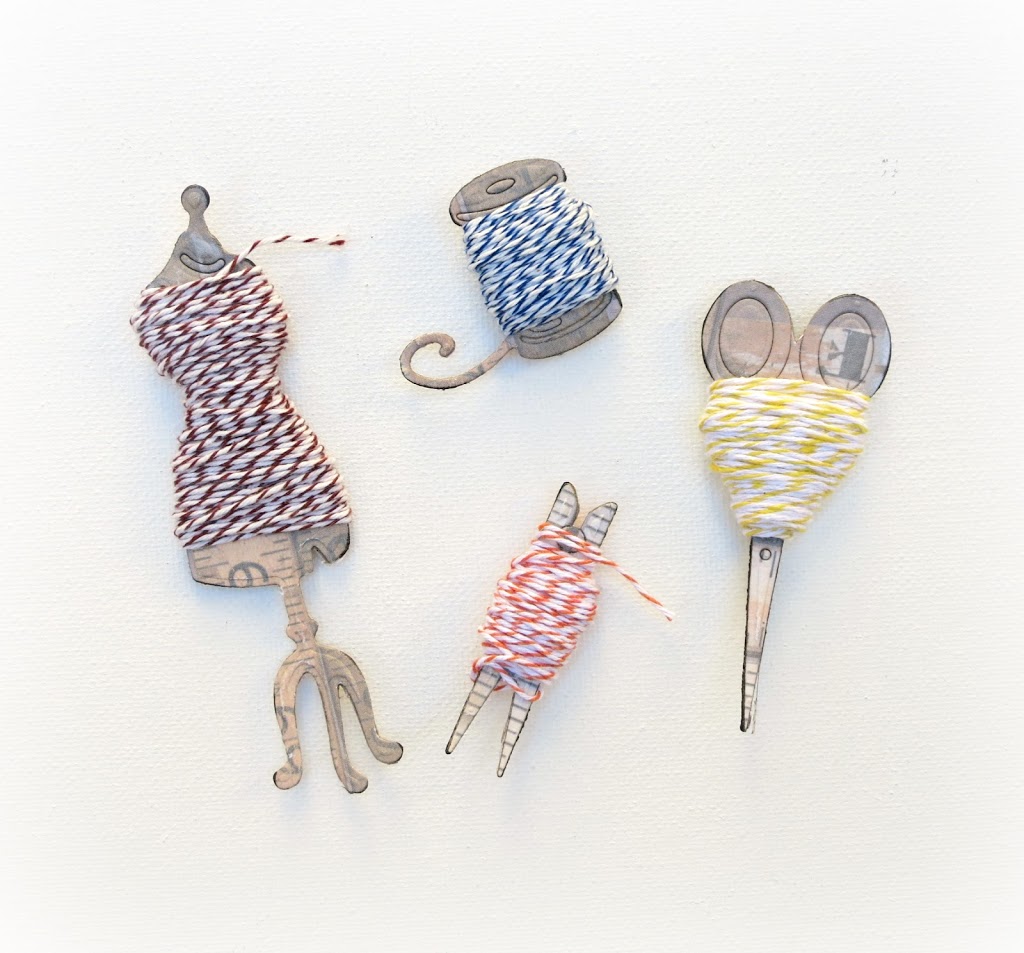
I finished my shapes off with a little ink on the edges. Then I just wrapped my shapes with twine! When I move my cork board over my craft desk I plan to pin these onto my board so I can access them easily. Now I can always find the baker’s twine I need quickly!

Leave a Reply