Make snowman decor this winter! I first published this post on the Blitsy site as their design team member.
One of my favorite Christmas memories is watching “Frosty the Snowman” every winter. With no cable or DVRS, we looked forward to the the shows that you could only see once a year on TV! I decided to capture my memories of that special snowman with a cute holiday themed piece of decor. Keep reading to learn how simple it is to make this wintery holiday snowman decor!
Supplies
- Walnut Hollow Plaque Basswood Thin Rectangle
- Wood Trim
- DecoArt Crackle Paint
- Cardstock
- Xcut Mini Decorative Dies – Buttons
- Burlap
- Black paint
- Sizzix – Tim Holtz Alterations – Tattered Leaves Die
- Tim Holtz Facets
- Tim Holtz Foliage
- Glitter
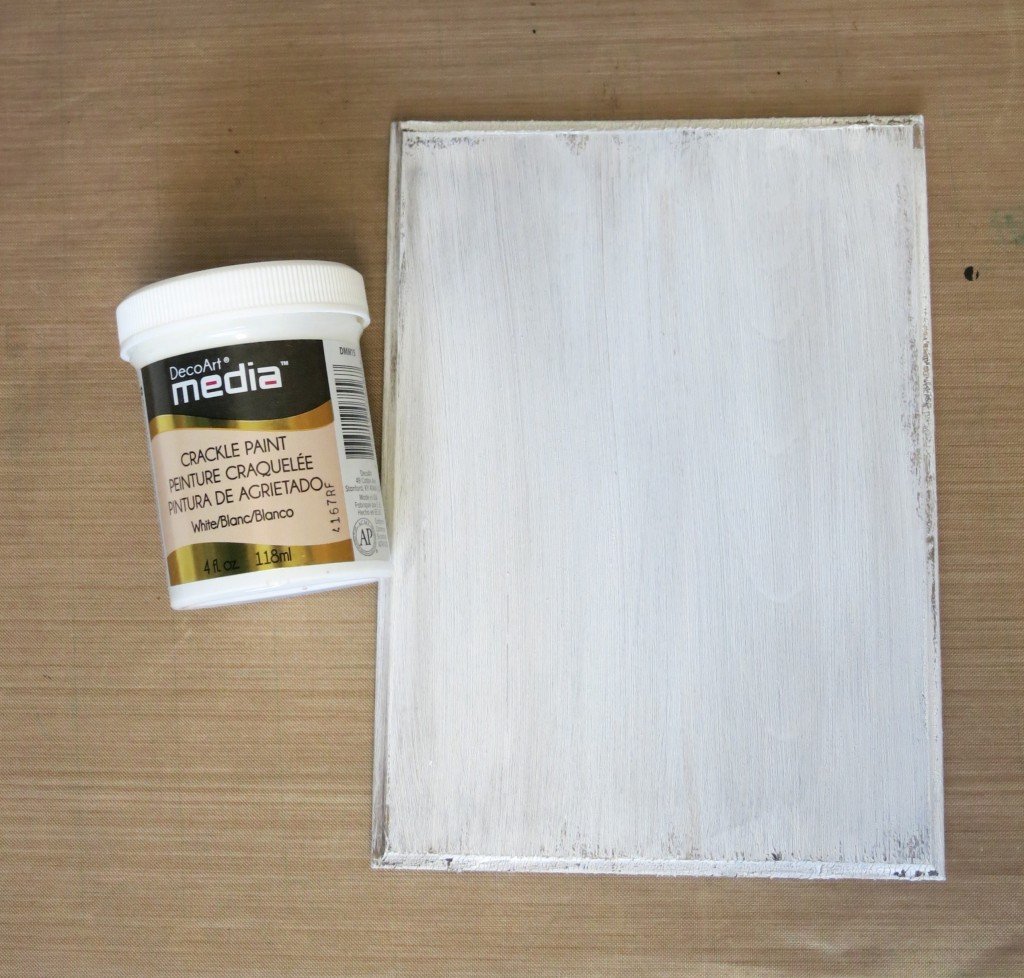
Step one: Paint the surface of the plaque with the white crackle paint. Let it dry.
Step two: Paint the top part of the plaque black. Cut a piece of wood trim to make the brim and paint it black as well. Once it has dried, glue the brim onto the hat at an angle.
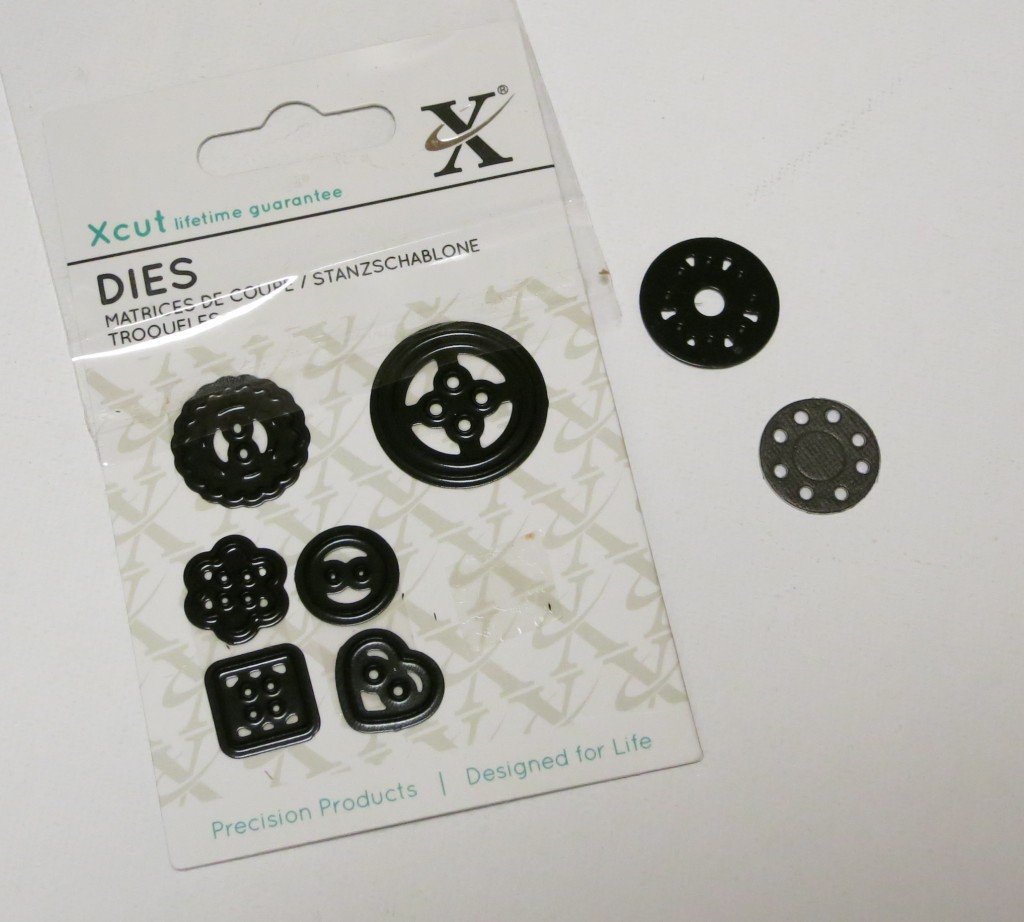
Step three: Die cut two buttons from black cardstock to make the eyes. Cut an orange triangle for the nose. Glue the pieces onto the snowman.
Step four: Use the end of a paint brush dipped in black paint to make the coal mouth for the snowman.
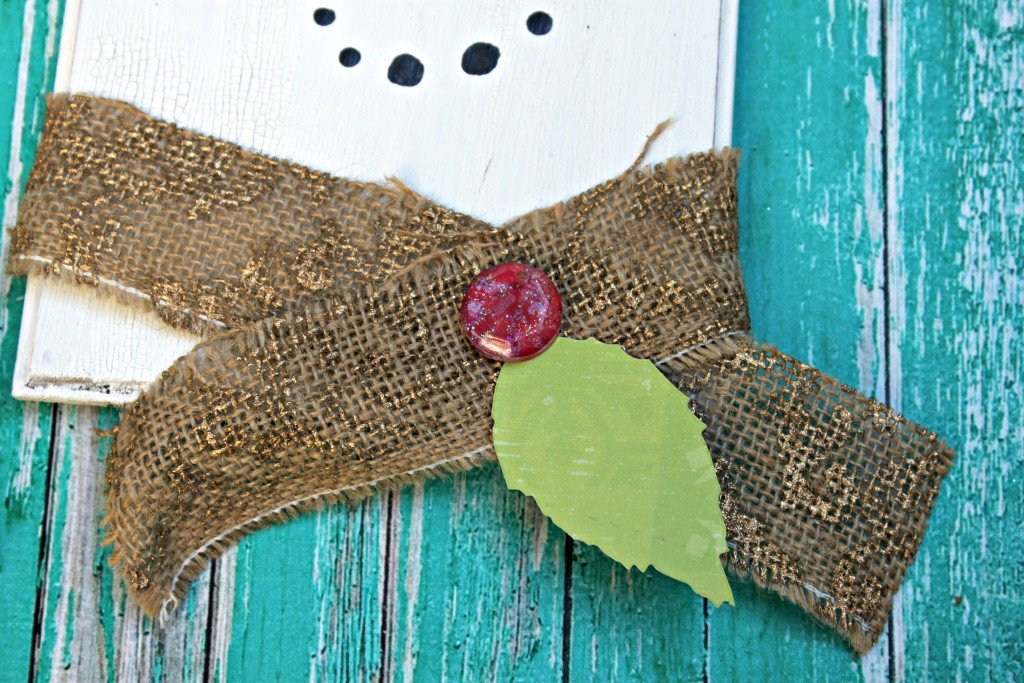
Step five: Wrap a strip of burlap around the base of the plaque, and glue it in place.
Step six: To make the berry pin on the snowman’s scarf, die cut a leaf from green cardstock, and glue the clear facet onto red paper. Assemble and glue the berry and leaves on the scarf.

Step seven: Paint the metal flower red and add glitter. Glue it on the hat.

This friendly holiday snowman is ready for display! It would make a great addition to a mantle piece vignette. You could also hang it on the wall to add some holiday cheer to your photo gallery. Another idea is to glue a piece of ribbon to the bottom and use it to display holiday cards. Have fun crafting and creating for the holidays!
Leave a Reply