This upcycled box storage DIY is a cute way to create your own organizer for sewing supplies or other items. This is a sponsored post.
This thrift store wine box went from drab to fab with some paint and vinyl! Learn how you can transform discarded wood boxes to create beautiful storage to organize any space.
Supplies Used to Make this Upcycled Box Storage DIY
(affiliate links included)
- Wine Box (Goodwill)
- Sewing Patterns (Goodwill)
- StyleTechCraft Luster Vinyl
- Unfinished rulers (these are from Woodpeckers Crafts)
- Xyron Creative Station
- Brutus Monroe Liquid Elements Gold
- Folk Art Glaze in Cafe Noir
- FolkArt Pickling Wash in Gypsy Rose
- Alene’s Wood Glue
- Wood Spools
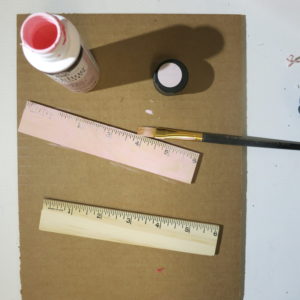
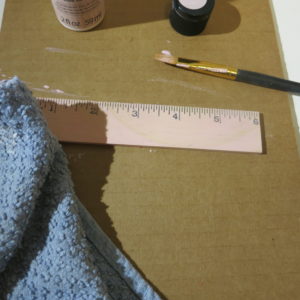
Give the rulers a wash of color. Paint the pickling wash on, let it sit for 30 seconds, then wipe it with a dry towel. Repeat one more time, then set the aside to dry.
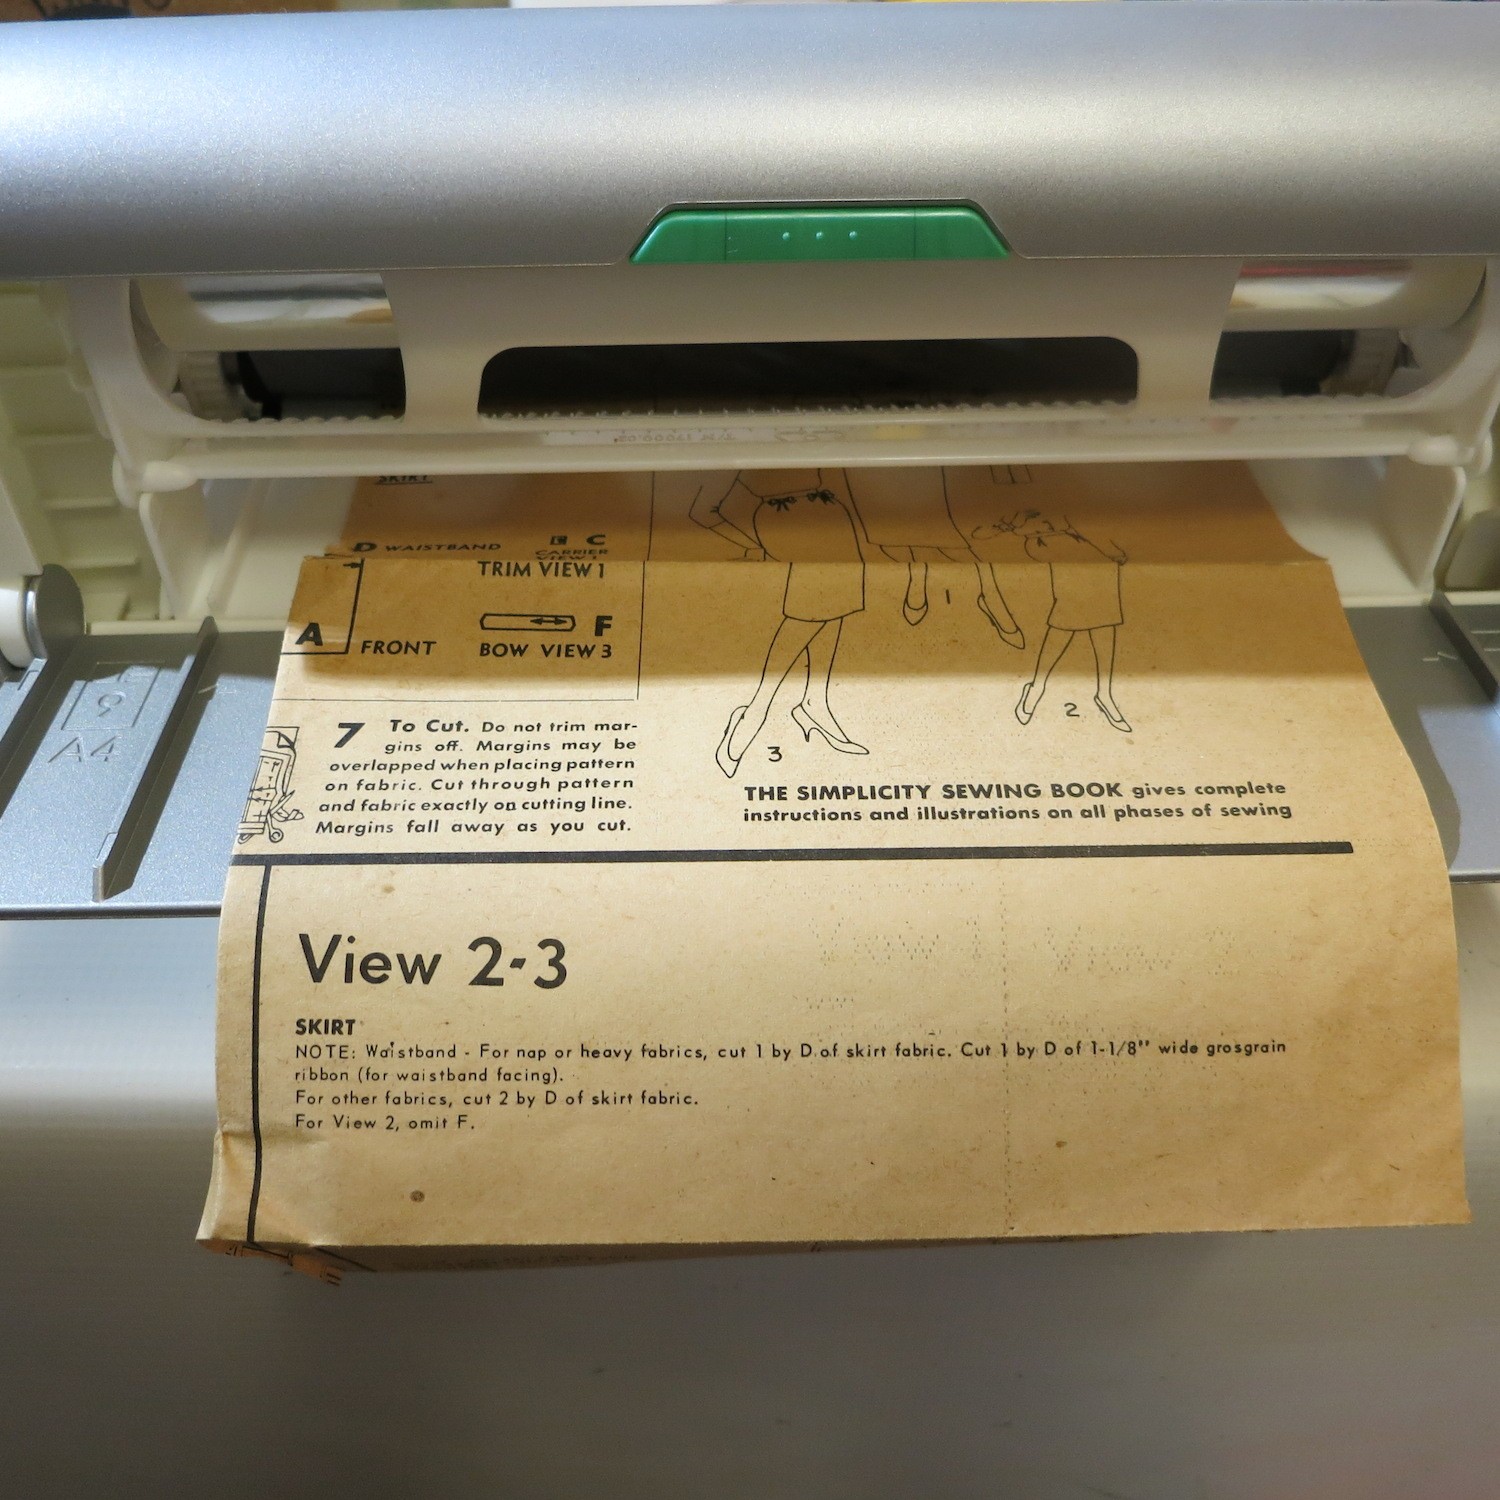
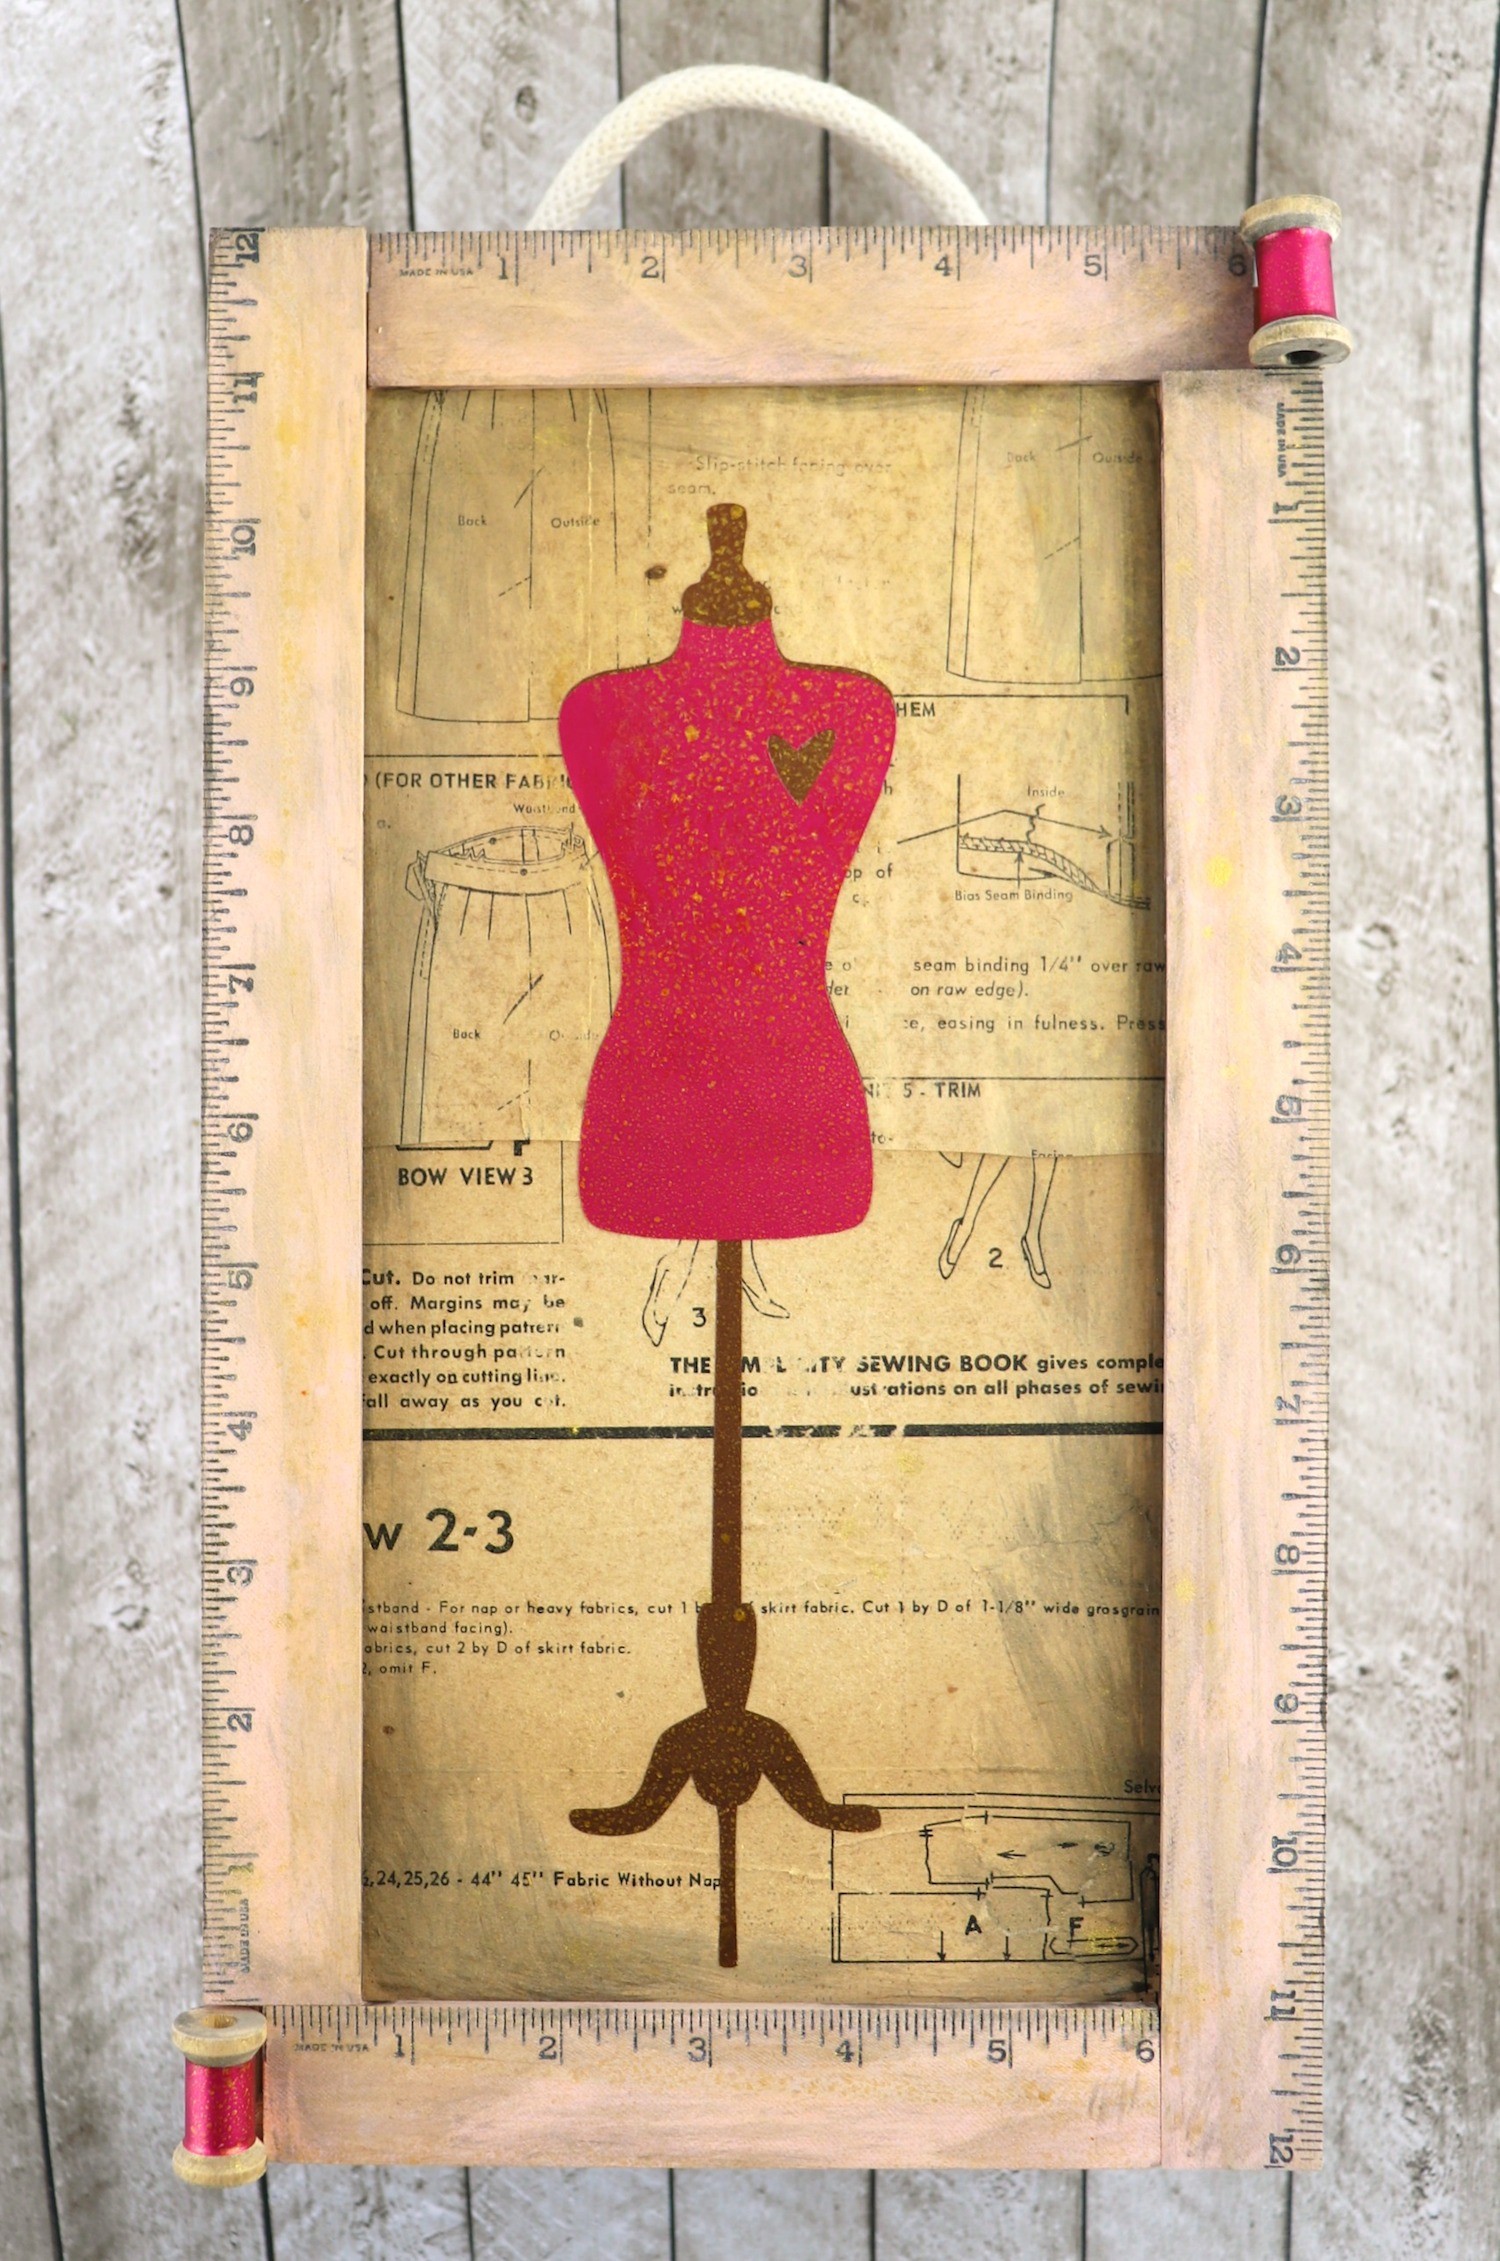
Cut a page from the patterns to fit the cover of the box. I used part of the instruction page because the paper is thicker. Roll the paper through the Xyron Creative Station, then peel and stick it onto the cover of the box. Be careful if the patterns are very old. Some of mine ripped as I was taking them off the backing. I think it adds to the aged/distressed look, but not everyone likes that.
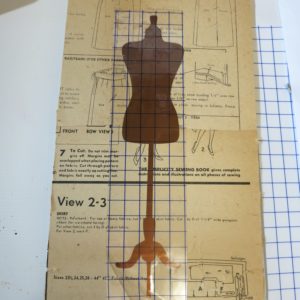
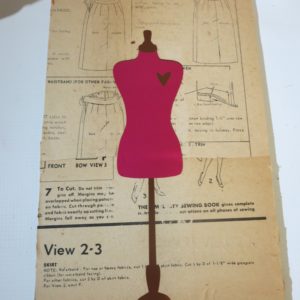
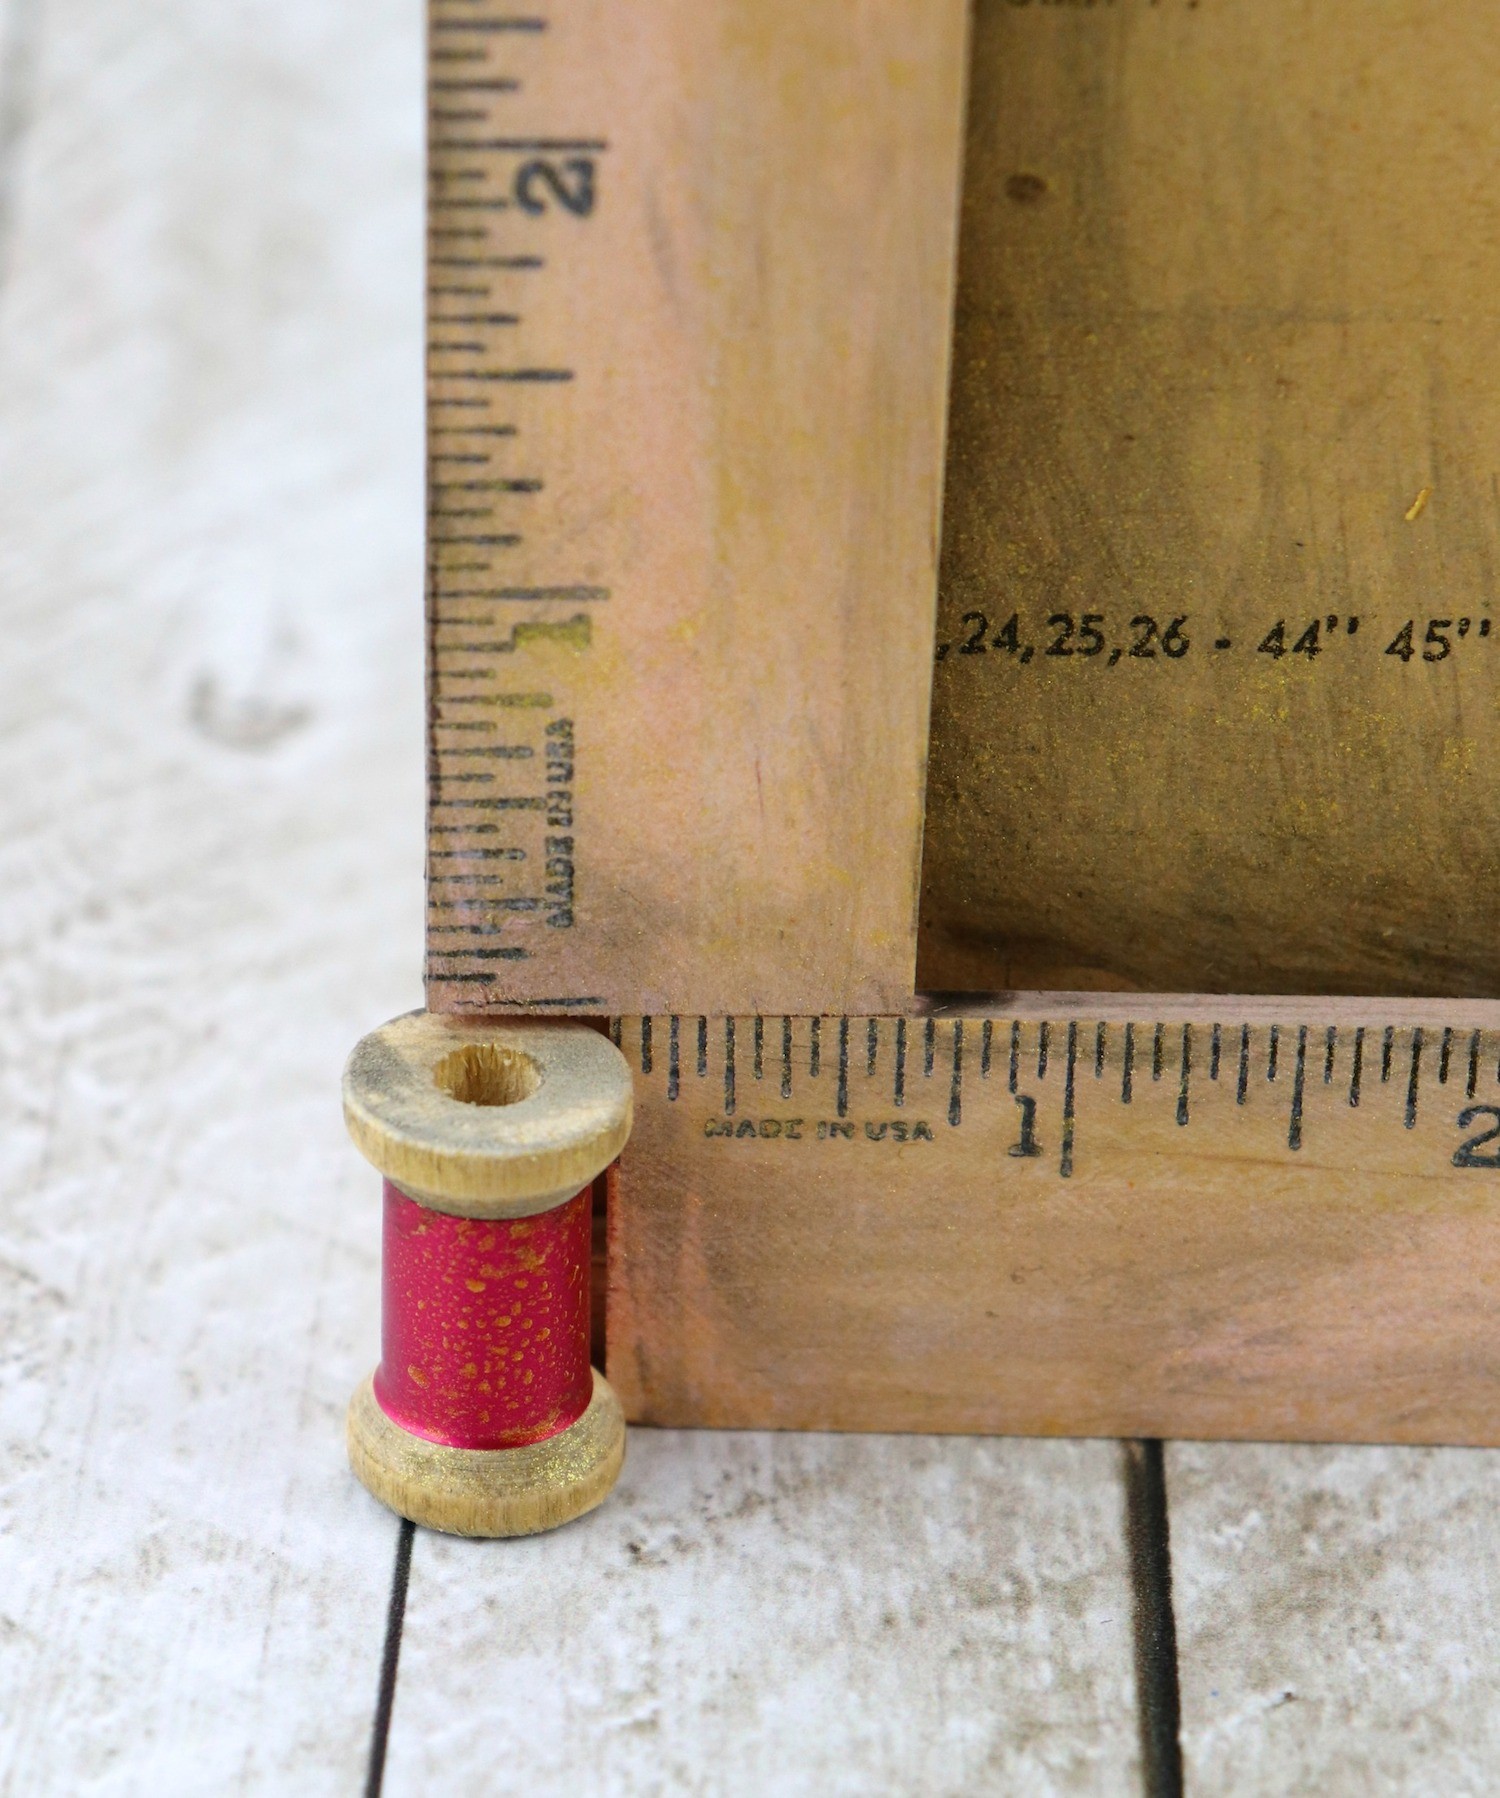
Cut the dress form from the vinyl. I used a lovely brown/bronze color for the back and a vibrant color for the bodice. Use transfer paper to apply the vinyl to the cover. Use scraps of the pink vinyl to wrap the spools with.
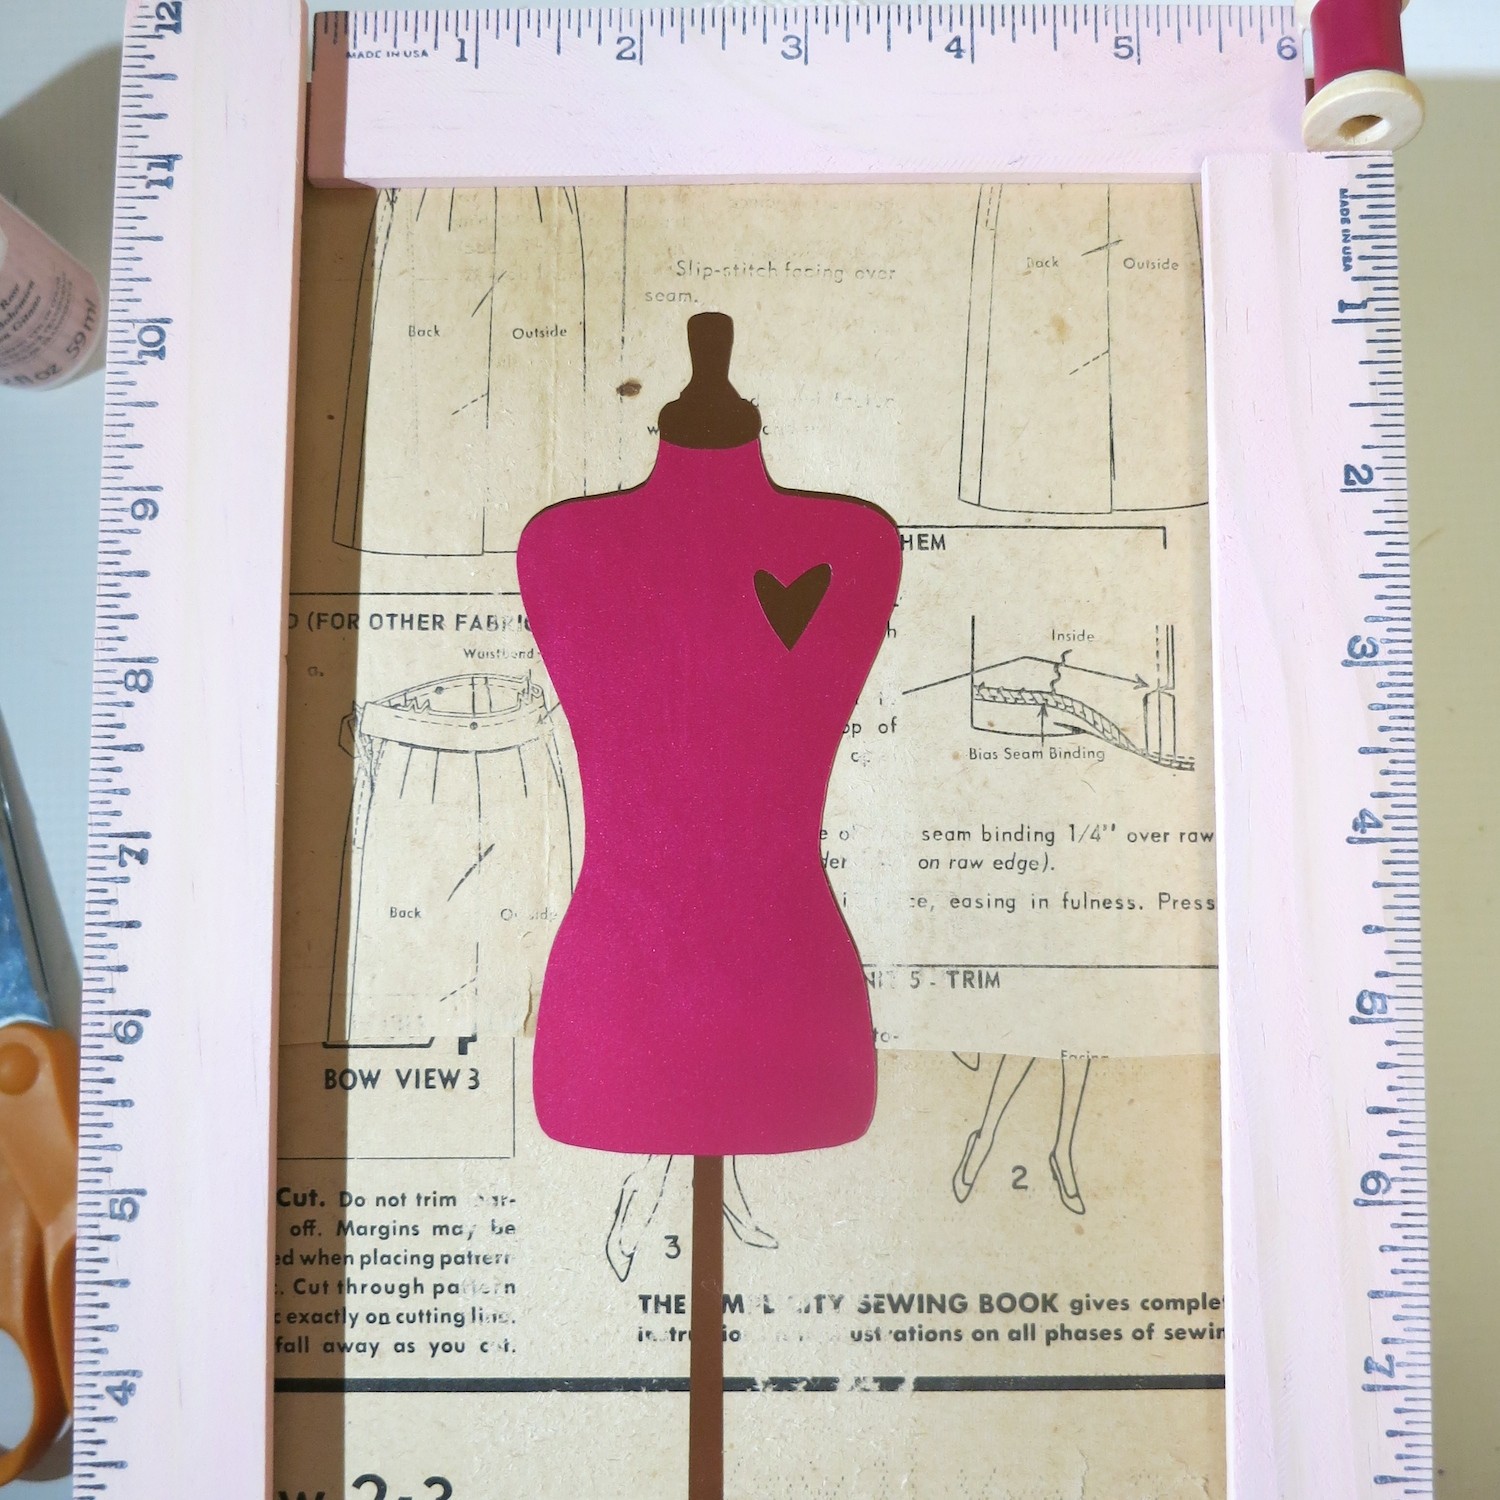
Attach the wood rulers to the frame of the box using wood glue. Glue the spools on, as well.
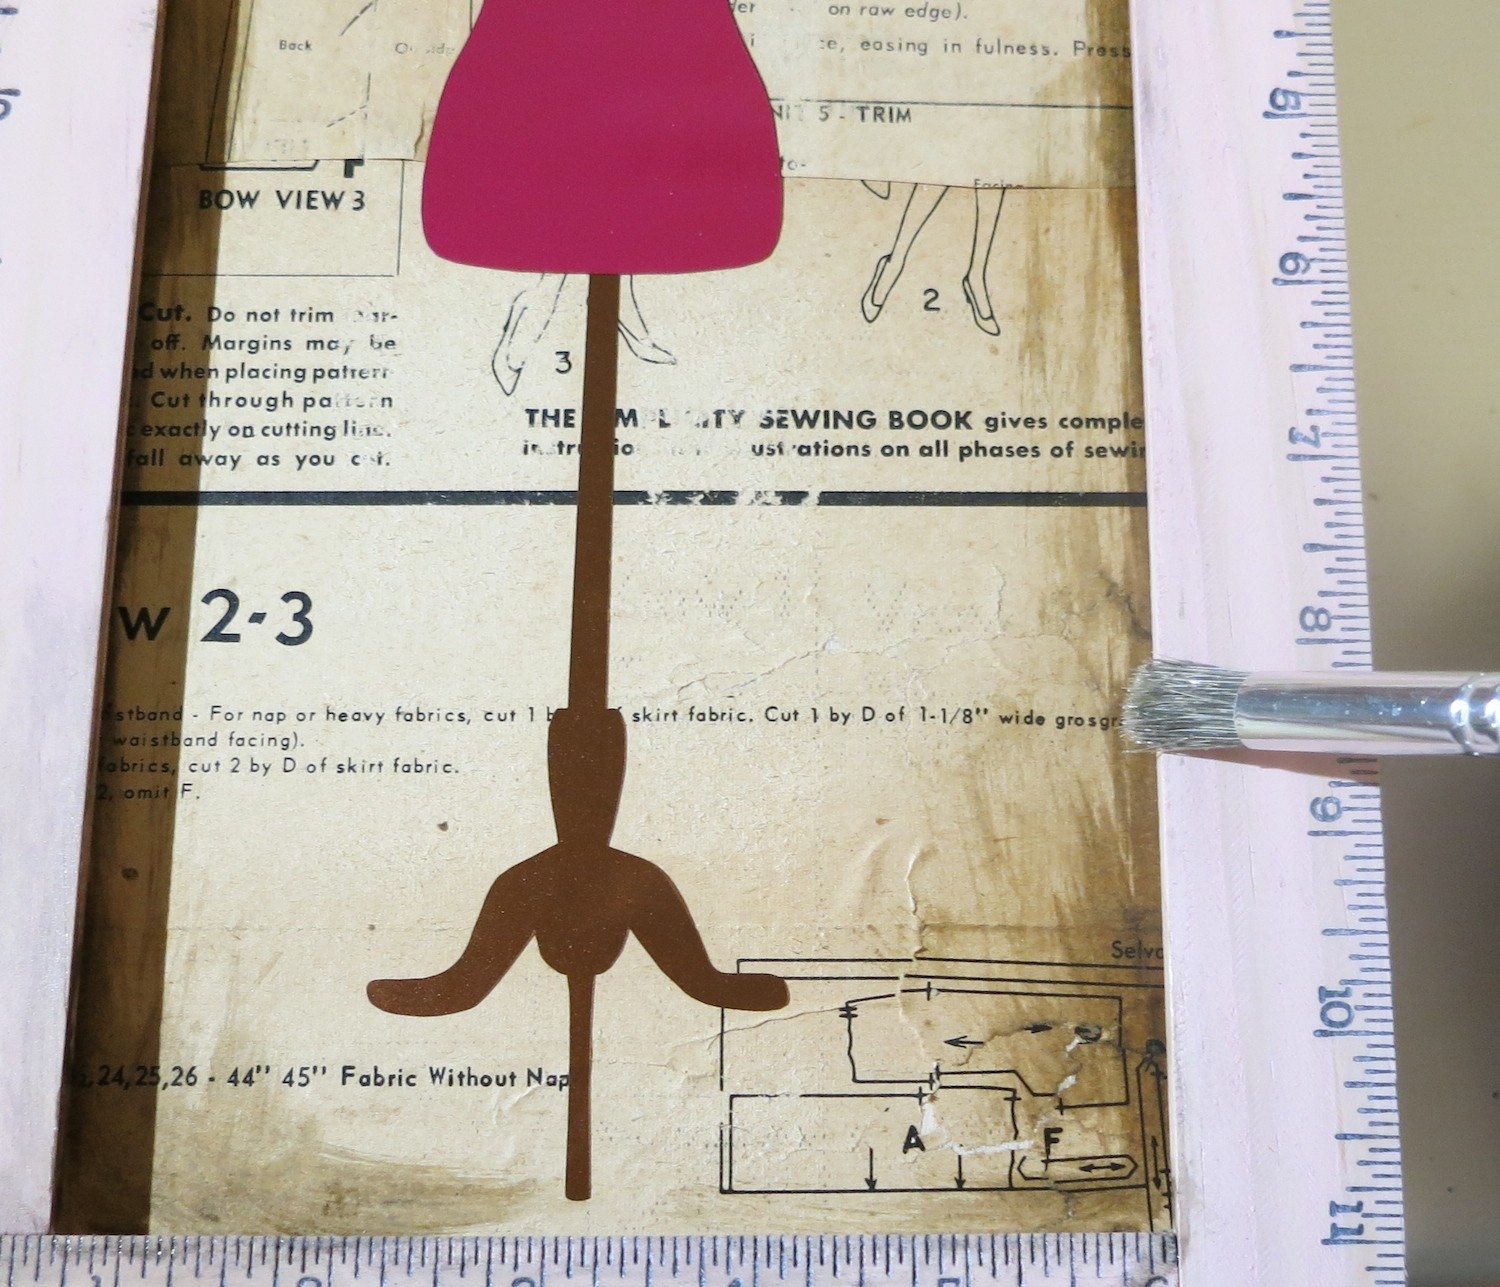
Use the antiquing glaze to distress the piece. Brush it onto the surfaces, then wipe back with a dry cloth. Repeat until the desired effect is achieved.
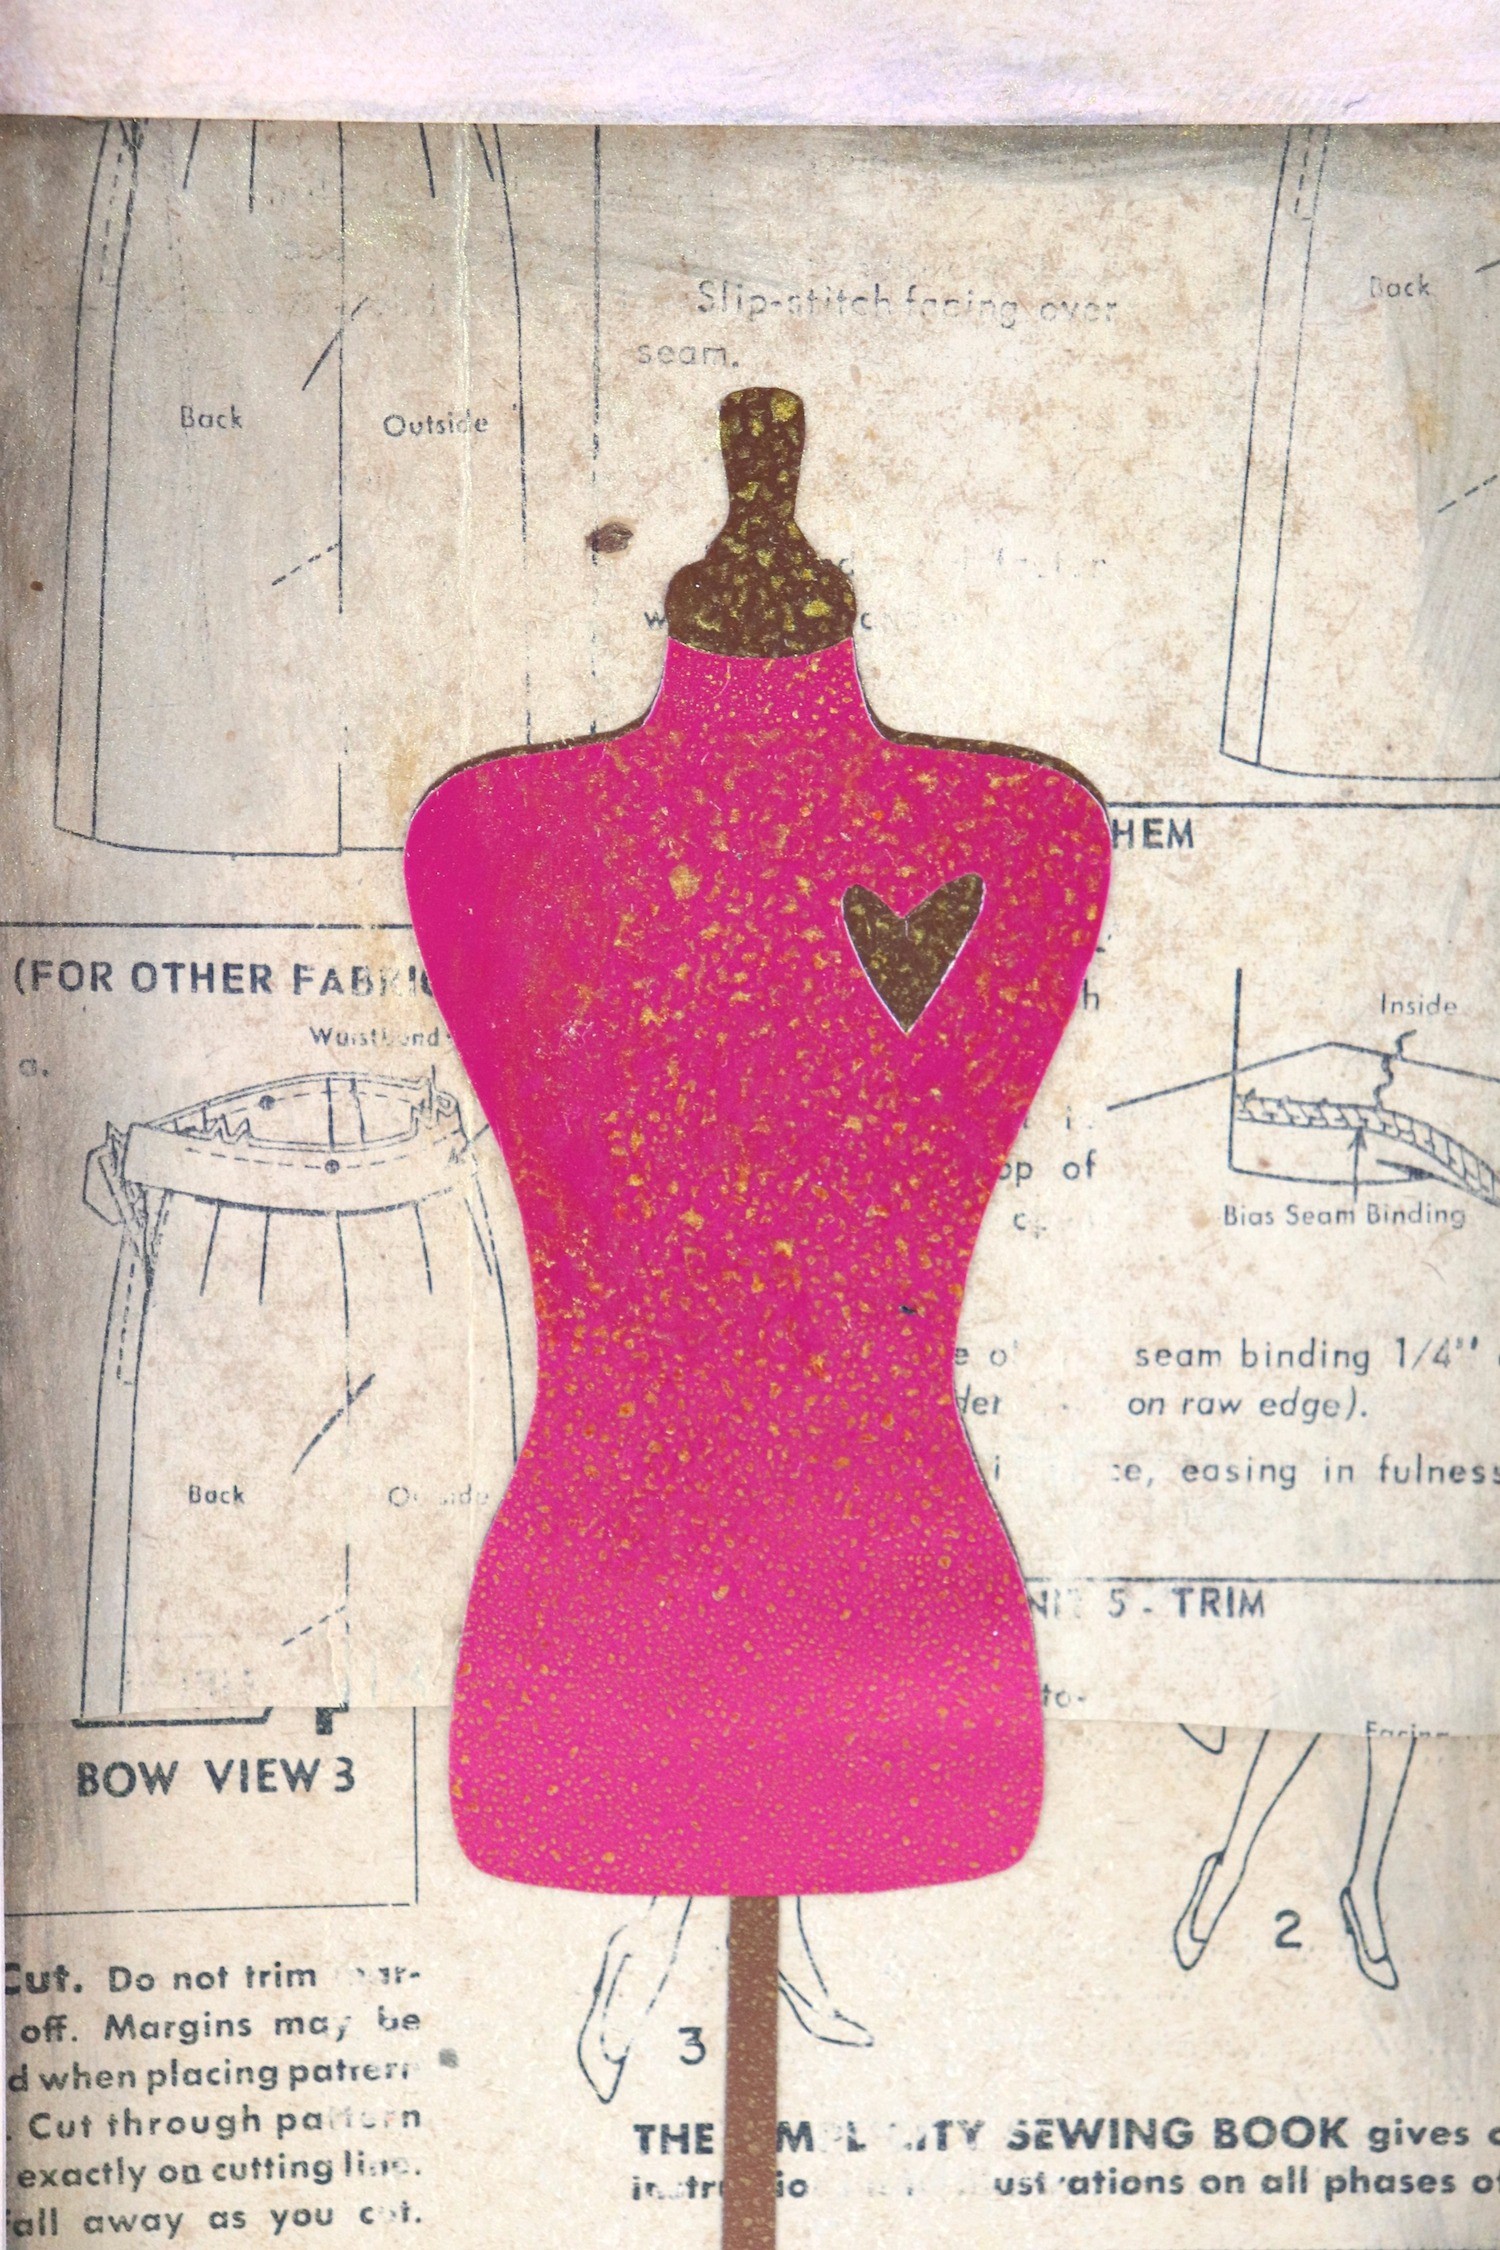
Spray the box with the gold spray. I just love the contrast of the washed out, distressed wood with the gold splotches of shimmer.
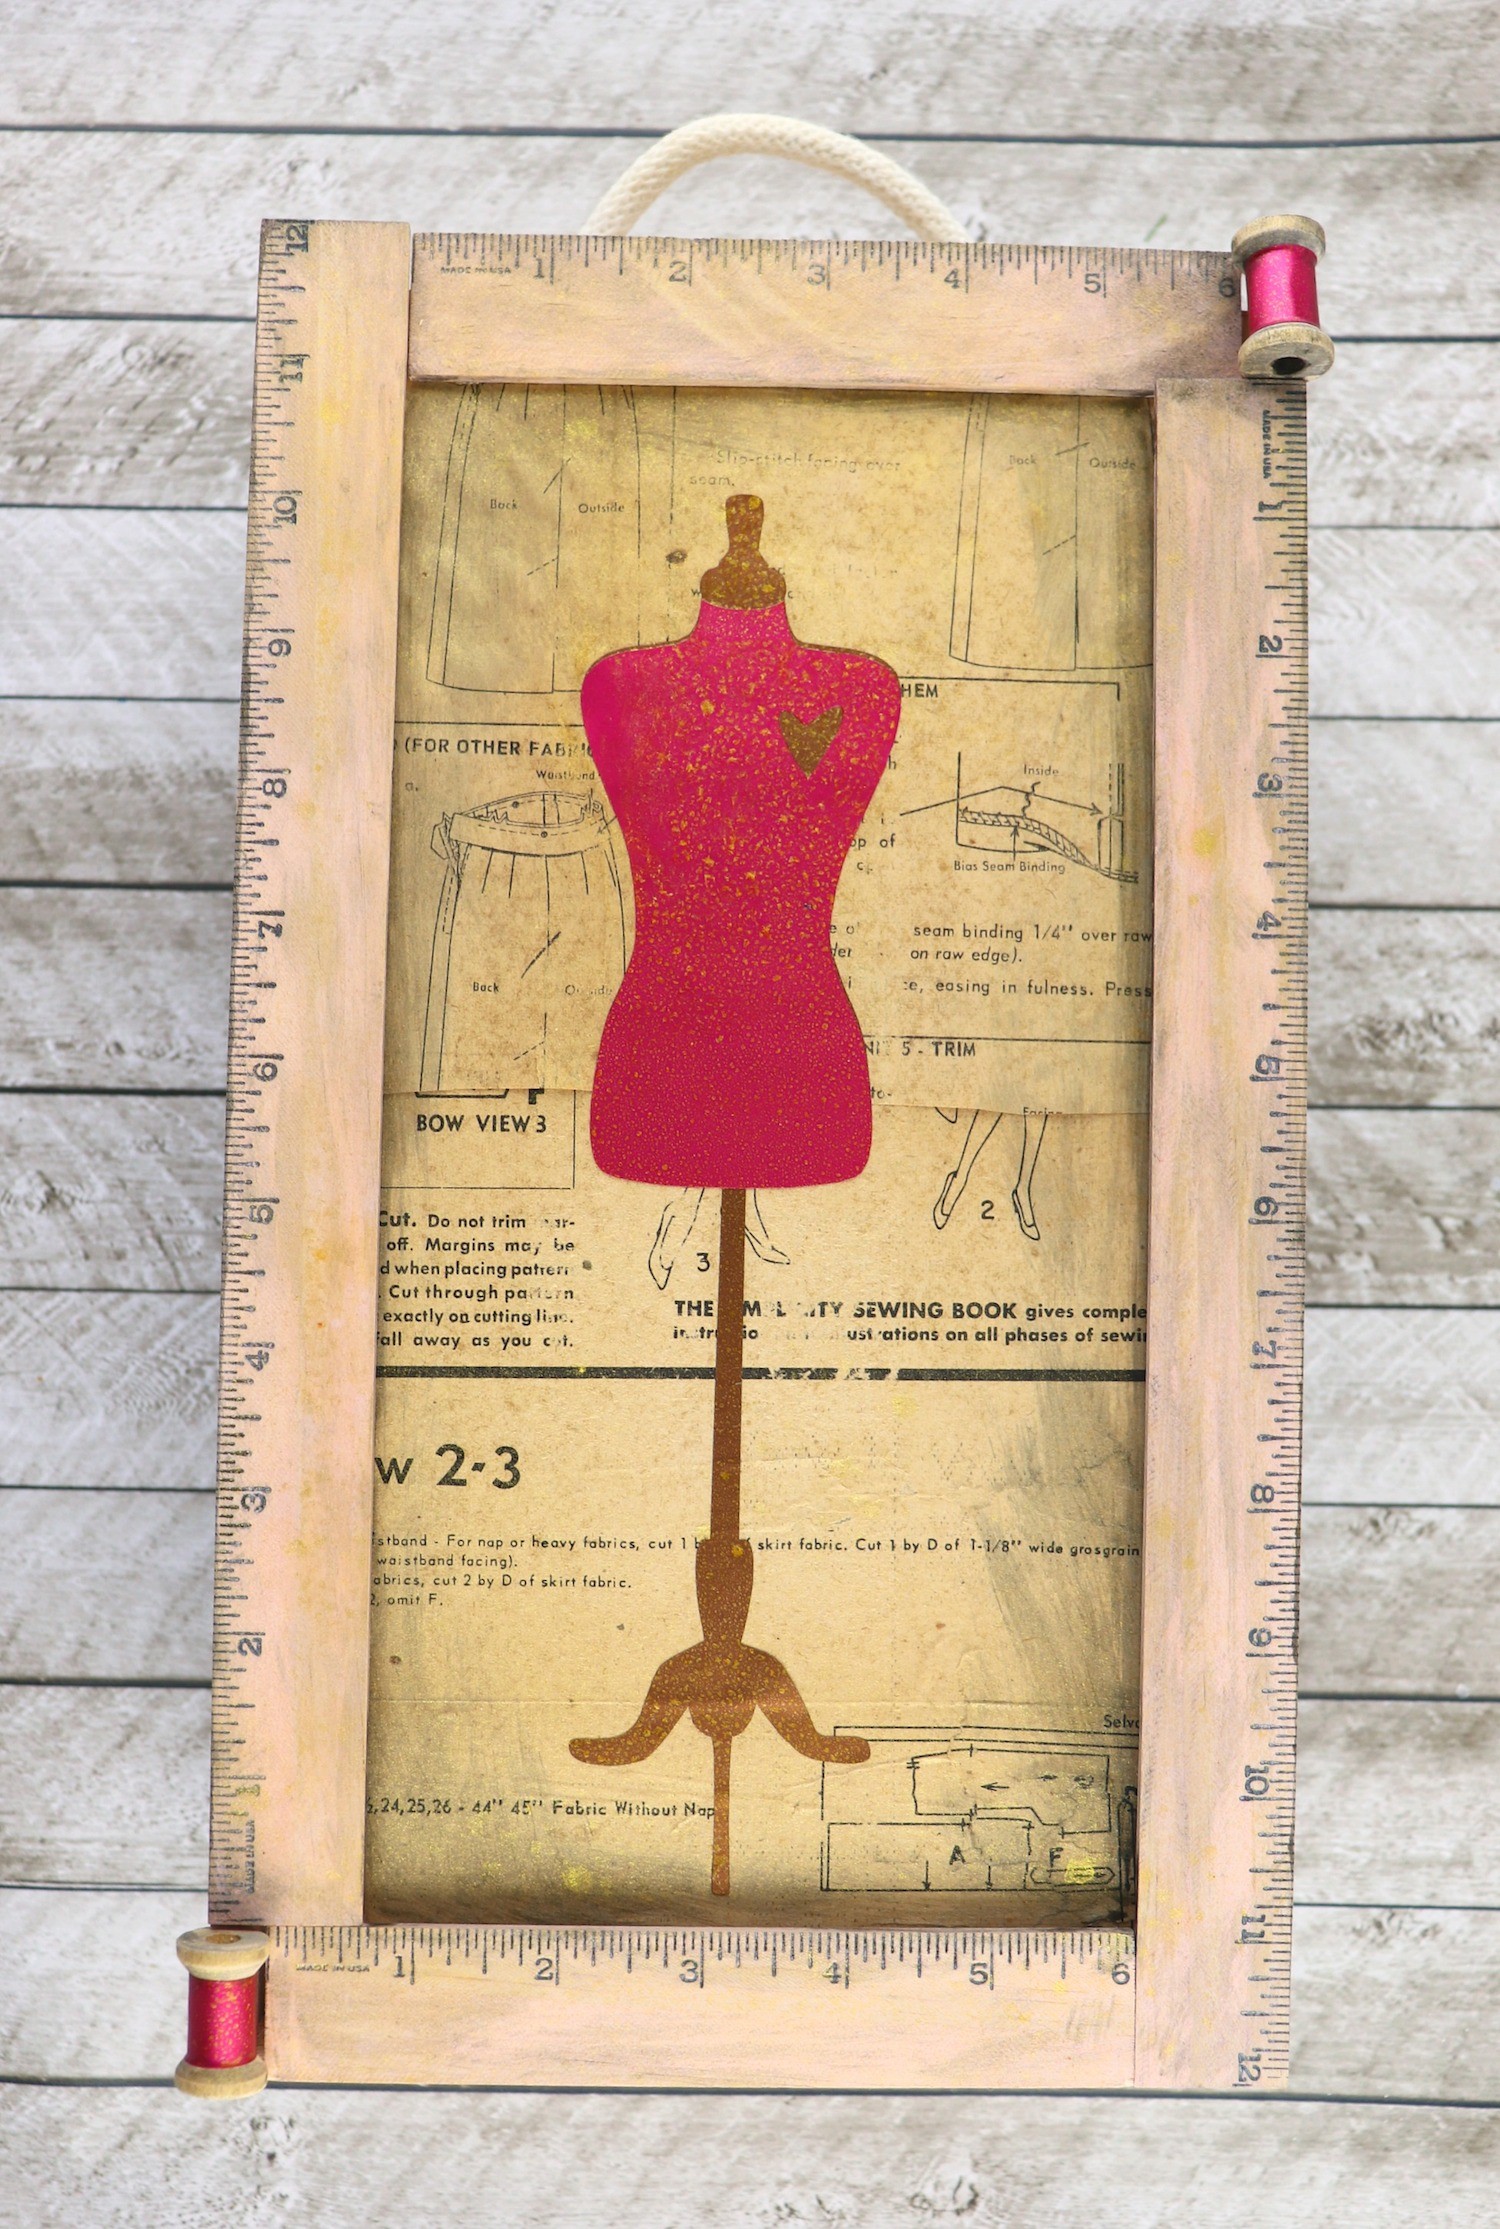
The box makes for a pretty storage piece that can also hold a lot of stuff.
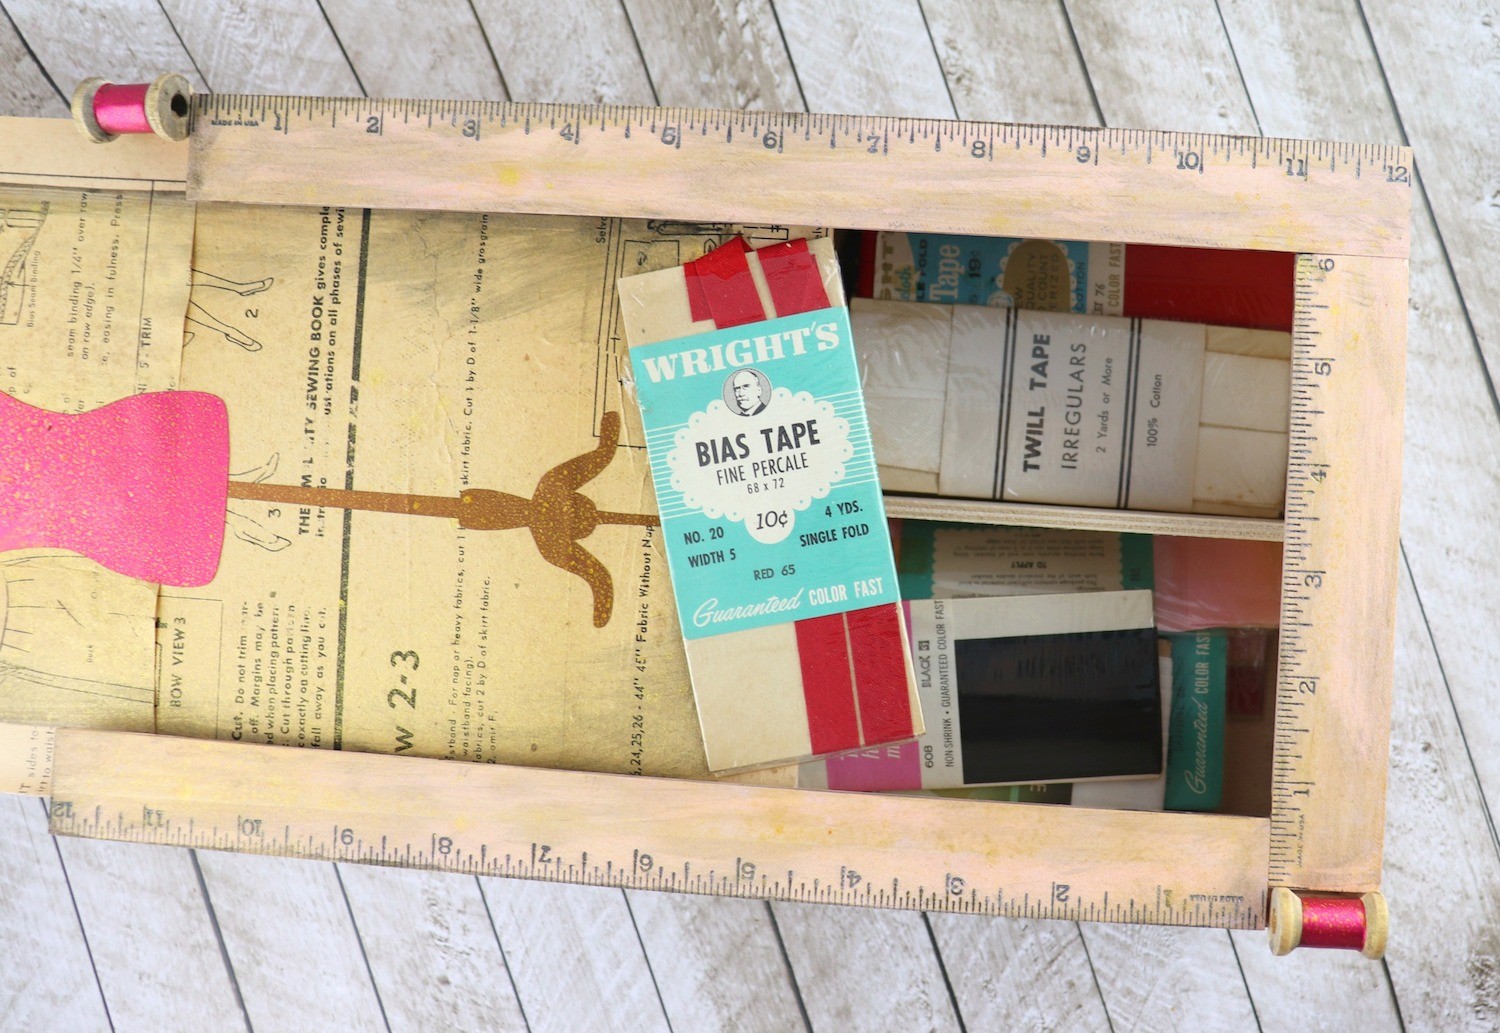
I’m going to keep my collection of vintage seam binding in here, but it can hold lots of thread, scissors, and other items, too! Have fun crafting and creating!

Leave a Reply