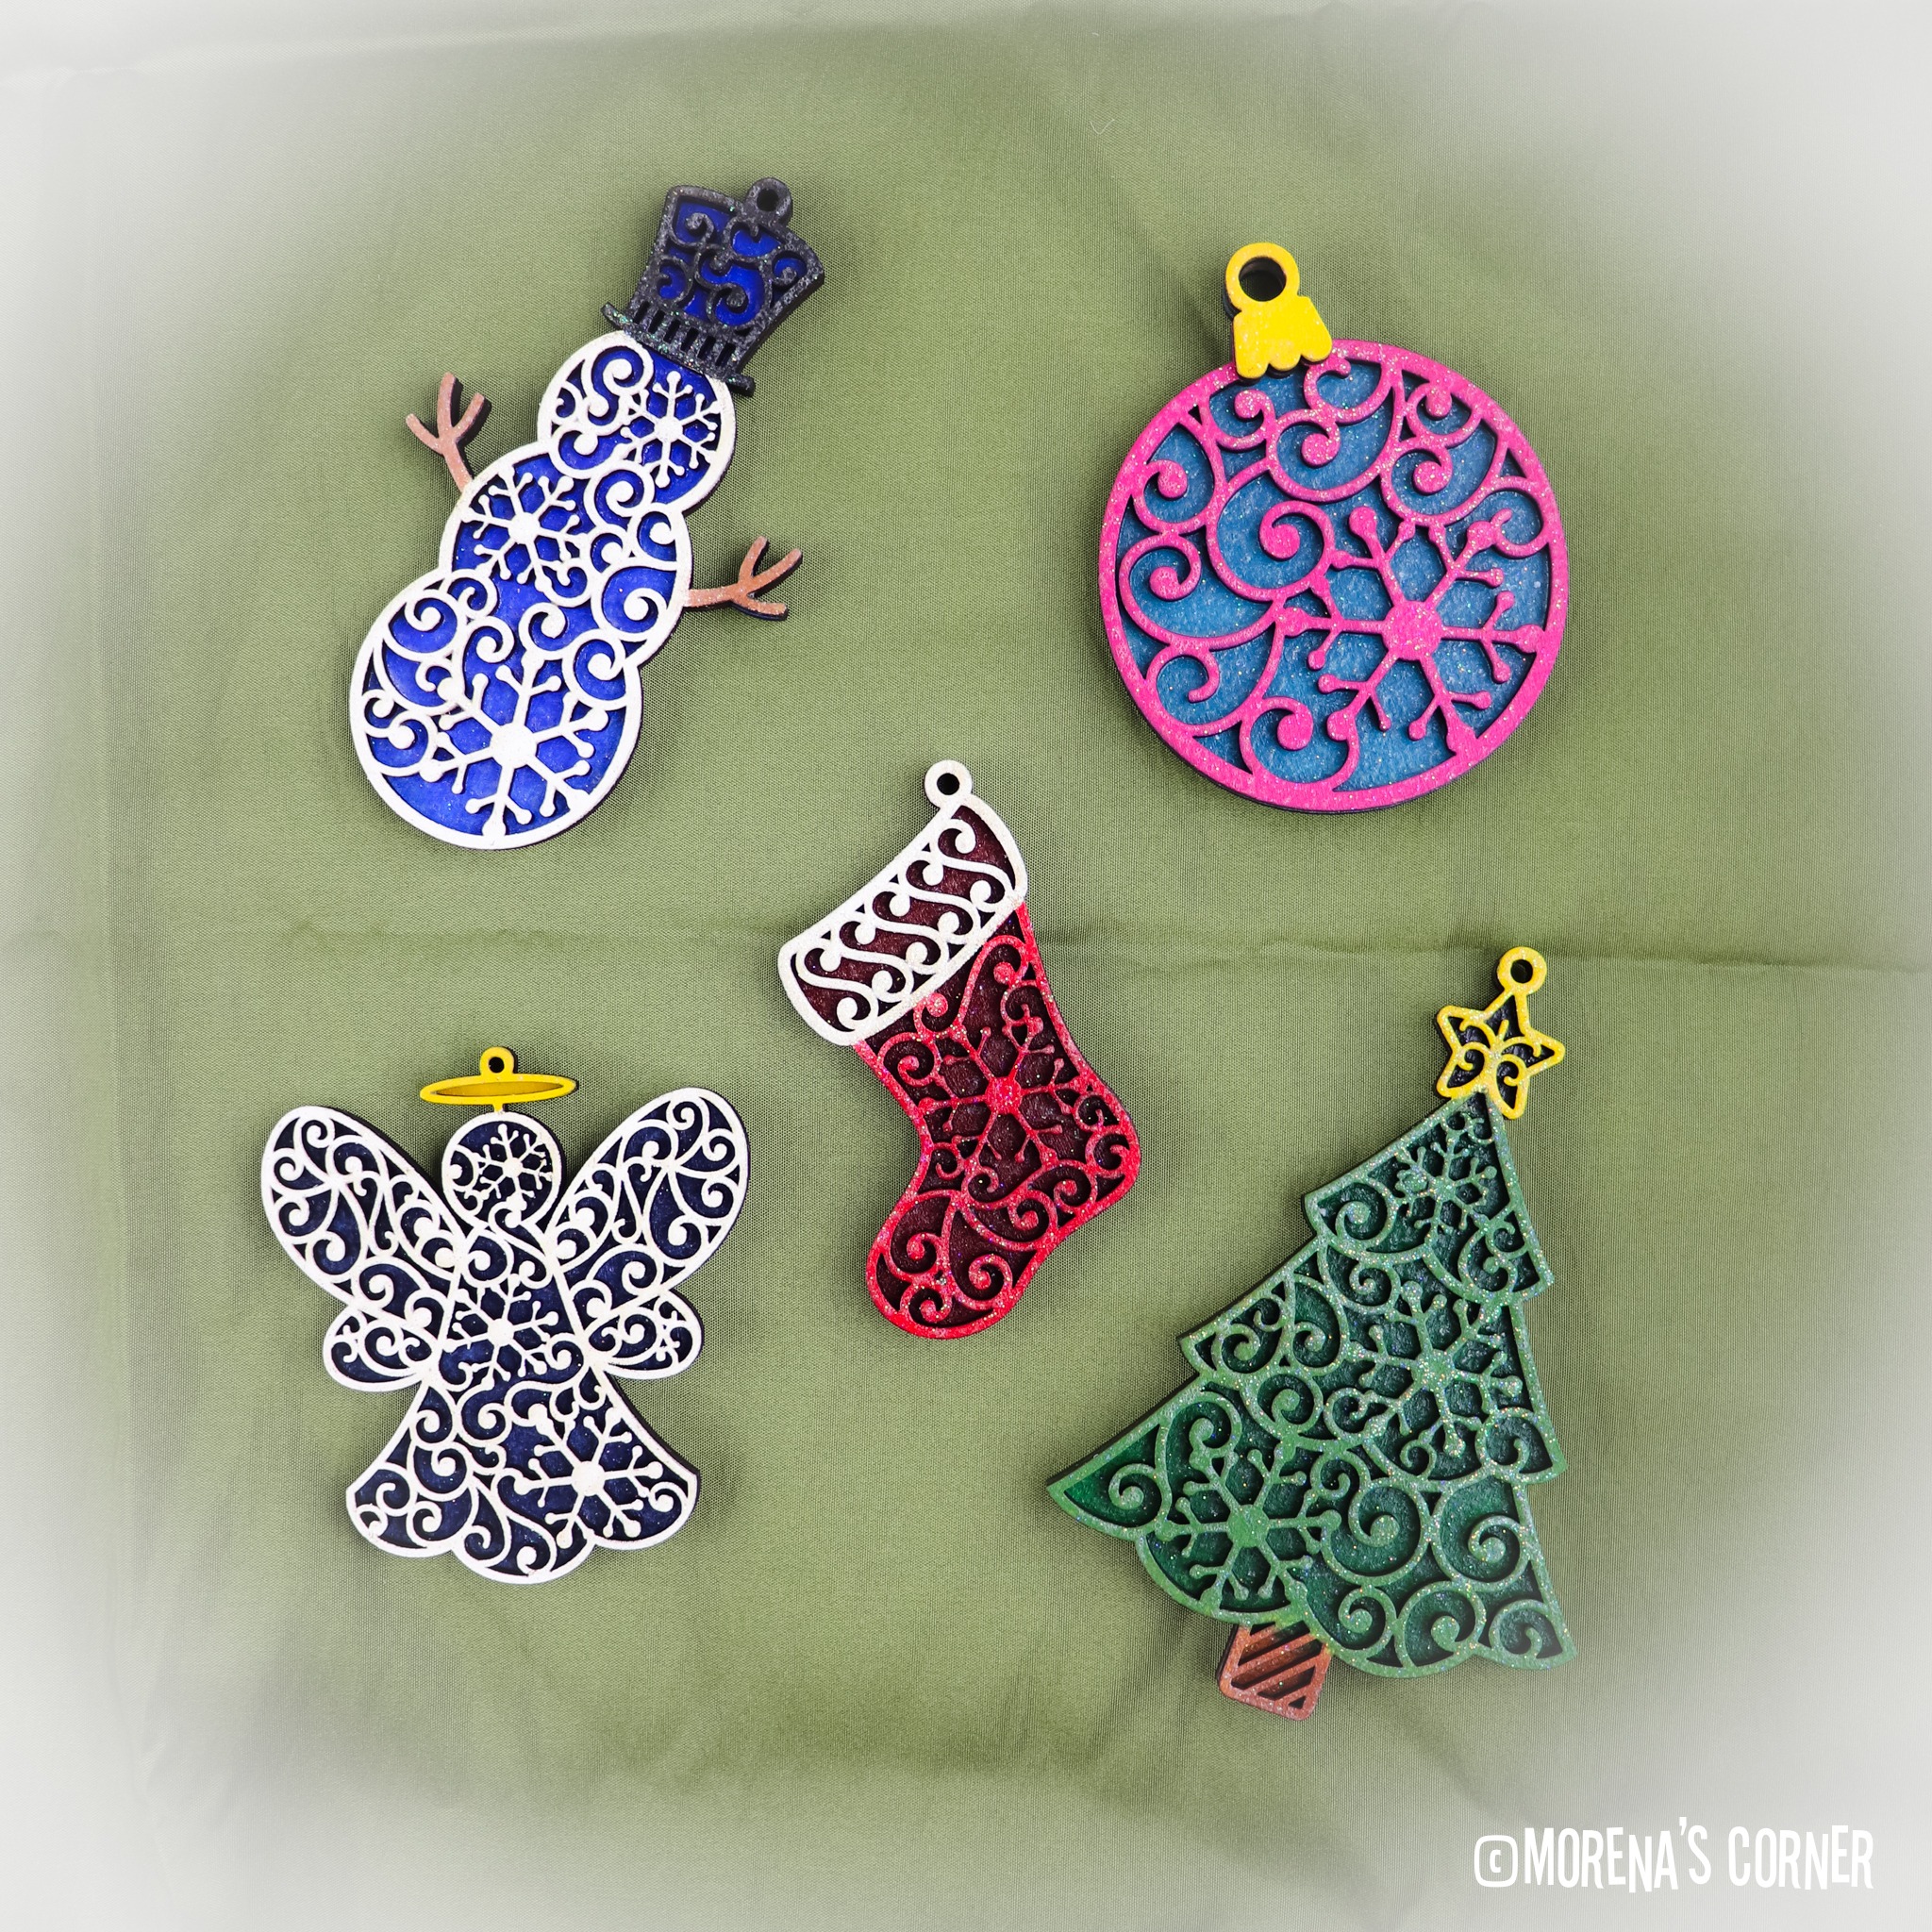
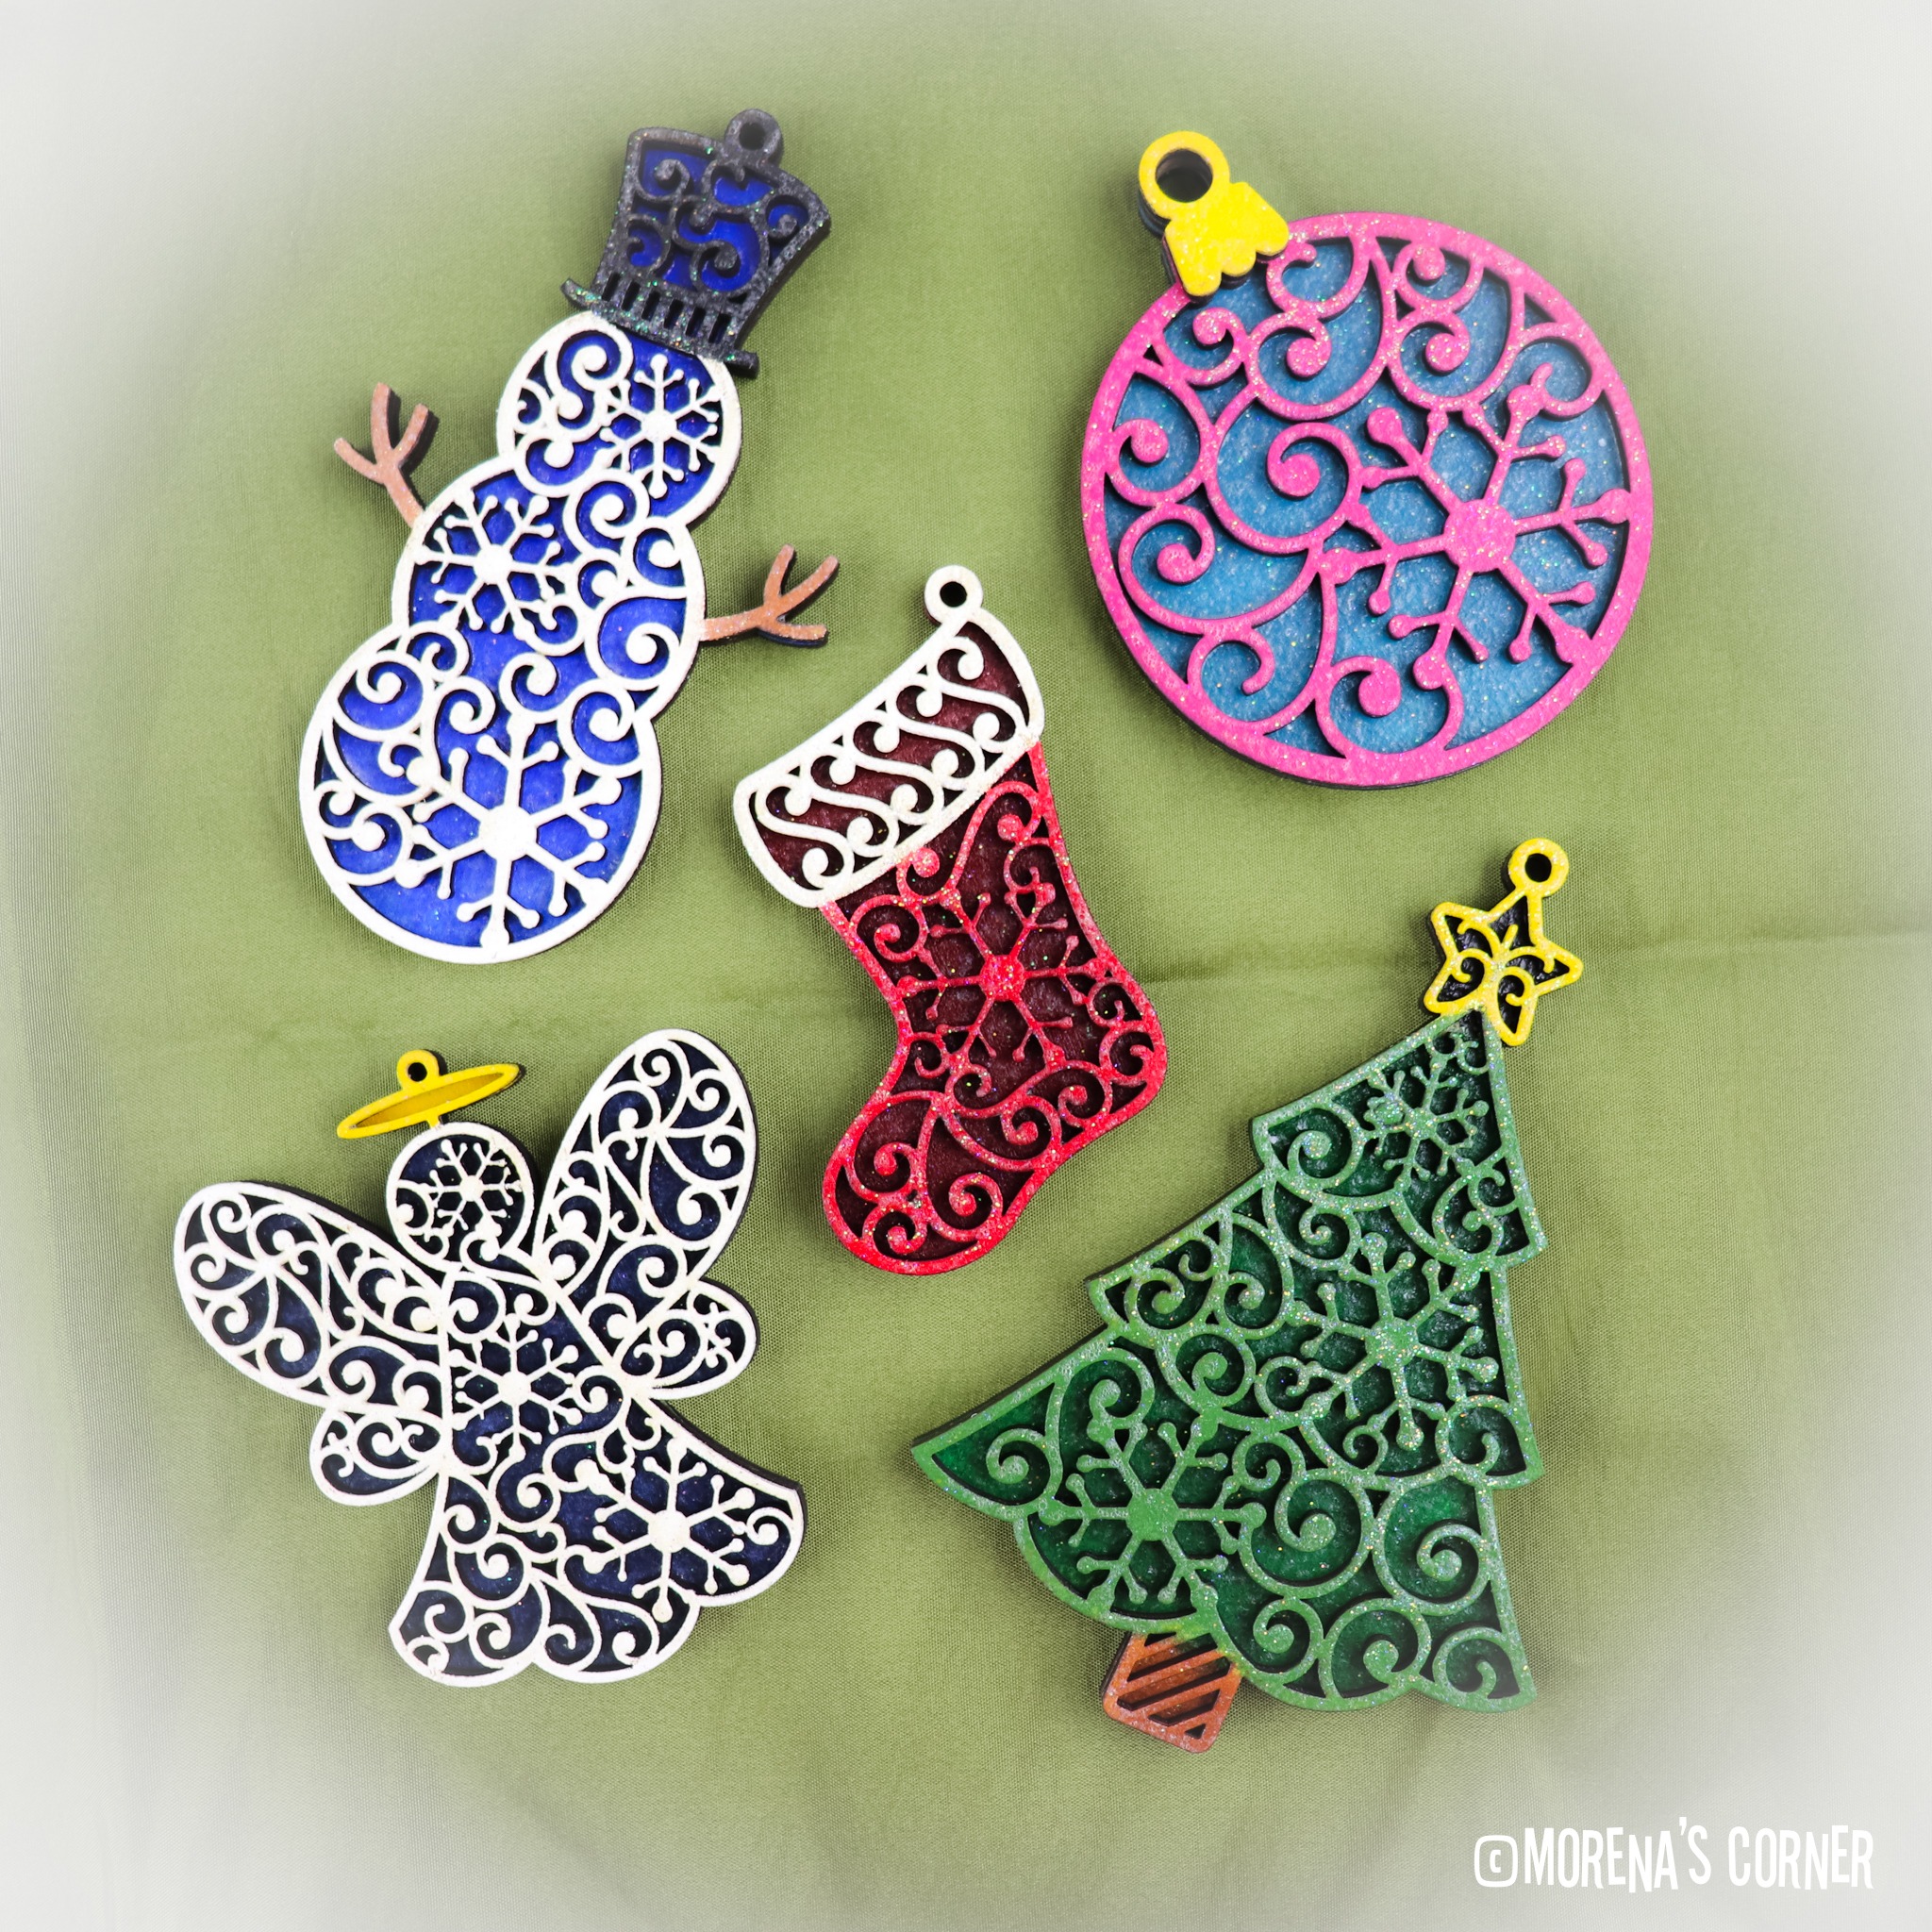
Use paper cutting SVG files to create colorful layered laser cut ornaments for the holidays! These would make great gifts and can also be used as gift tags!
Layered Laser Cut Ornaments Supplies Used
- Layered Angel SVG File
- Layered Christmas Free SVG File Set
- Layered Christmas Ornament Free SVG File Set of 3
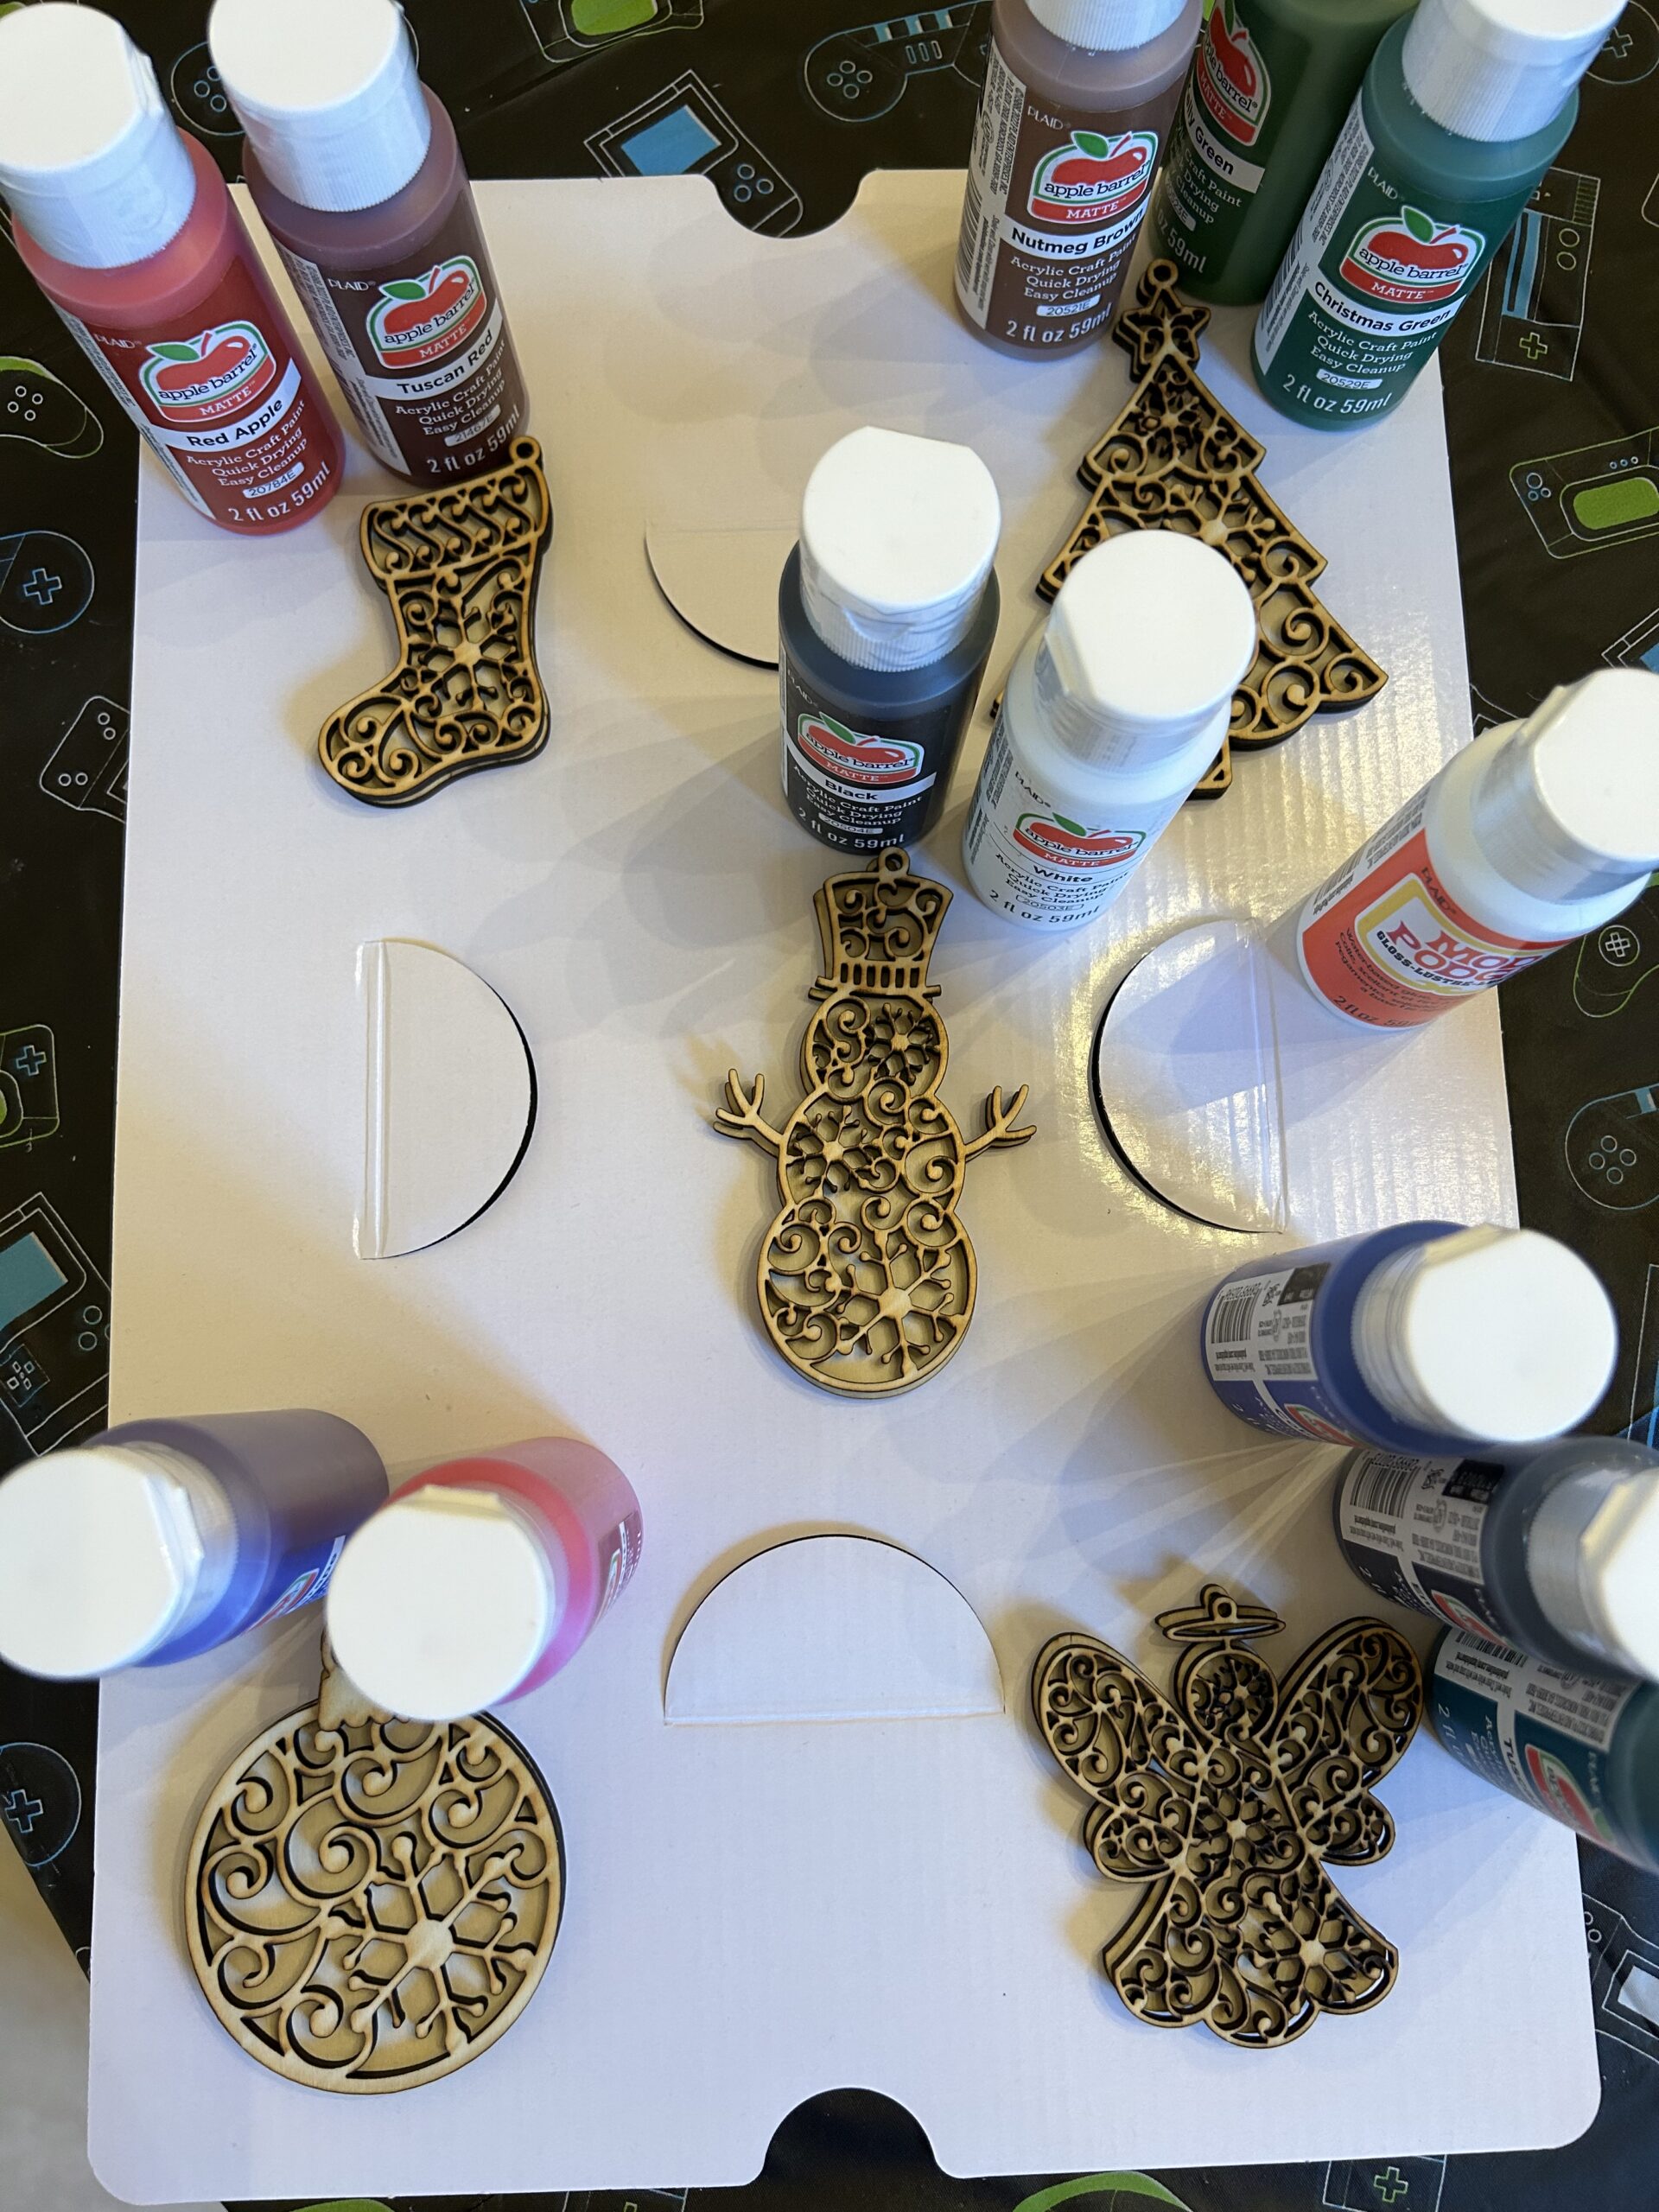
- Basswood Craft Sheets
- Craft Paints in various colors
- Foam Pouncer
- Mod Podge Gloss
- Ultra Fine Glitter (white)
- xTool D1 Pro Laser Cutting Machine
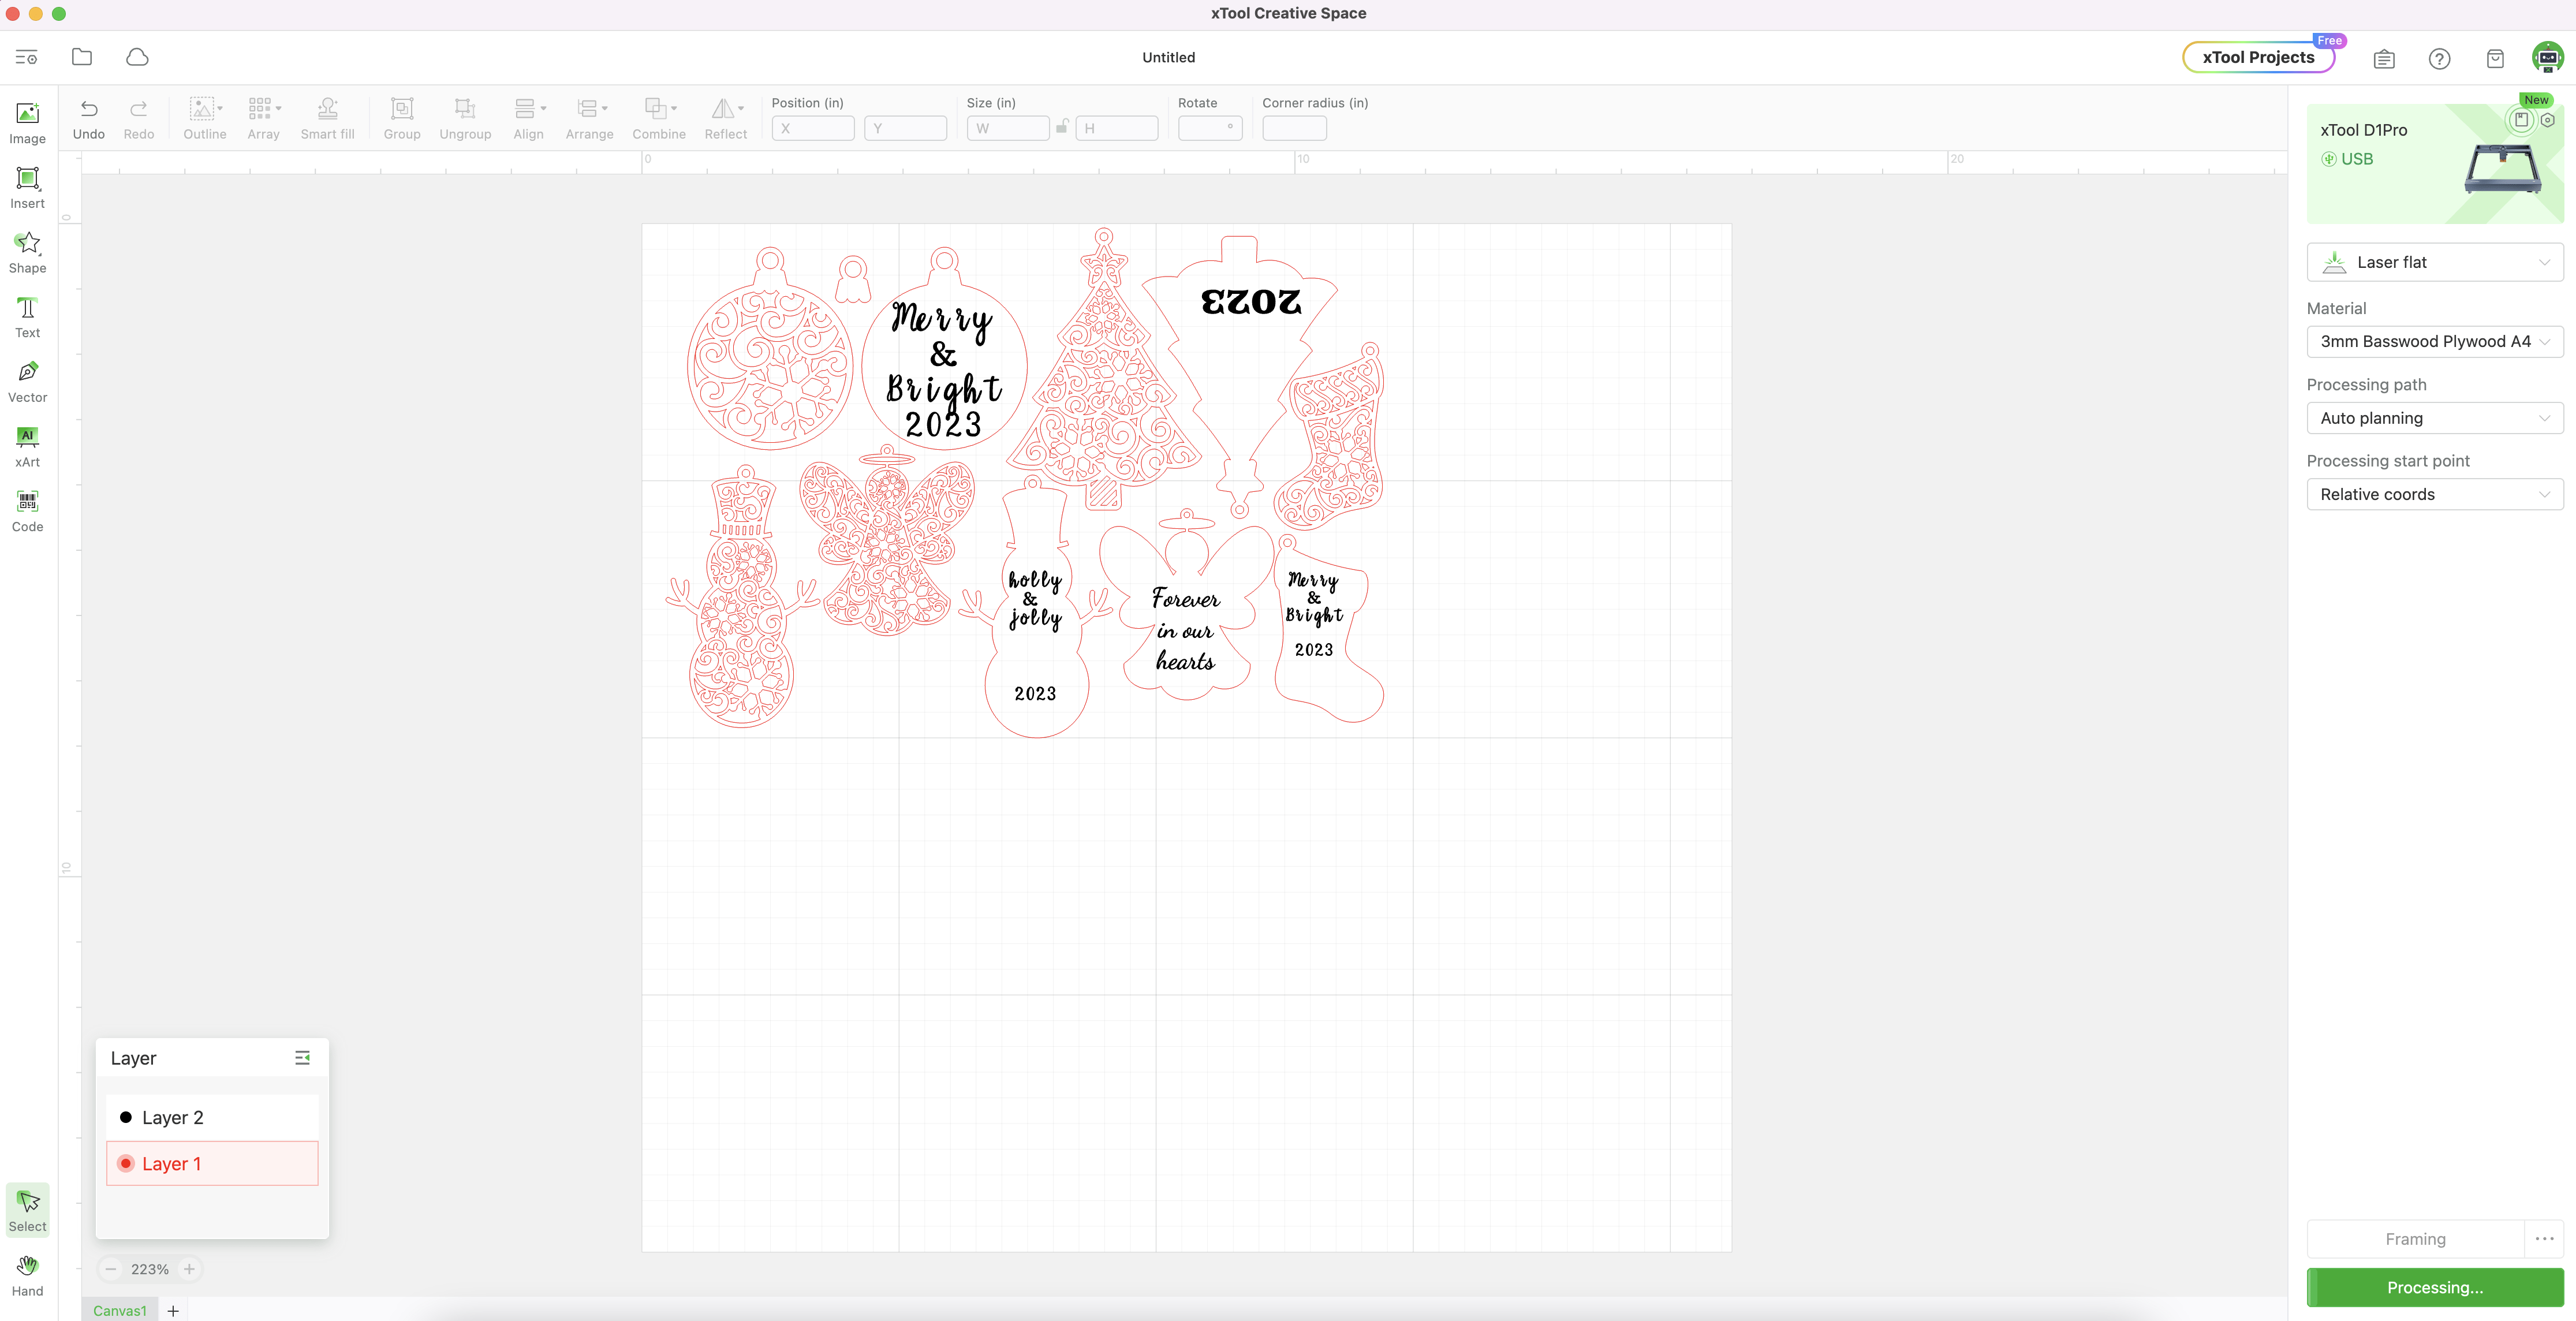
I started out by opening the SVG files in my xTool Creative Space Program. I only used the top and the bottom layers of each ornament file, so delete the extra files unless you want to make a thicker ornament with all the layers.
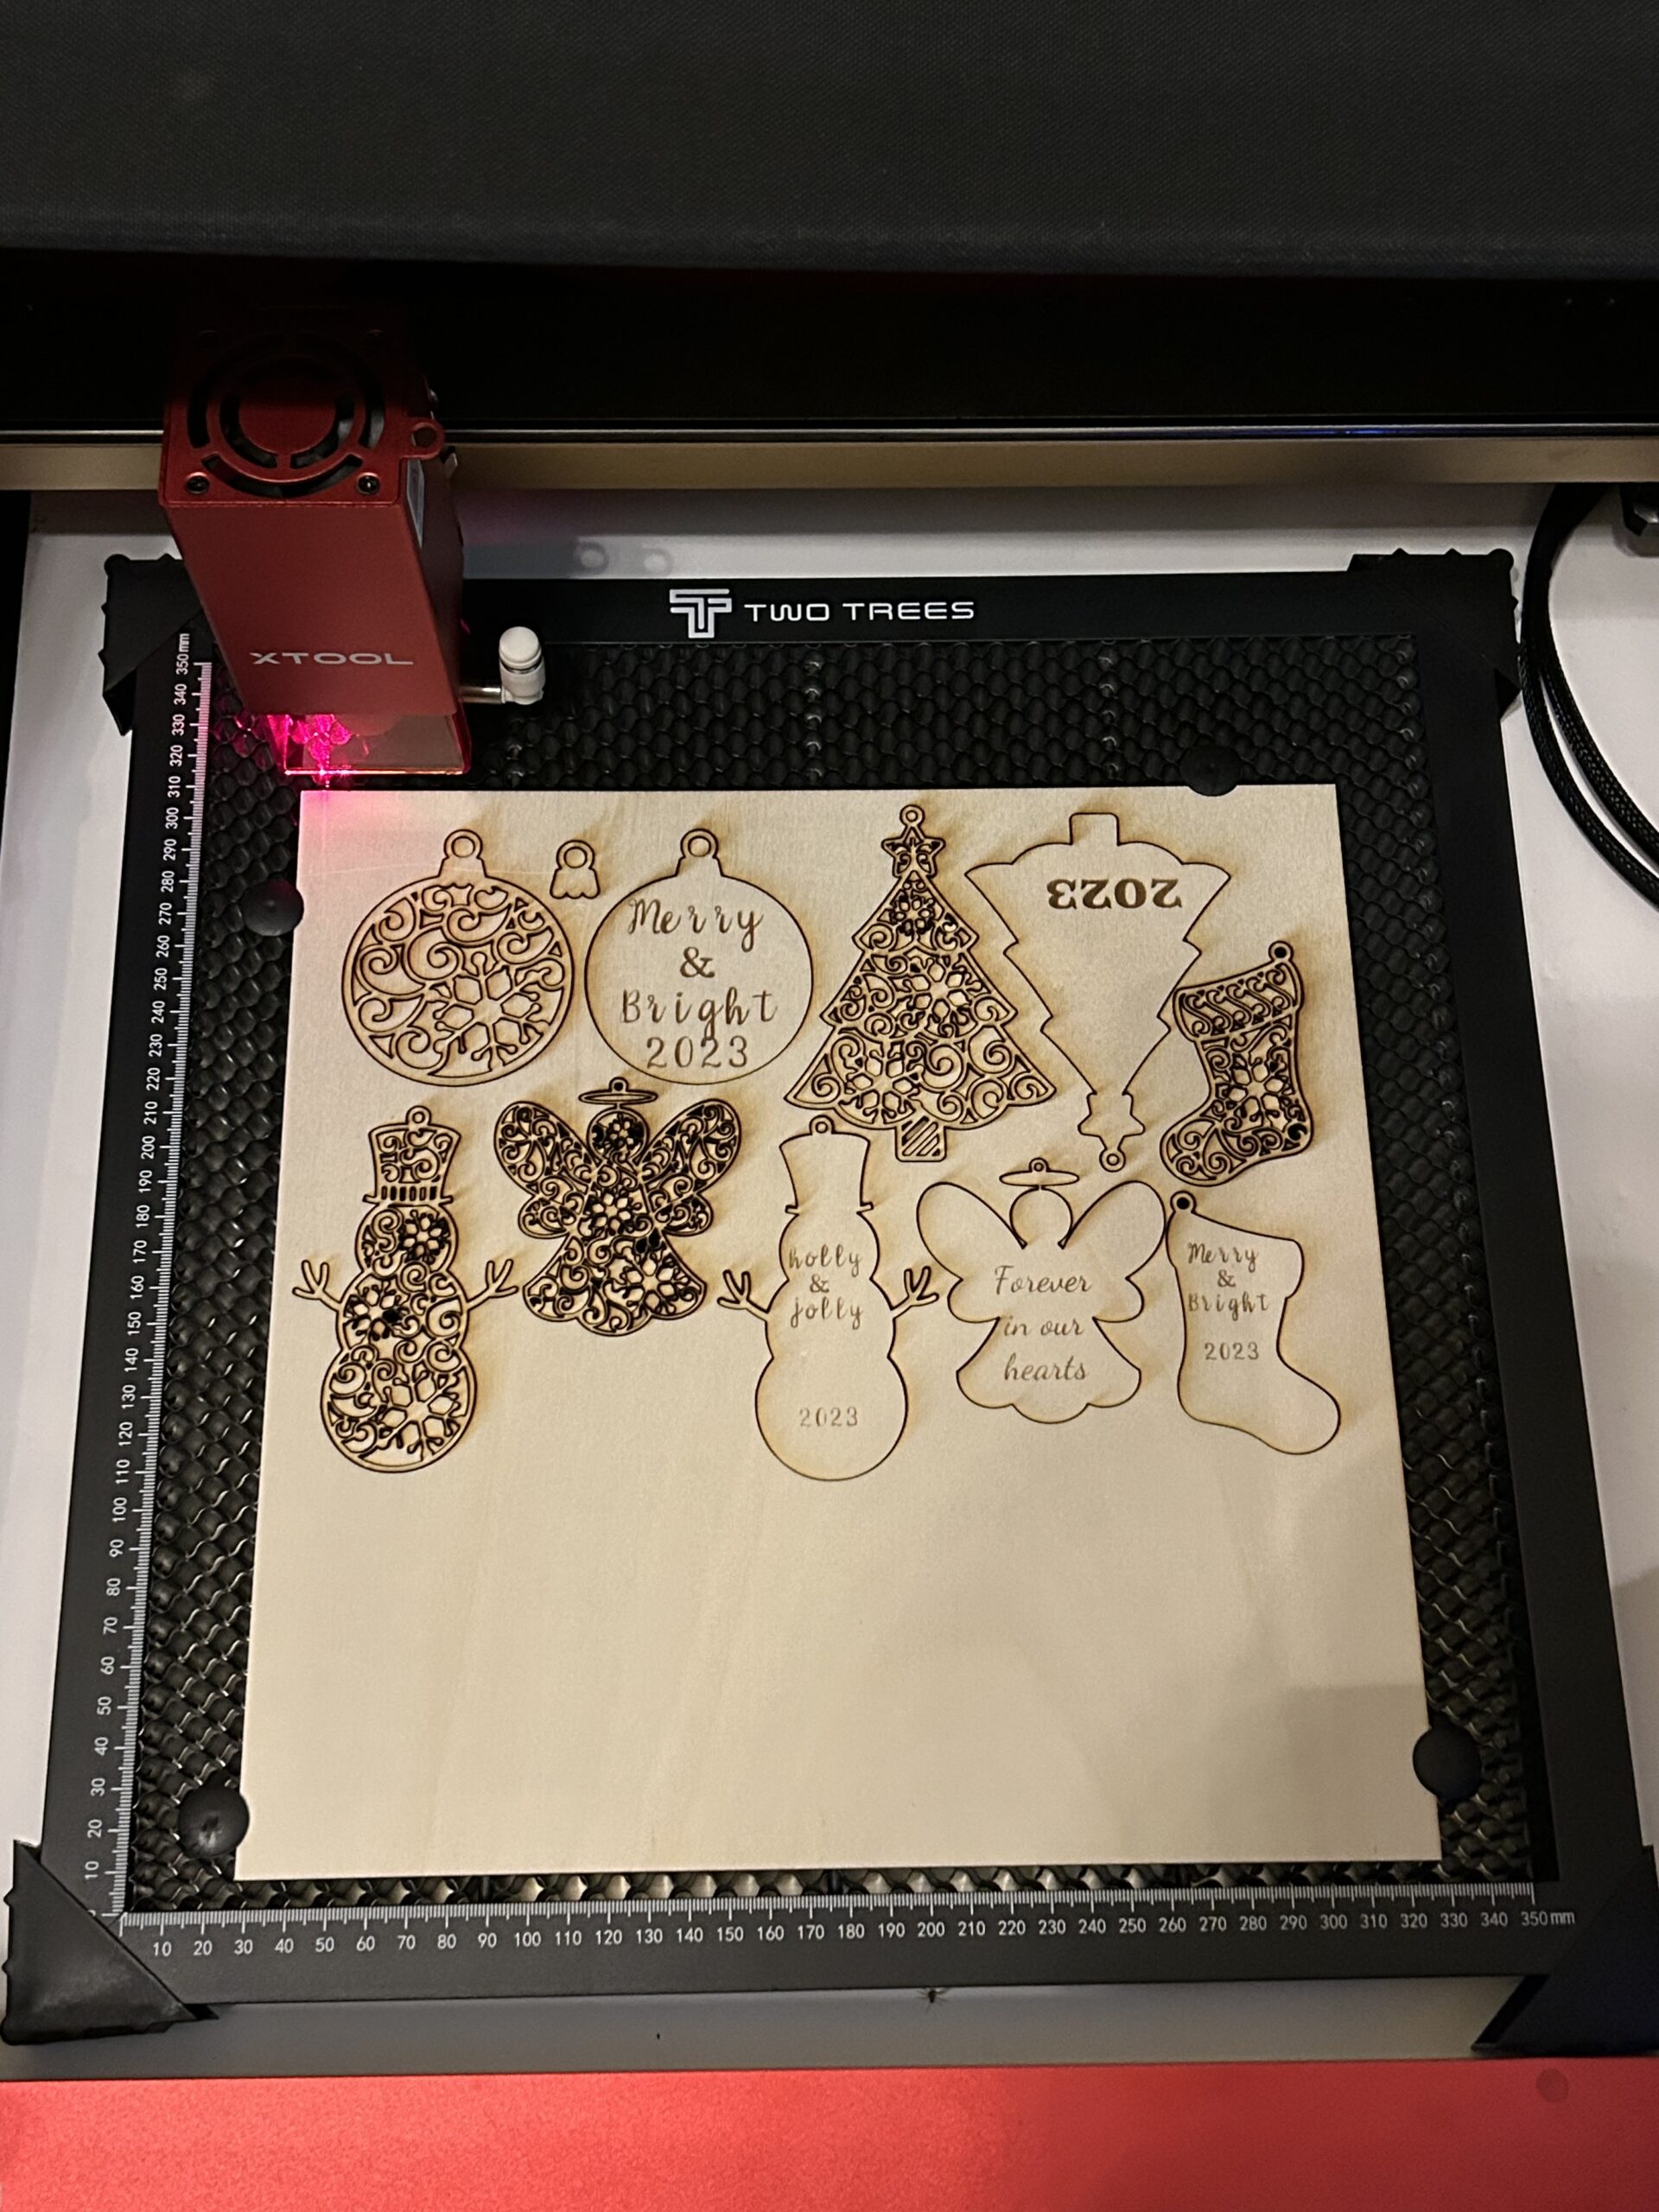
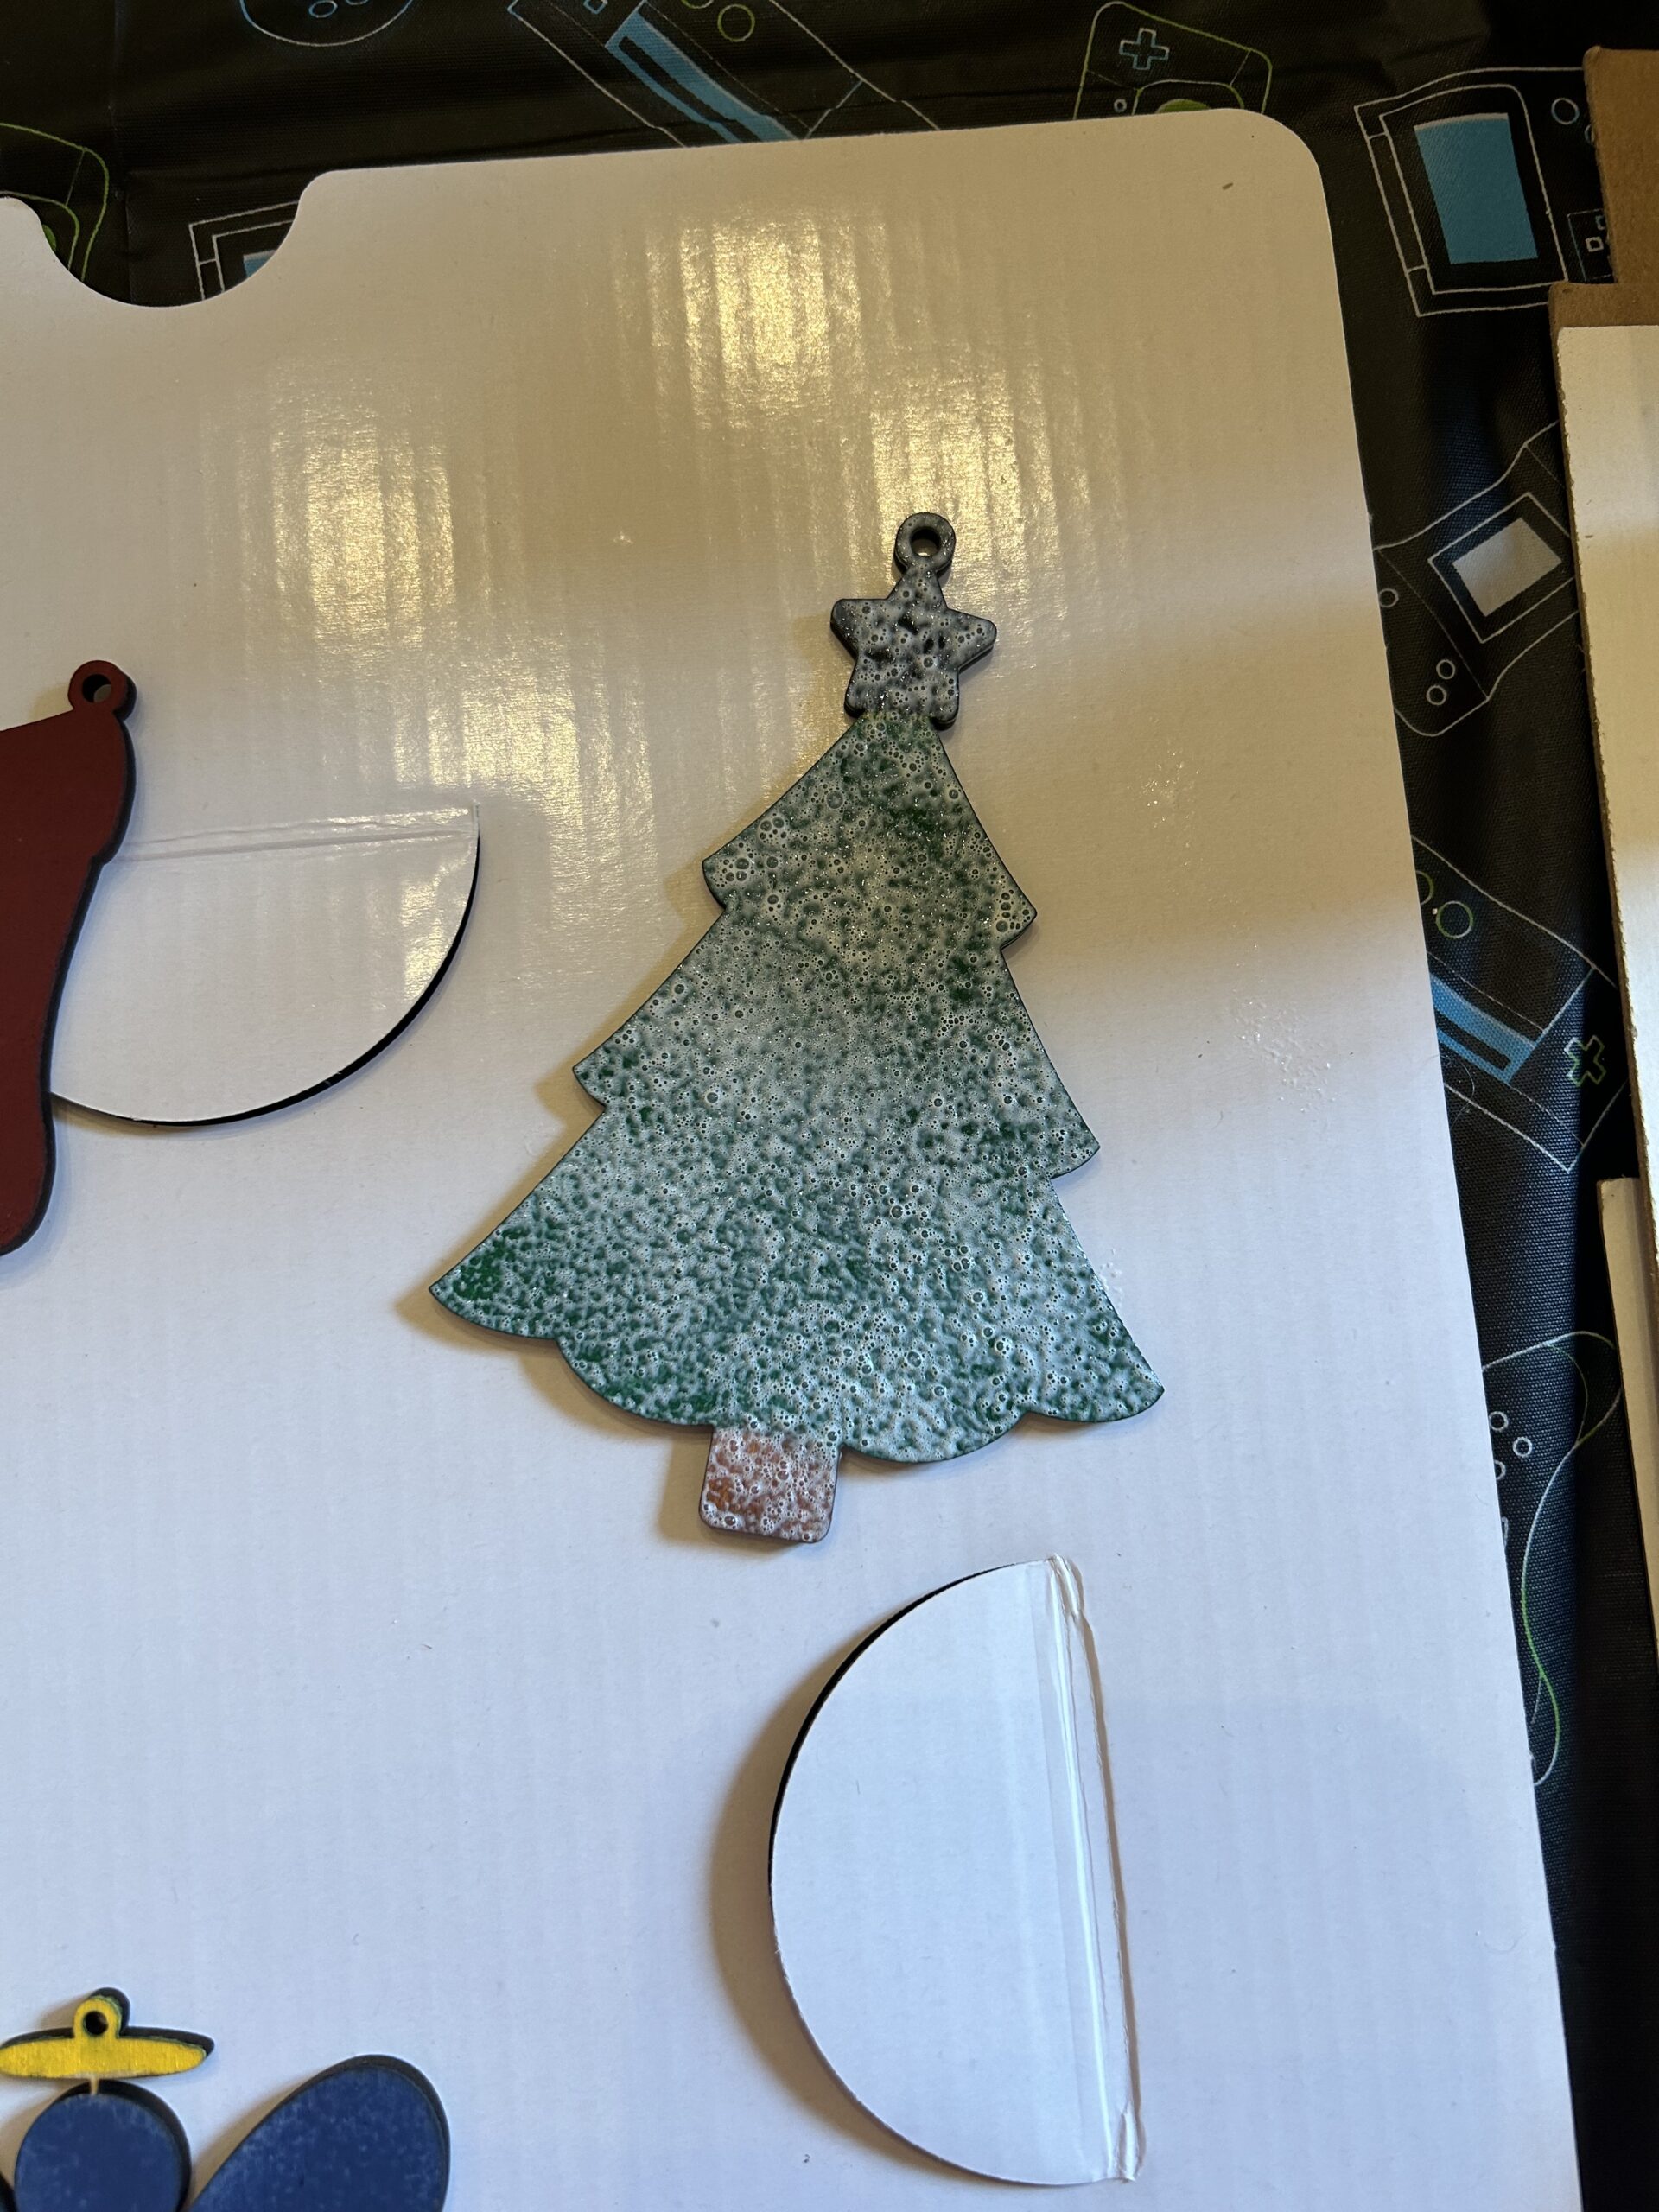
This step’s optional: I added a message to engrave on the back of each ornament. After sizing and arranging the pieces I was ready to cut them from the basswood craft sheets.
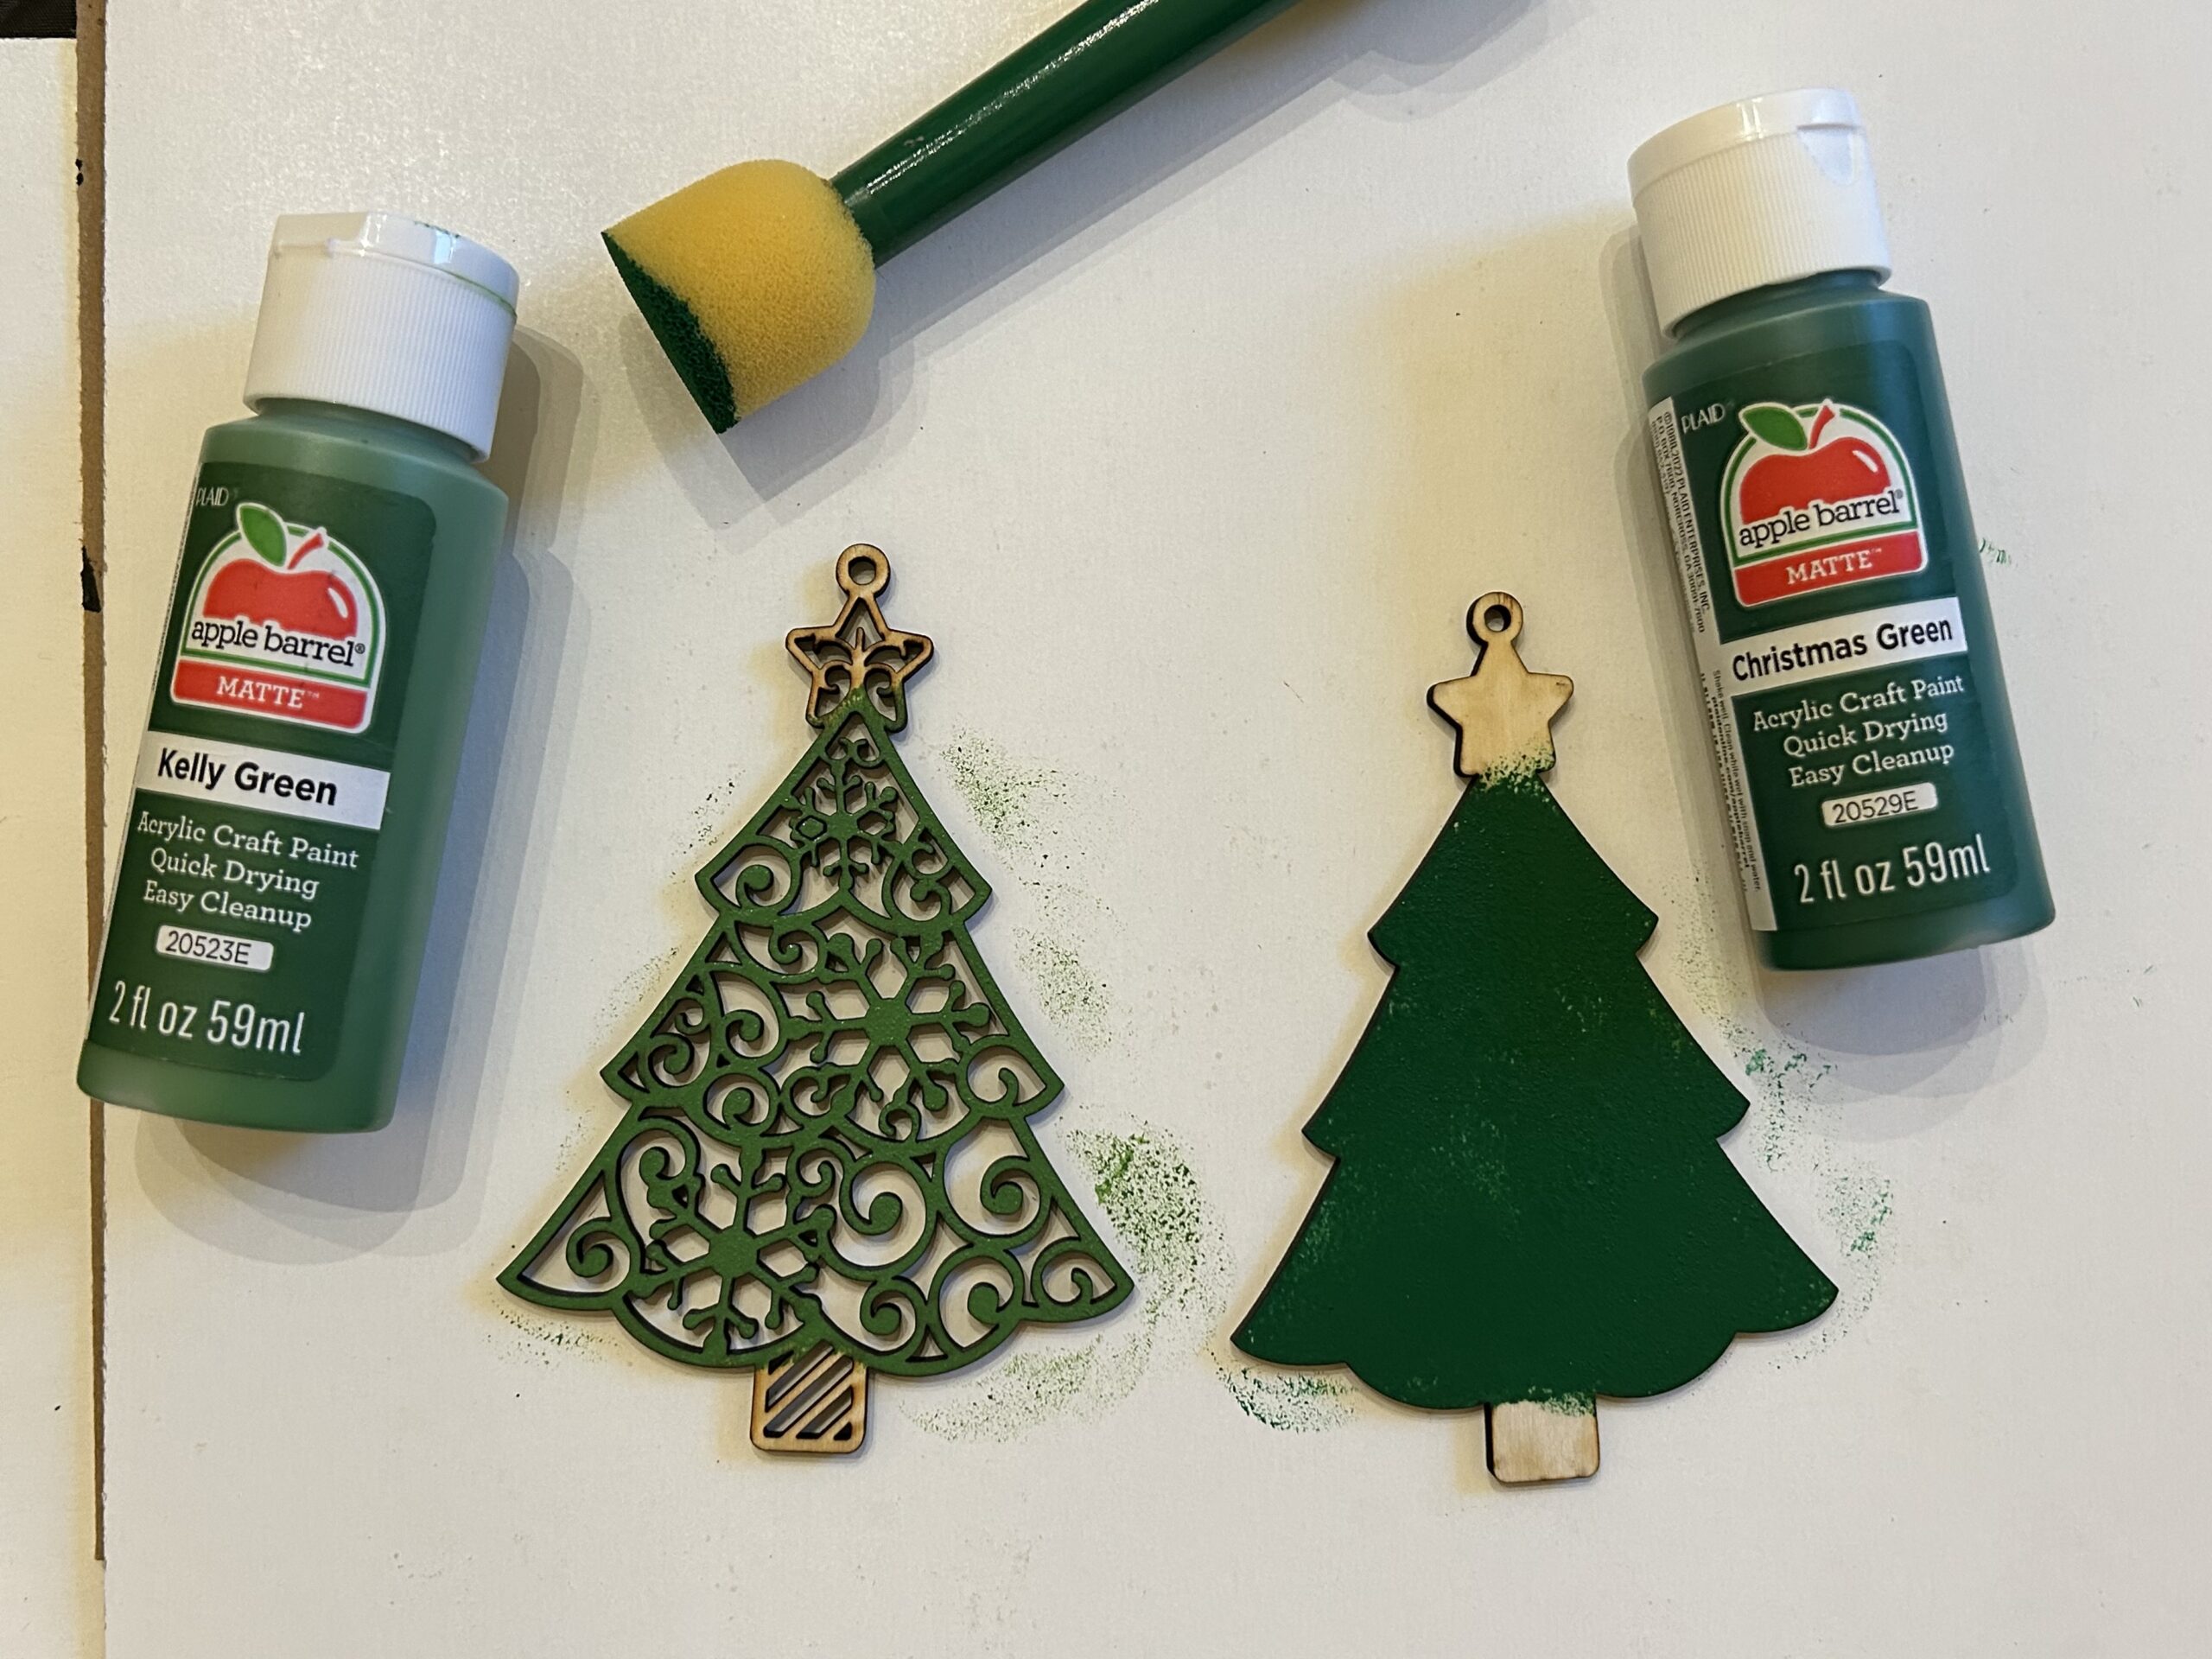
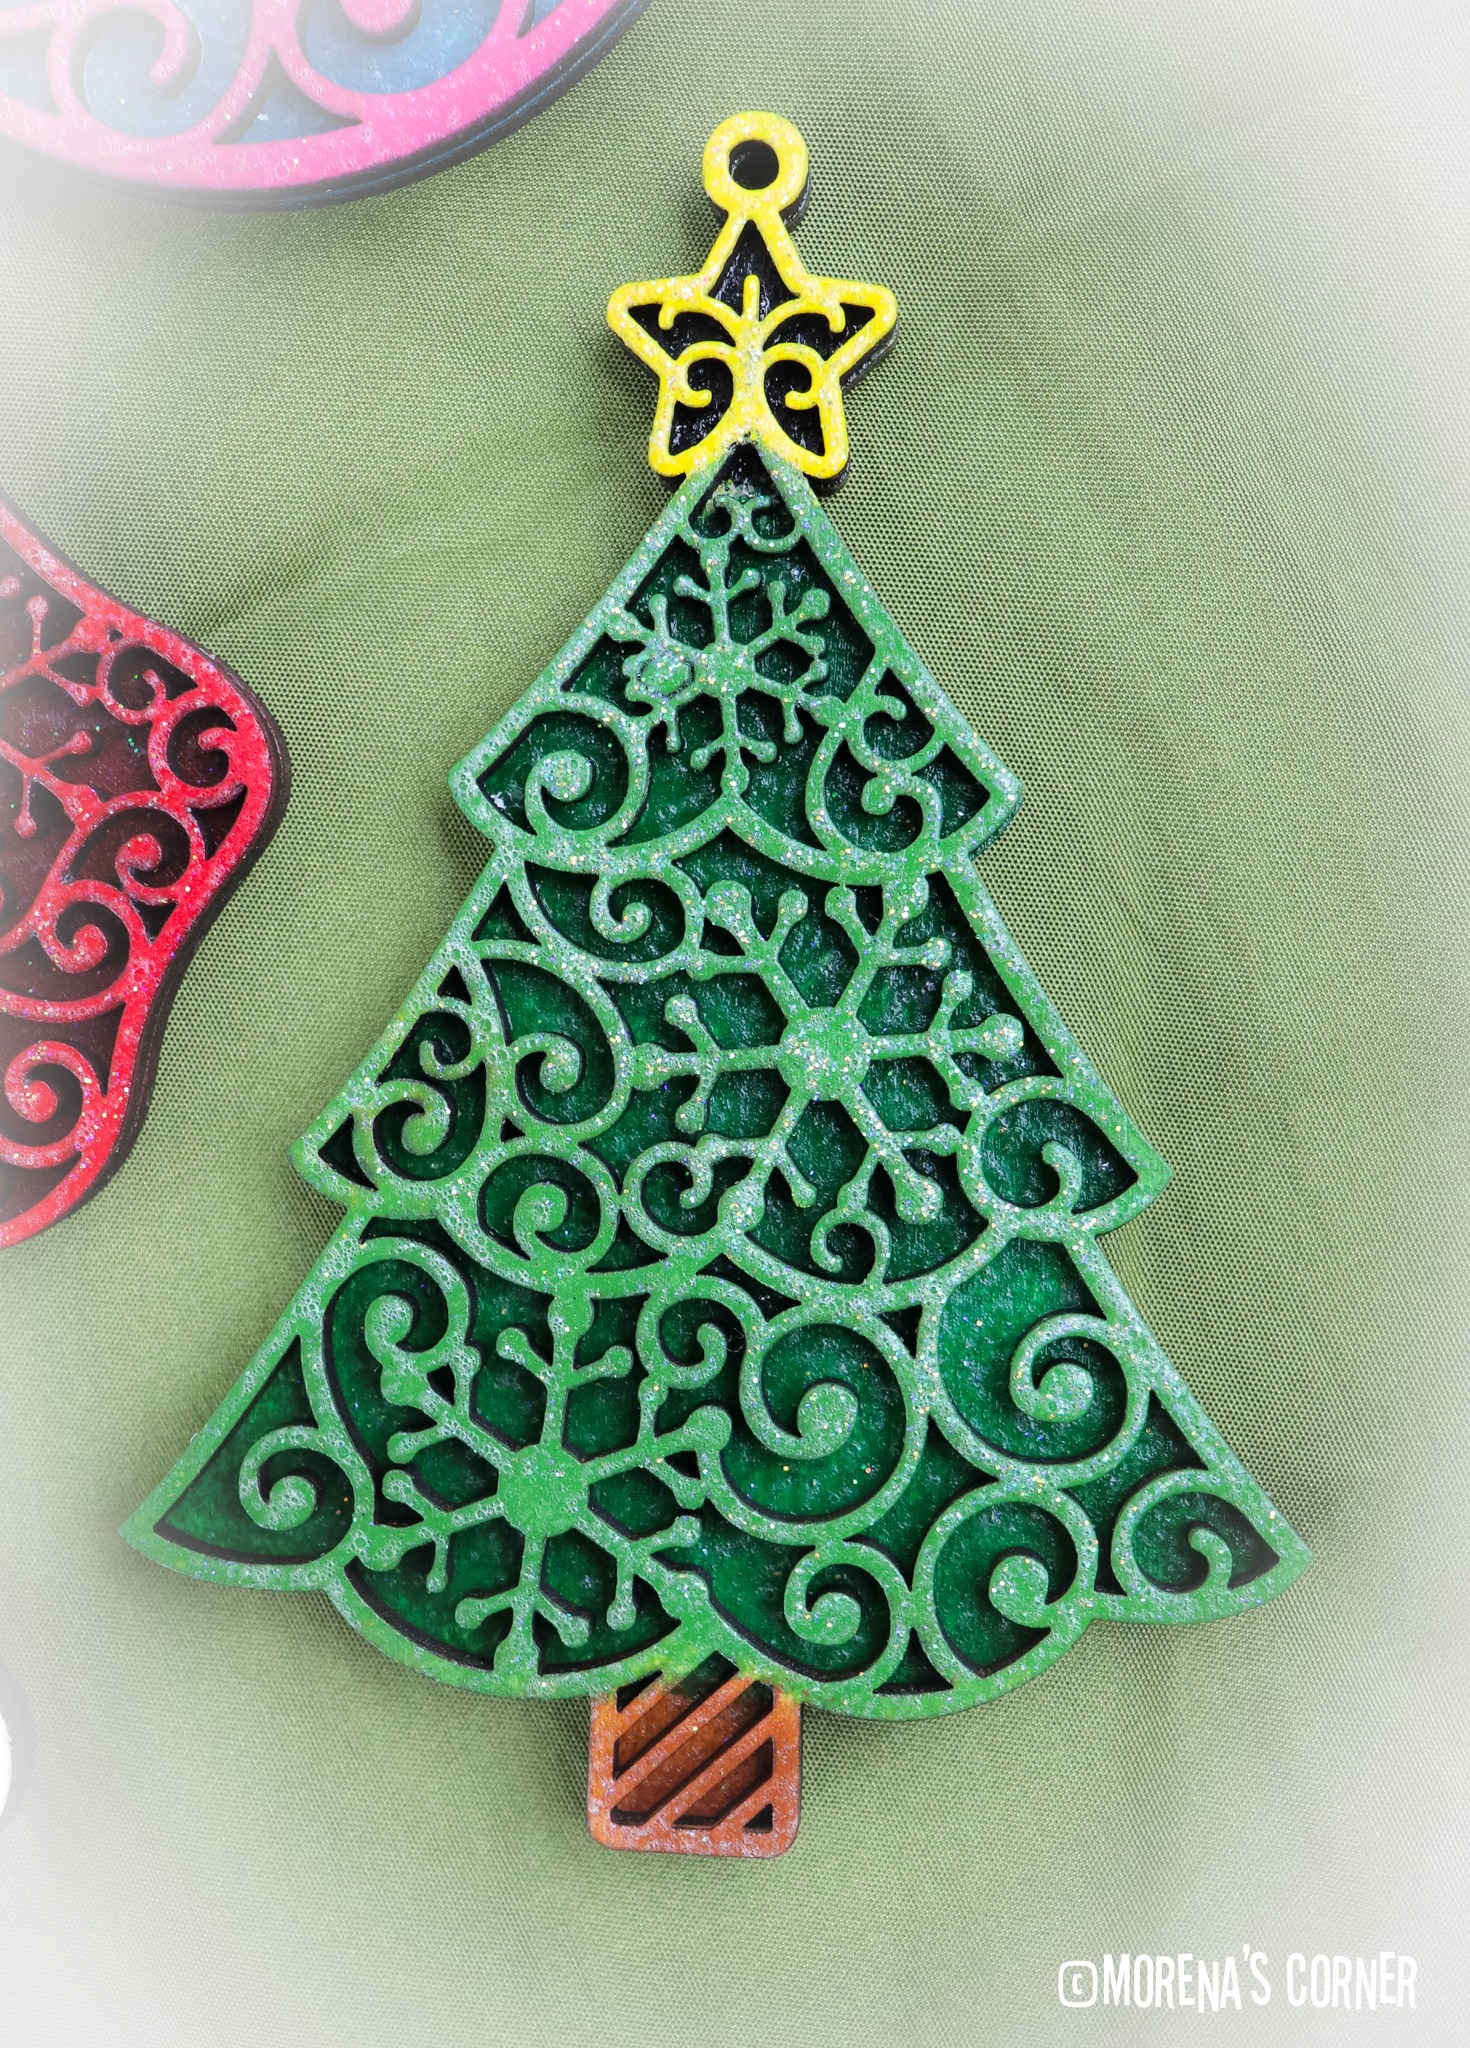
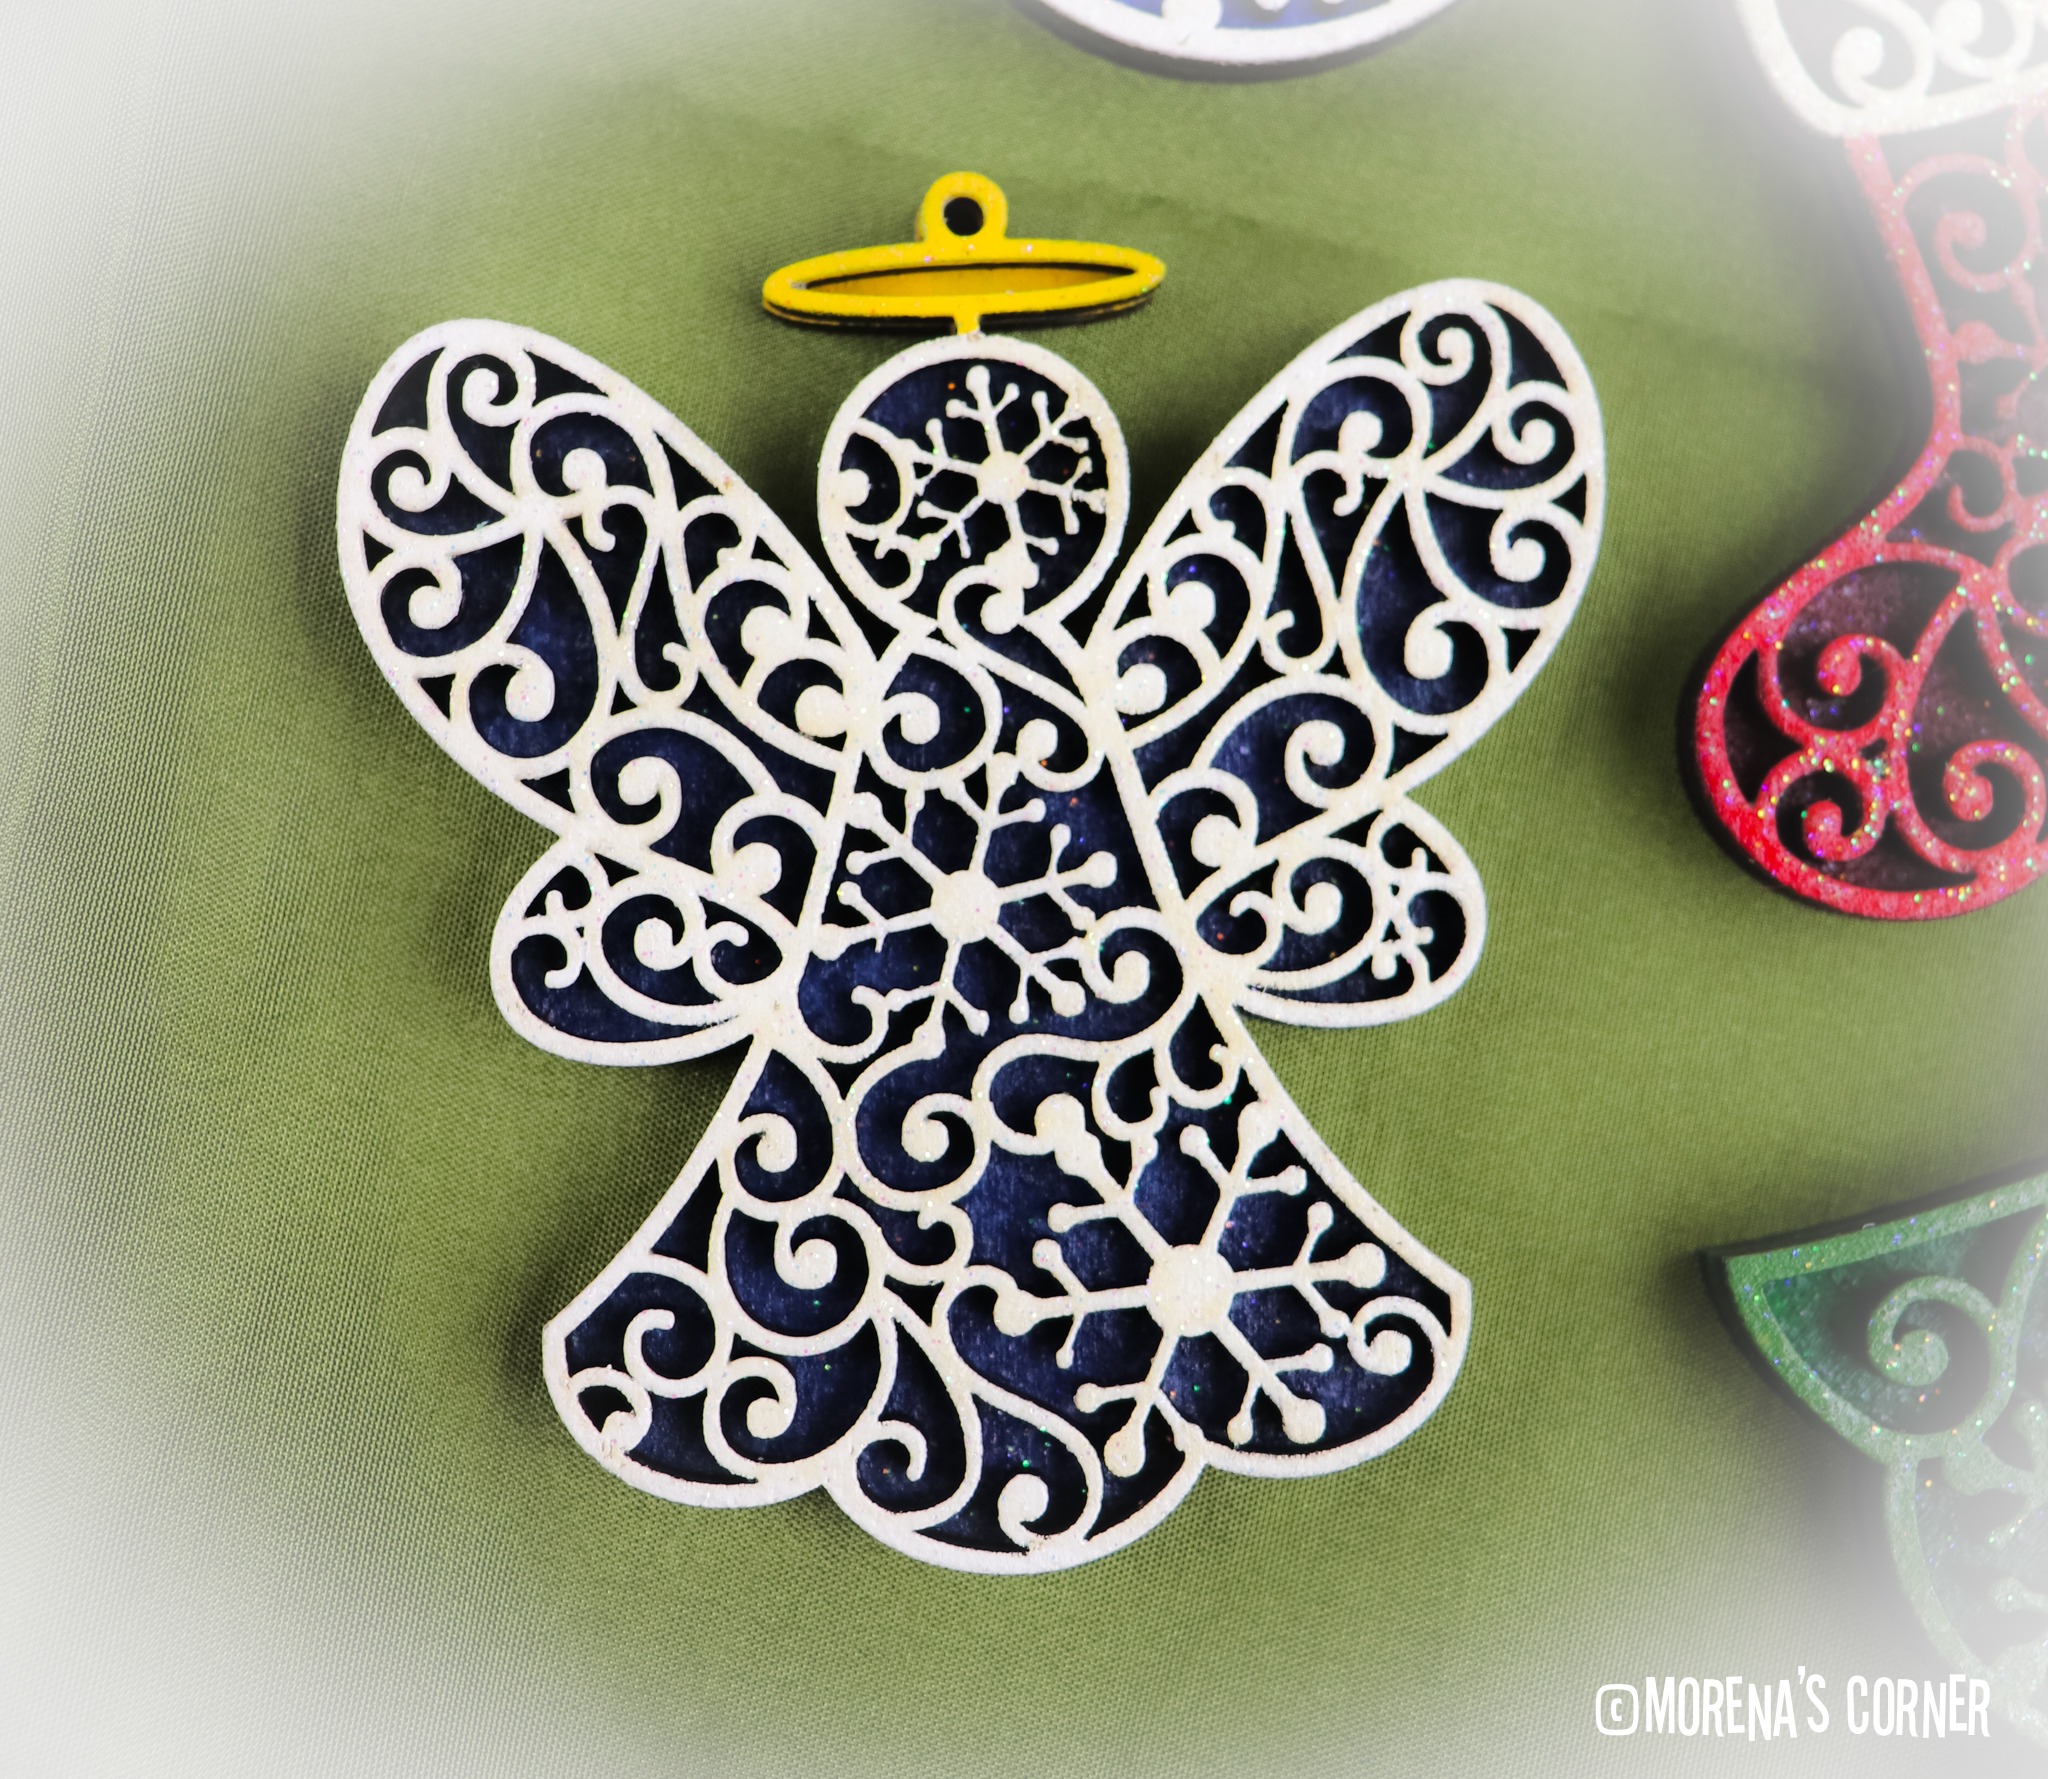
I like to use a foam pouncer to paint wood cuts like these so I can minimize the amount of paint that drips into the cut spaces. I really love the wood burned edges so I try not to paint over them when possible. I used different colors for the top and bottom layers of each ornament to create contrast and to help the beautiful design elements stand out.
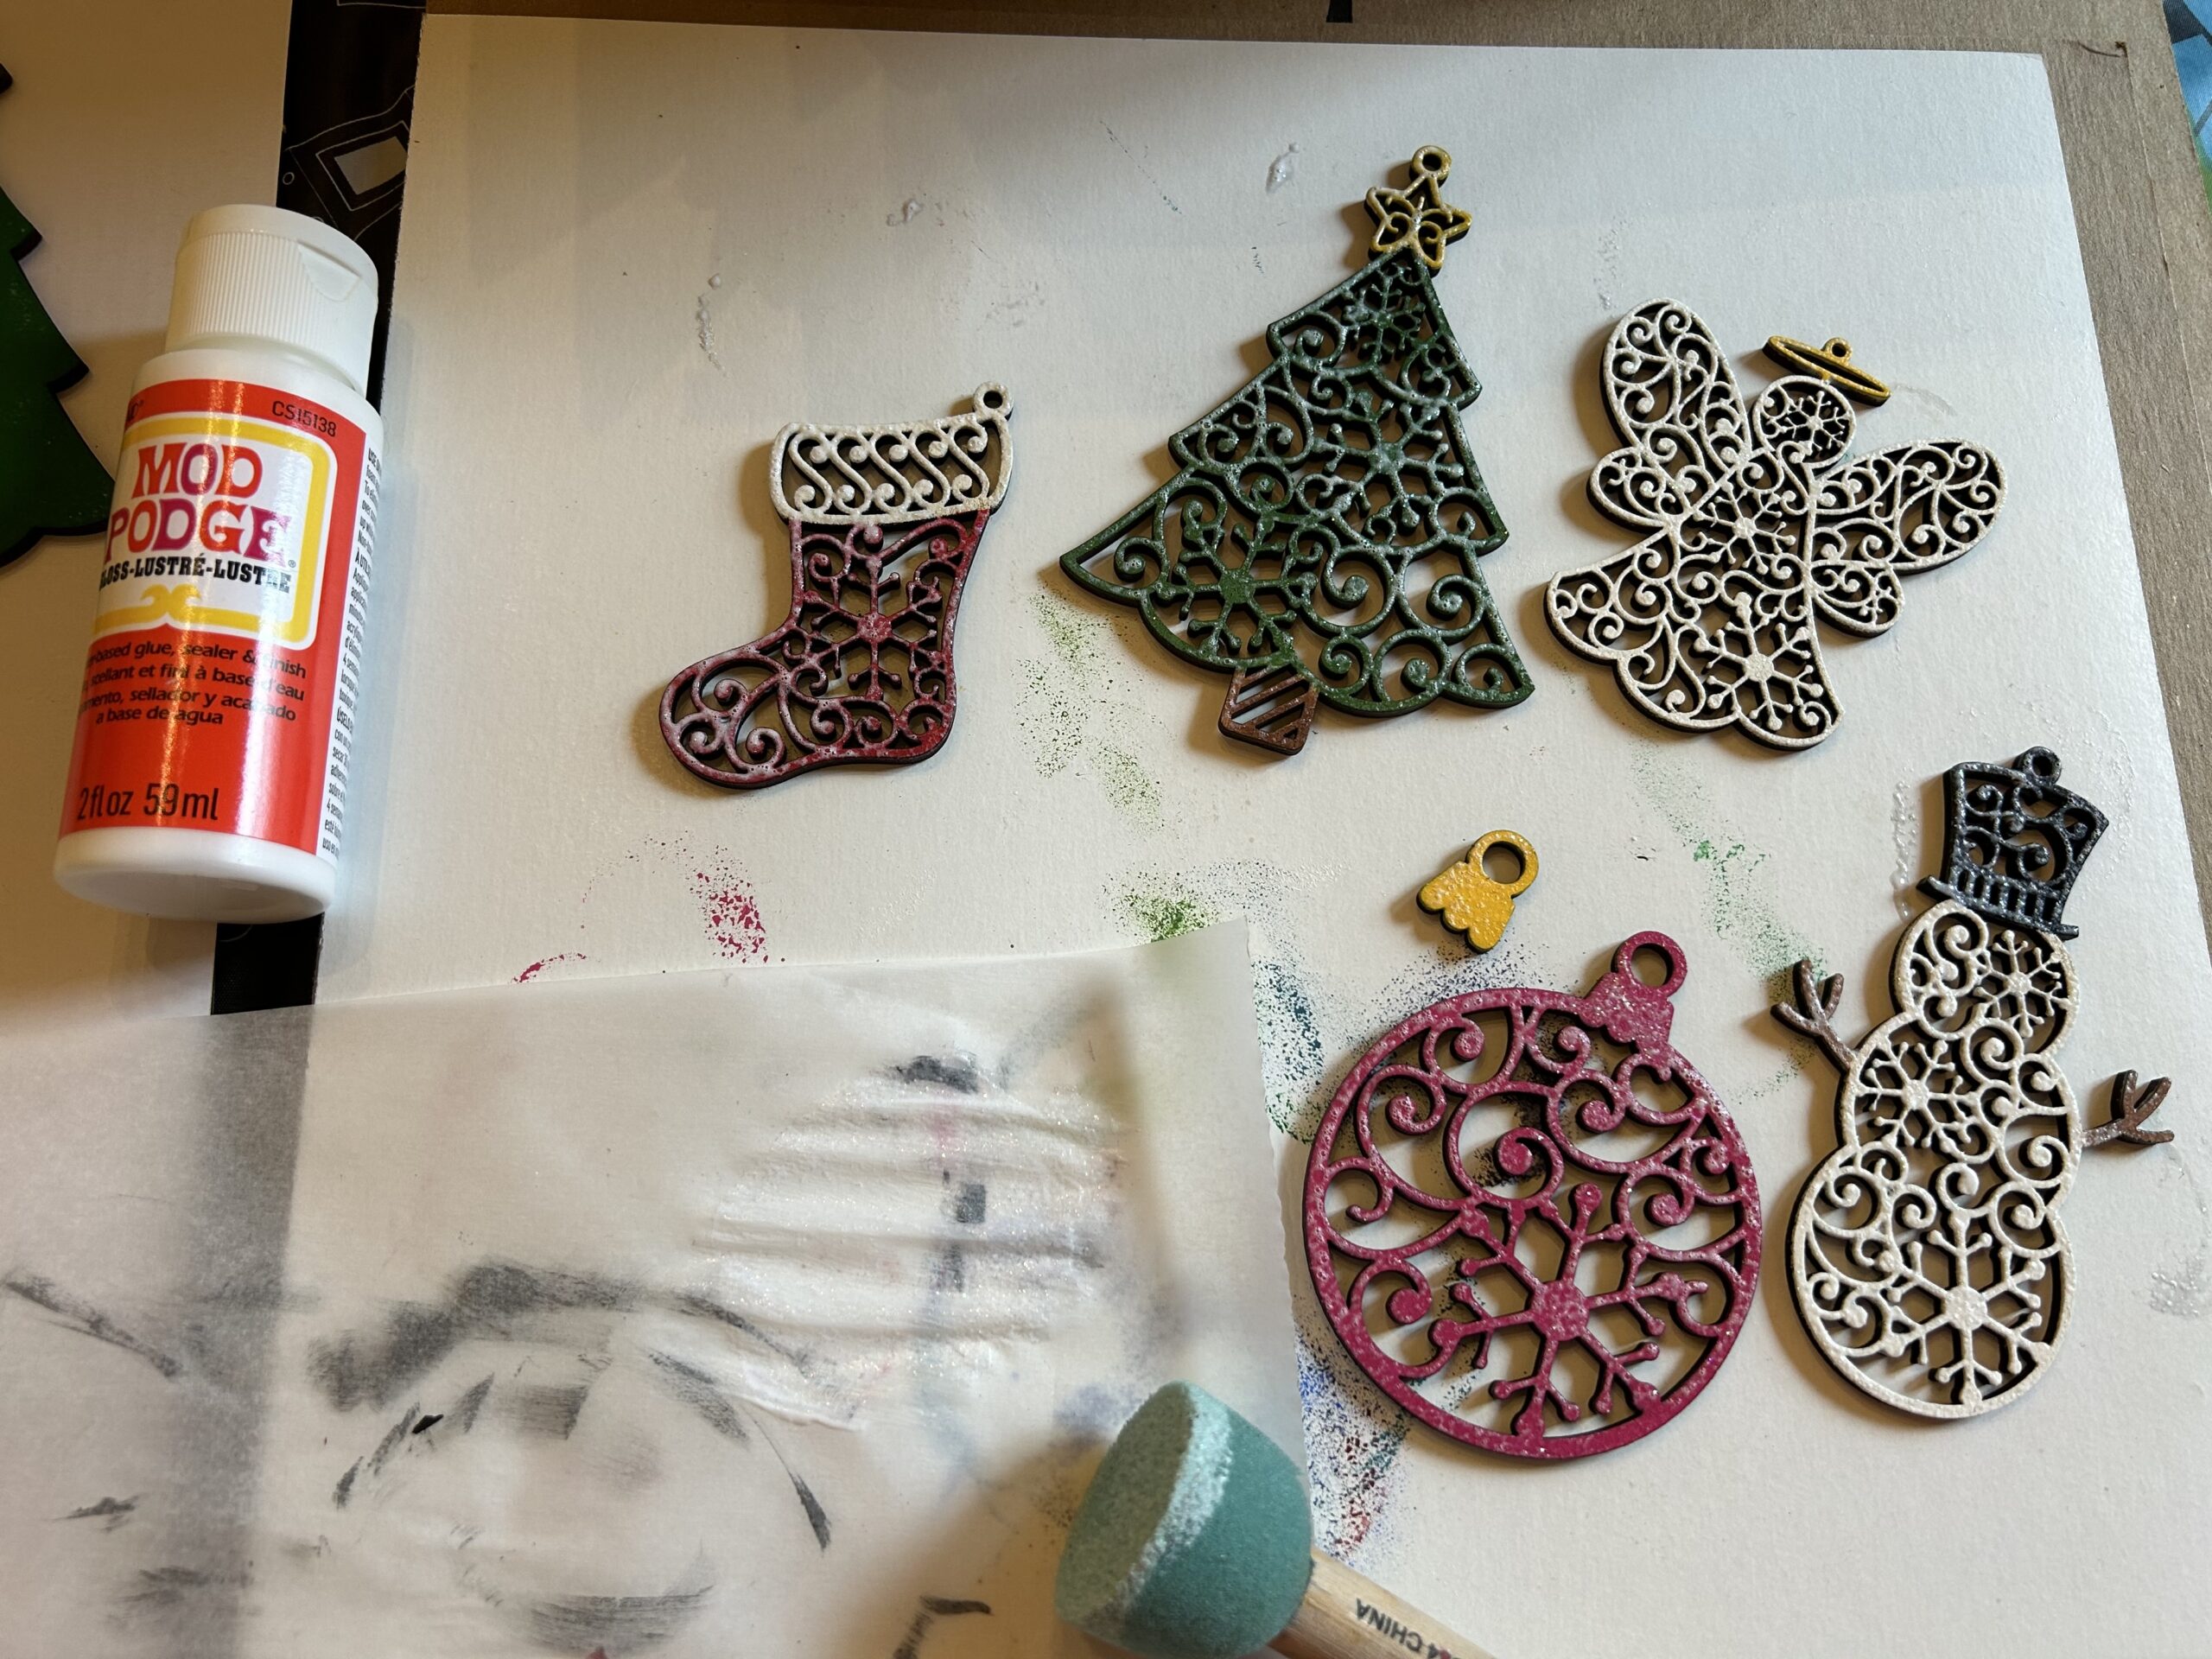
While I love the look of glitter but don’t like the mess that glitter makes. My solution is to mix glitter with Mod Podge and then add it to the ornament. No mess and I can choose whether to have a lot of sparkle or just a little! I mixed some super fine white glitter into the Mod Podge and then sponged it over the top layers of the ornaments.
I sponged glossy Mod Podge onto the back layer of the ornaments and then placed the top piece over it and set it aside to dry.
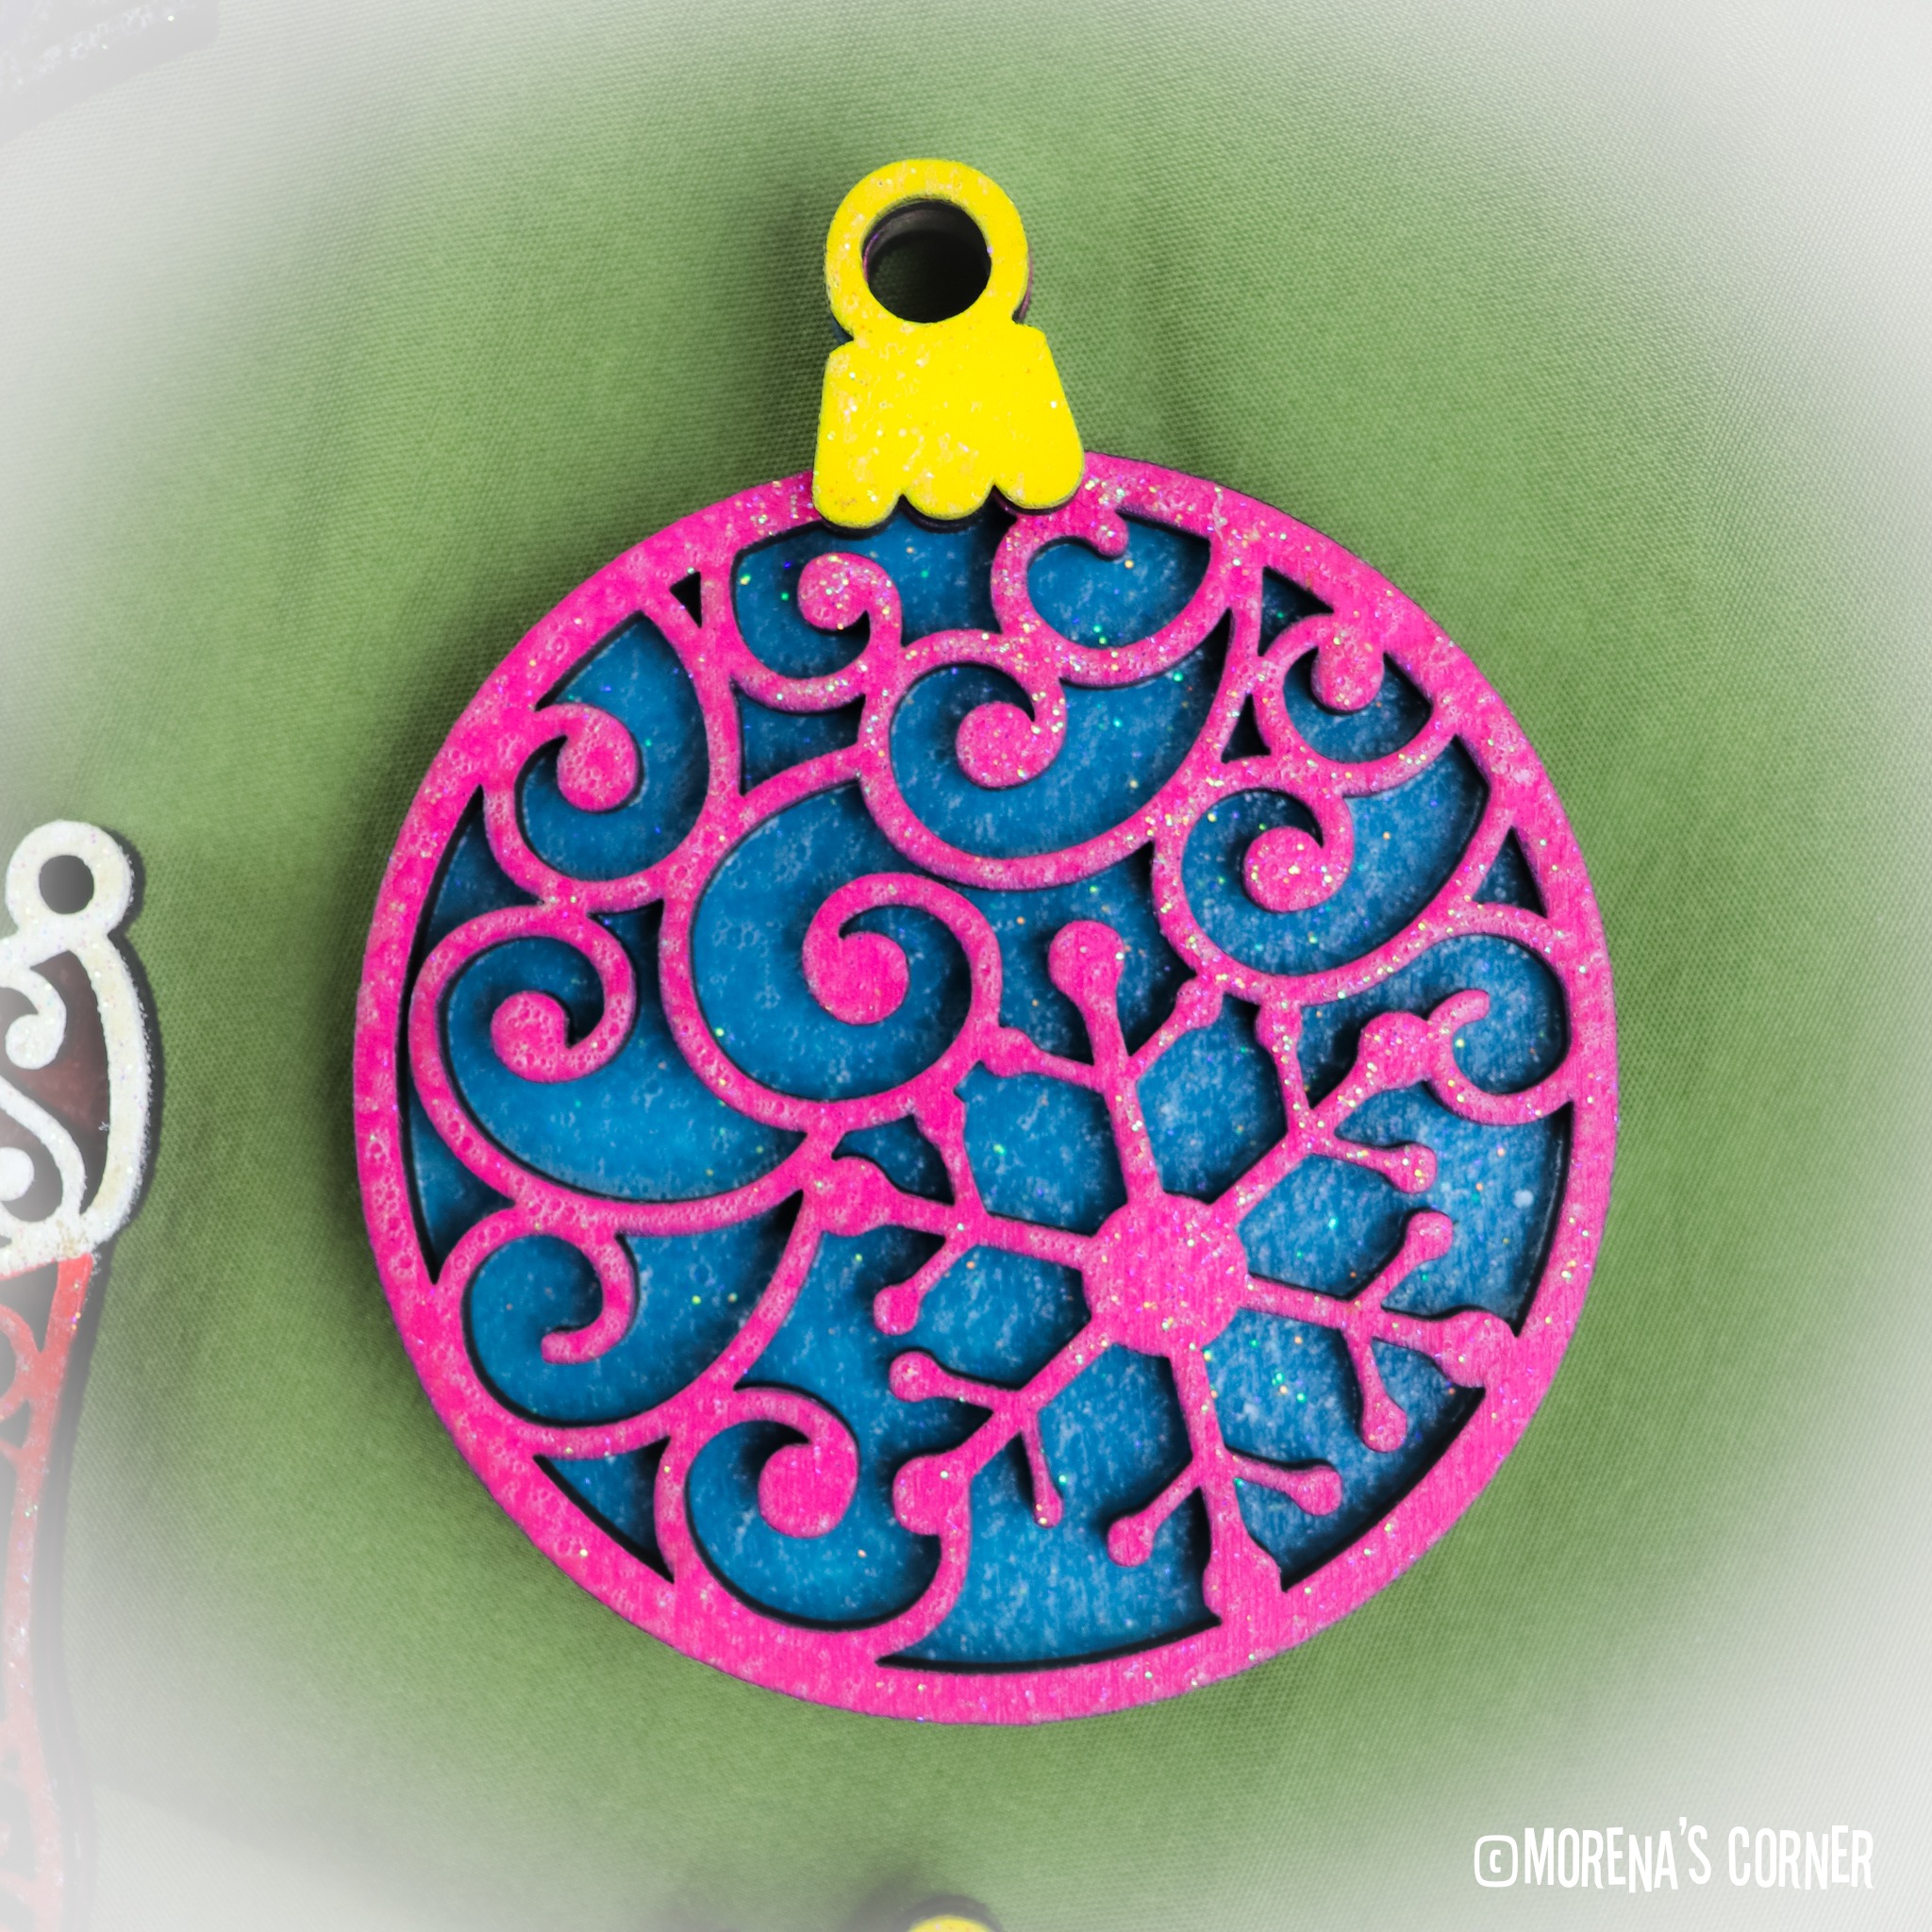
All that’s left to do is add some ribbon and then hang these ornaments up! Have fun crafting and creating beautiful layered laser cut ornaments!
Leave a Reply