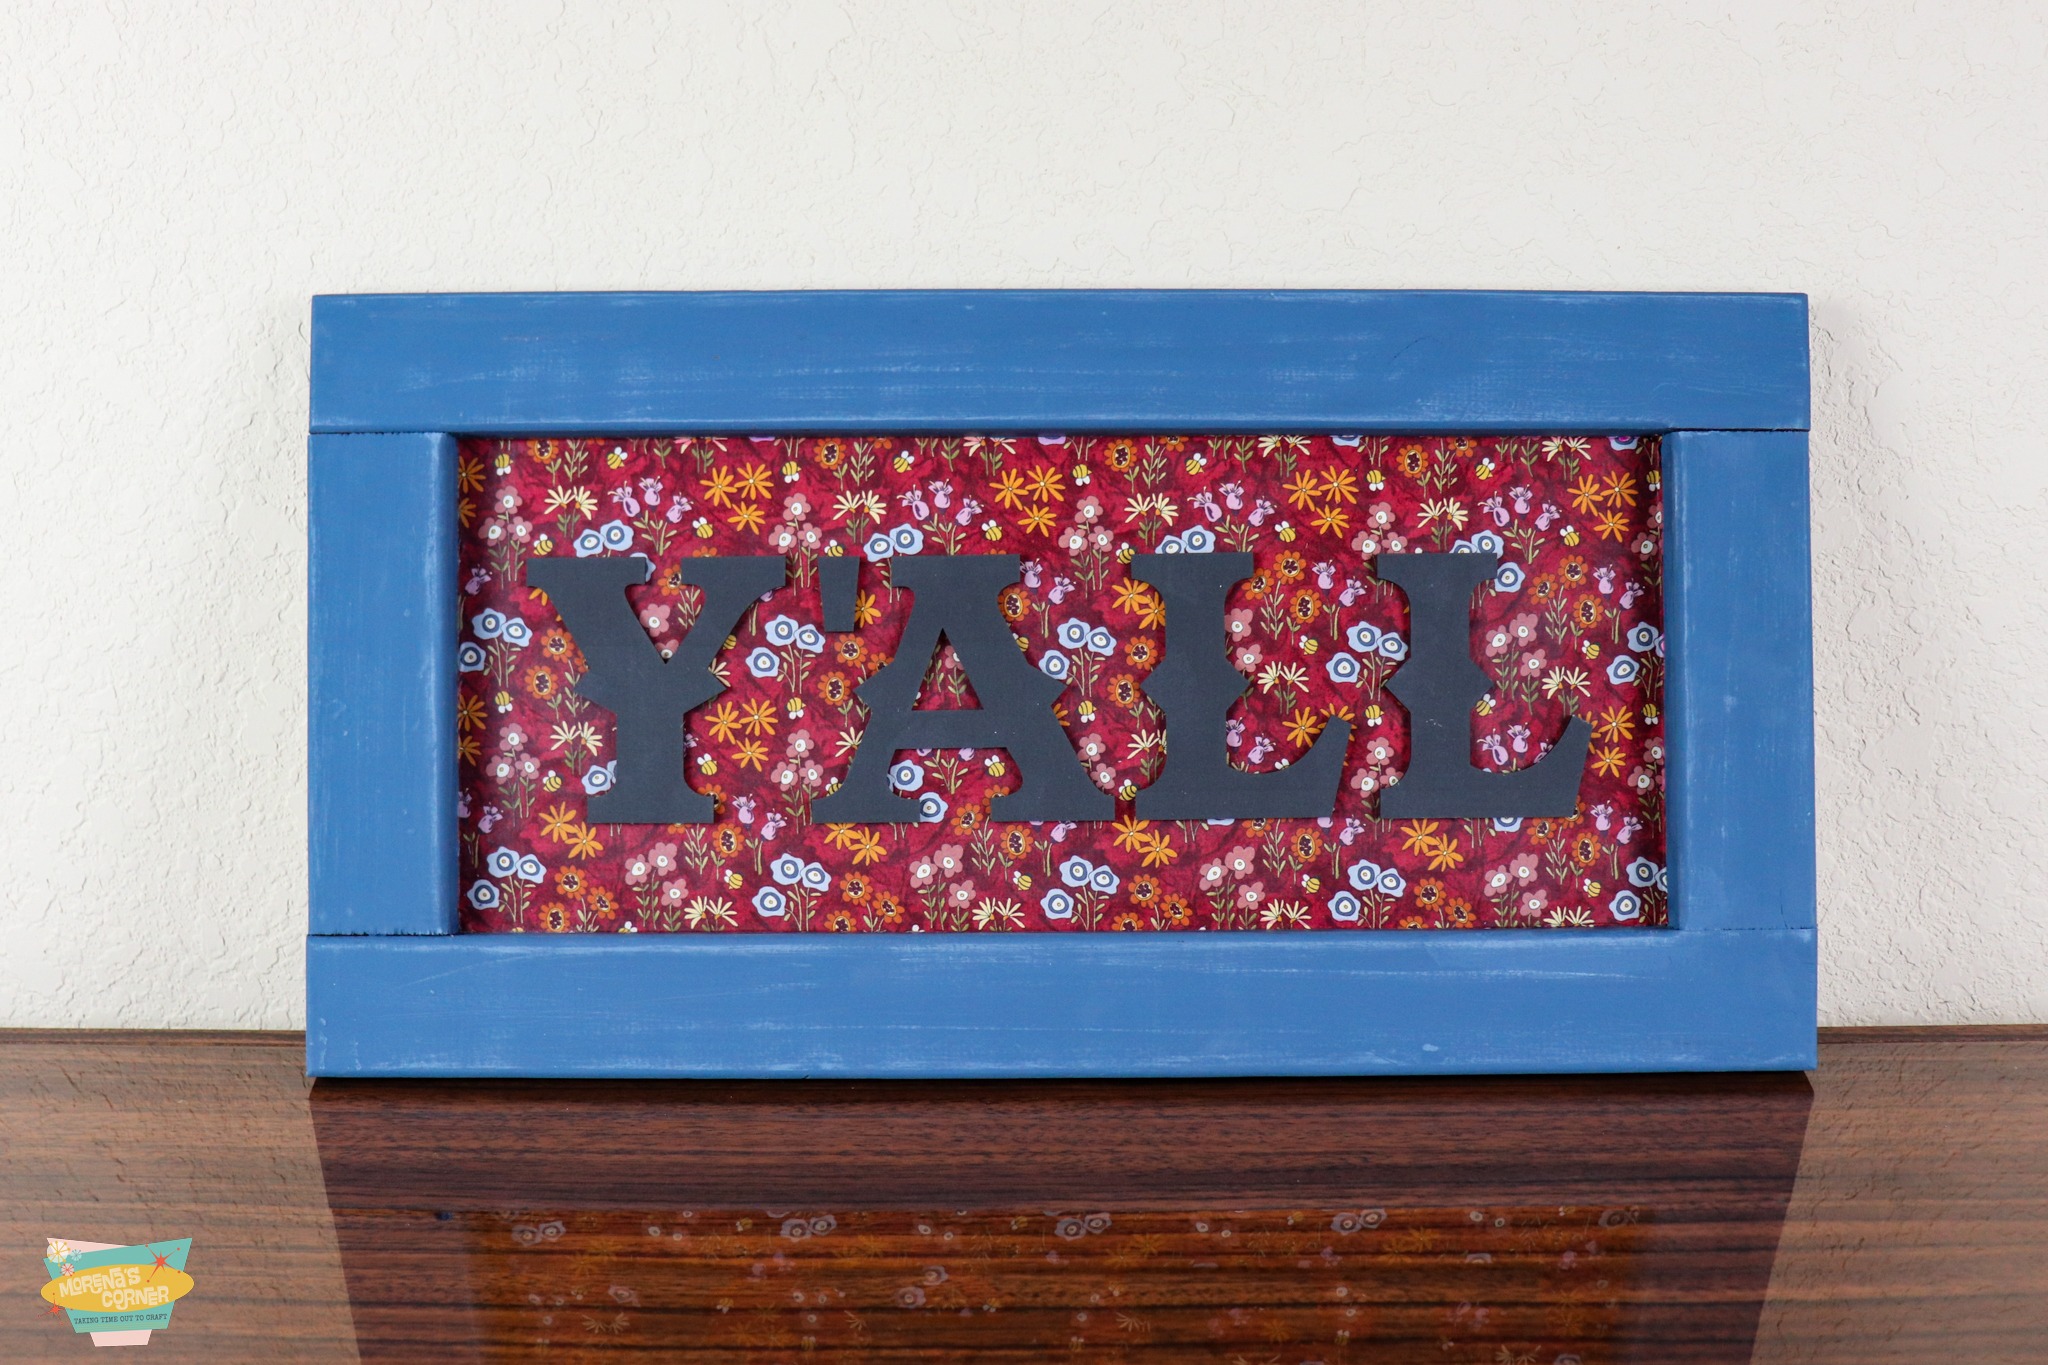
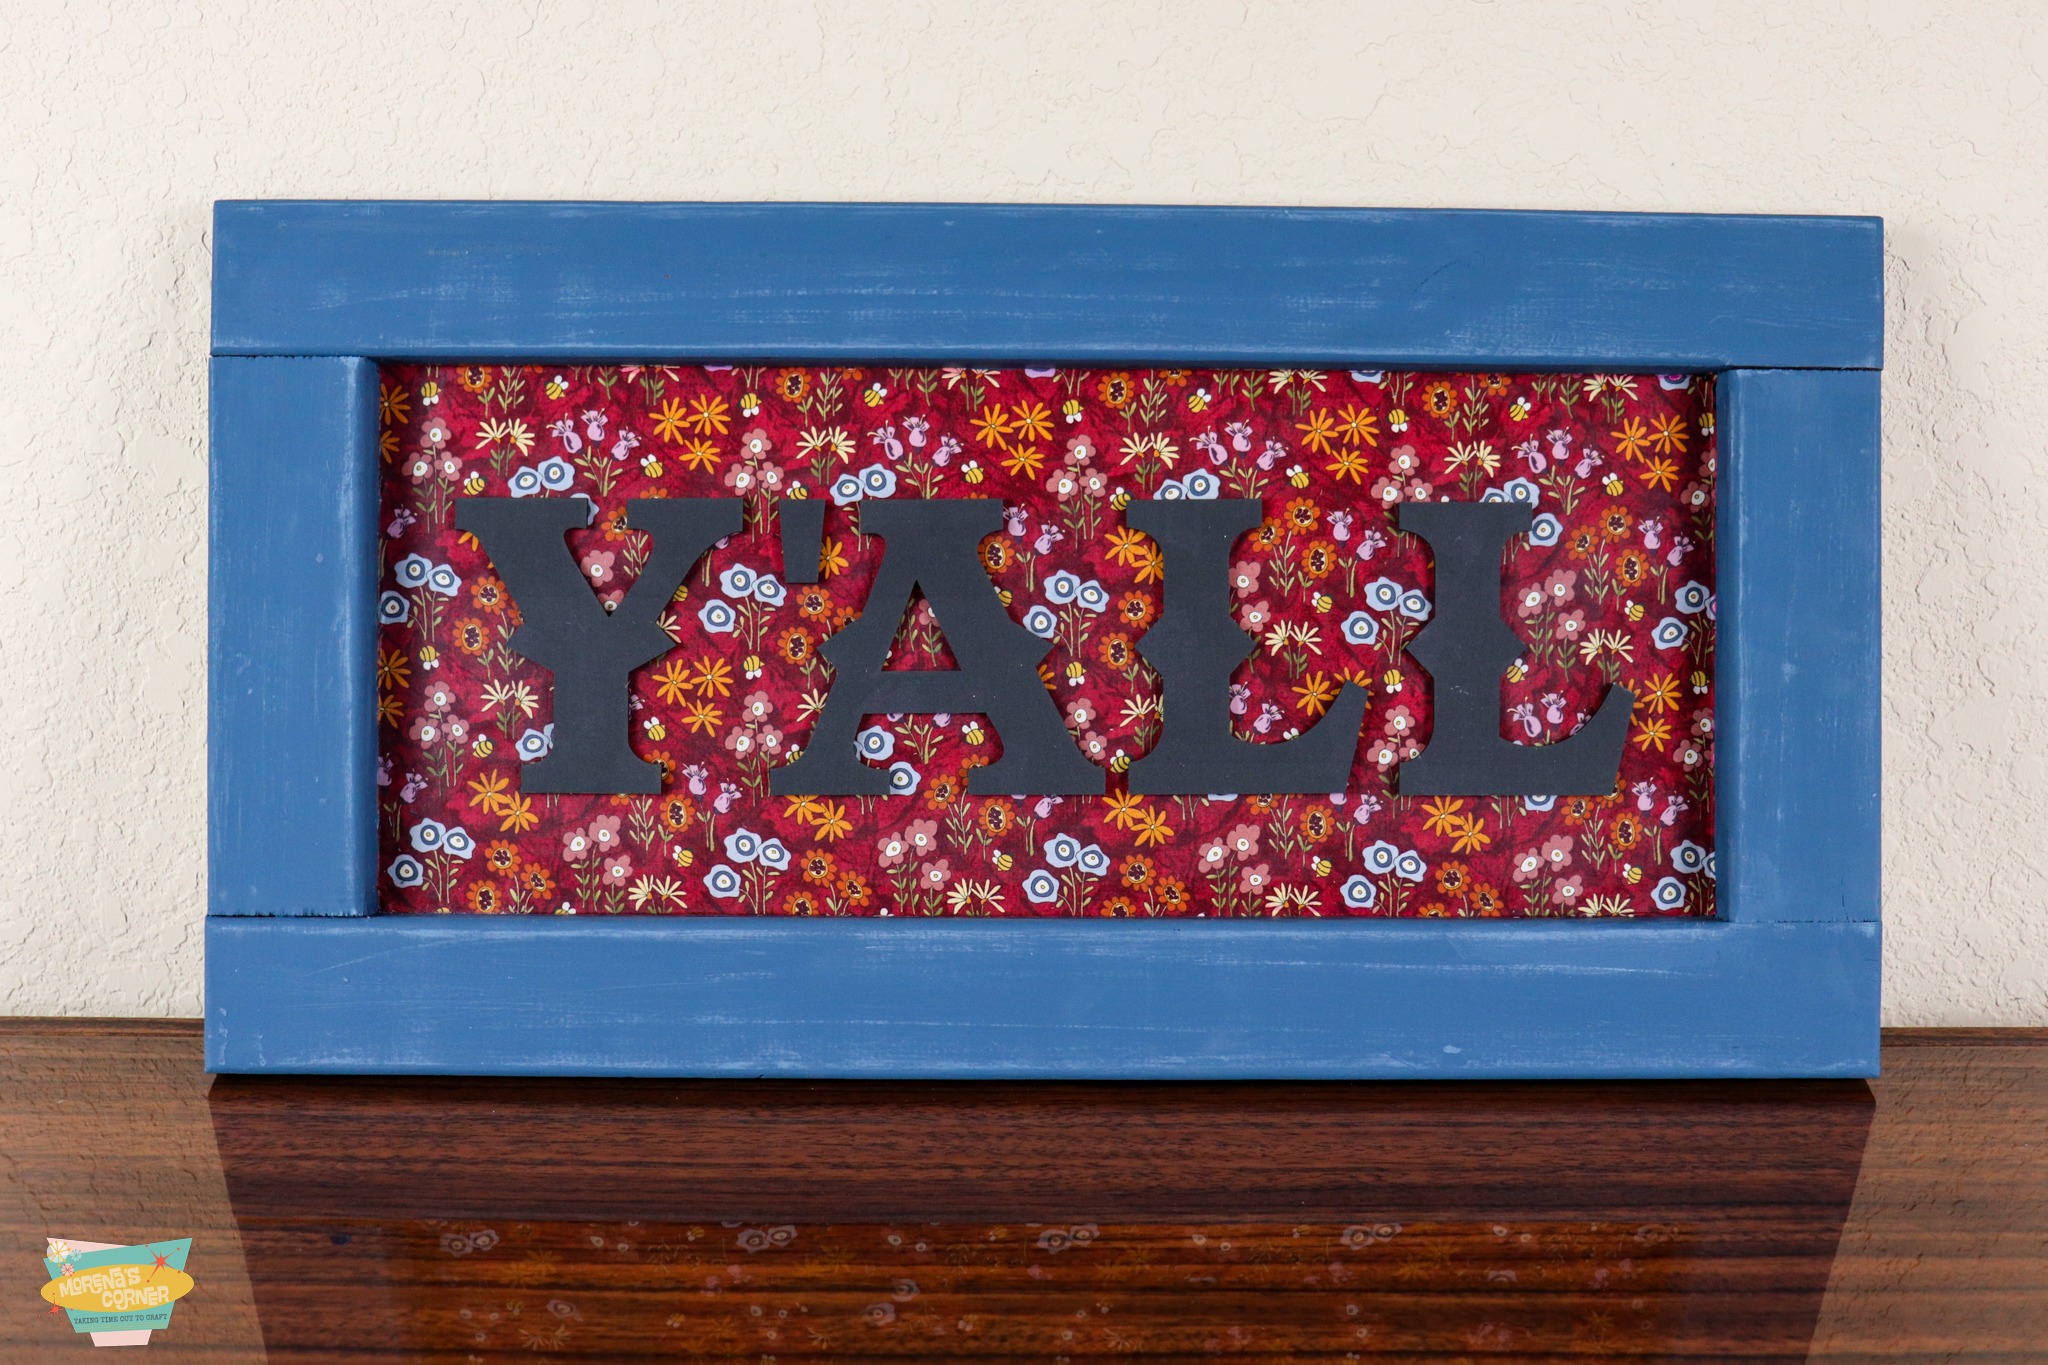
This laser cut fabric wood sign is a beautiful way to DIY your own wall decor!
Welcome to my creative corner! If you’re passionate about unique, handmade decor, you’re in for a treat. Today, we’re diving into a fun and innovative project: creating a stunning wood sign with laser-cut fabric accents. Whether you’re a seasoned DIY enthusiast or just starting out, this tutorial will guide you through each step, making it easy to craft a piece that’s sure to add a personalized touch to any space. Get ready to unleash your creativity and transform ordinary materials into an extraordinary piece of art. Let’s get started!
Laser Cut Fabric Wood Sign Tutorial Supplies
- Wood Sign from Thrift Store
- Fabric
- Mod Podge Multi Formula
- 12 x 12 inch Basswood Sheet
- Squeegee Tool for Crafters
- xTool S1 Laser Cutter
- Chalk Paint
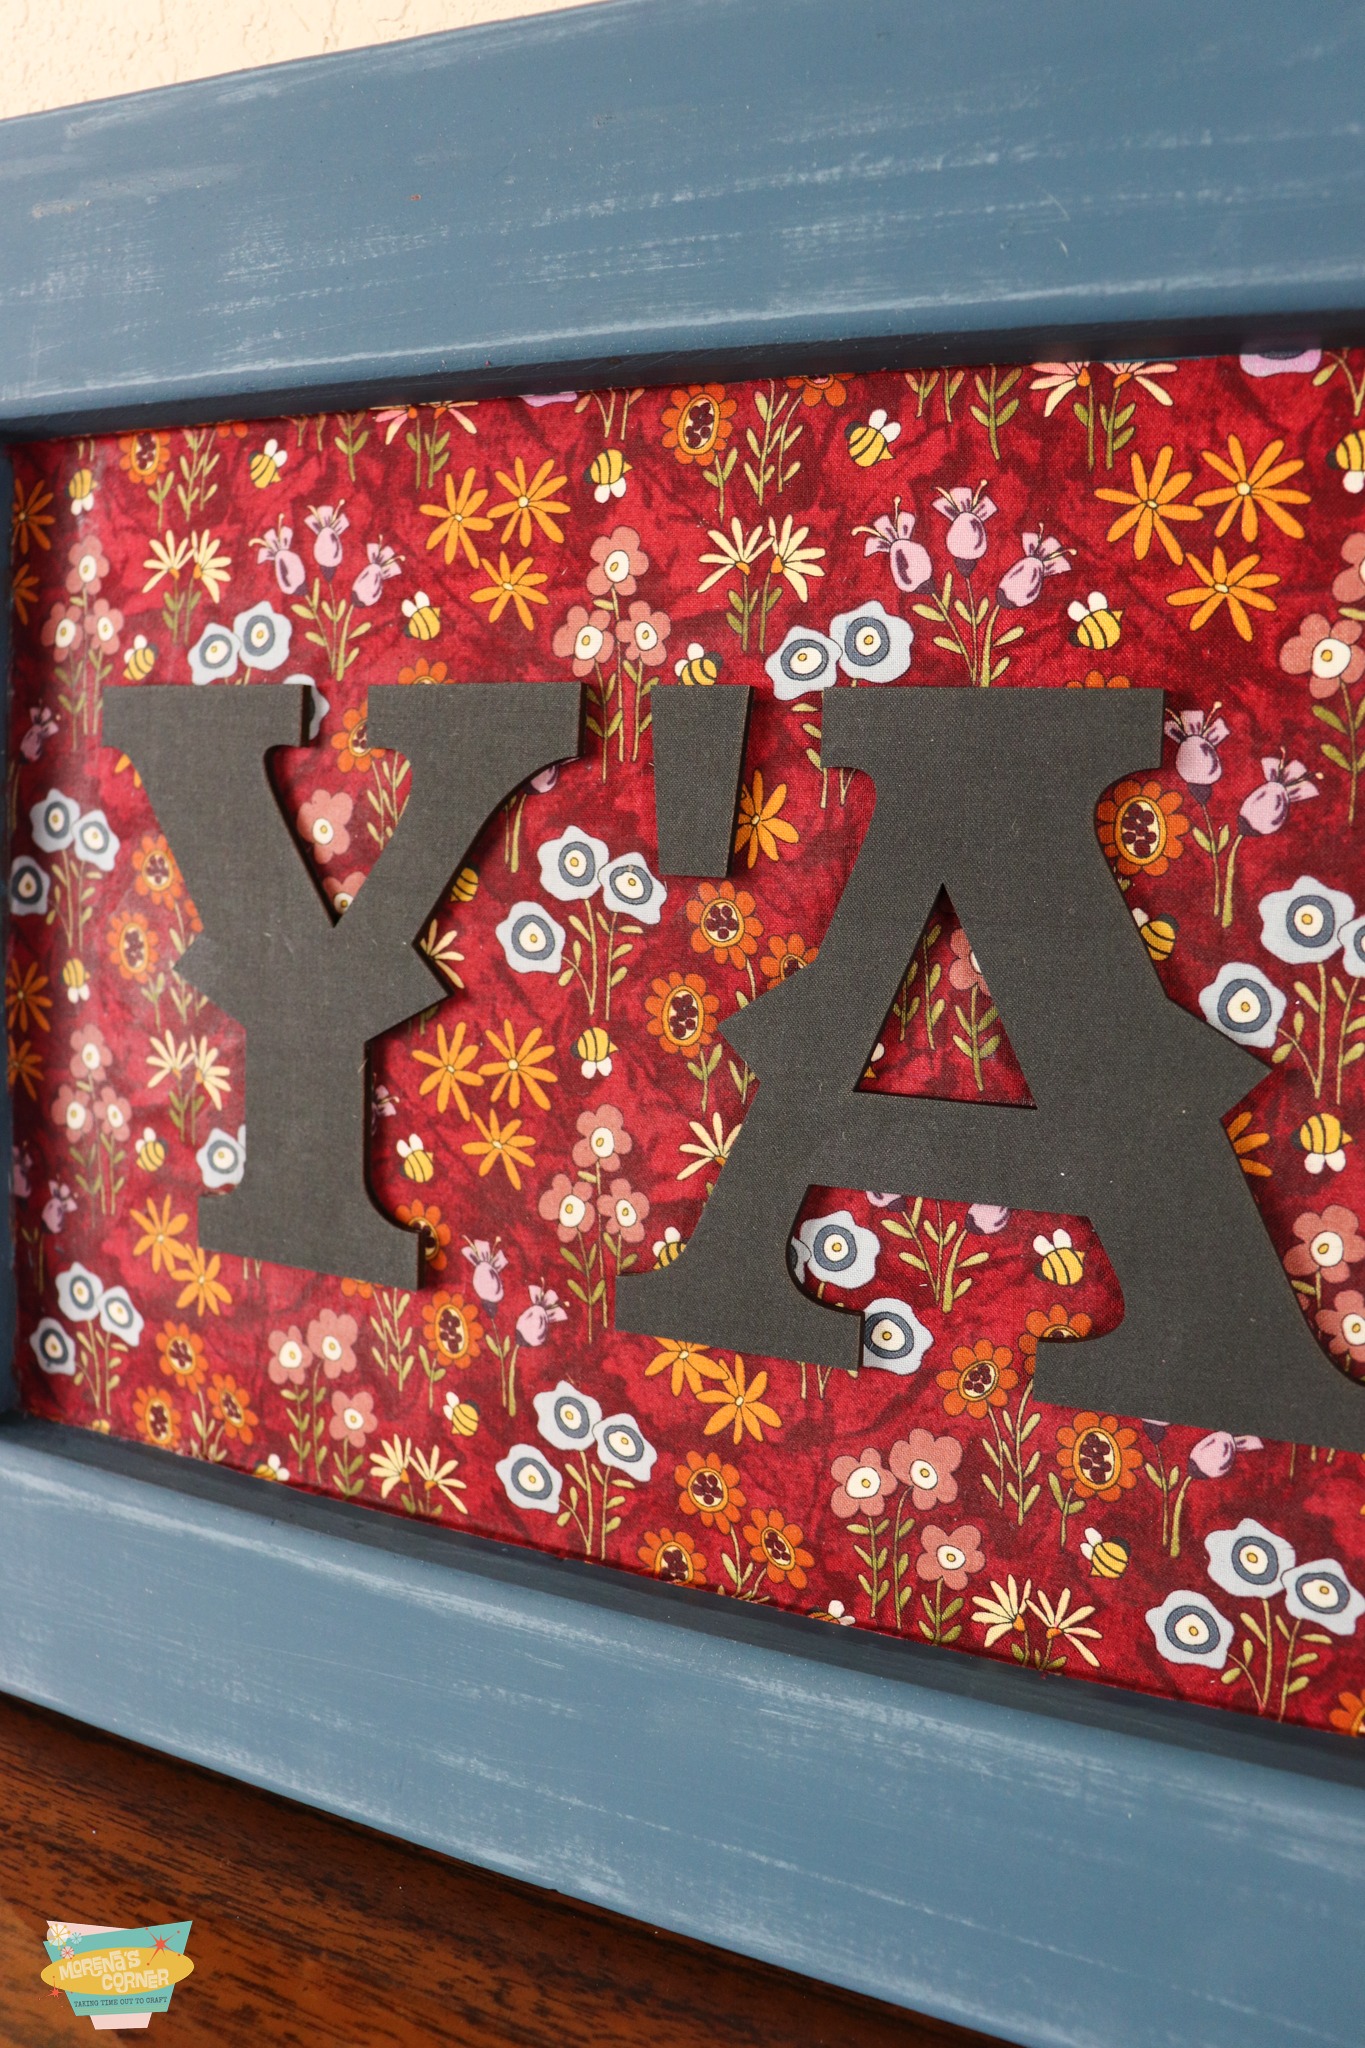
I’ve been having fun testing out all the ways I can use my laser cutter, and I wondered if fabric covered wood was something I could safely cut. Would it burn? Catch fire? Would the adhesive still work after being lasered? Fortunately the aswer is YES, you can cut fabric that has been Mod Podged to wood and it looks FABULOUS! I created a brief video tutorial so you can see exactly how I made this project and how beautifully it works:
And there you have it! Your very own laser cut fabric wood sign, a beautiful blend of textures and creativity. I hope you enjoyed this step-by-step tutorial and feel proud of the unique decor piece you’ve crafted. This project is not only a fantastic way to personalize your space but also a great opportunity to experiment with laser cutting and fabric design.
Have fun crafting and creating your own beautiful DIY wall decor using thrifted wood, fabric, and Mod Podge! Be sure to tag me so I can see what you make…I love to see your creations!
Leave a Reply