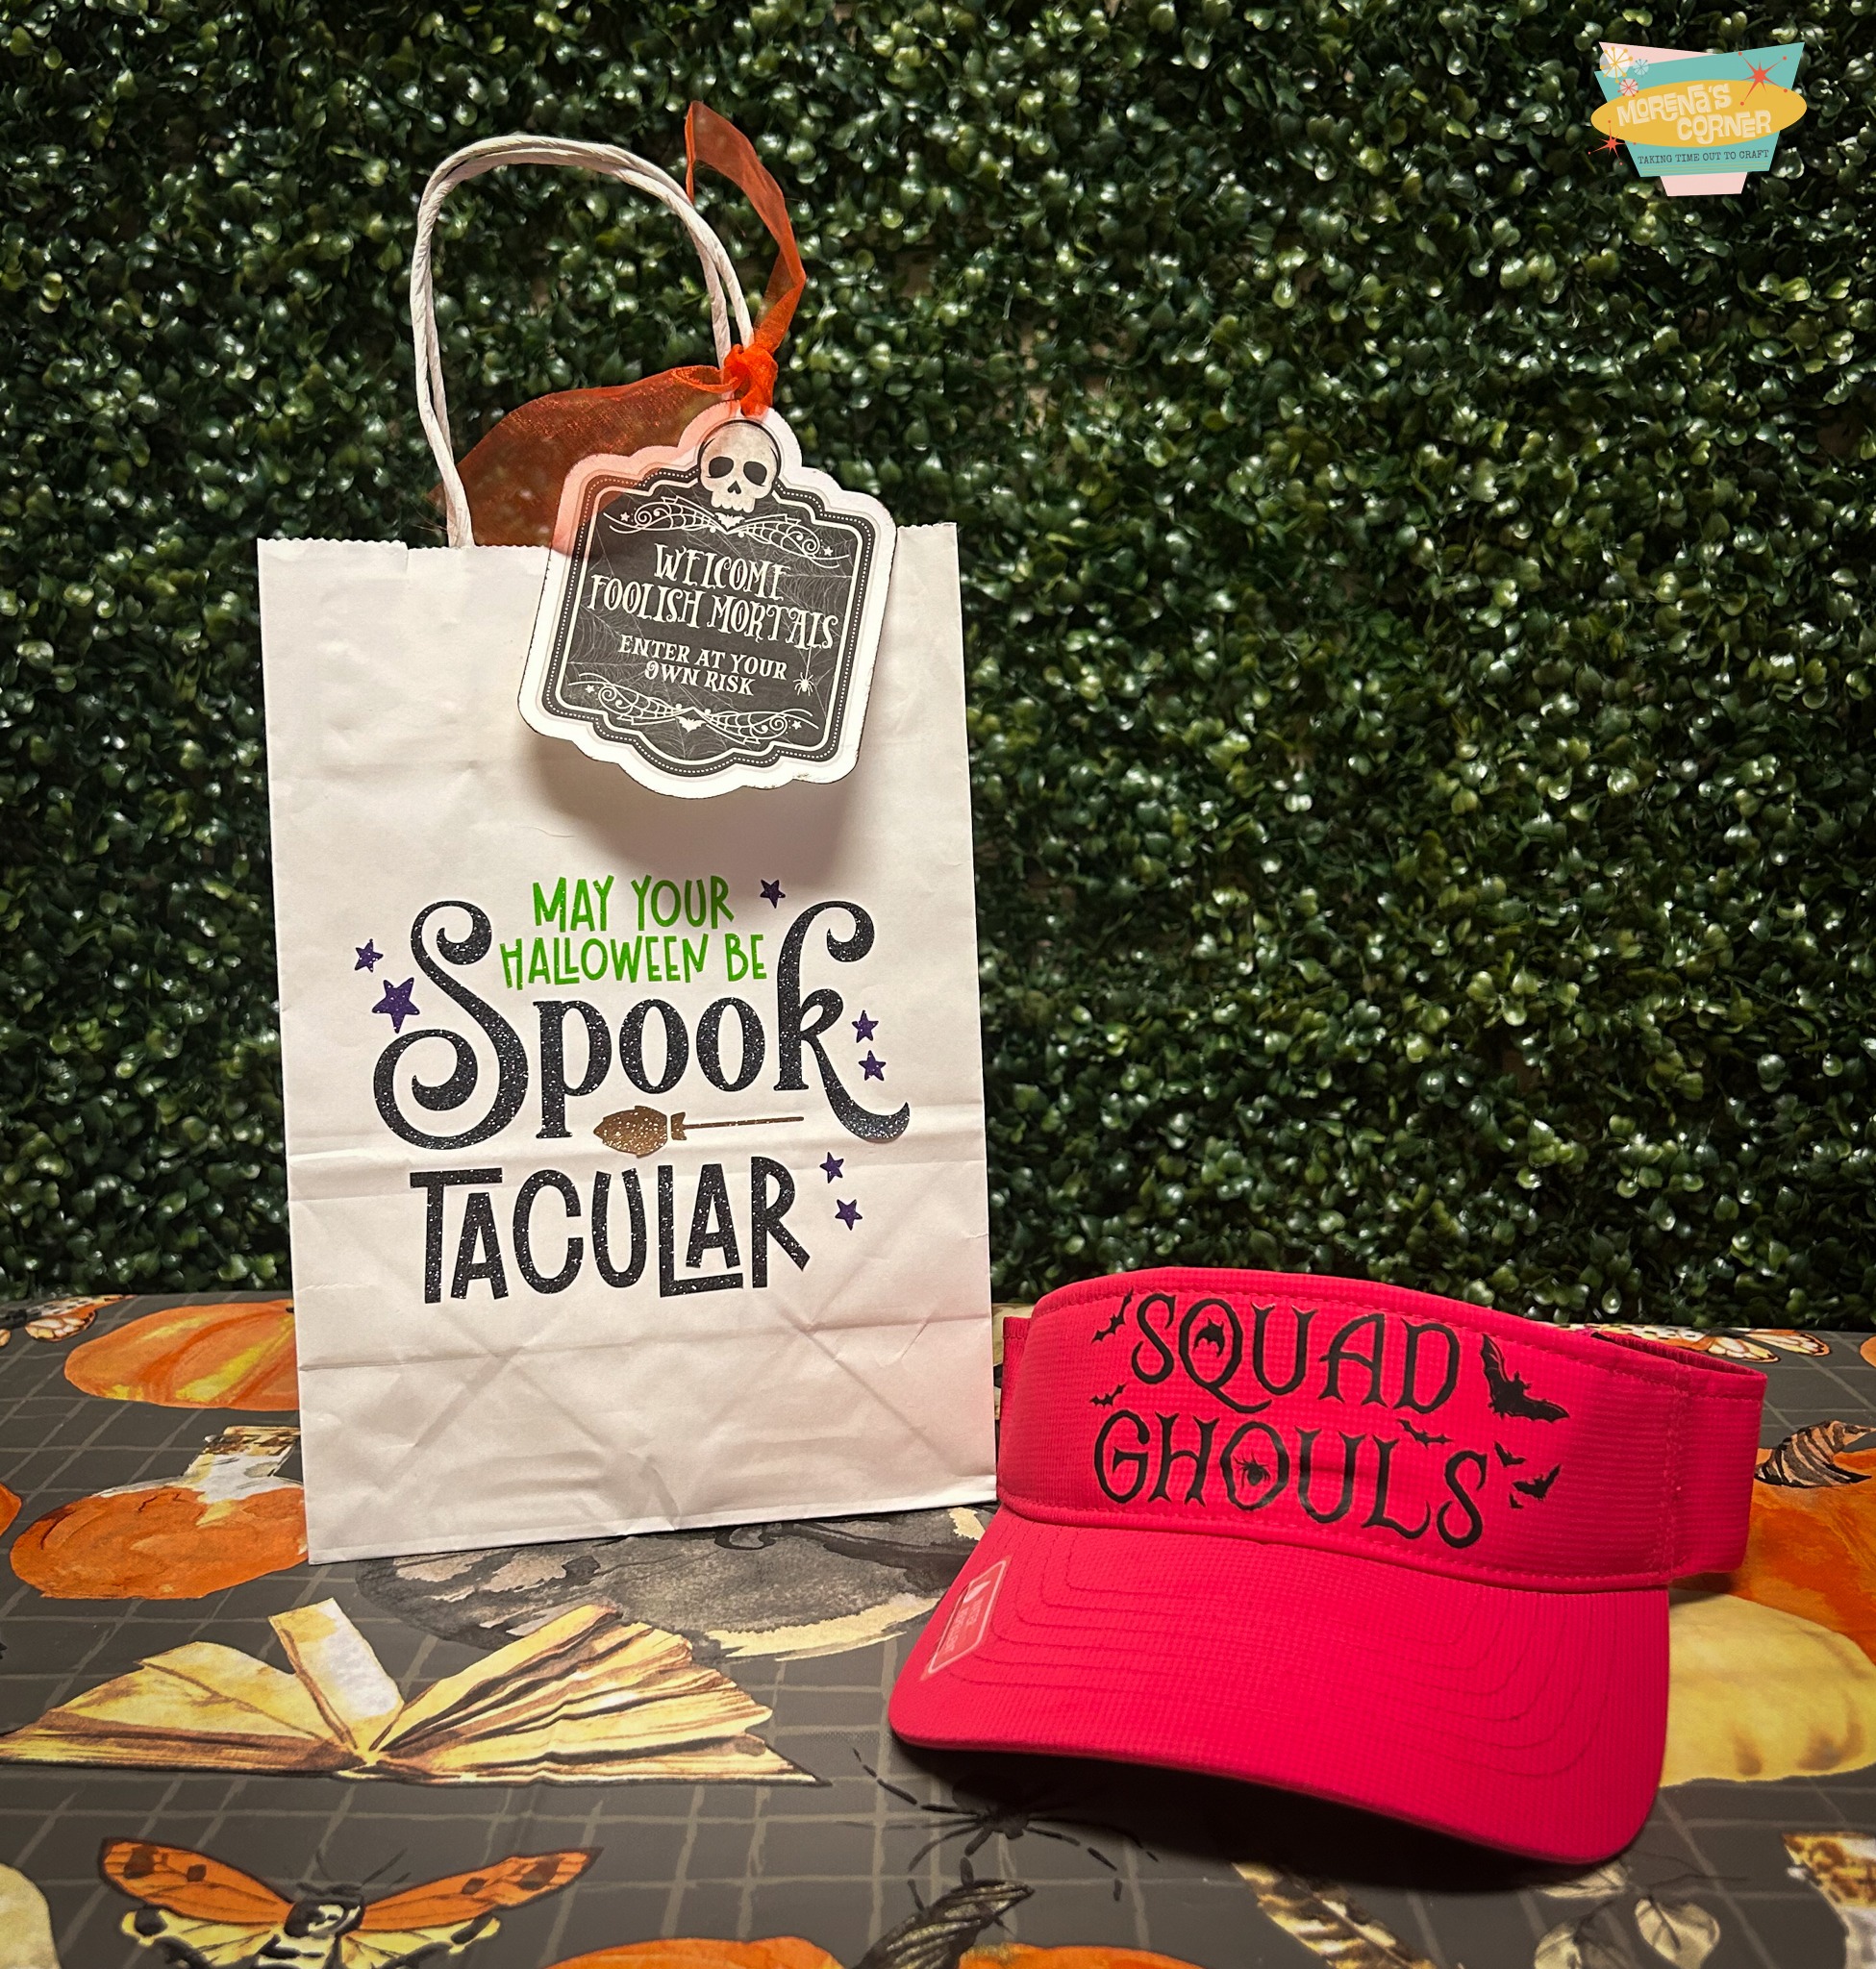
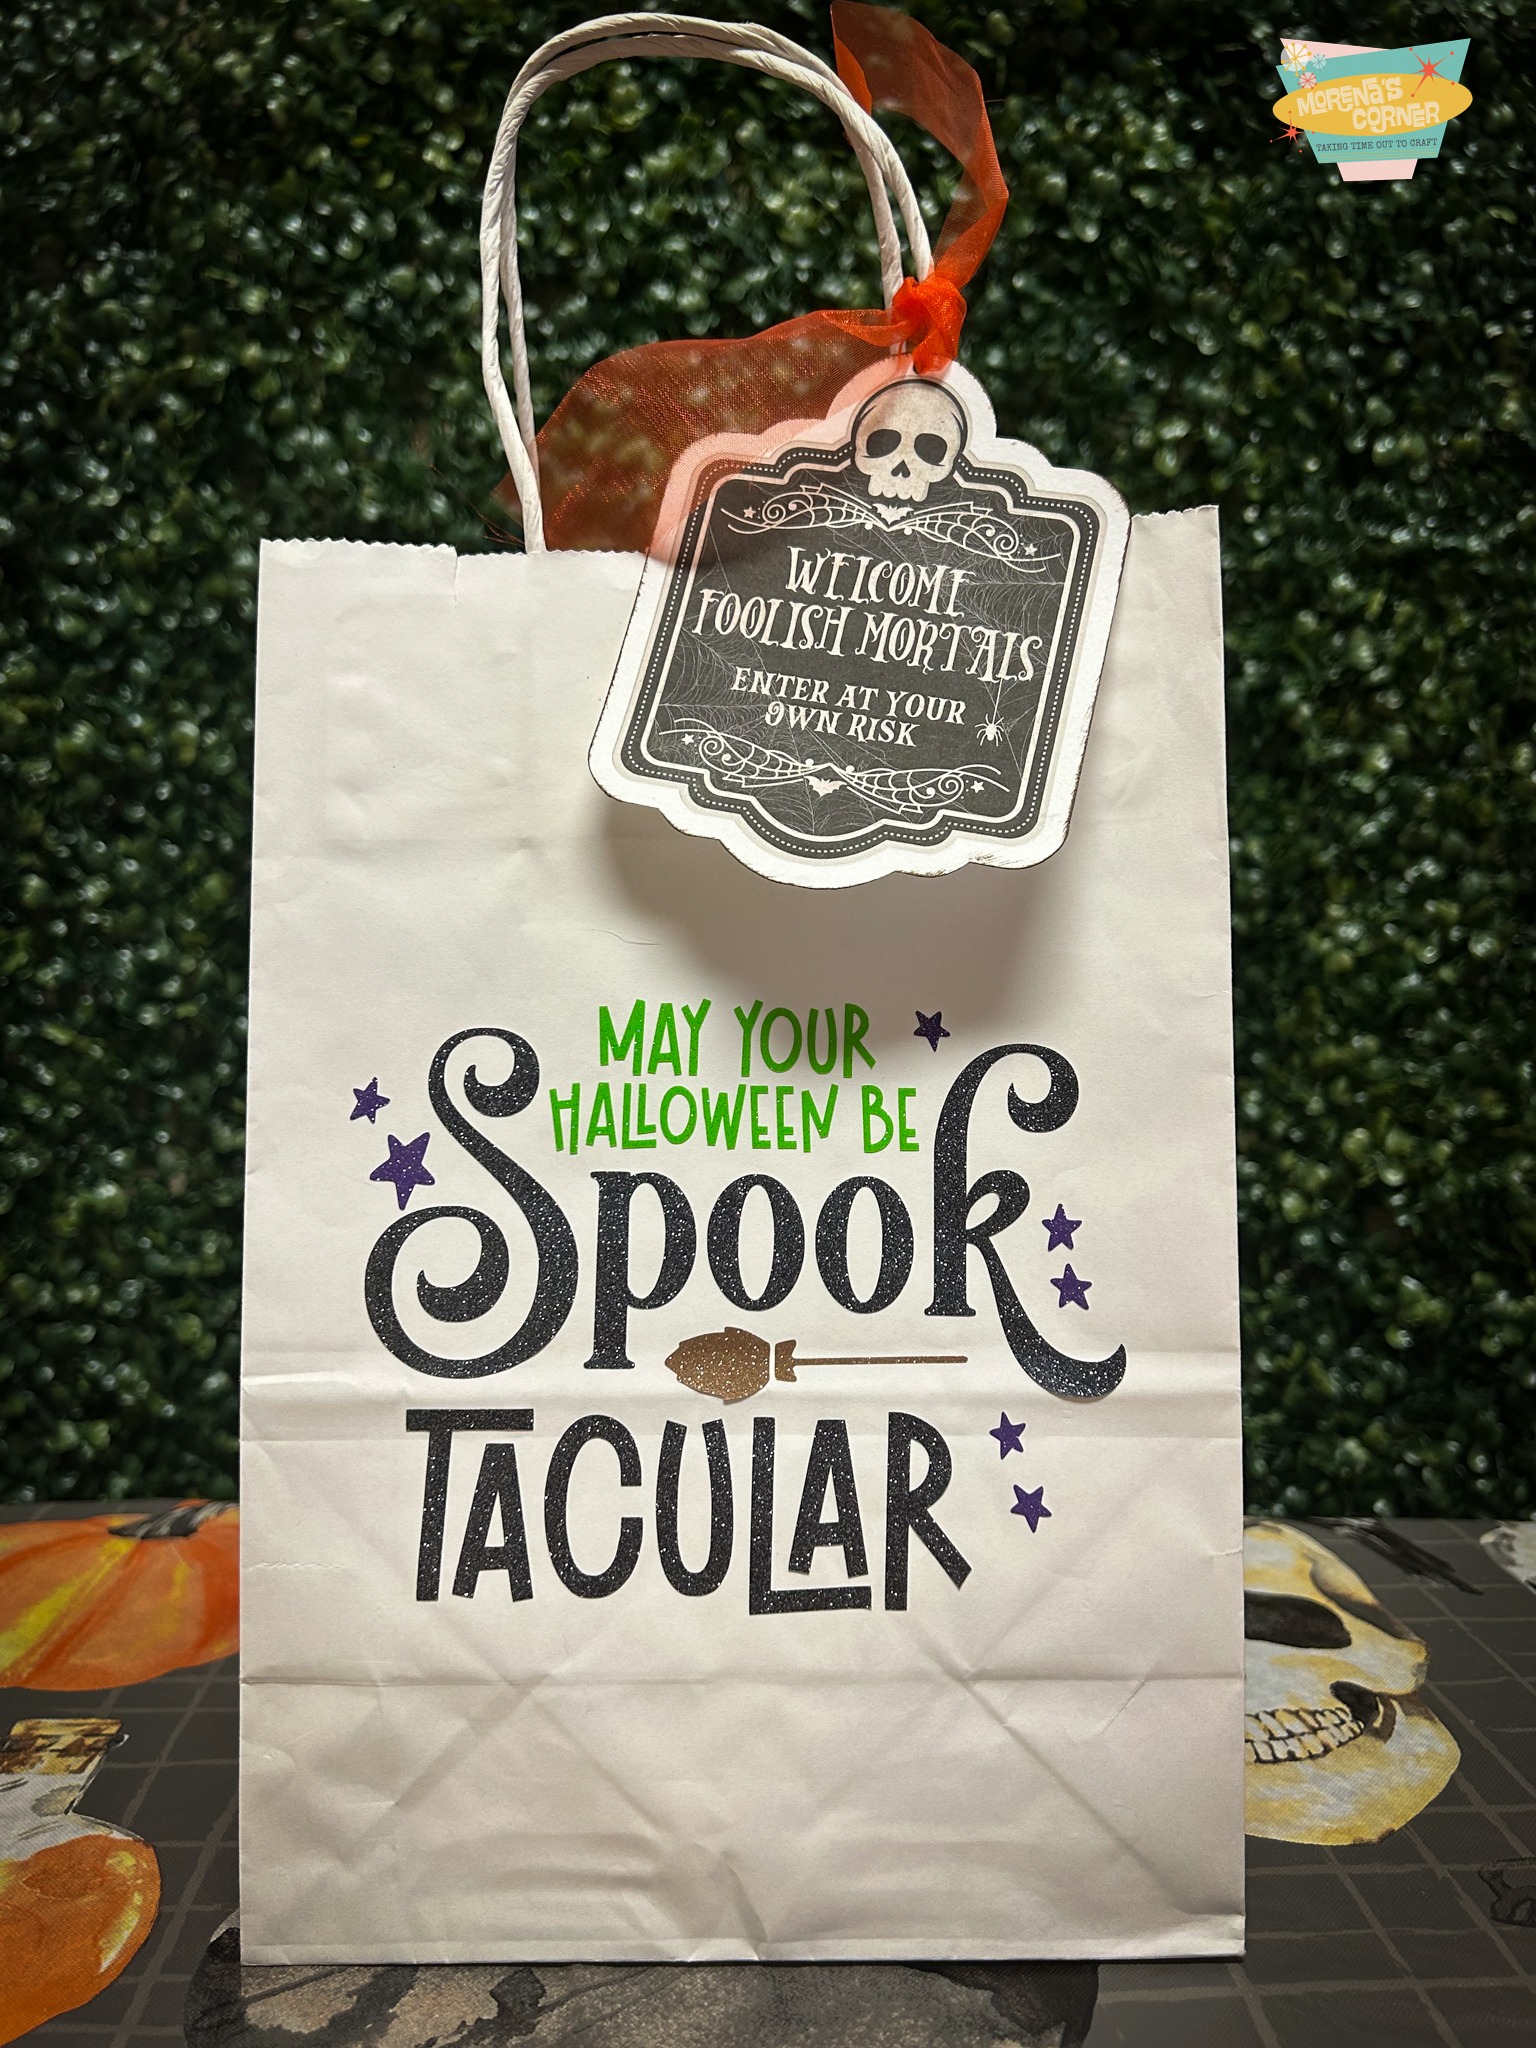
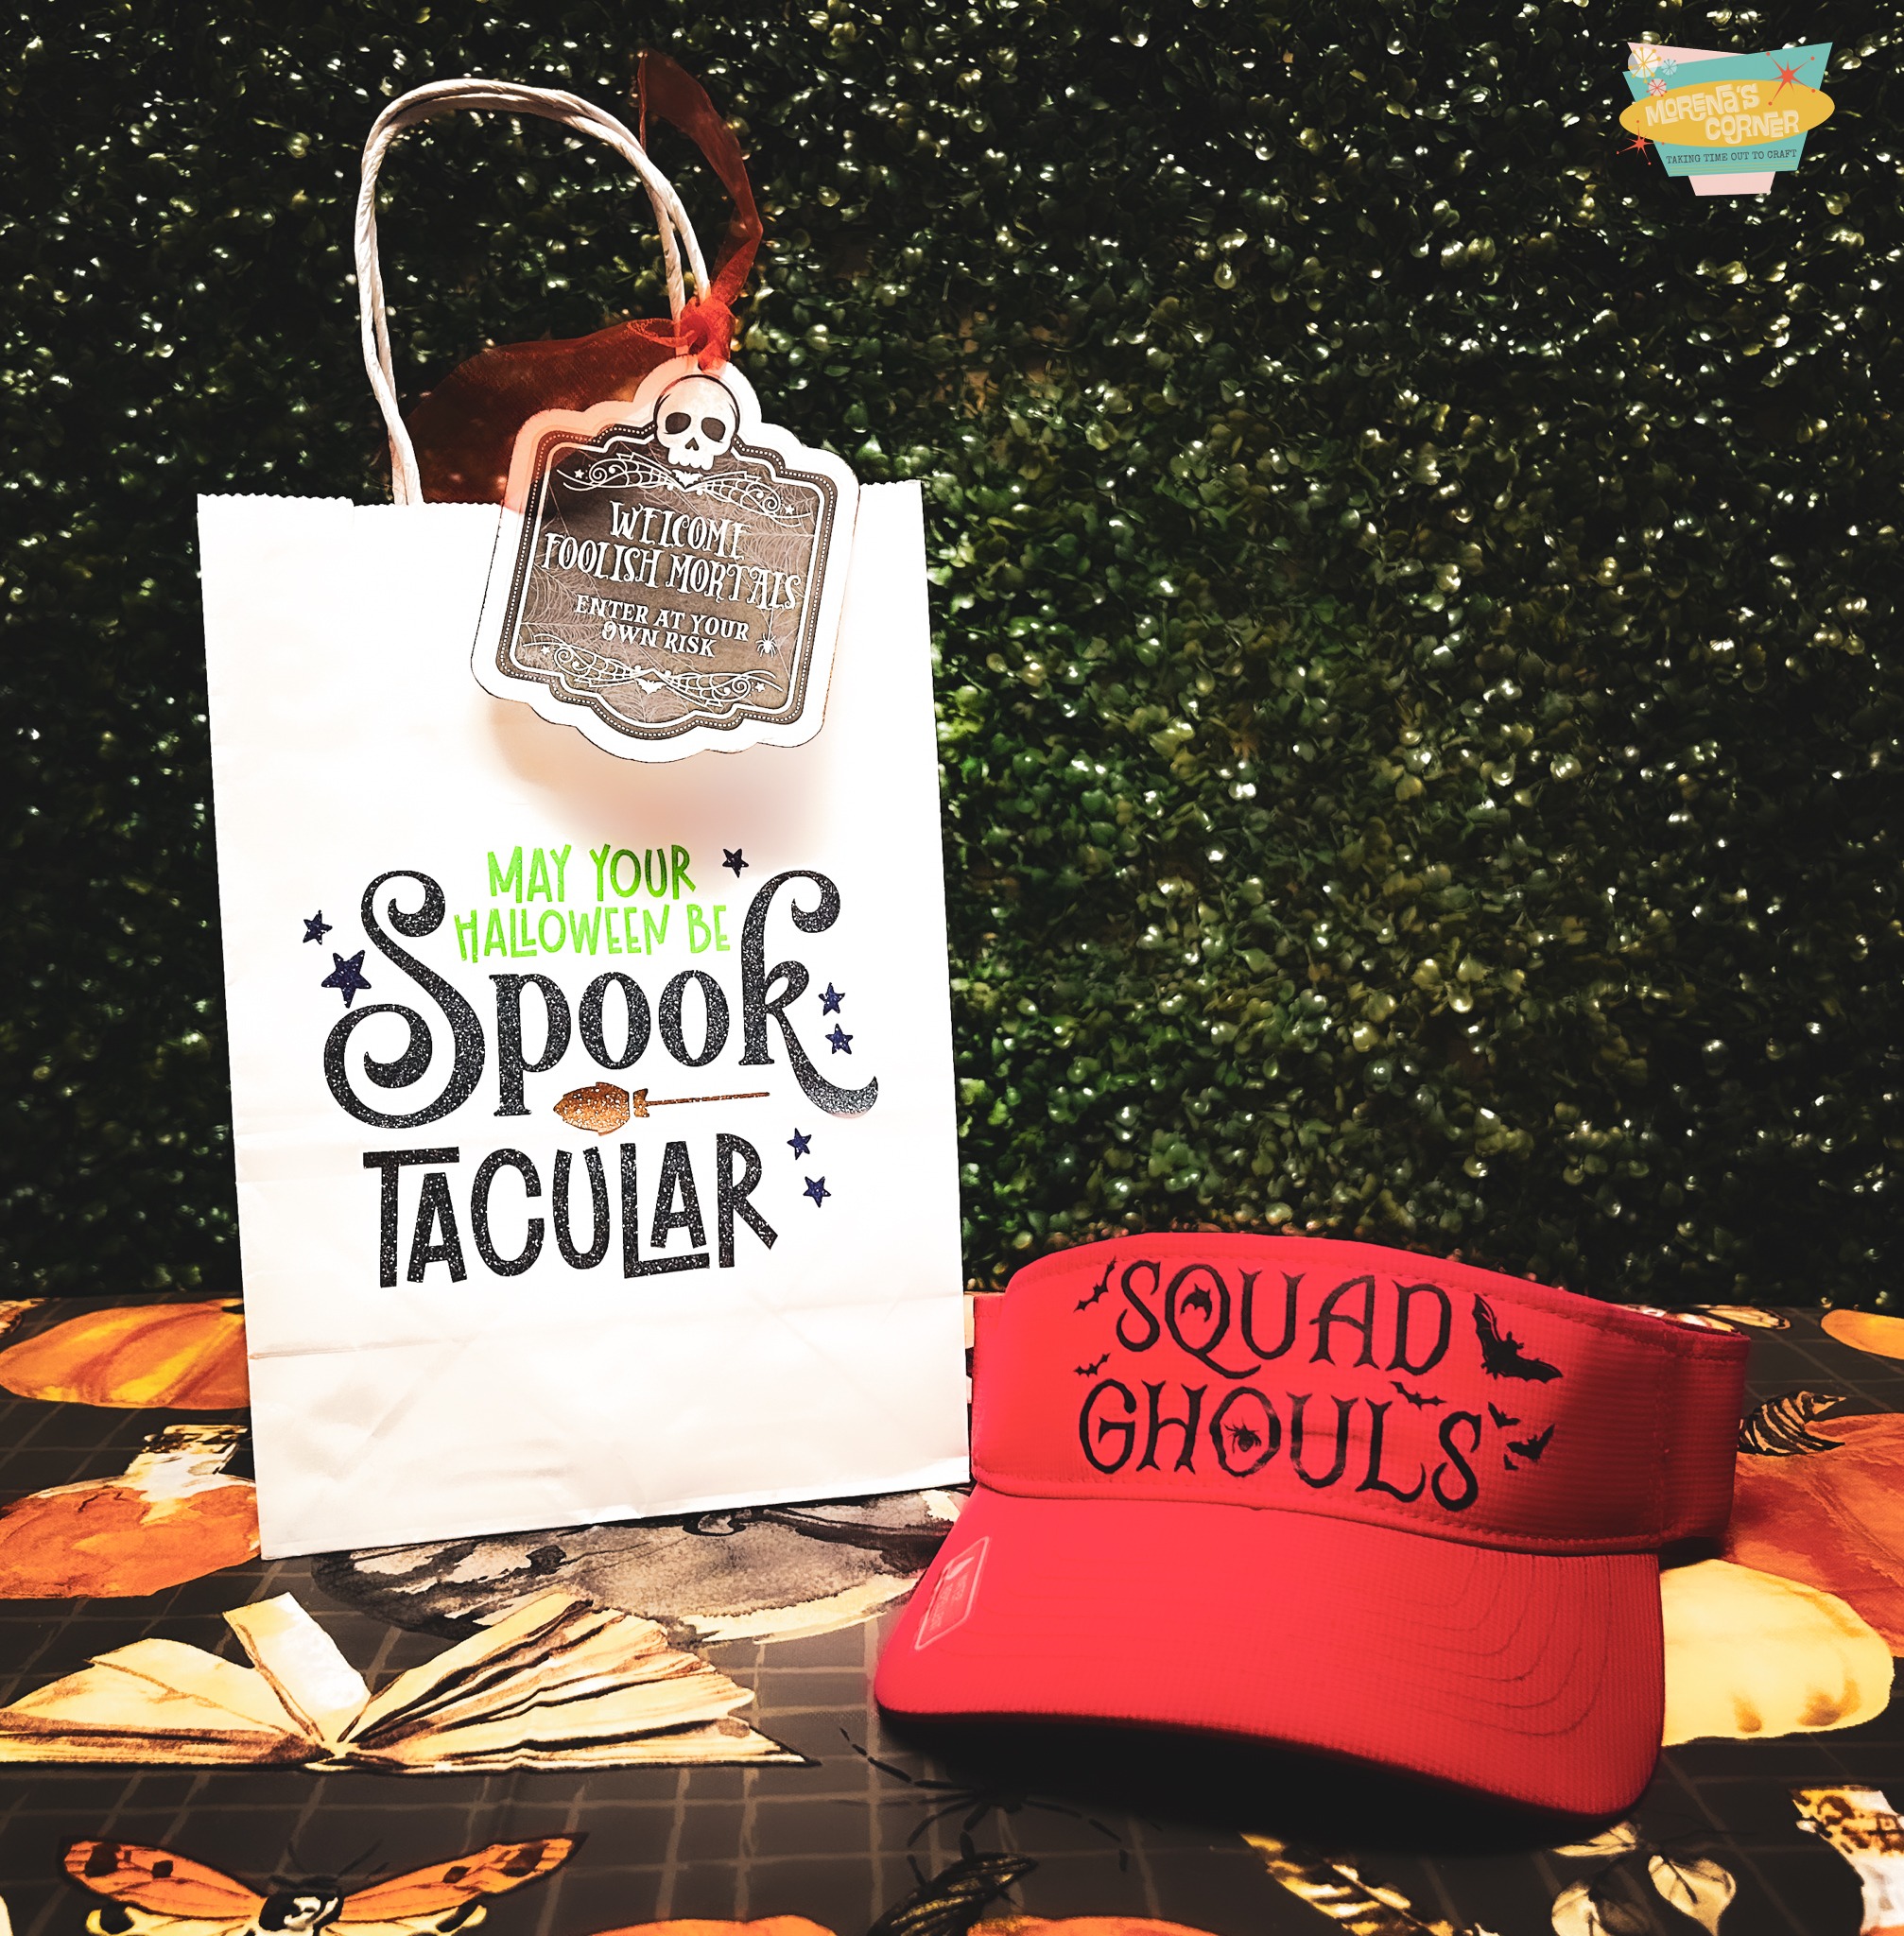
As Halloween approaches, it’s time to get creative and share some spooky fun with family and friends. One of the trendiest and most enjoyable Halloween traditions is creating “Boo Bags“—surprise gift bags filled with treats and small presents that you secretly leave on someone’s doorstep. And what better way to personalize these bags than by using vinyl designs and SVG files? Here’s a step-by-step guide to making your own custom DIY Boo Bags!
DIY Boo Bags Supplies Used
- Plain gift bags (preferably in Halloween colors like black, white, orange, or purple)
- StyleTech Craft Vinyl (adhesive or heat-transfer depending on your project)
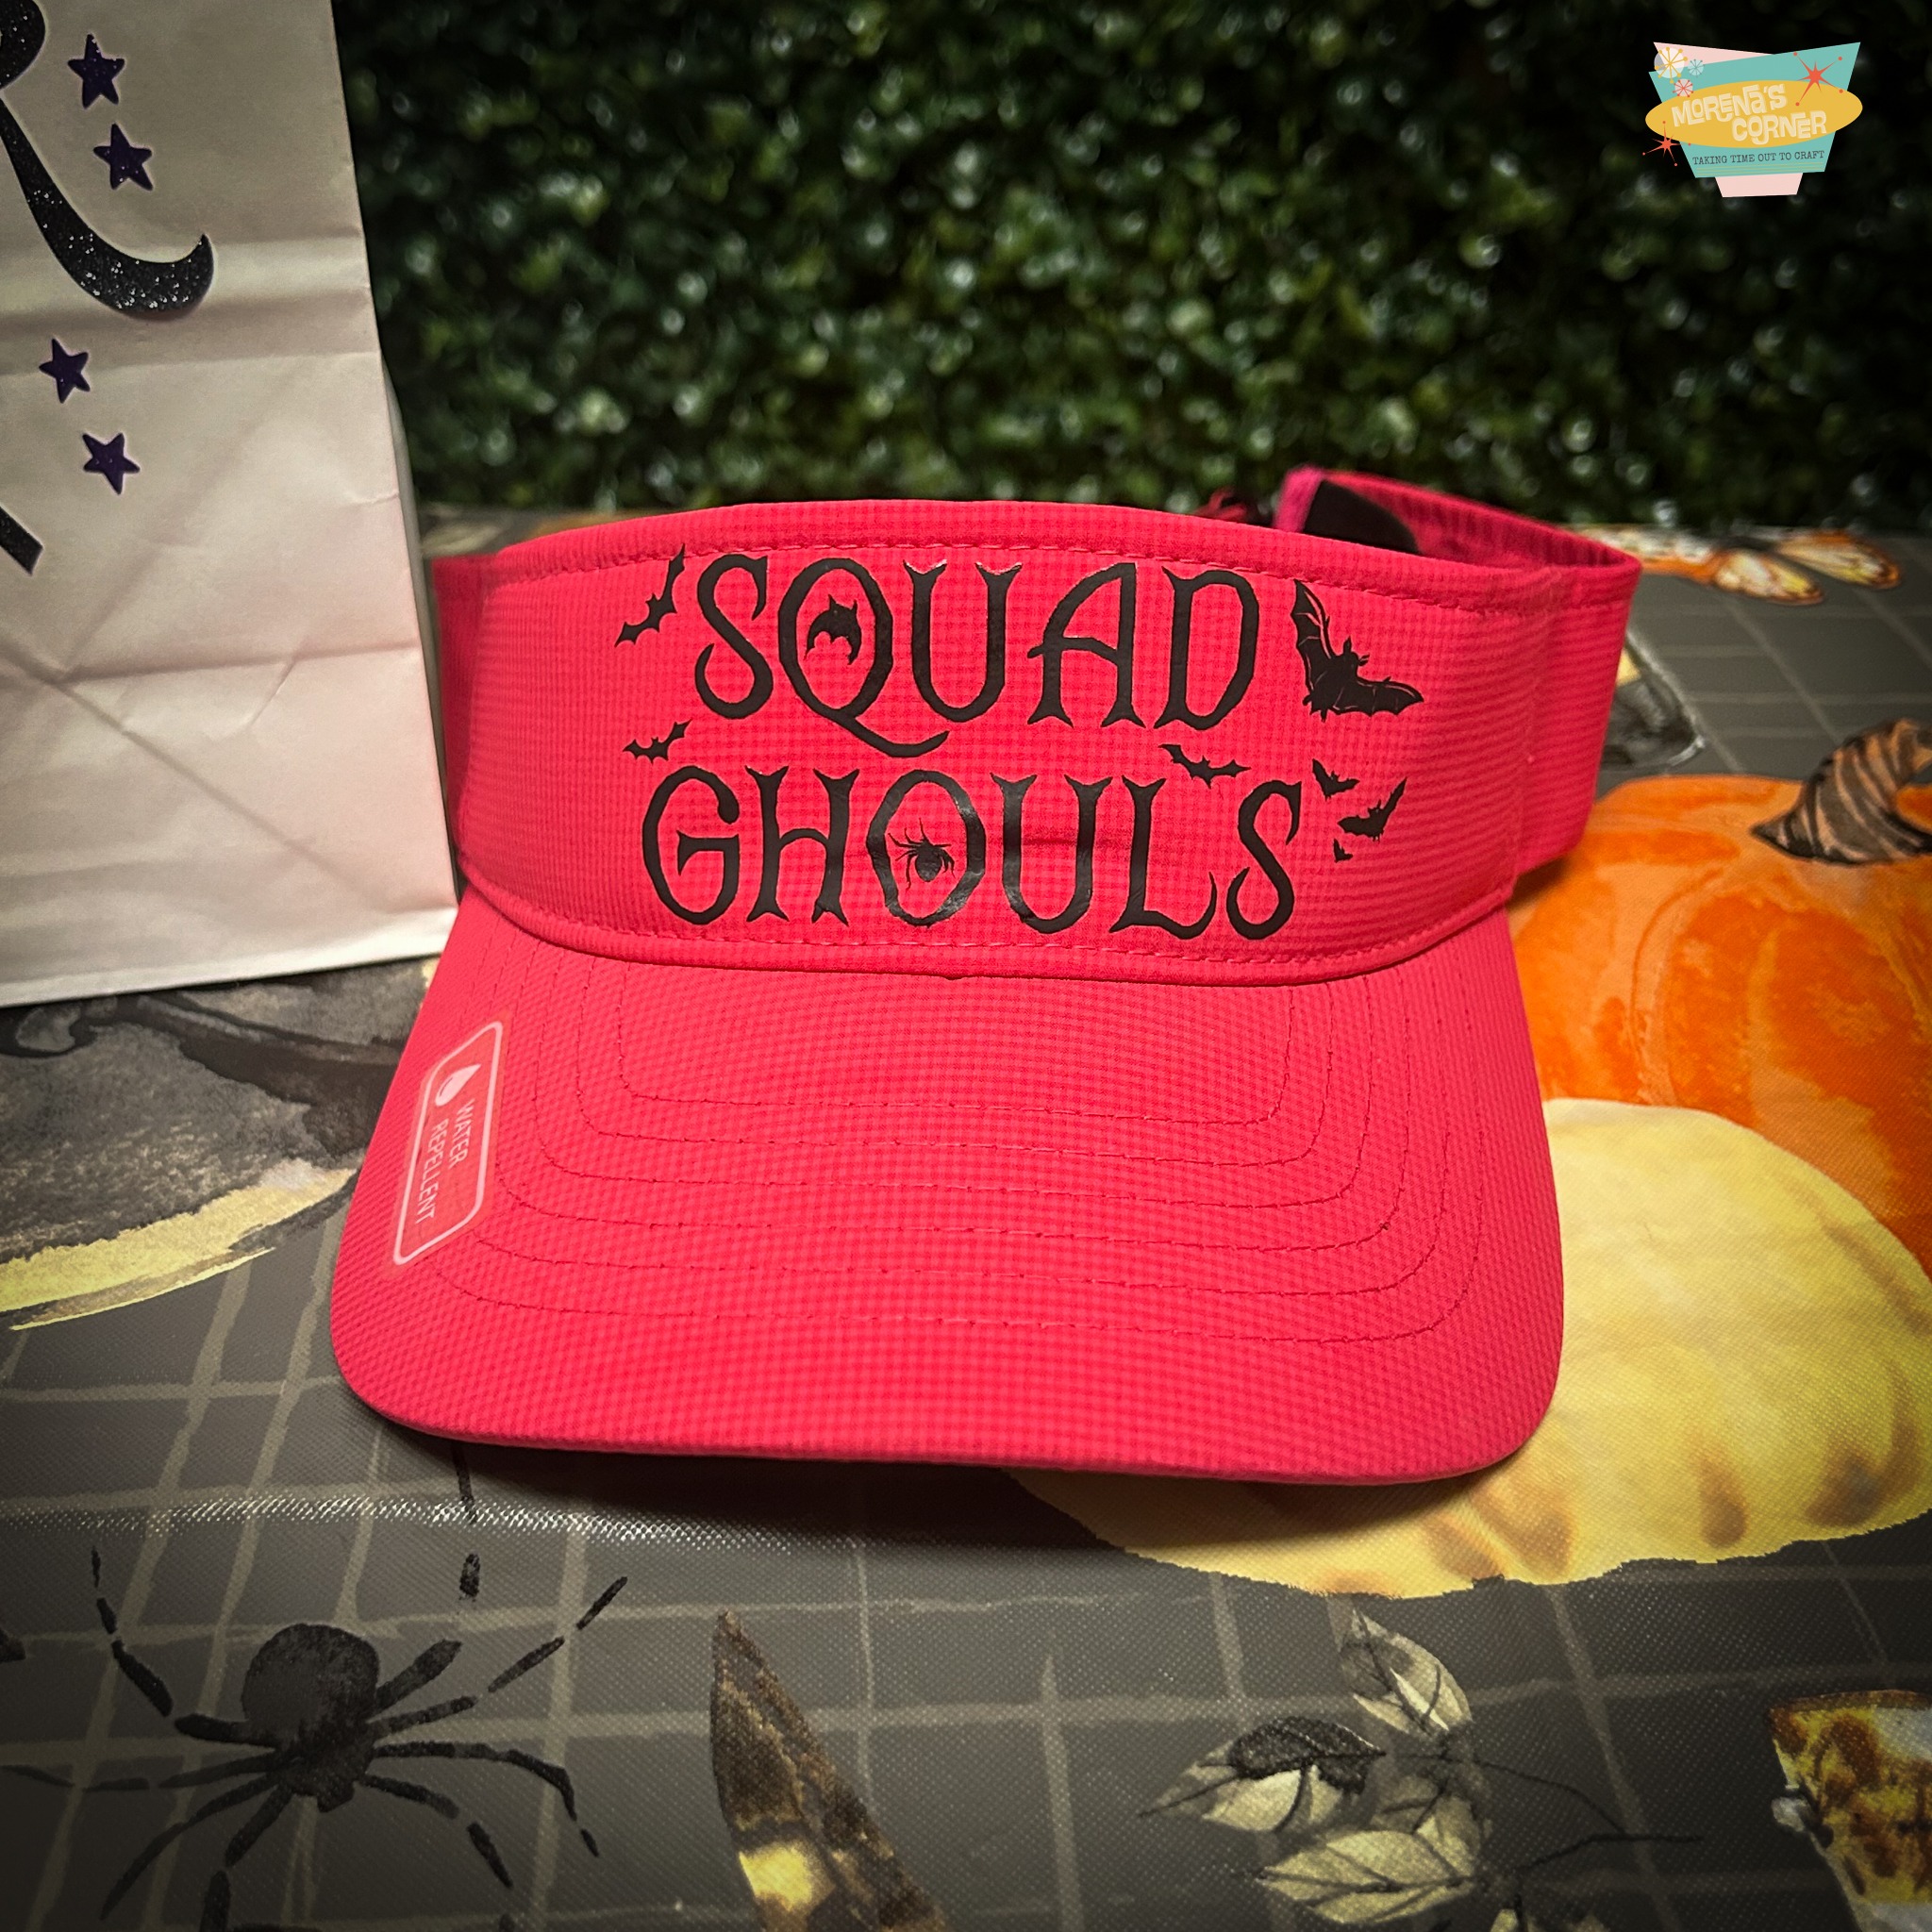
- SVG files from Traci Vanover Designs: Halloween Word Art, Halloween Label, Squad Ghouls
- Cutting machine (Cricut or Silhouette)
- Transfer tape (for adhesive vinyl)
- Iron or heat press (for heat-transfer vinyl)
- Treats and small gifts (candies, trinkets, or Halloween-themed items)
- Scissors, tweezers, and weeding tools
Here’s a video that shows you how to make this project step by step:
Step 1: Select Your Boo Bag Design
Start by selecting the SVG files you want to use. There are countless spooky and fun options online. Look for SVG files with classic Halloween elements such as:
- Friendly ghosts
- Spiders and webs
- Grinning jack-o’-lanterns
- Fun phrases like “Boo!”, “Trick or Treat”, or “You’ve Been Boo’d”
Once you’ve selected your design, upload it to your cutting machine software (e.g., Cricut Design Space or Silhouette Studio) and size it to fit your Boo Bag.
Step 2: Cut and Weed the Vinyl
Next, choose the type of vinyl based on your Boo Bag. If you’re using a fabric bag or fabric gift, heat-transfer vinyl (HTV) is ideal. For paper or plastic bags, adhesive vinyl works best. Load your cutting machine with the vinyl and cut out the design.
After the machine has finished cutting, use your weeding tools to remove the excess vinyl, leaving only the parts of the design you want to transfer.
Step 3: Apply the Design to the Bag or Gift
For adhesive vinyl, use transfer tape to lift the design from its backing and place it on the bag. Smooth out any bubbles, and carefully remove the transfer tape, leaving the vinyl design adhered to the bag.
For HTV, place the design on the fabric, then use an iron or heat press to transfer the vinyl to the fabric. Apply even pressure, and after it cools, peel off the carrier sheet.
Step 4: Fill the Bag with Halloween Treats
Now that your Boo Bag is decorated, it’s time to fill it with spooky surprises! You can include:
- Halloween-themed candy
- Small toys or trinkets like mini skeletons, stickers, or glow-in-the-dark items
- A “You’ve Been Boo’d” printable explaining the tradition and encouraging your recipient to pay it forward
Step 5: Deliver the Boo Bag
The most exciting part of the Boo Bag tradition is the delivery! Secretly leave the Boo Bag on a neighbor’s or friend’s doorstep. Ring the bell and run away without being seen, leaving a little Halloween magic behind.
Creating custom Boo Bags with vinyl and SVG files is a fantastic way to spread Halloween cheer while adding a personal touch to the tradition. With just a few materials and some creativity, you can craft something unique, fun, and memorable for your friends and family. So grab your crafting supplies and start “Boo-ing” today! 🎃👻
Are you planning to make DIY Boo Bags this year? Let me know in the comments below!

Leave a Reply