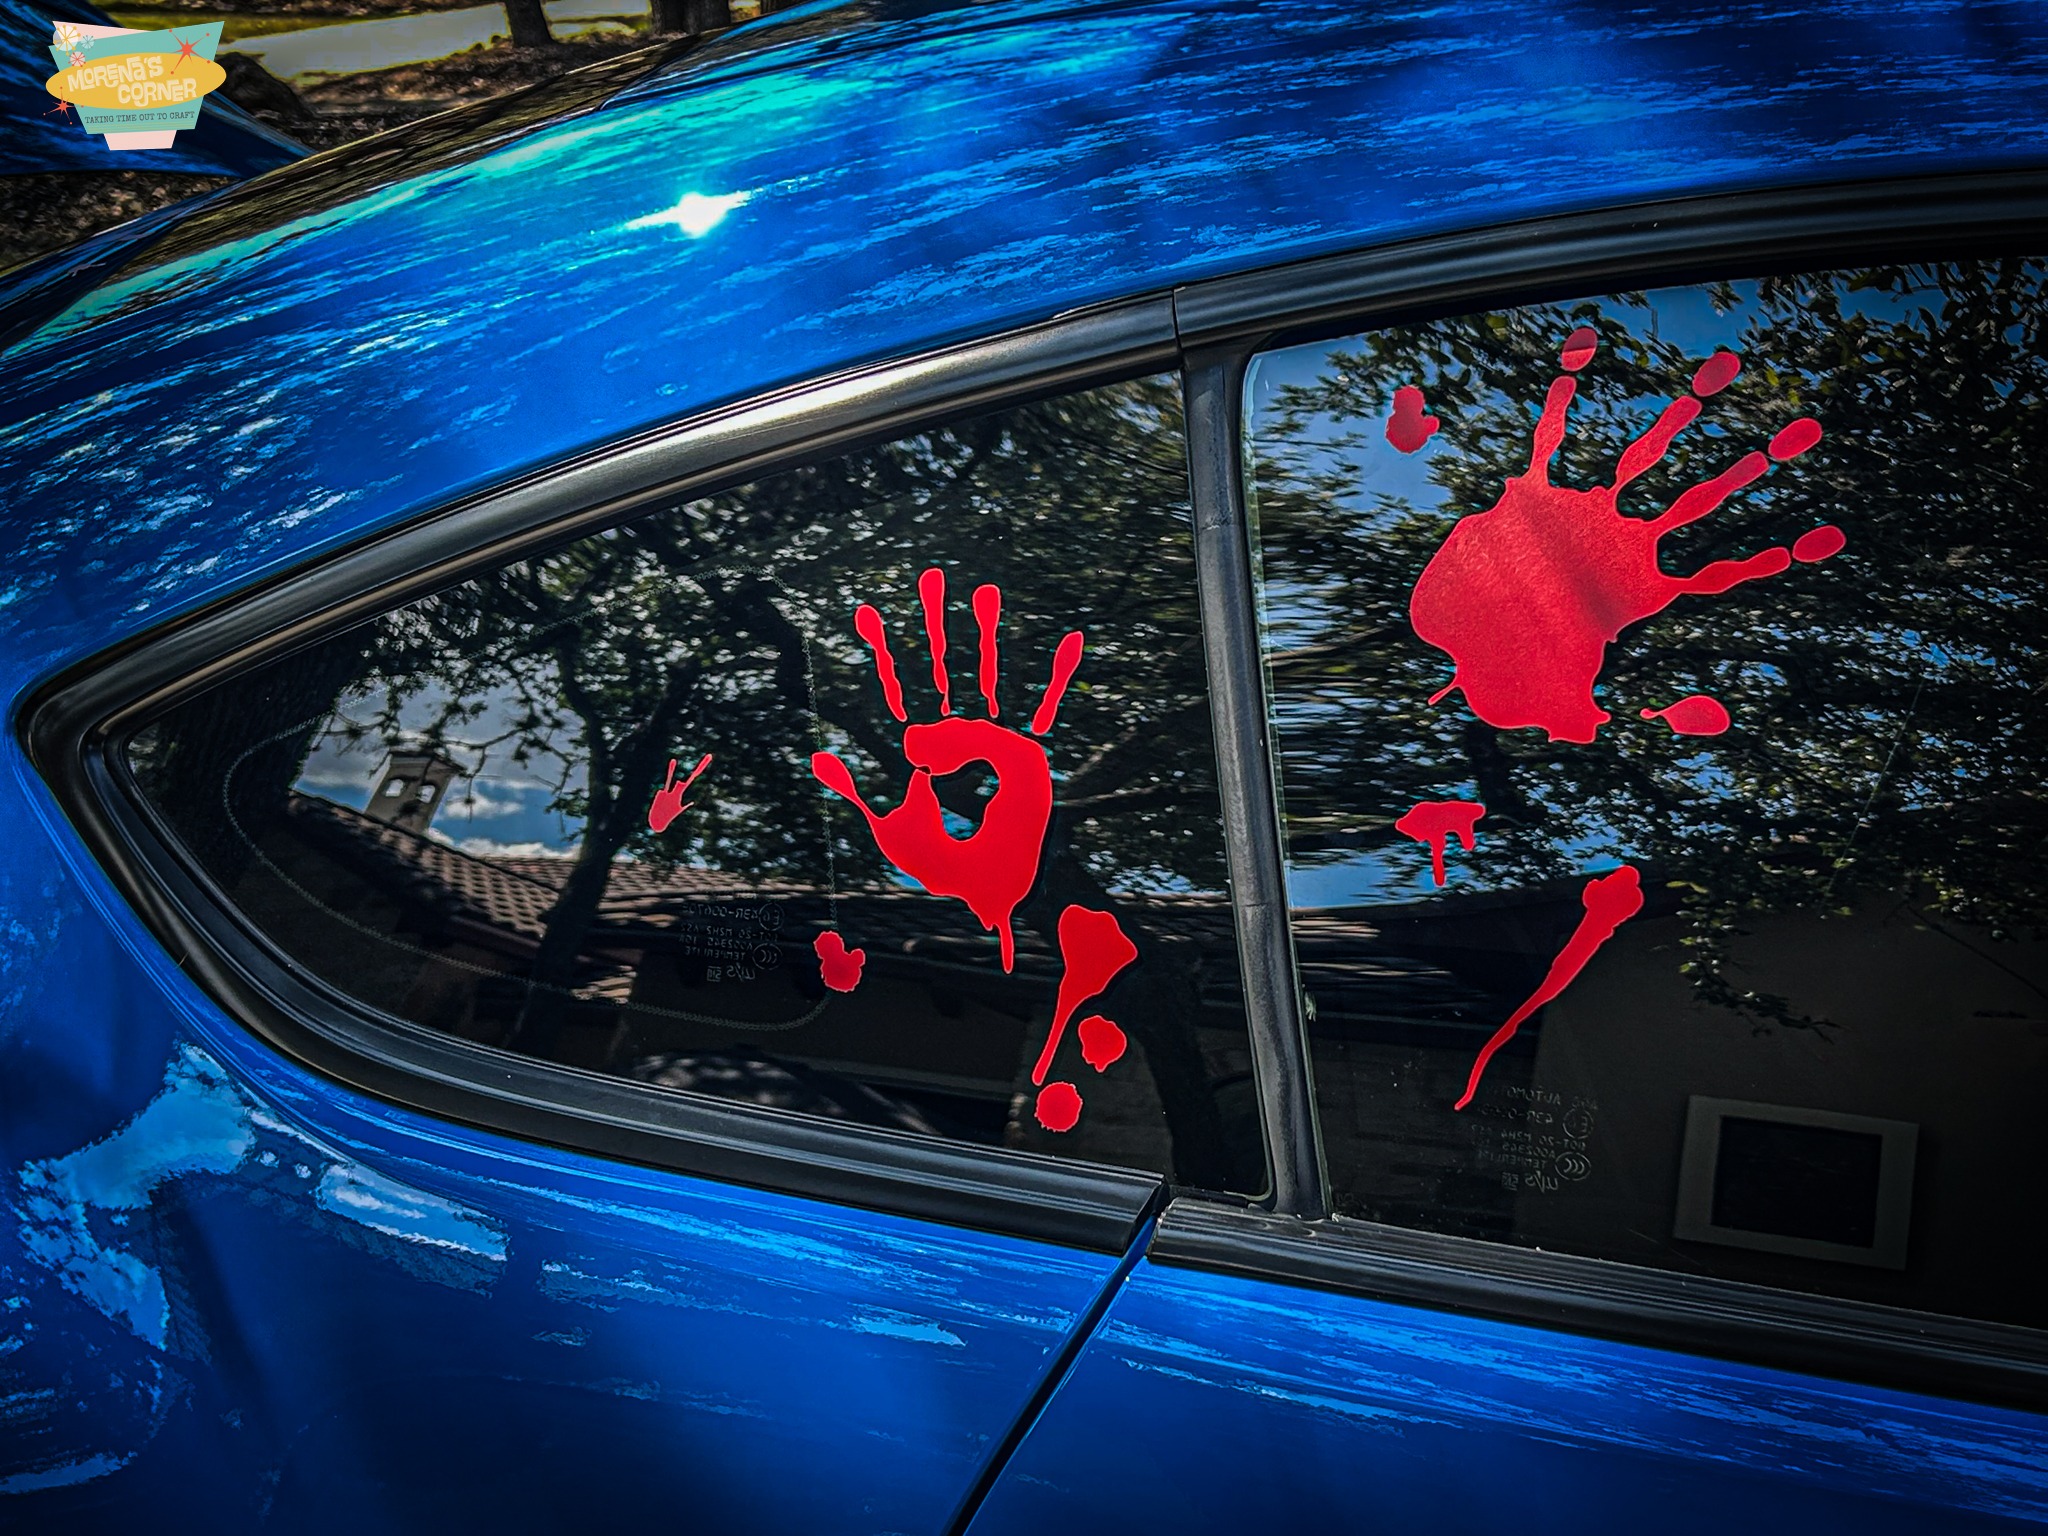
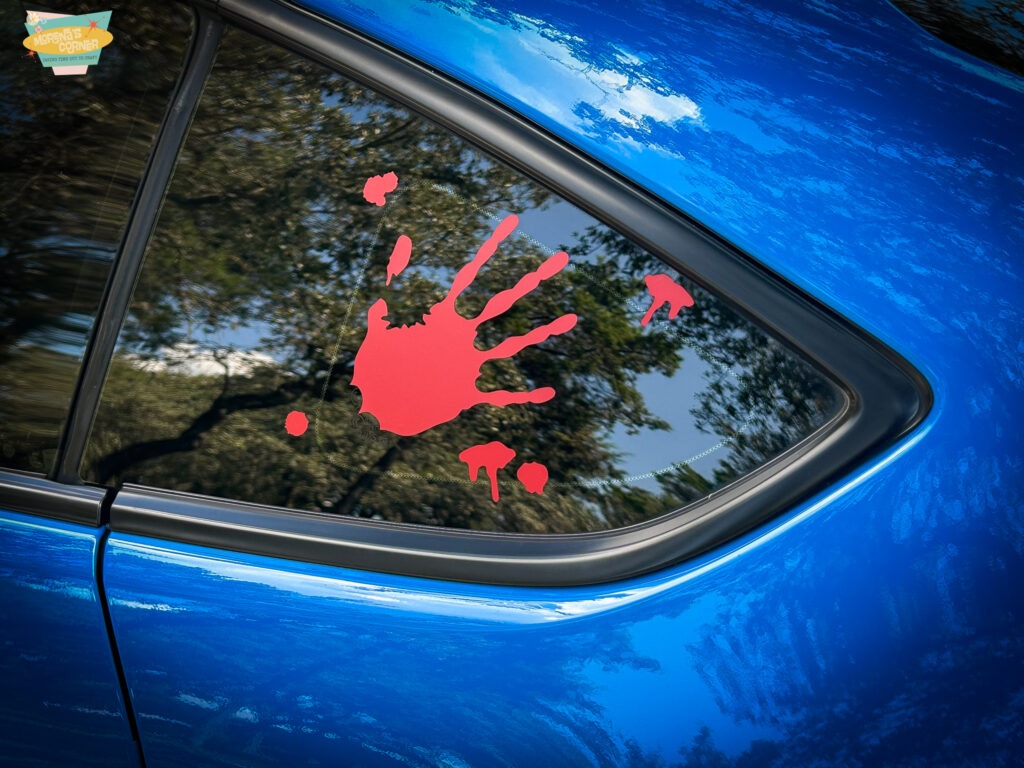
Halloween is the perfect time to go all out with spooky decorations, and this year my son had a special request: creepy car decor for the whole month of October. He wanted red handprints and blood splatters to make his car look like it drove straight out of a horror movie. With StyleTech Craft’s Removable Vinyl, it was easy to create the look he wanted—without worrying about damaging the car’s finish.
This removable vinyl is ideal for temporary seasonal décor, so once Halloween is over, the vinyl can be peeled off cleanly. Here’s how you can make your own haunted car decorations!
Creepy Car Vinyl Supply List
- StyleTech Craft Removable Vinyl in red (for that perfect blood effect)
- Cutting machine (Cricut, Silhouette, etc.)
- Standard grip cutting mat
- Weeding tools
- Transfer tape
- Scissors
- A clean, dry car window or surface
Step 1: Choose Your Designs
I searched for spooky Halloween images and settled on bloody handprints and splatter shapes—simple but creepy! You can find free SVGs online or draw your own designs in your cutting machine software.

Step 2: Cut the Vinyl
- Place the red removable vinyl onto your cutting mat with the shiny side up.
- Load the mat into your cutting machine and send your designs to cut.
- Once finished, carefully unload the mat.
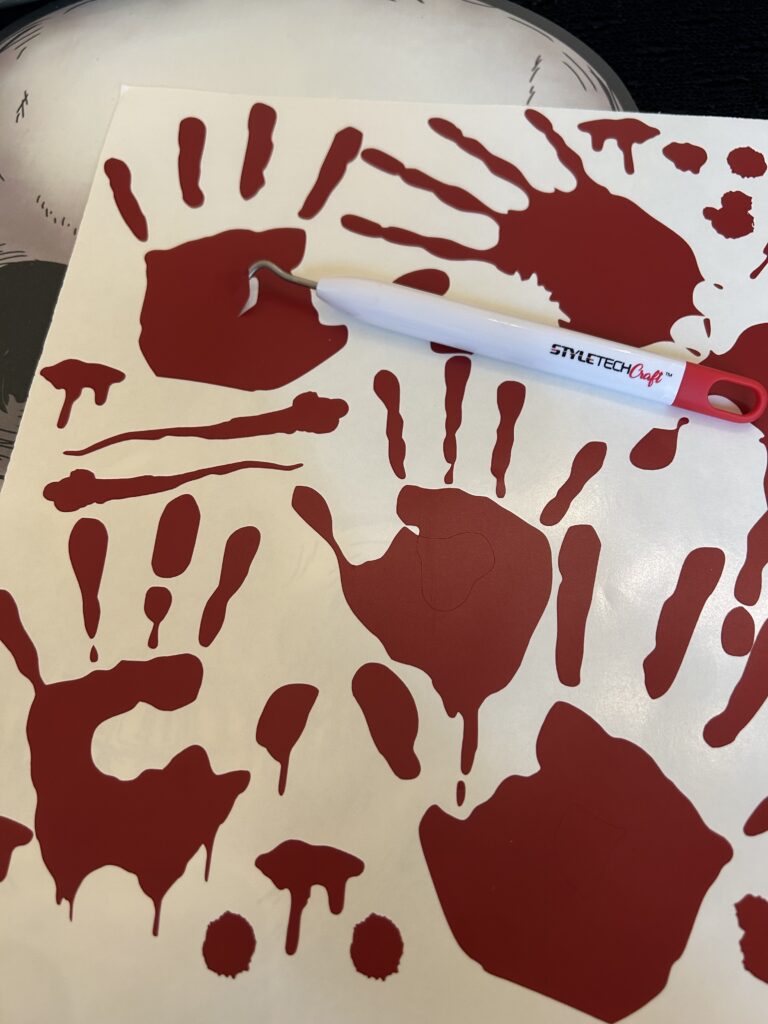
Step 3: Weed the Designs
Remove the excess vinyl from around your designs, leaving only the handprints and blood splatter. A weeding tool helps make this process faster, especially around small details.

Step 4: Apply Transfer Tape
Cut a piece of transfer tape to fit your design. Place it sticky-side down onto the vinyl, smoothing it out with a scraper tool to make sure the vinyl adheres. Carefully peel the backing paper away from the vinyl so the design sticks to the transfer tape.
Step 5: Apply to the Car
- Clean the car surface with glass cleaner or rubbing alcohol to remove any dust or oils.
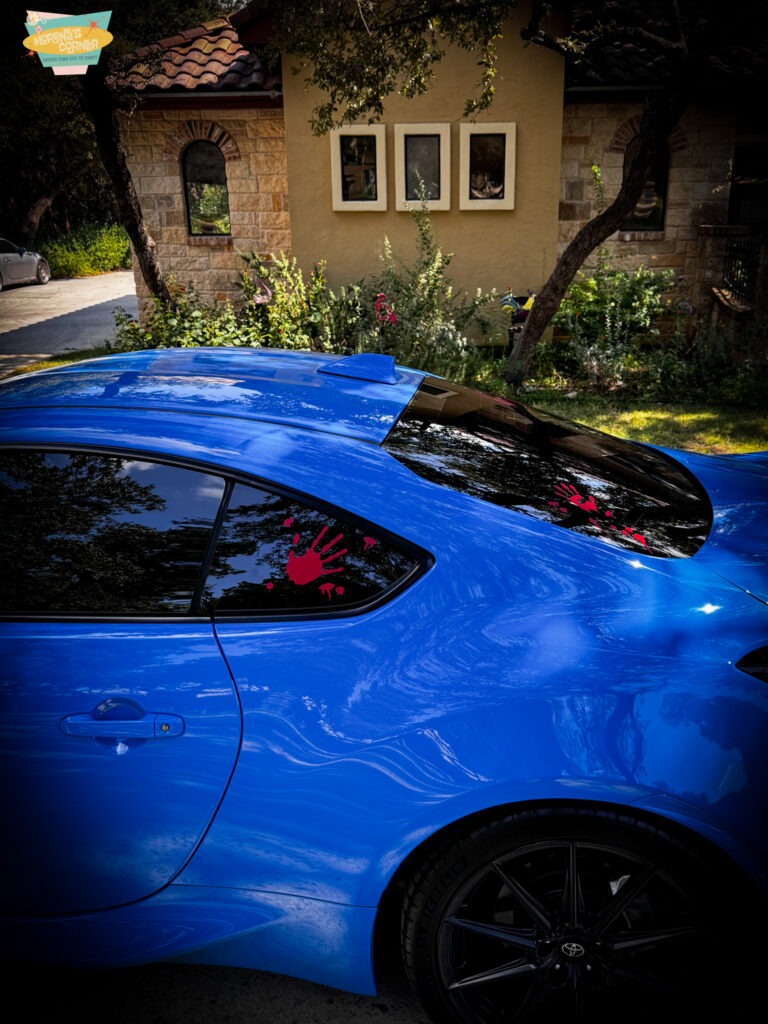
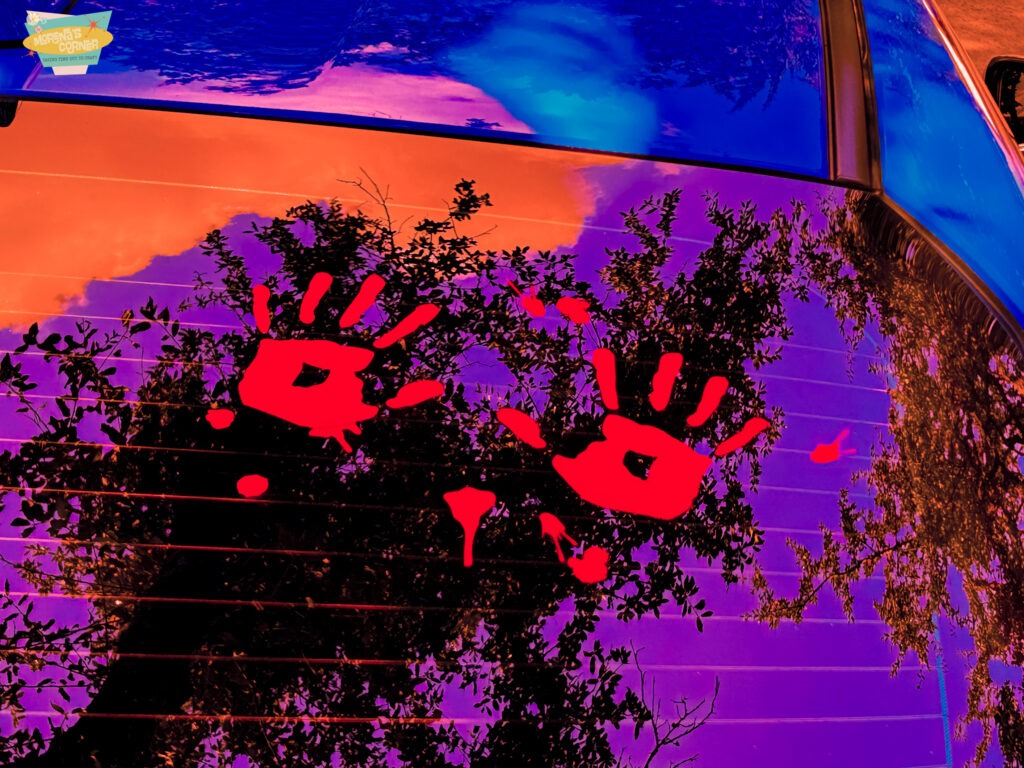
- Position the vinyl where you want it—car windows, doors, or even the trunk.
- Use a scraper or your hand to smooth the vinyl down, making sure it sticks firmly.
- Slowly peel away the transfer tape, leaving your creepy design behind.
Step 6: Enjoy the Spook Factor!
That’s it—your Halloween car décor is ready to turn heads (and maybe scare a few neighbors)! My son loved how realistic the bloody handprints looked, and we had so much fun putting them on his car. The best part? Once Halloween is over, the vinyl peels right off without leaving a trace.
Tips & Tricks
- For extra creepiness, layer different splatters together so it looks more realistic.
- You can also use black removable vinyl for bats, spiders, or creepy silhouettes to add variety.
- These same designs work indoors too—on mirrors, doors, or party decorations.

Leave a Reply