This post is sponsored by StyleTech Craft. All opinions and ornament obsessions are my own.
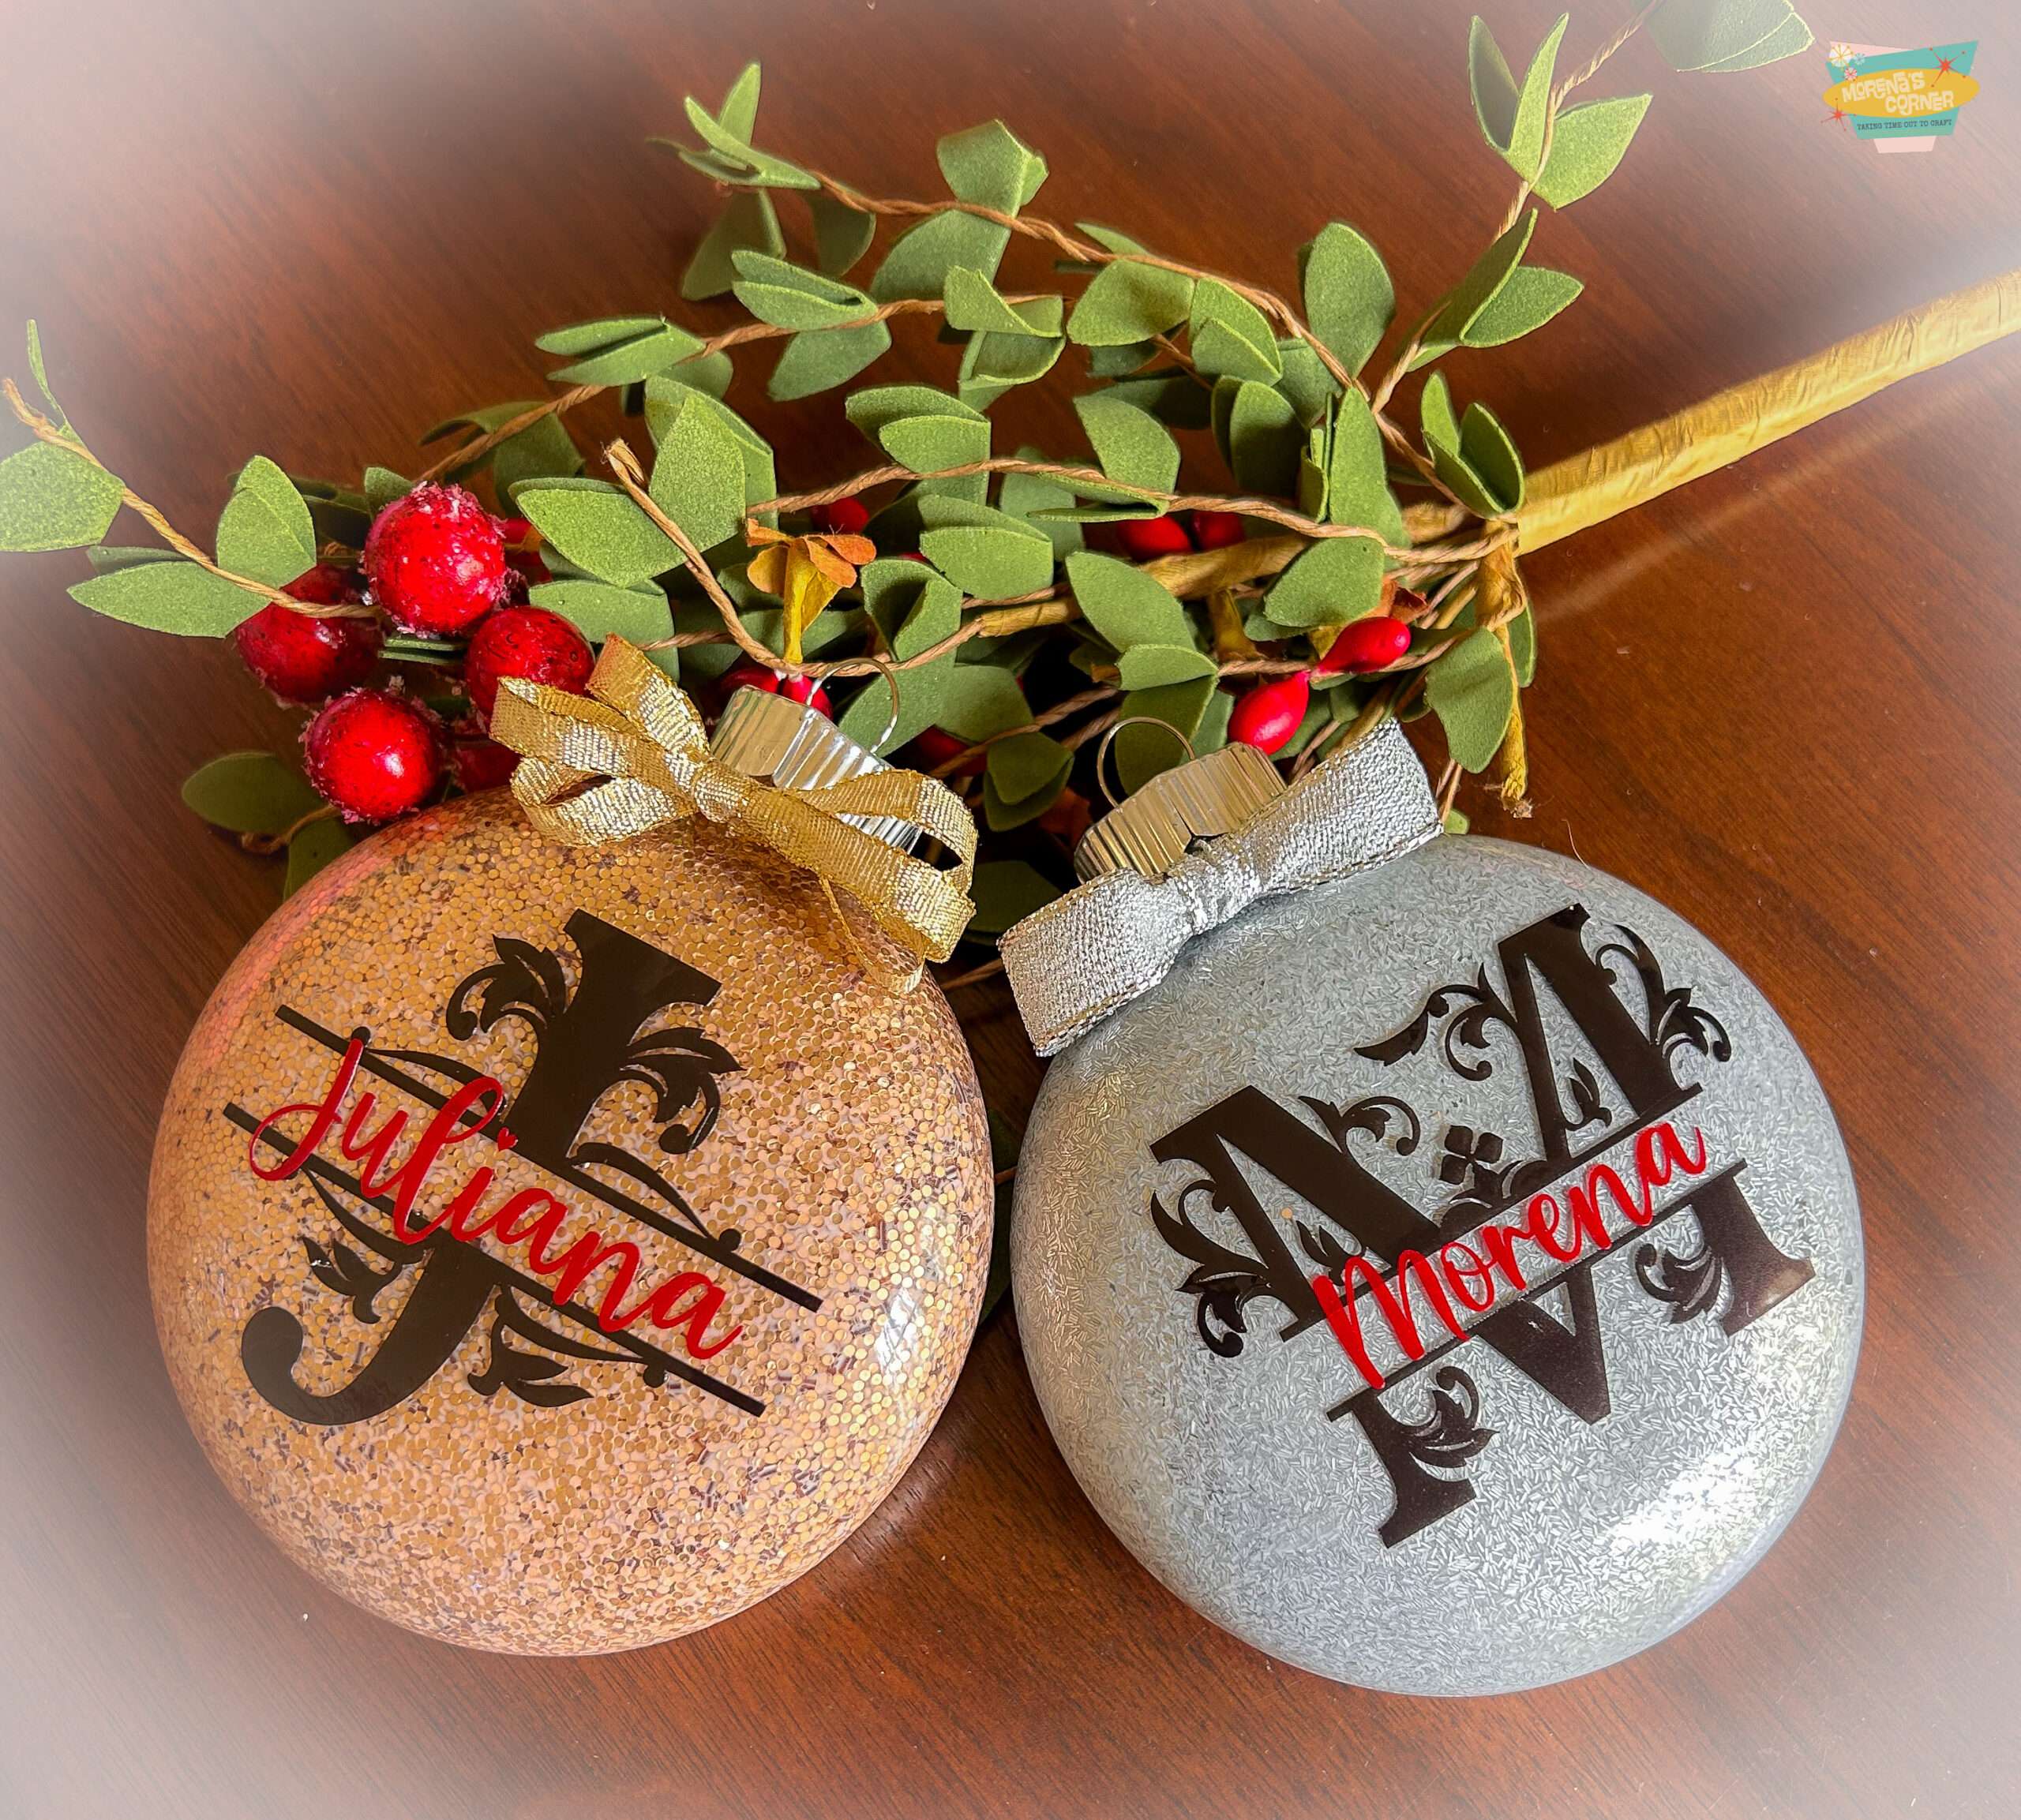
Friends, it’s officially ornament season, and I have a project that’s been sparkling its way into my heart. These personalized glitter ornaments look like they came from a fancy boutique, but they’re surprisingly easy to make. Even better, you can customize every single one with a name, so they make the perfect gift (or a little treat for yourself).
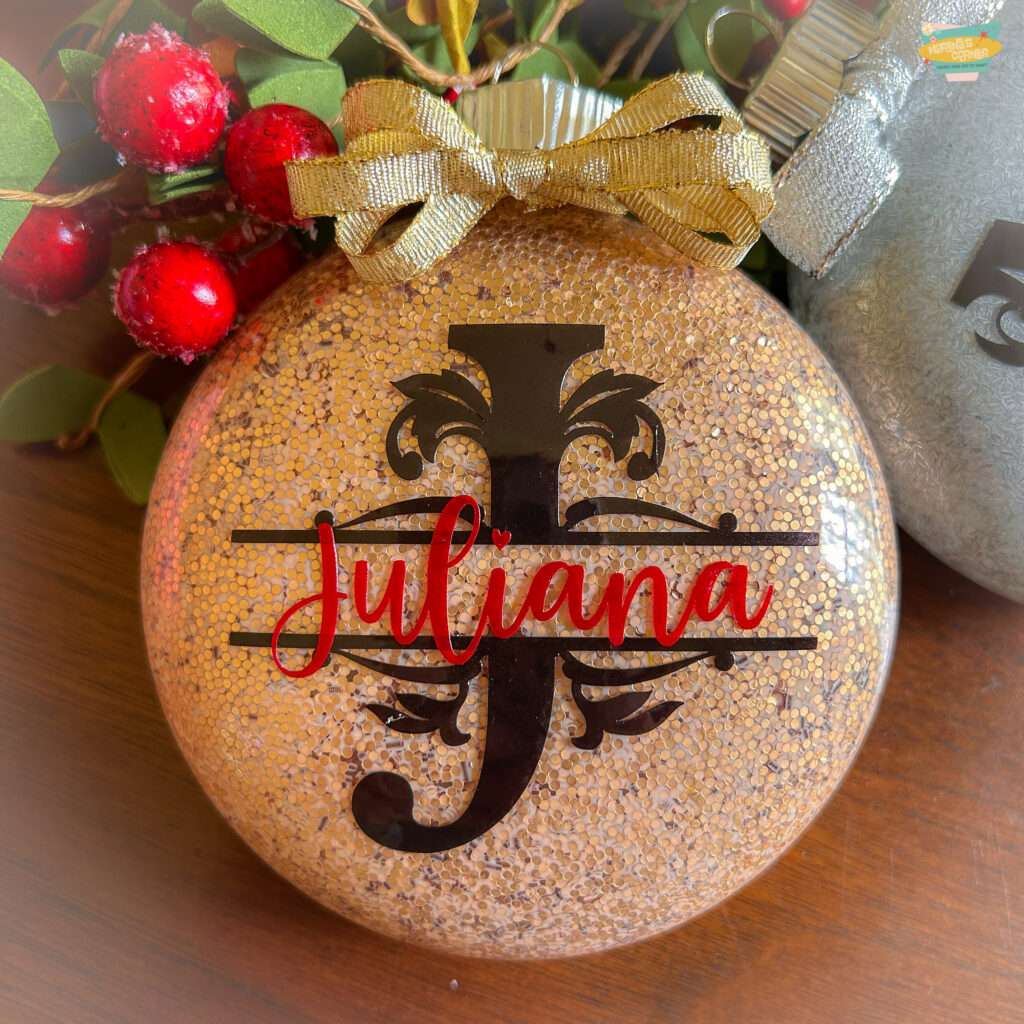
I used StyleTech Craft polished metal vinyl to create a layered monogram and script name, and the combination of black filigree and red metallic is chef’s kiss.
Personalized Glitter Ornaments Supply List
- Round flat glass ornament(s)
- Mod Podge Crystal Clear
- Glitter
- StyleTech Craft polished metal vinyl in black
- StyleTech Craft polished metal vinyl in red
- Cutting machine, weeding tools and transfer tape
- Ribbon for the bow
- A filigree monogram design and a script font for the name
Step 1: Glitter the Inside of the Ornament
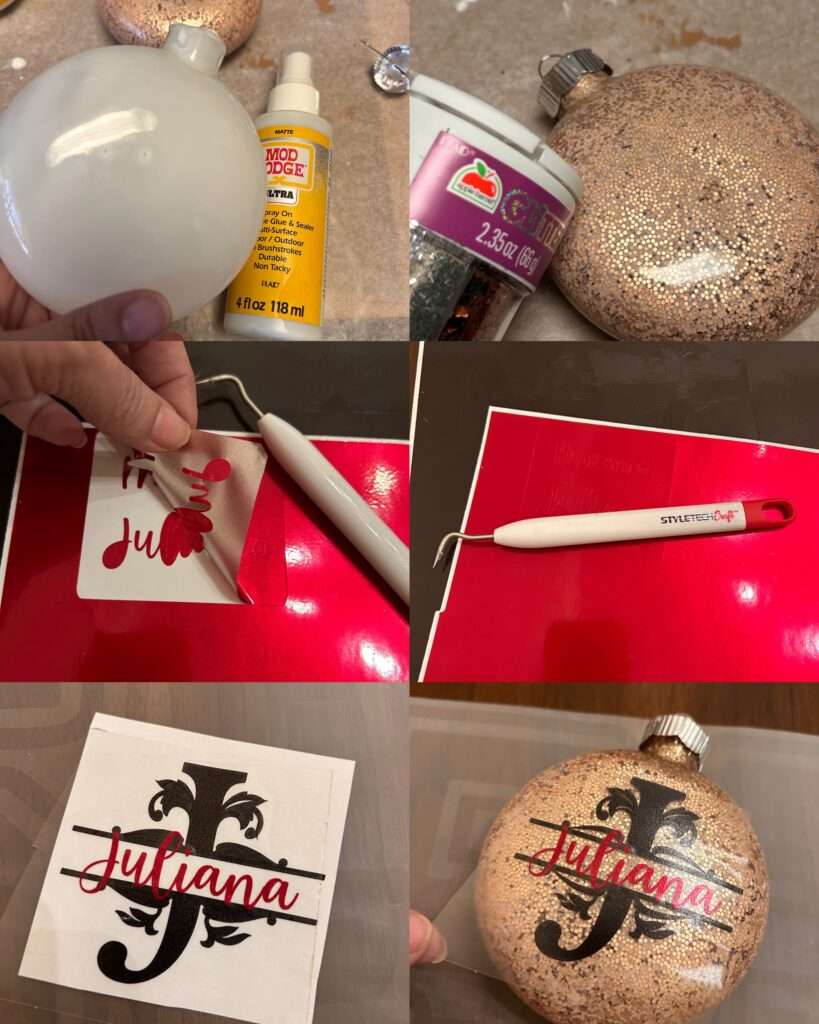
Start by squeezing a good amount of Mod Podge into your glass ornament. Swirl it around until the whole inside is coated.
Then pour in your glitter. Roll and rotate the ornament so the glitter clings to every bit of the inside. Tip out any extra glitter and set the ornament upright to dry completely. I like to prop mine in a cup or a small jar so they don’t roll away.
Step 2: Cut the Monogram
Now for the fun part. Cut a filigree monogram out of black metallic vinyl. The ornate swirls add a vintage, elegant feel that looks gorgeous behind the glitter.
Weed away all the excess vinyl so just the monogram remains. A weeding tool is your best friend here, since filigree has lots of delicate details.
Step 3: Cut the Name
Next, cut the name in a pretty script font out of red metallic vinyl, and weed that too. Choose a script that’s thick enough to stay together as a single piece. Thin, wispy fonts can be tricky to weed and apply.
Step 4: Layer and Apply
Use transfer tape to layer the red name right on top of the black monogram. The contrast is beautiful, and the red really pops against the black.
Once your glitter ornament is completely dry, place the layered design on the front of the glass. Smooth it down well and peel away the transfer tape.
Step 5: Add a Bow
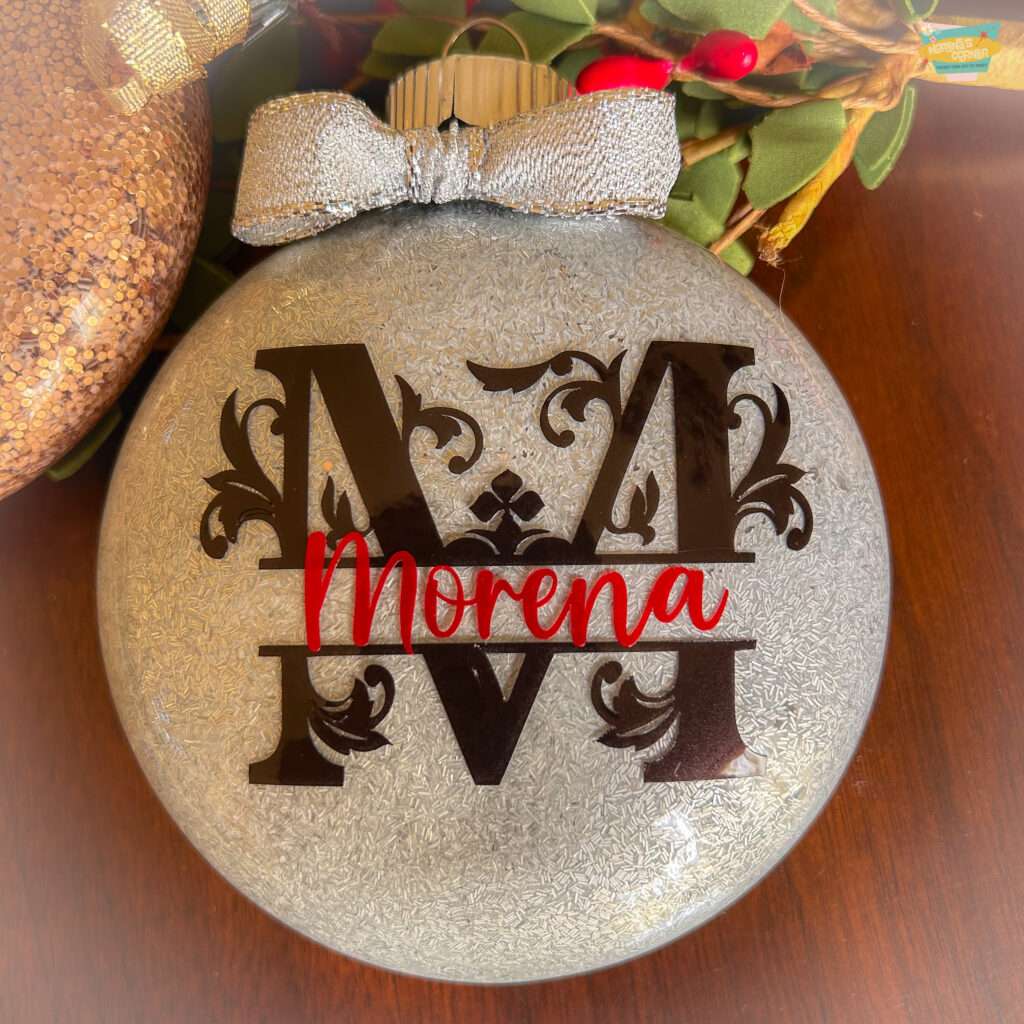
Finish with a bow tied at the top. A big ribbon bow adds that last festive touch and makes each ornament feel like a finished gift.
Make It Yours
The best part of this project is how many ways you can customize it. Swap the glitter color, change the vinyl colors, or use a different monogram style to match your tree or the person you’re gifting to. Imagine a whole set for family members, teachers, friends and neighbors! If you make your own, I’d love to see it. Tag me and share your creations!

Leave a Reply