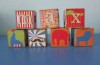
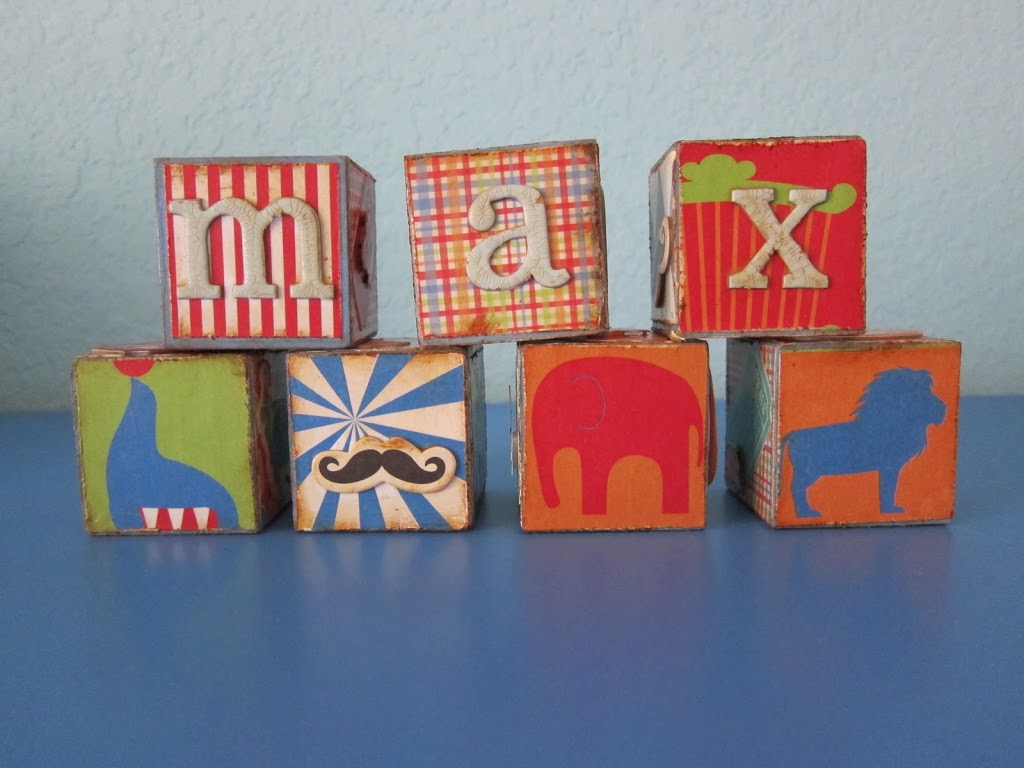
I’ve been asked a few times to share how I made these blocks for my son’s room, so here goes. These are really easy and fun to make!
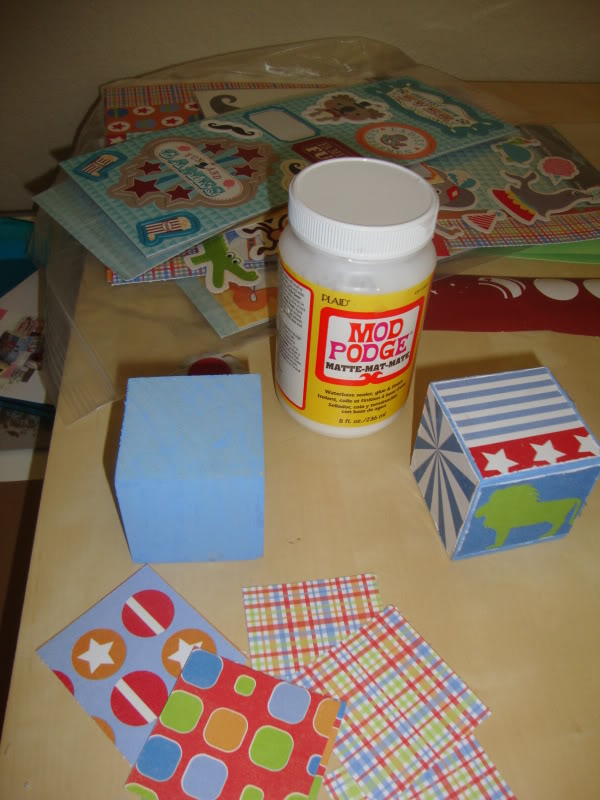
1. Paint two inch square blocks with one coat of paint.
2. Cut paper into two inch squares. Distress the edges. Apply to wood blocks with Mod Podge.
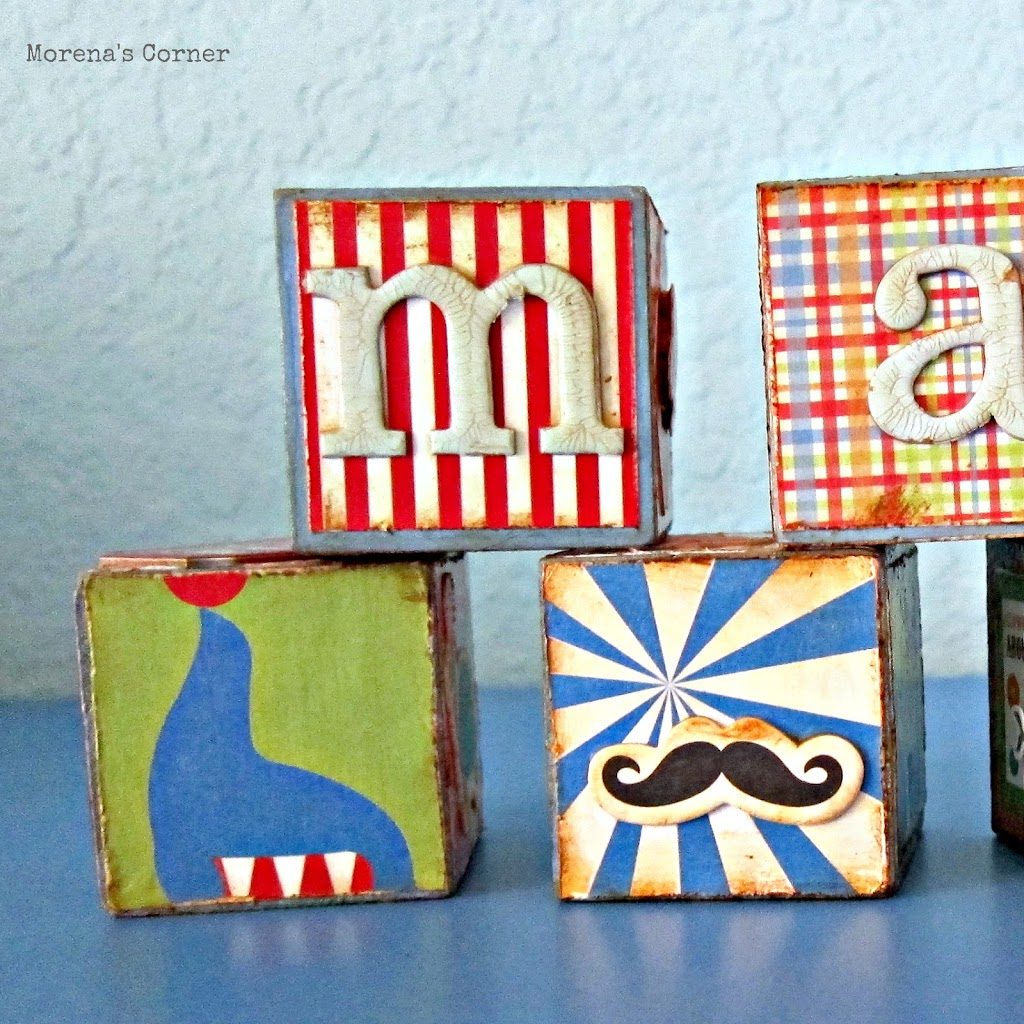
3. Adhere stickers and chipboard. Age them with distress ink. (I used “vintage photo” distress ink. I cut a scrap of felt, wad it up, dab it on the ink pad, and then rub in a circular motion on the edges of the embellishment.)
4. Seal all sides with another coat of mod podge. I used the matte finish.
5. For the letters, I applied crackle medium to chipboard sticker letters. After it had dried overnight I rubbed Vintage Photo distress ink on it to get into the cracks. Then I wiped it with a soft cloth to get the excess ink off,
These are truly simple and fun to make! My two year old daughter likes her brother’s blocks so much that I will be making her a set next!
Leave a Reply