
In this post I showed you how to make a basic meme. Sometimes, though, the background hides the letters. Here’s one way to fix that.
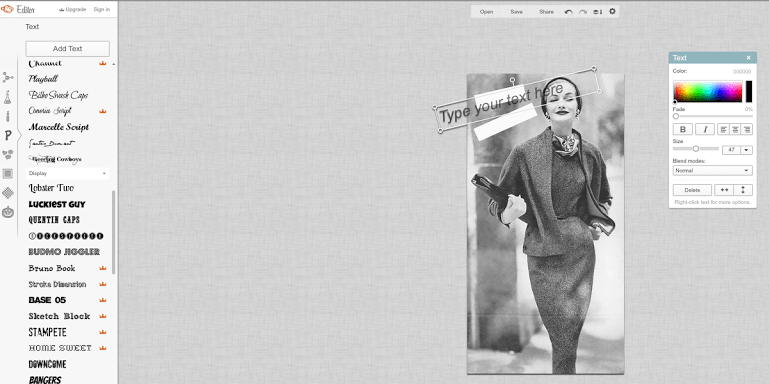
PicMonkey has lots of shapes and overlays you can use. You could put a box at the bottom of your image, add a speech bubble, a tag, or anything else you like. For this meme, I was inspired by Anne Taintor’s work and used simple white rectangles to enhance my text.
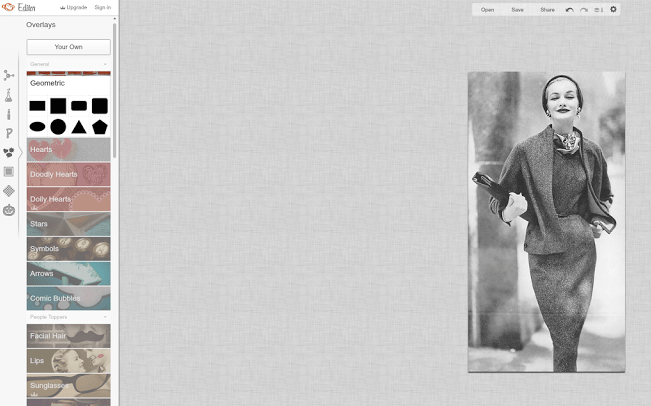
Step one: Open an image in Picmonkey (details here).
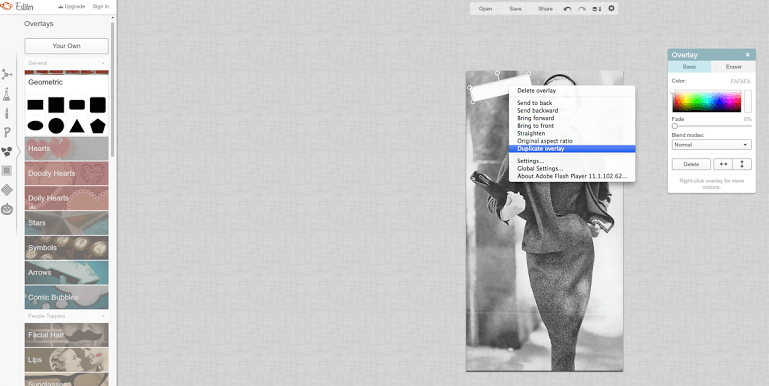
Step two: Select “Overlay”. Lots of fun choices!
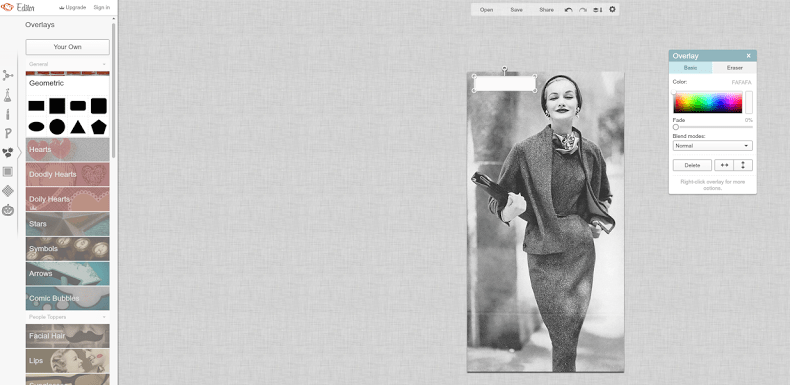
Step three: Adjust the overlay as desired.
Step four: Choose the “P” to add text.

I used two separate text boxes.
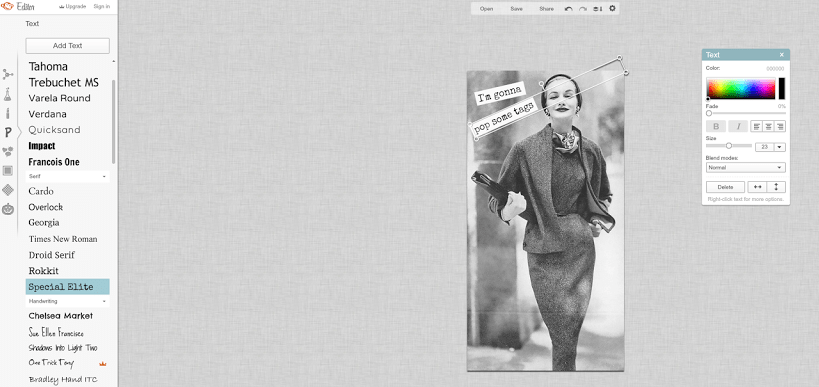
Your meme is ready to post! I’d love to see what you create! Share it on my Facebook page!
Leave a Reply