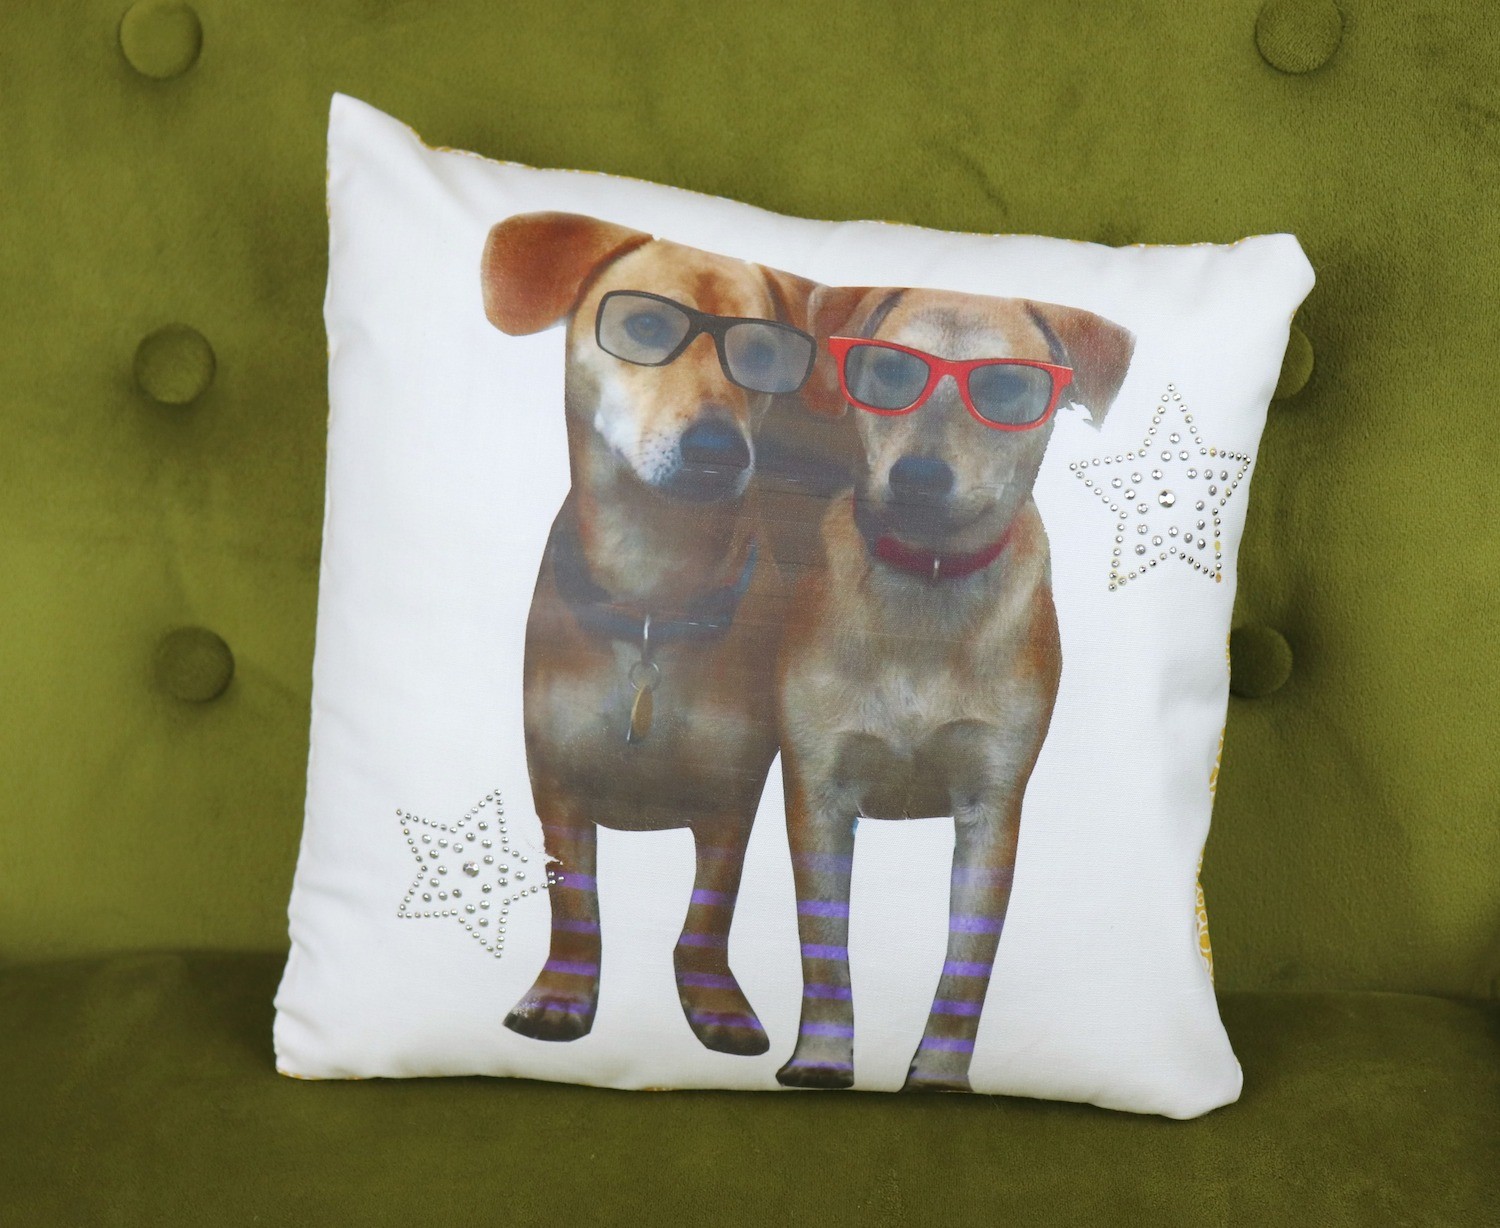
Learn how to make a DIY pet photo pillow and turn your furry friend’s photo into beautiful home decor!
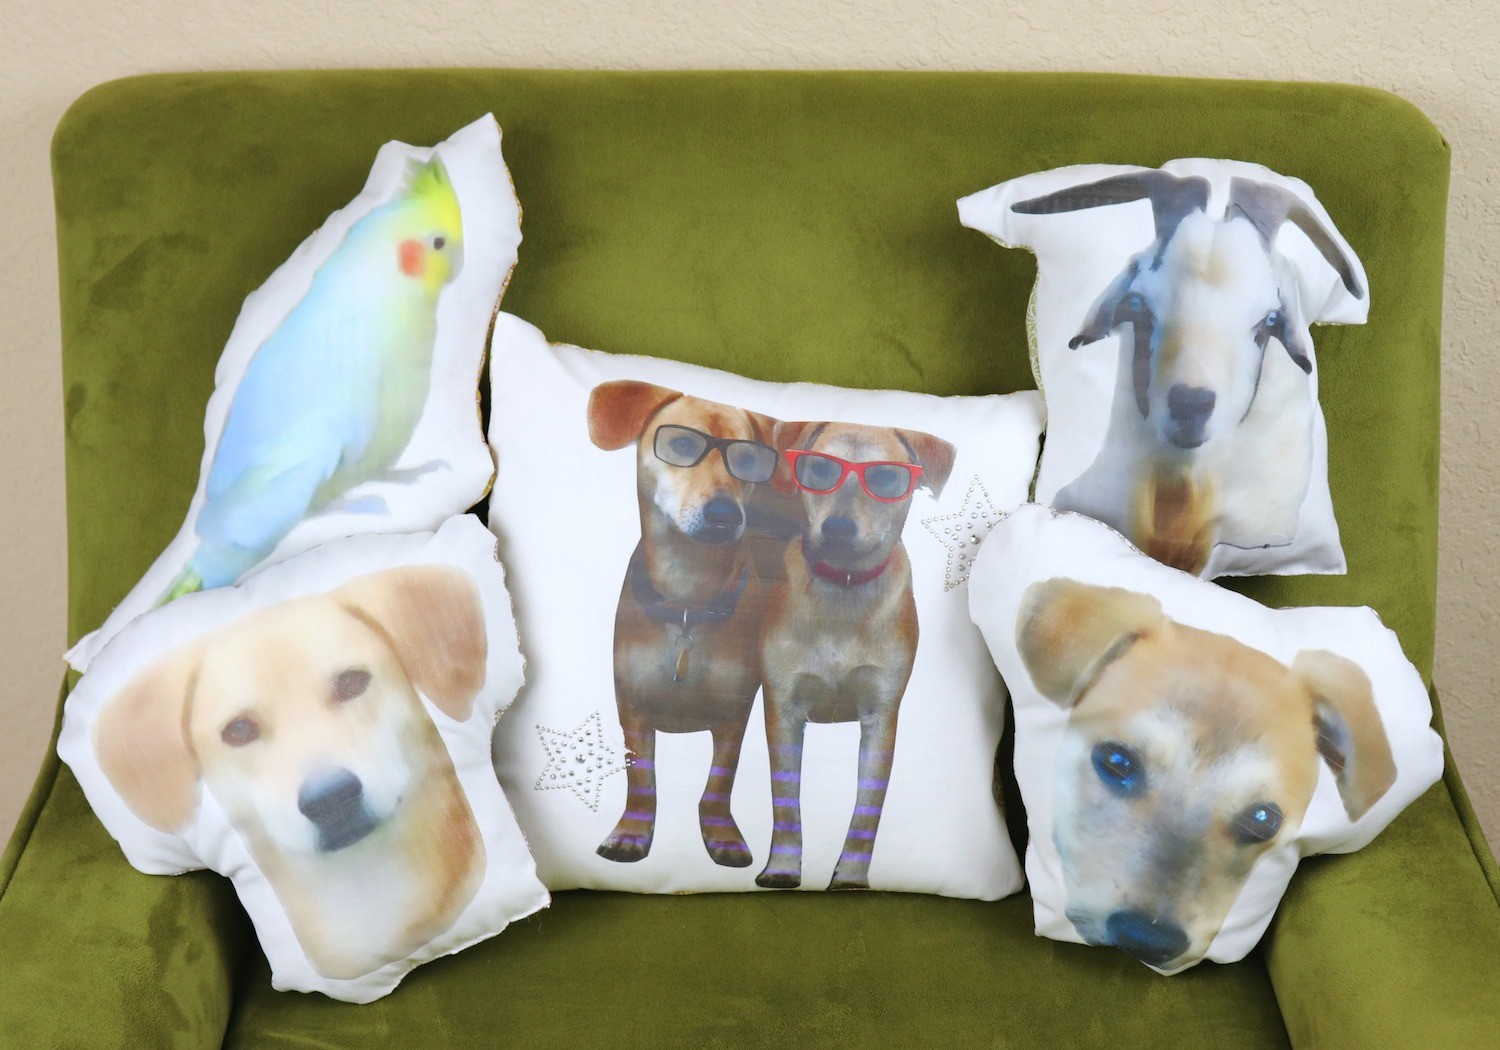
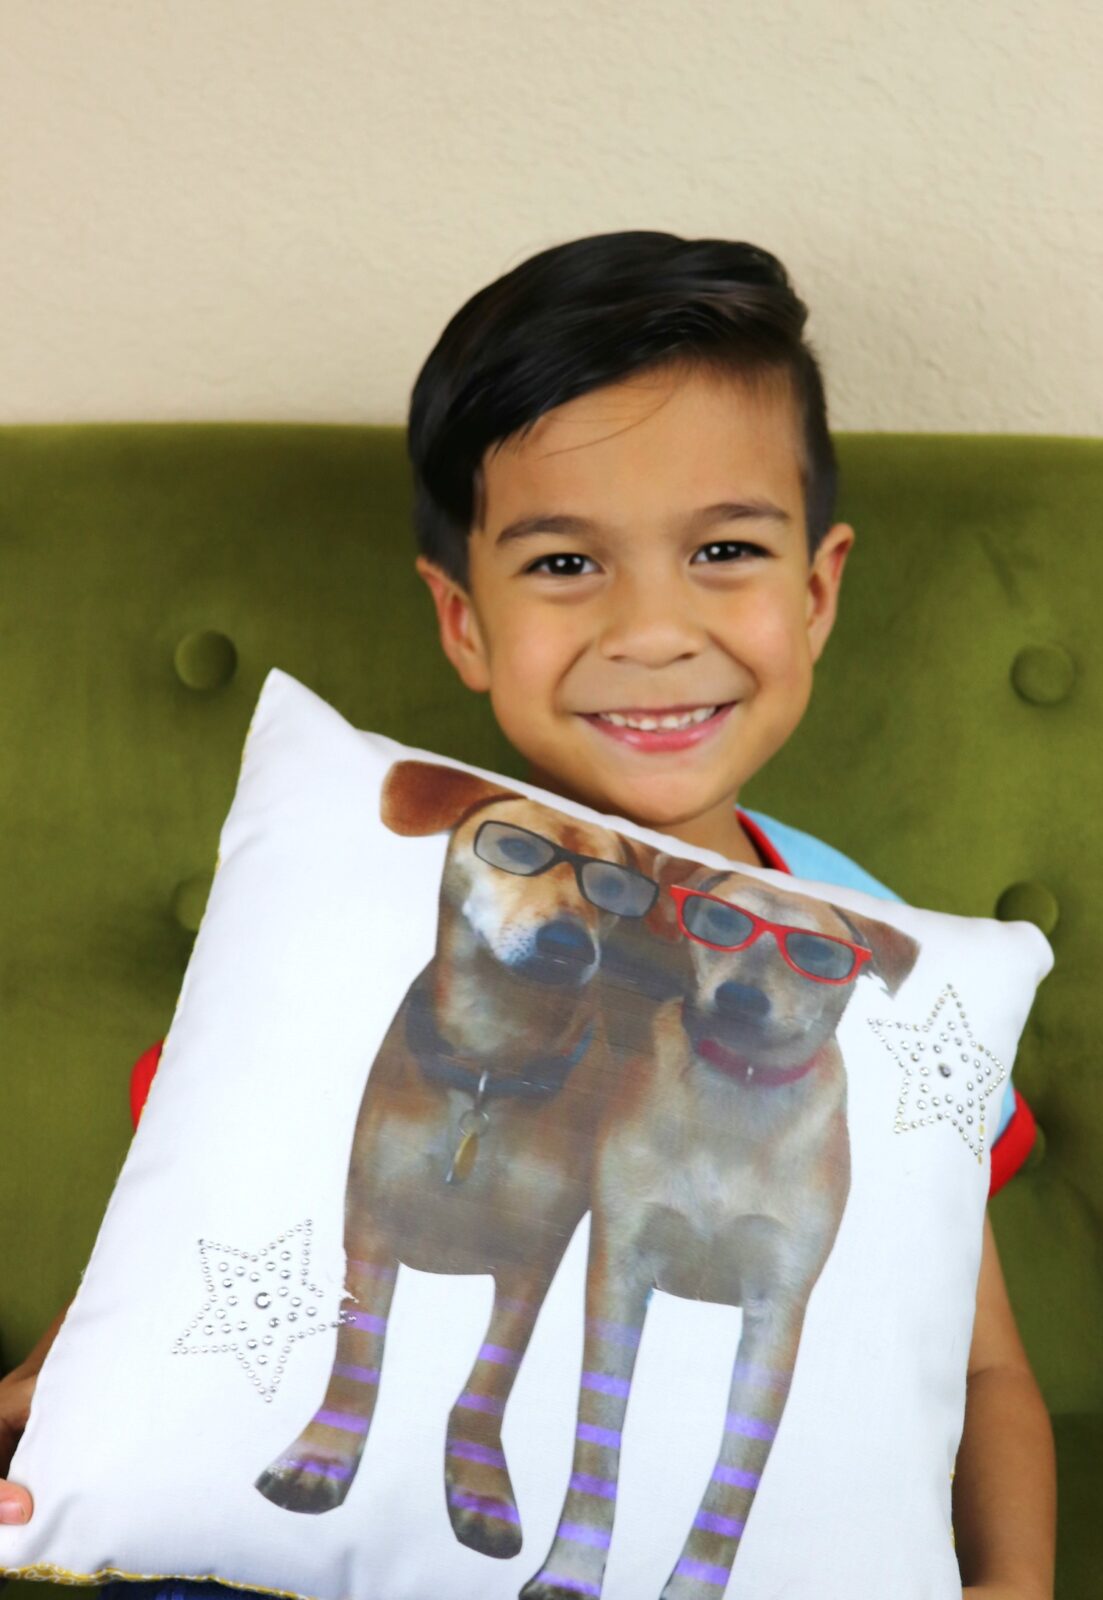
Kids will soon be home for the summer, which is a great time to teach them how to sew! This DIY pet photo pillow project is perfect for beginners! Turn a favorite pet or animal into a soft and snuggly pillow. Beginning sewers will enjoy making the square pillow, while more experienced young sewists will enjoy the moderate challenge of the cut out shapes. My kids loved making these, and I think yours will, too.

This project is from 2018 but my kids still have their pillows! We recently added a new puppy to our home, so we will be making more of these soon. Check out my social media for updates!
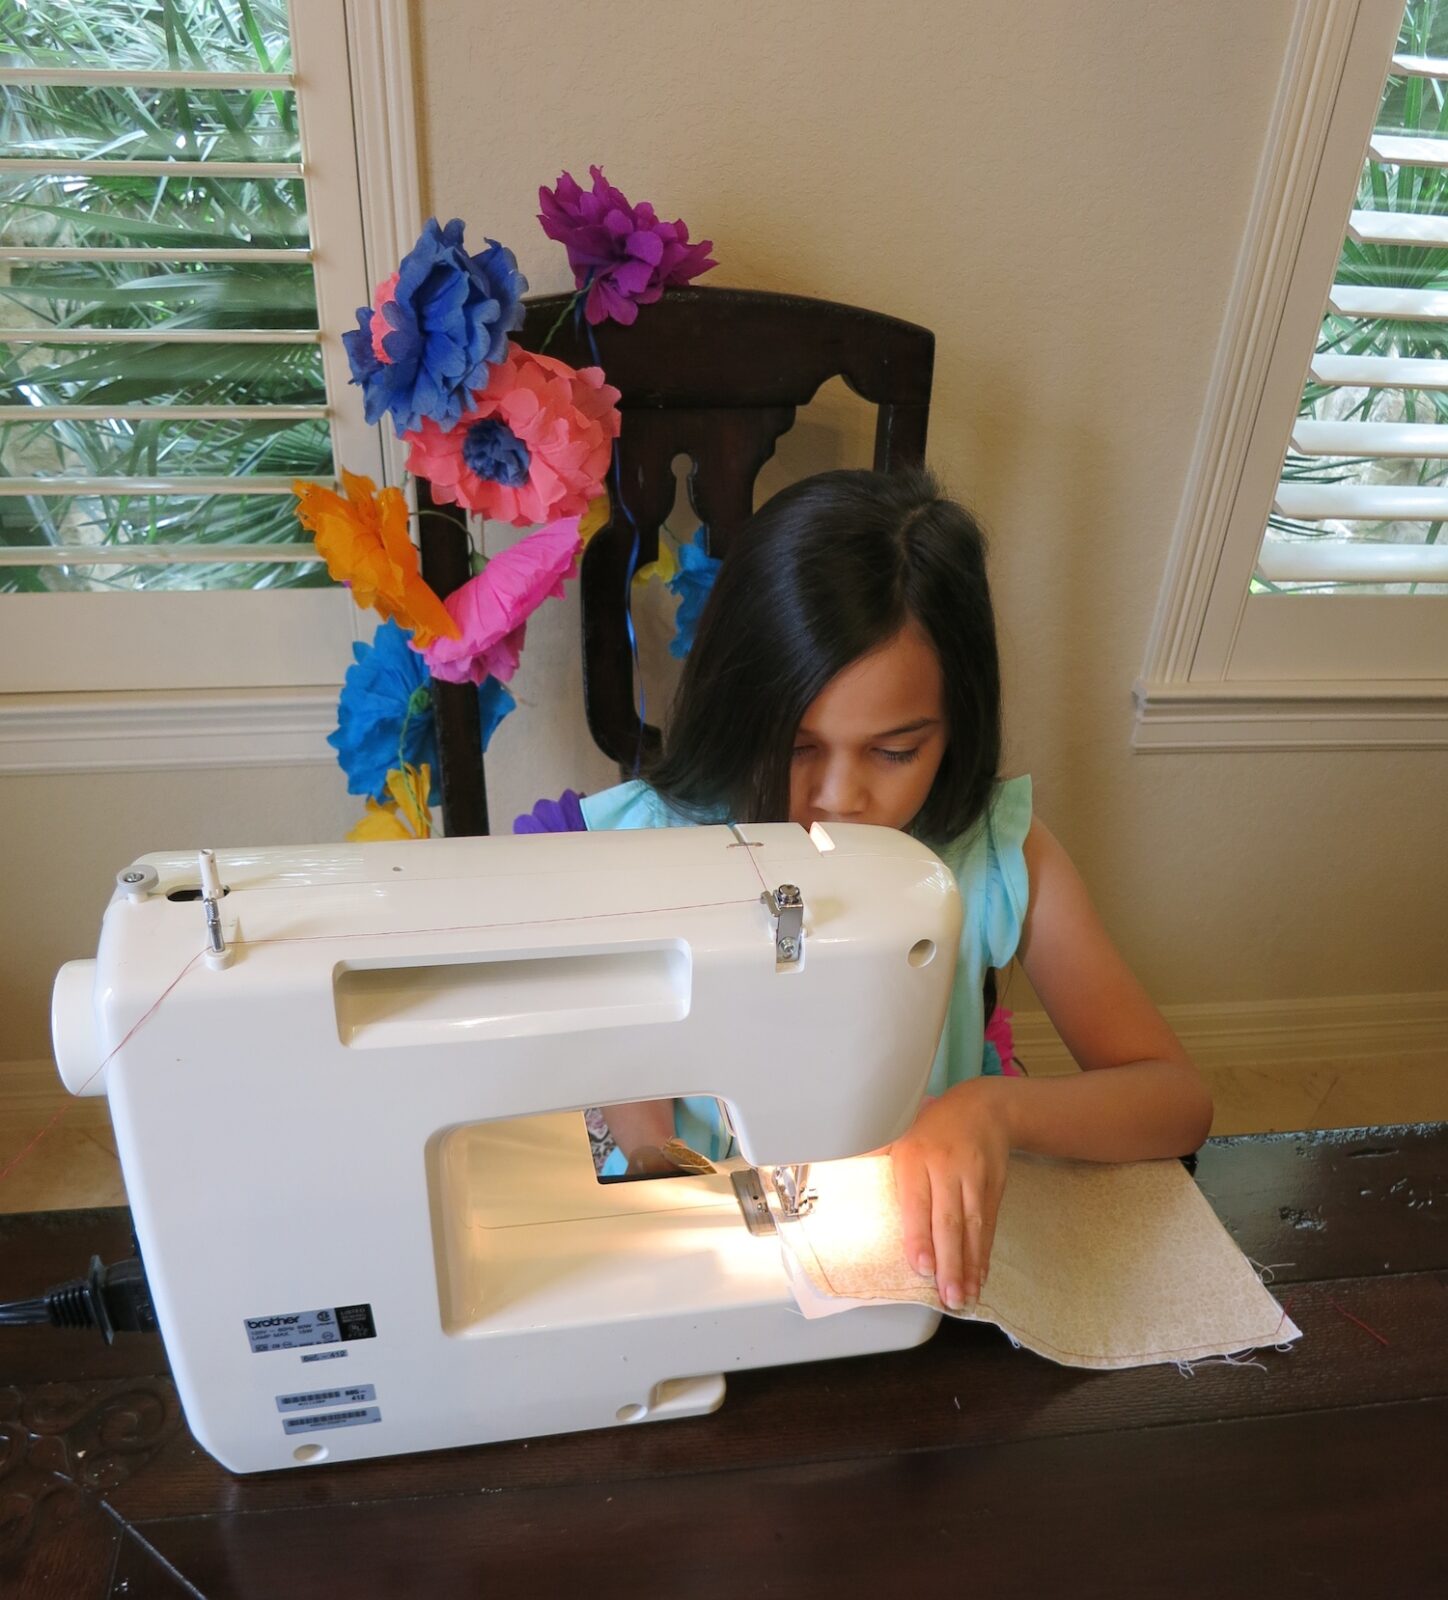
It’s a little hard for me to find a project that impresses my two two teenagers, but this one really did! When I explained what we were going to make, they were both eager to help take pictures of our pets. My 13 year old is the one who introduced me to the app I used for this project, and all 4 of my kids had fun editing images. I’m so thrilled that they enjoyed this activity, and I’m especially happy that they love their custom pet pillows as much as they do.
DIY Pet Photo Pillow Supplies
- Iron on transfer paper
- Home Printer
- Fabric
- Poly Fil Fiber Fill
- Pillow Insert
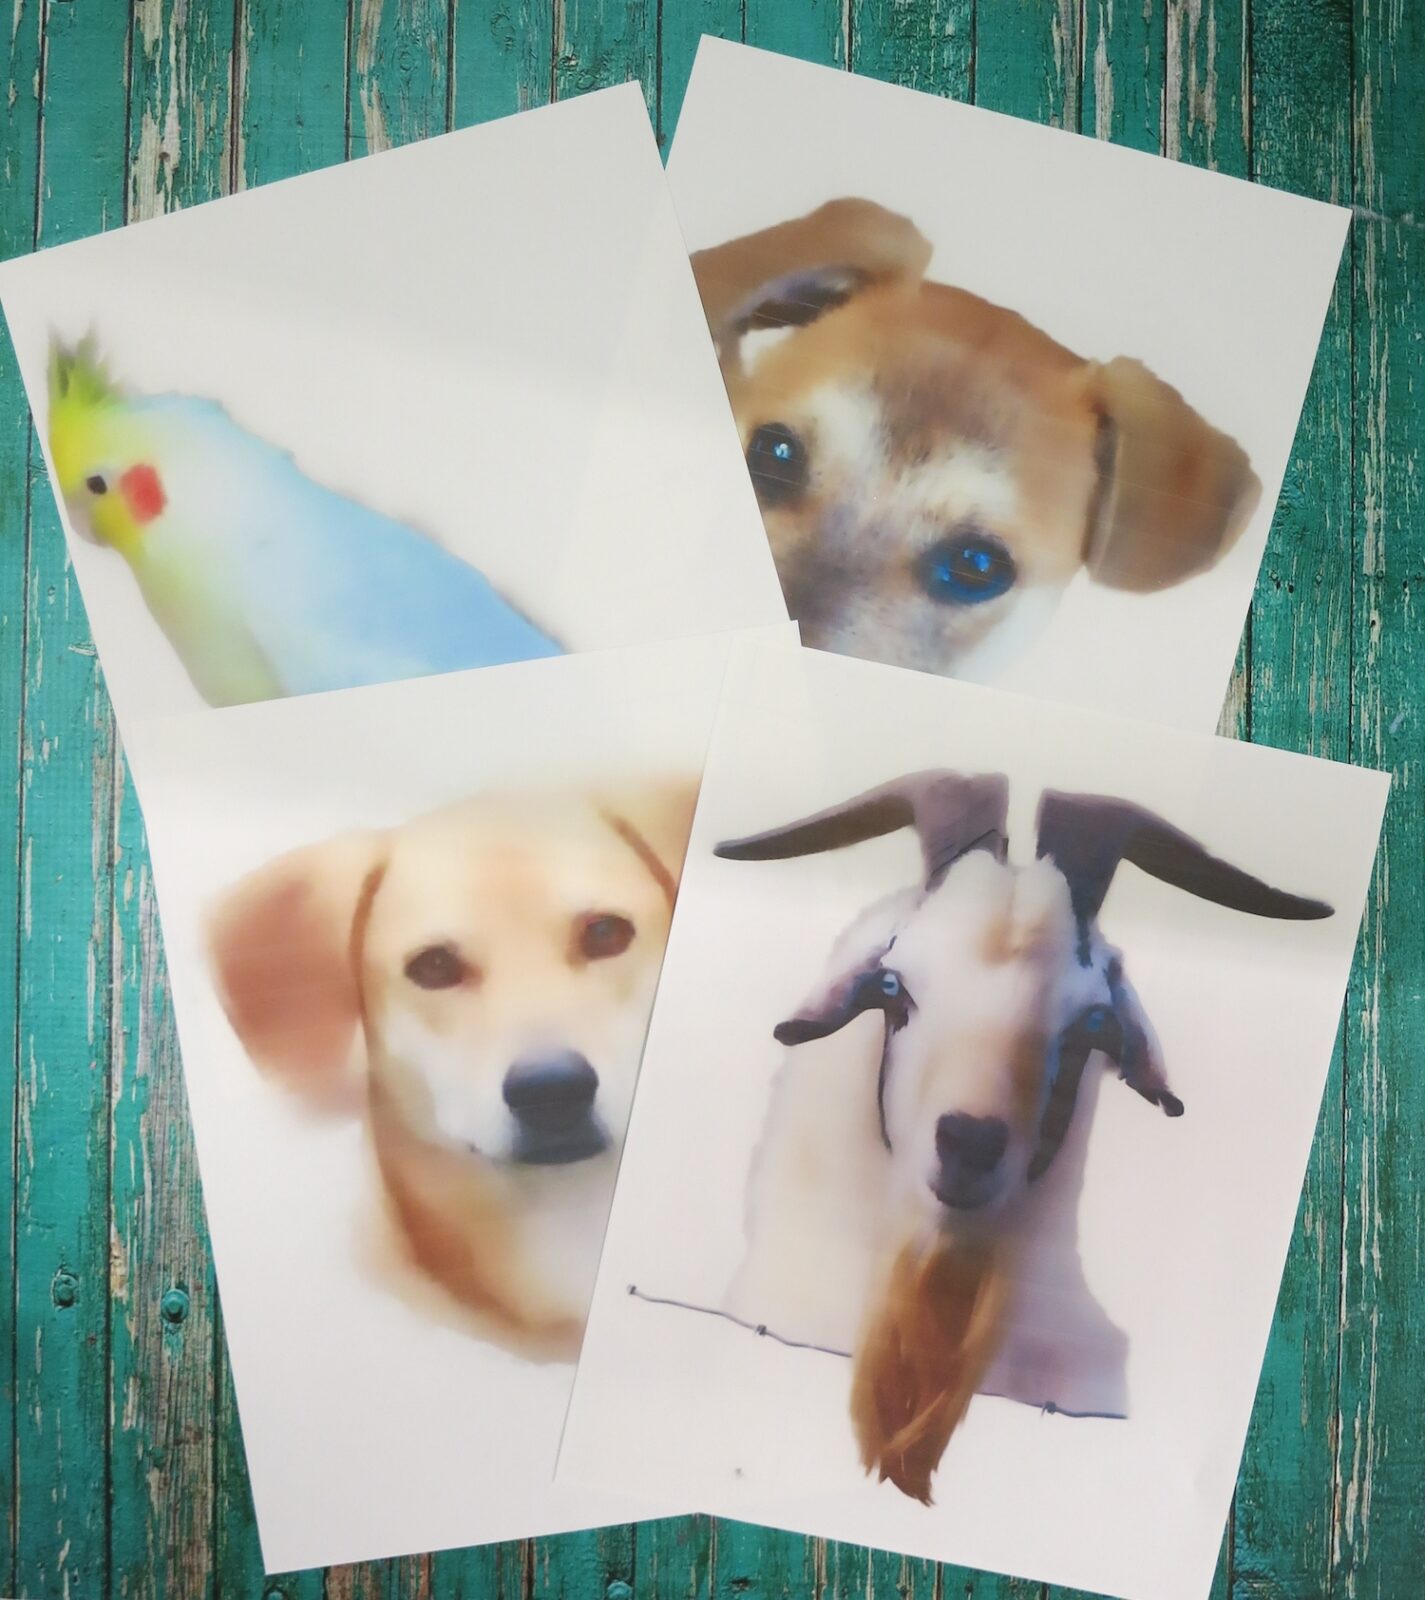
I used an app called LightX to remove the background from my photo. I also used one of the artistic features, called “Watercolor”, as an effect on the photo. You can do this with many different photo editing apps.
Print the image on the iron on transfer paper using your home printer. I used paper from OnlineLabels.com with my HP Envy ink printer.
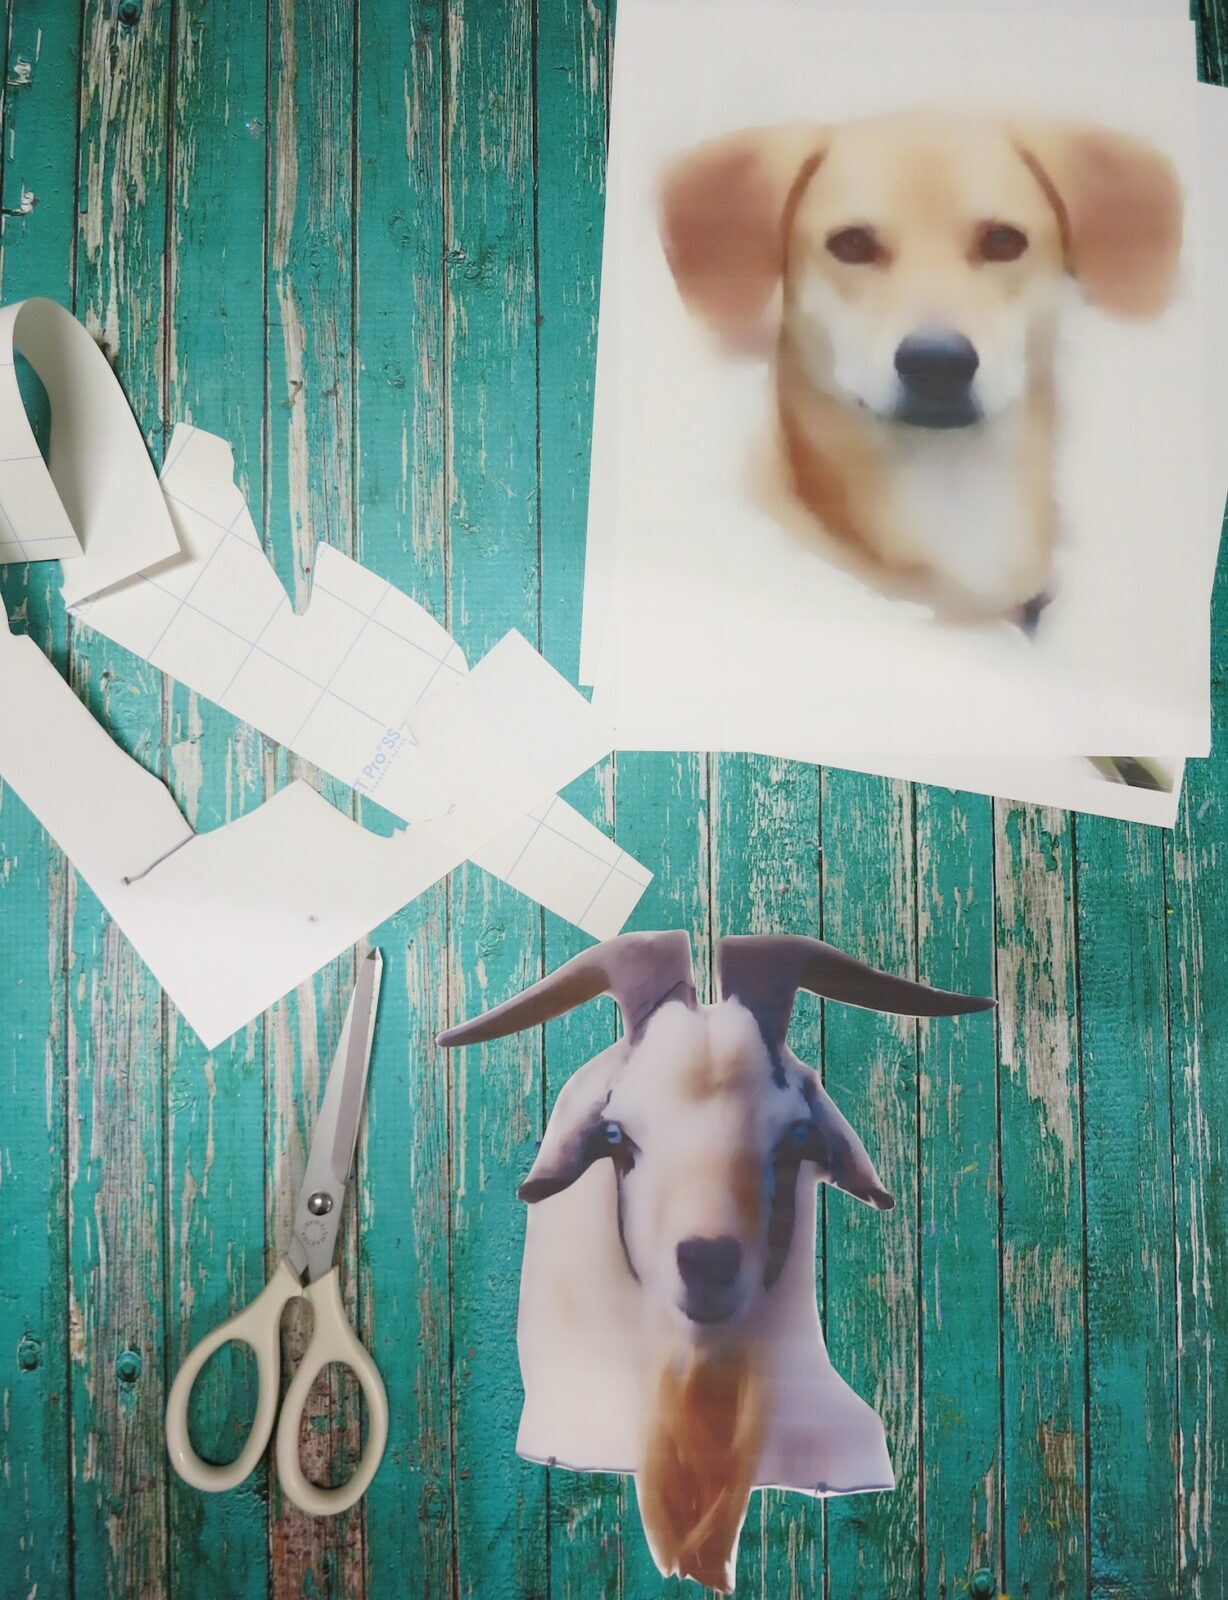
Trim around the edges of the image. You just want to trim the excess white space off.
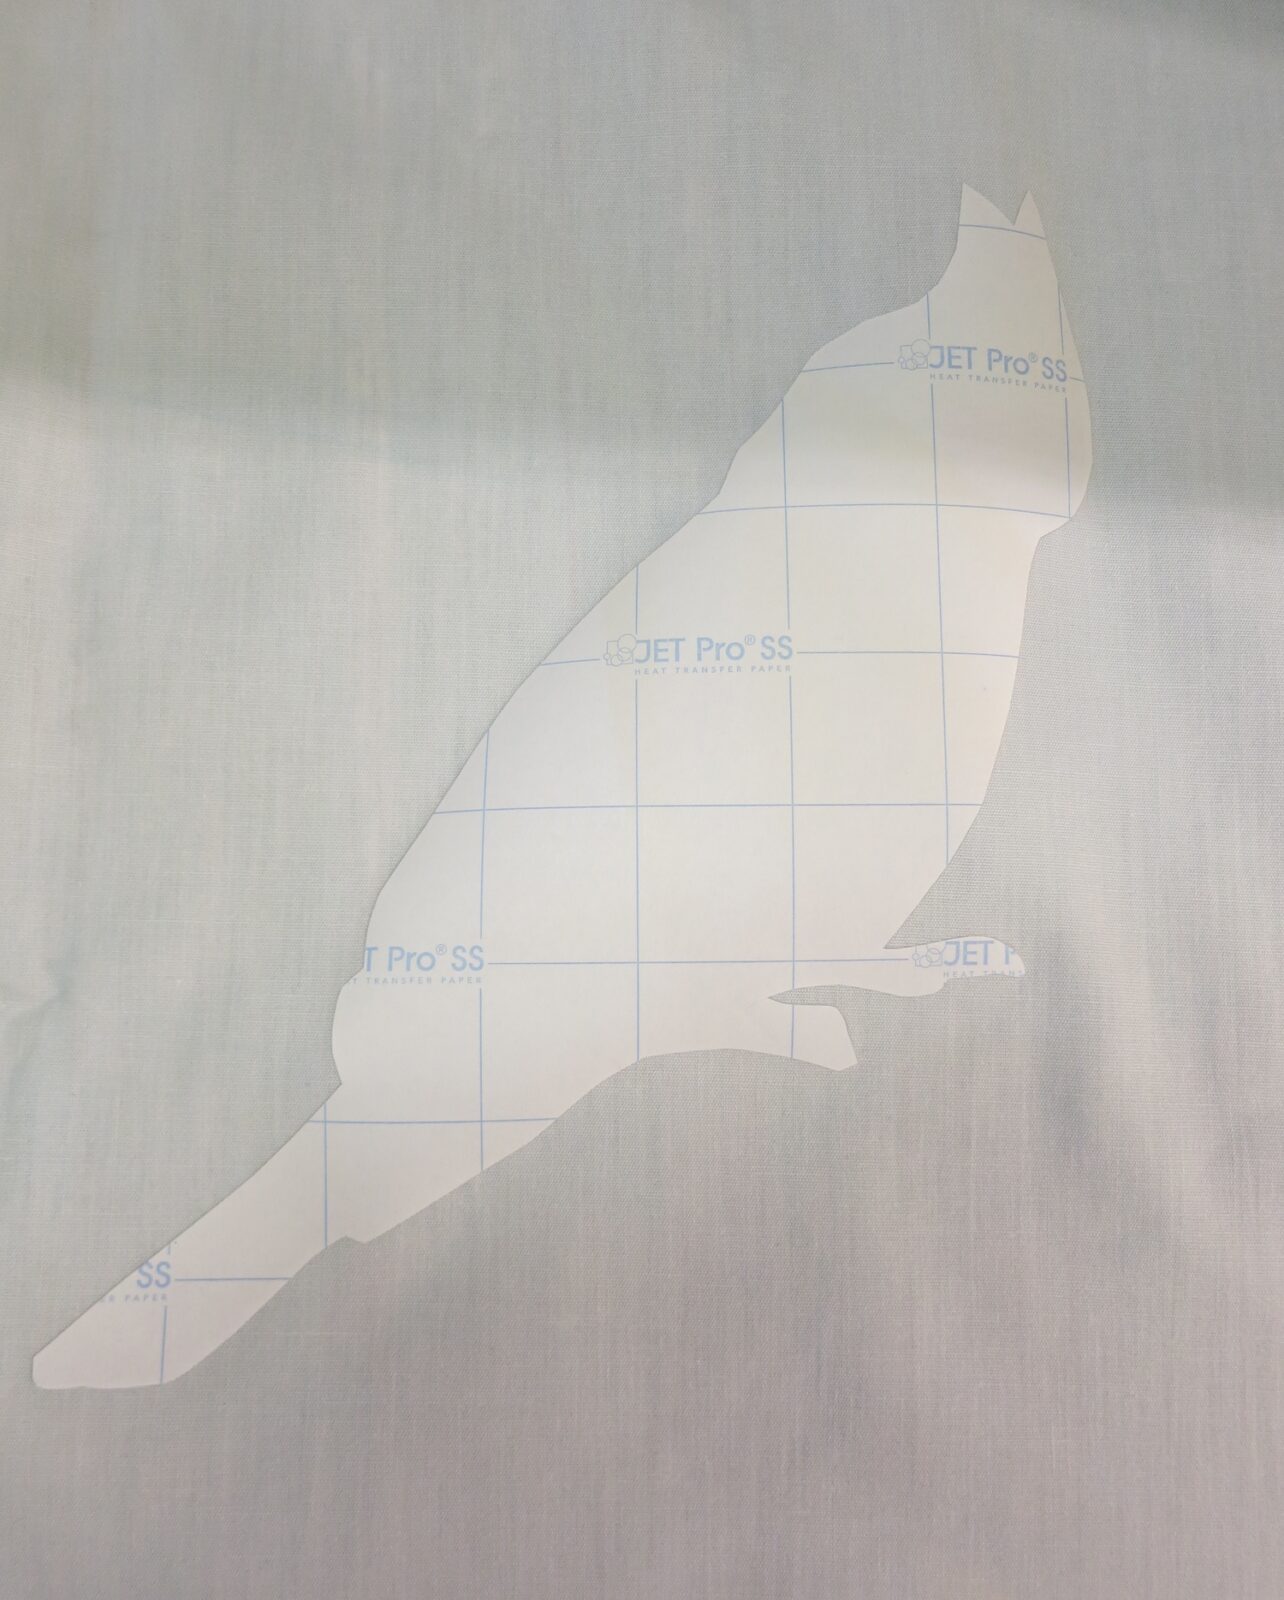
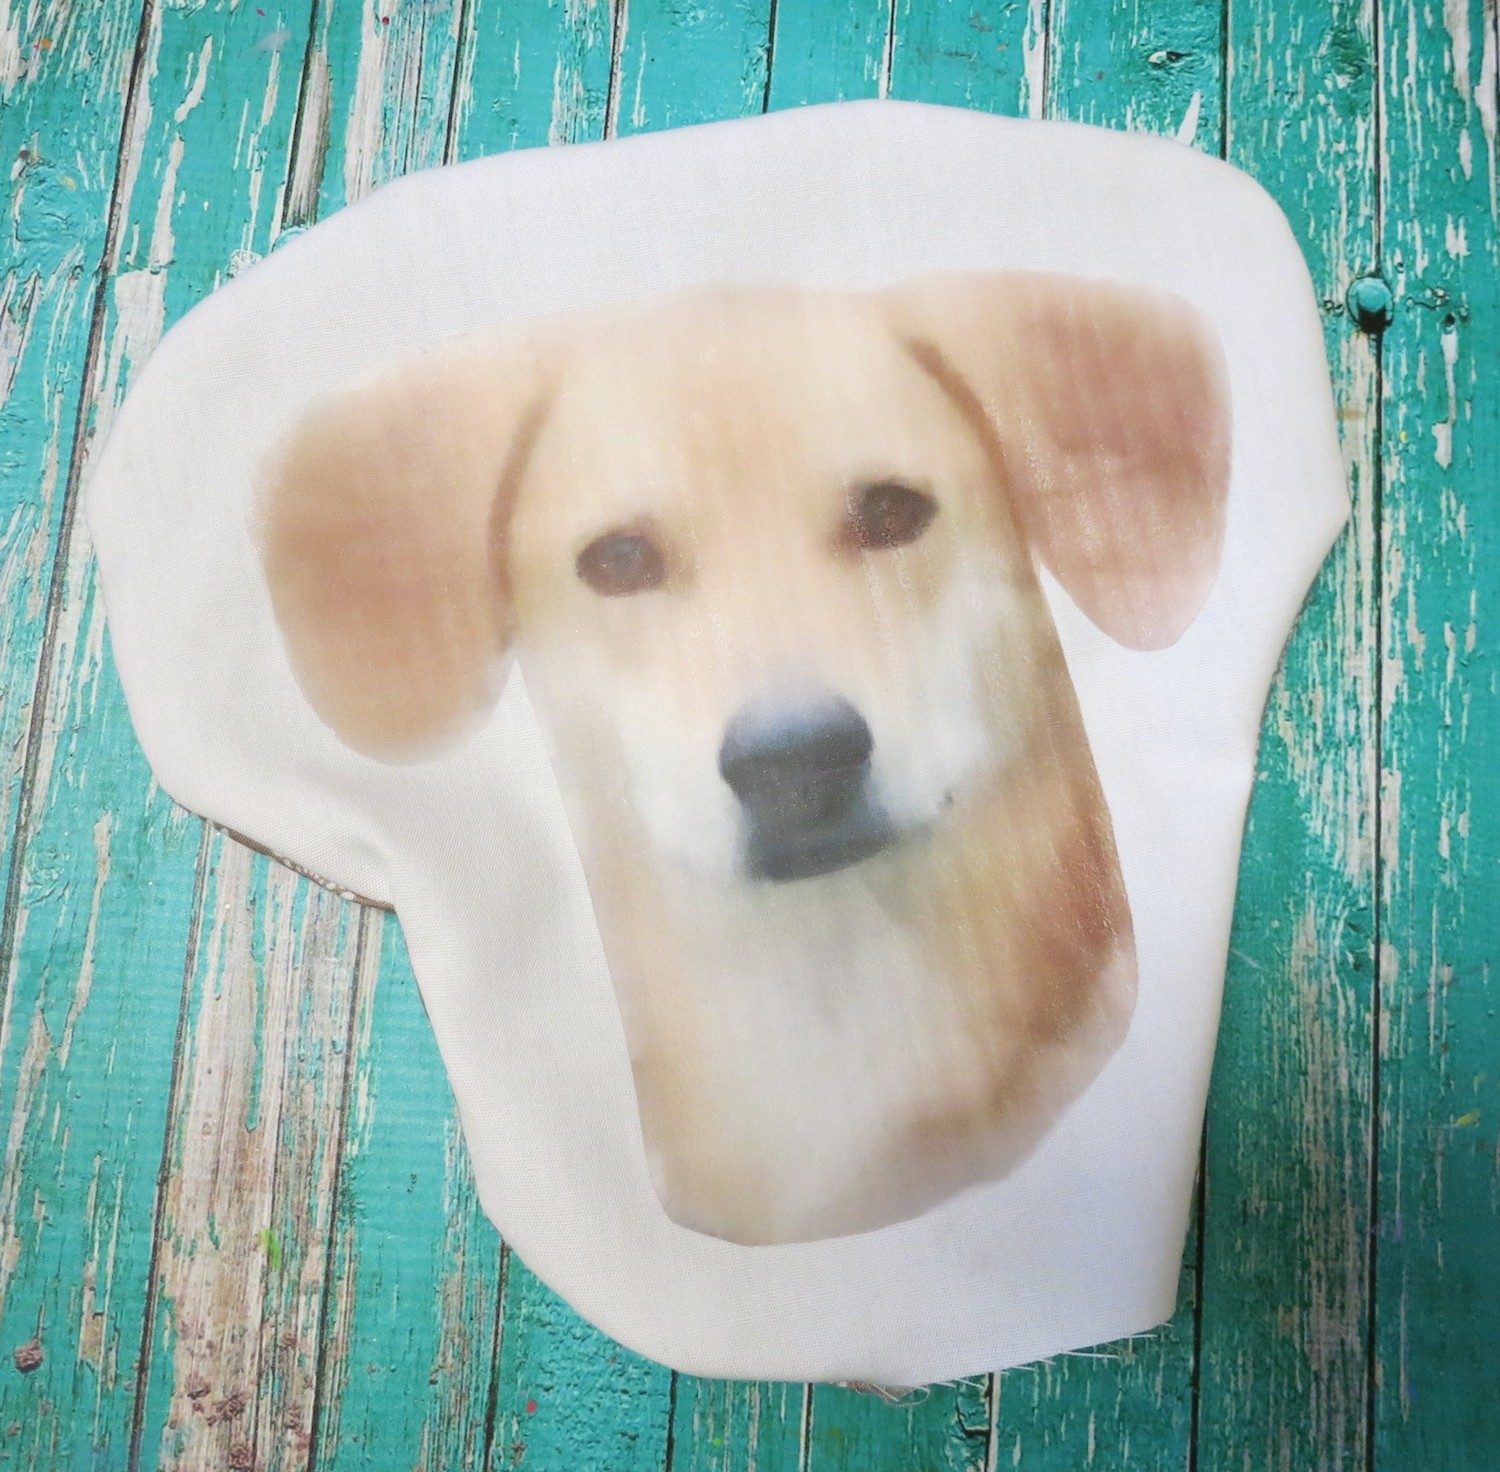
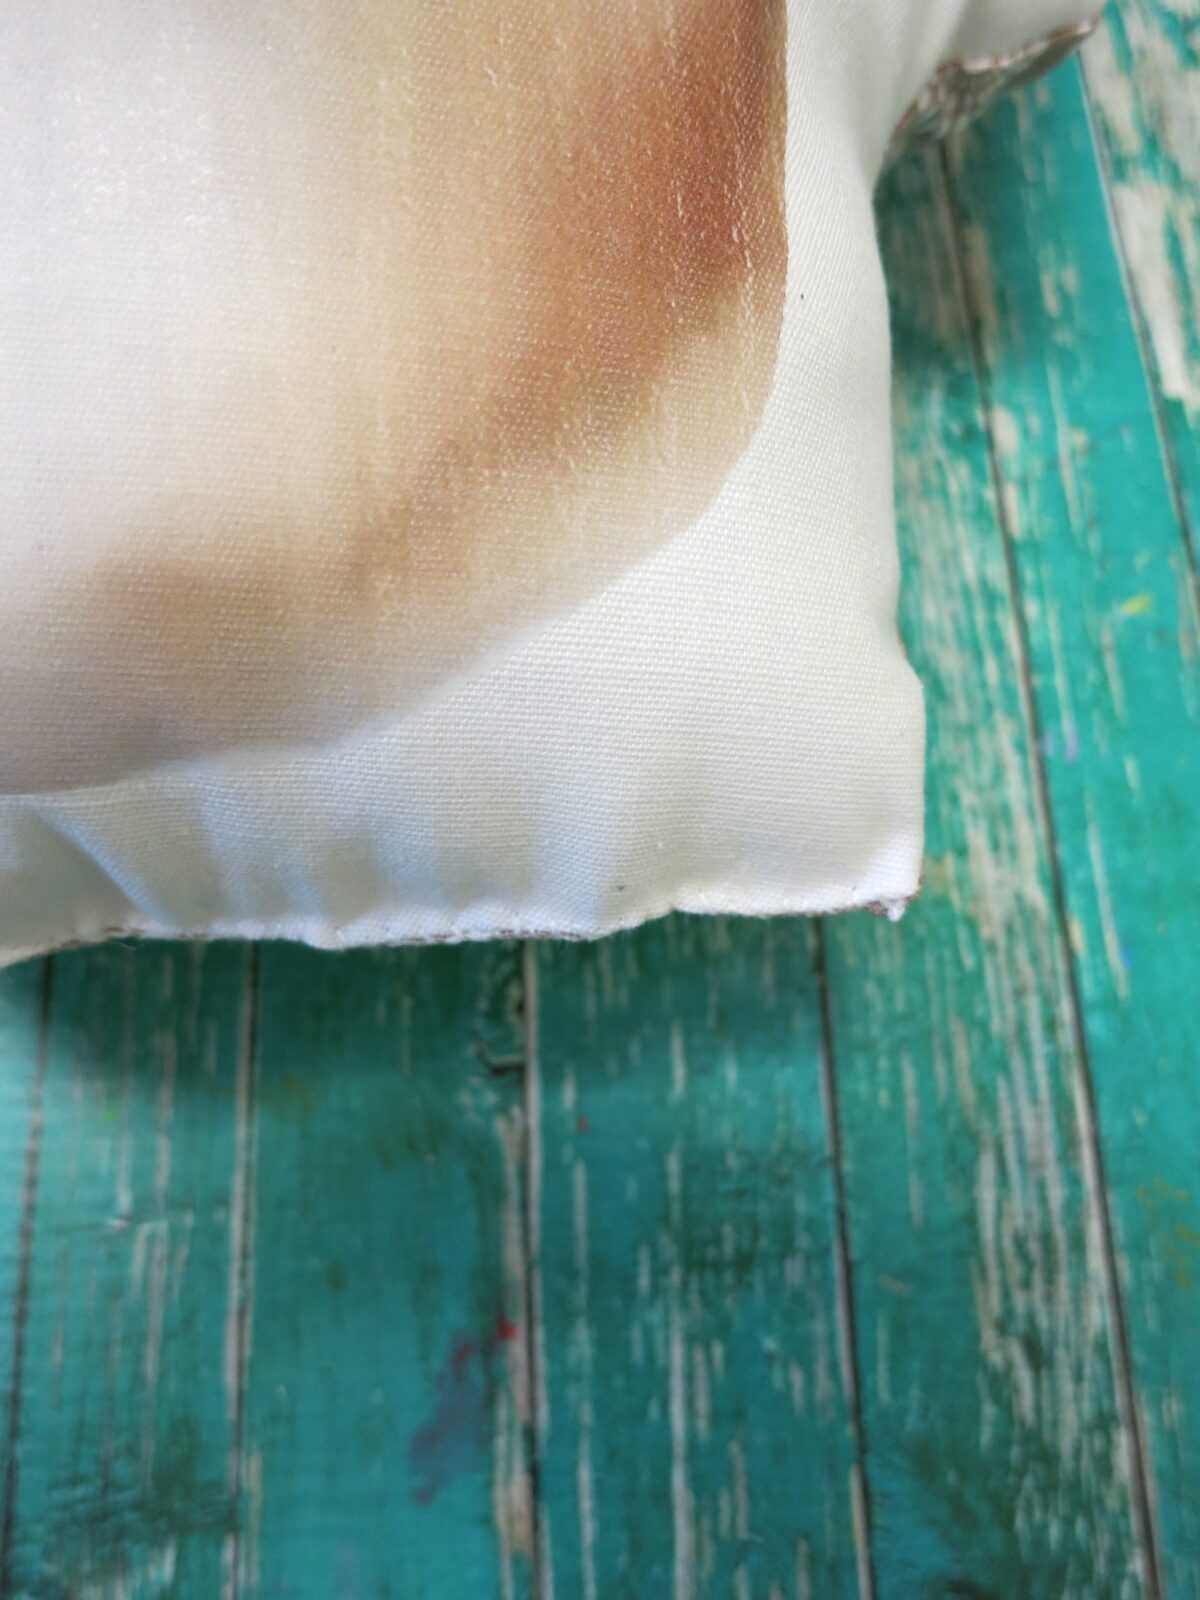
Place the image printed side down on the white fabric. Use your iron on the high setting to press the image. Keep the iron on one section at a time for 15-20 seconds. Let the paper cool completely before going to the next step.
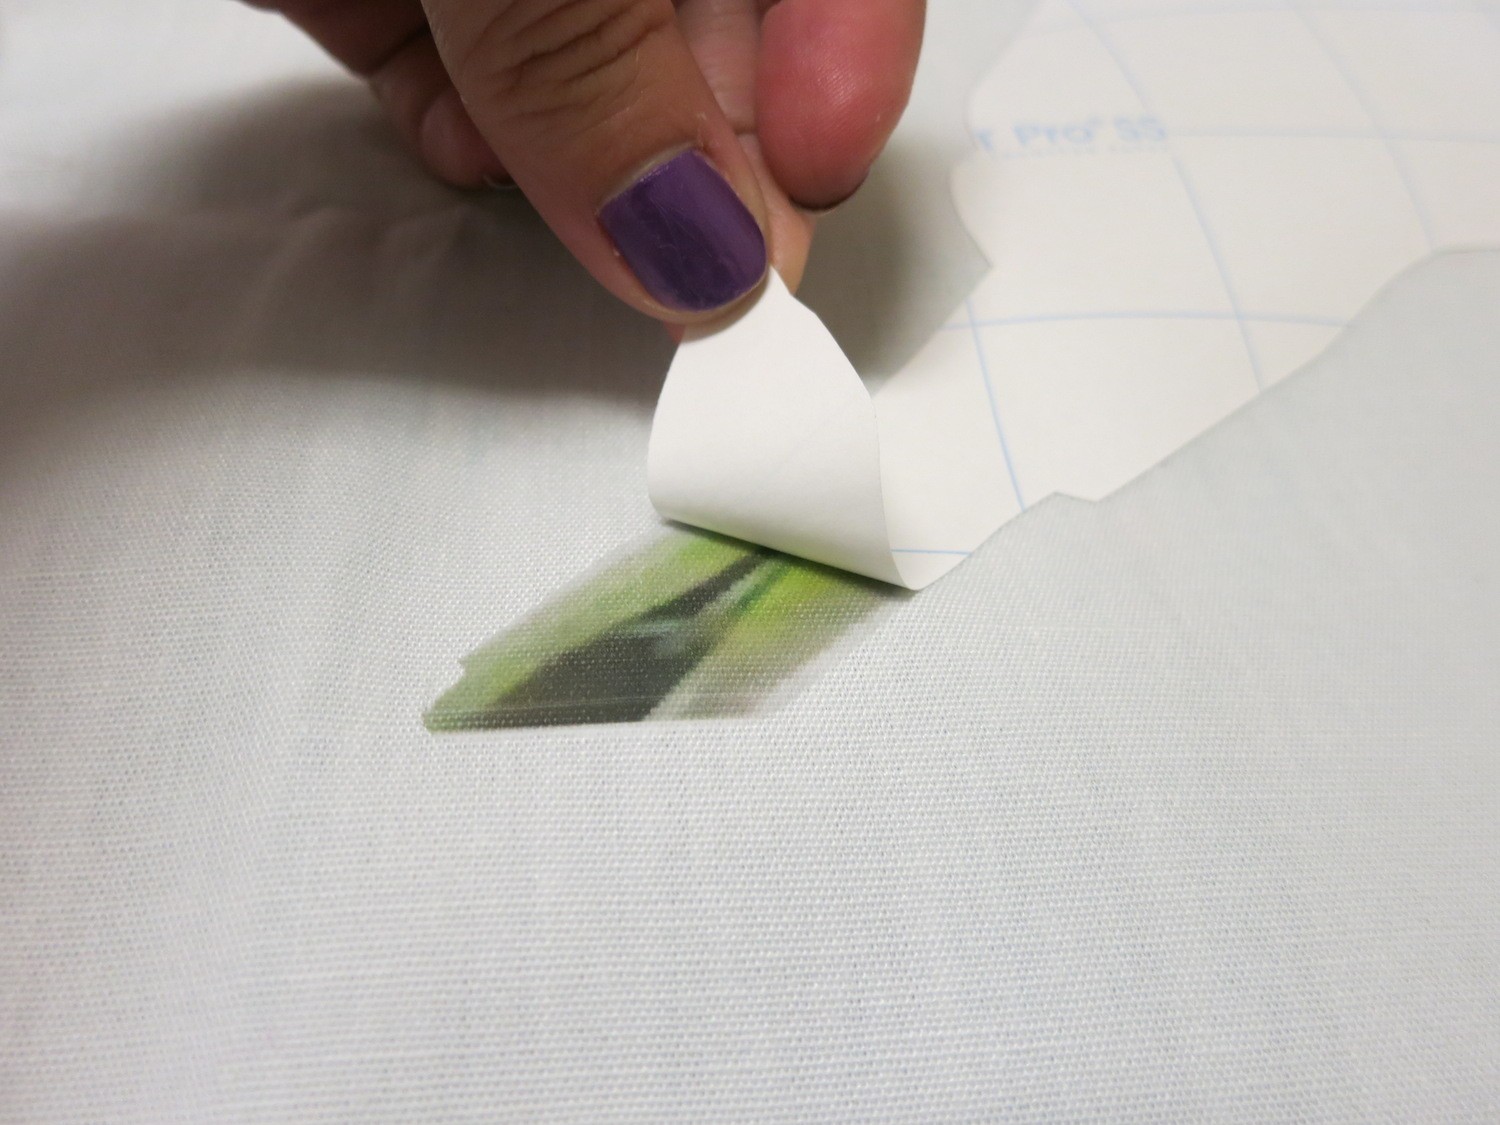
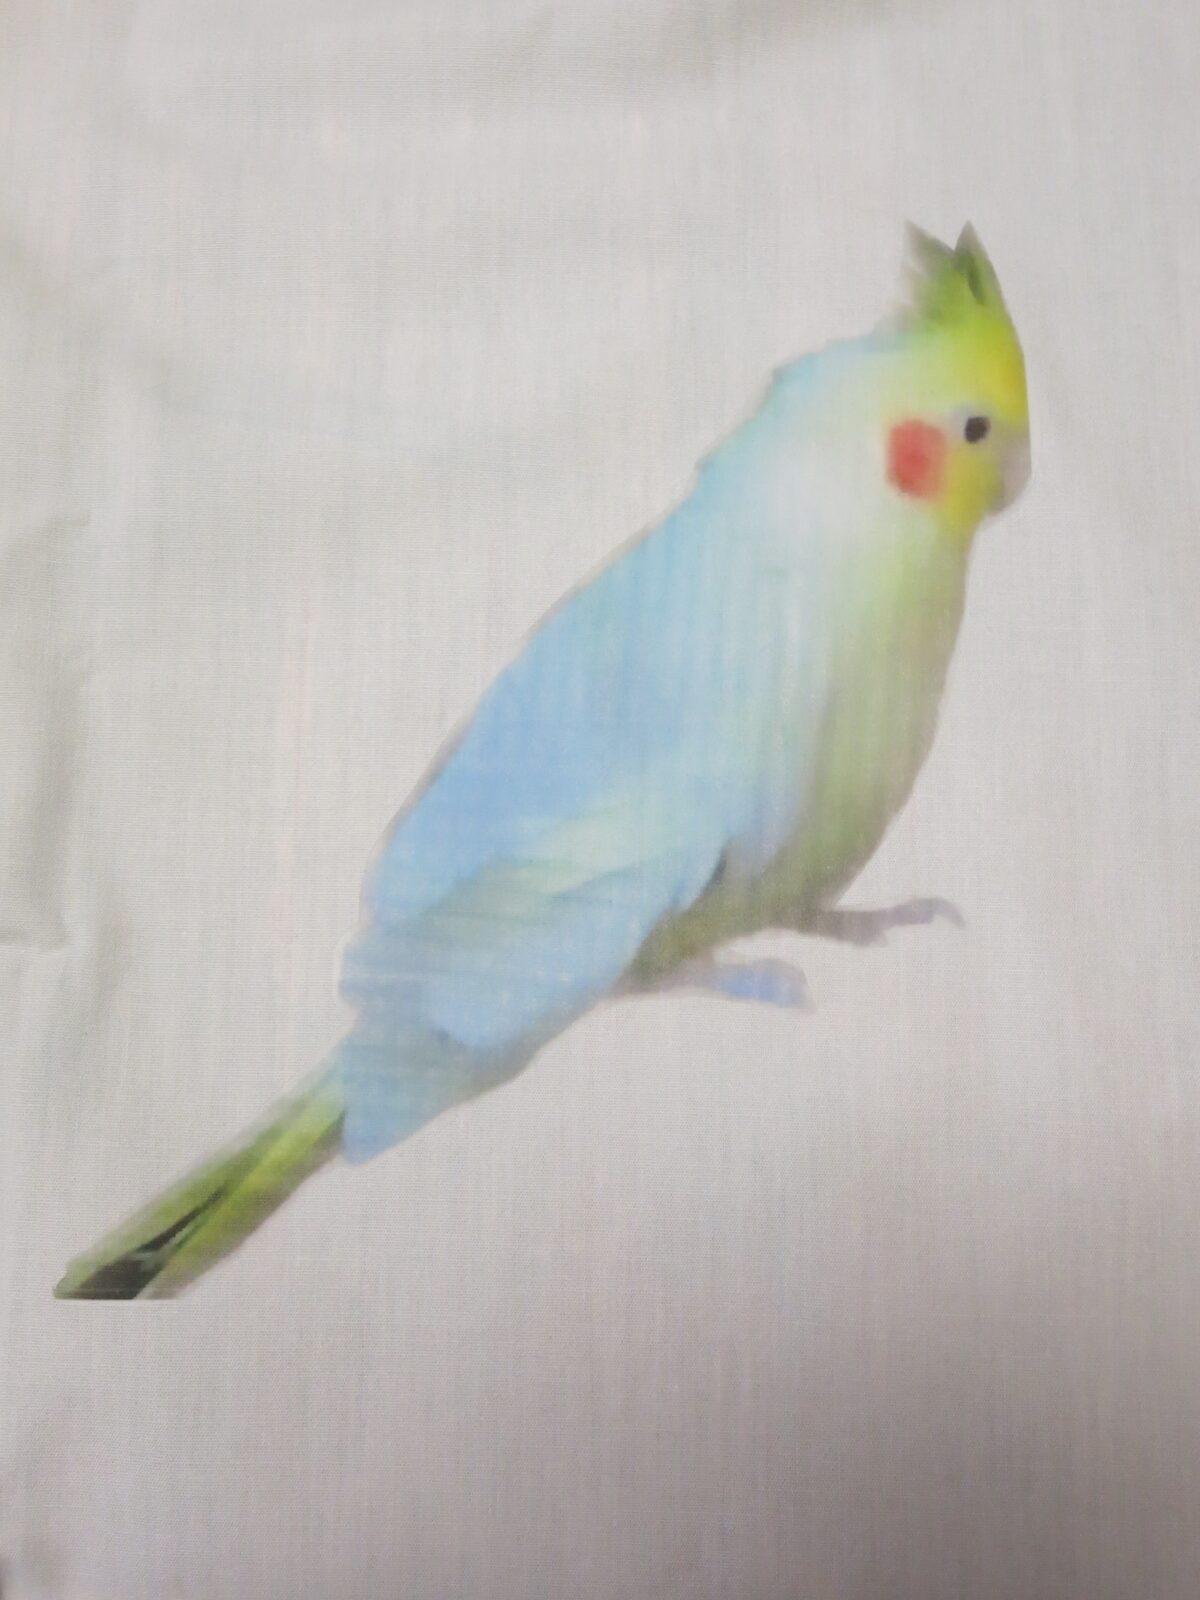
Carefully peel the backing off the fabric. Admire your beautiful image on the fabric. 🙂
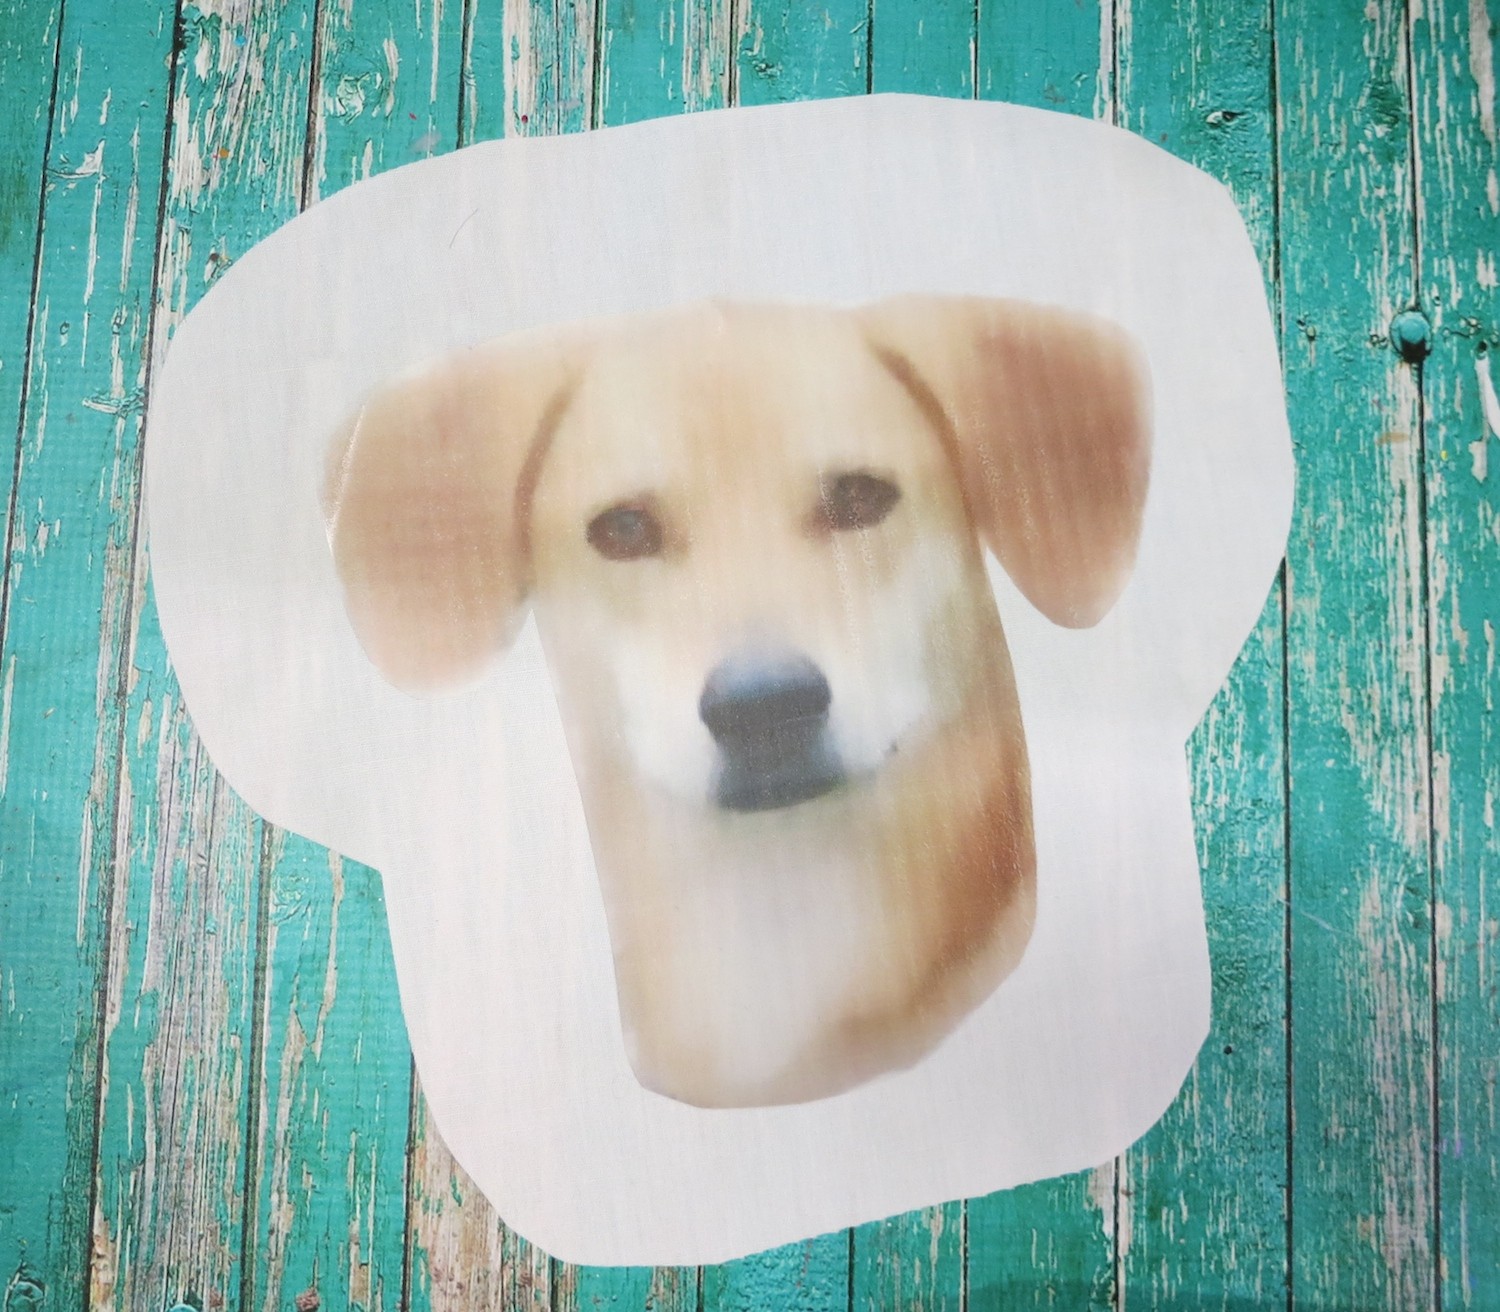
Trim around the image, leaving about a 2 inch allowance around the edge of the photo.
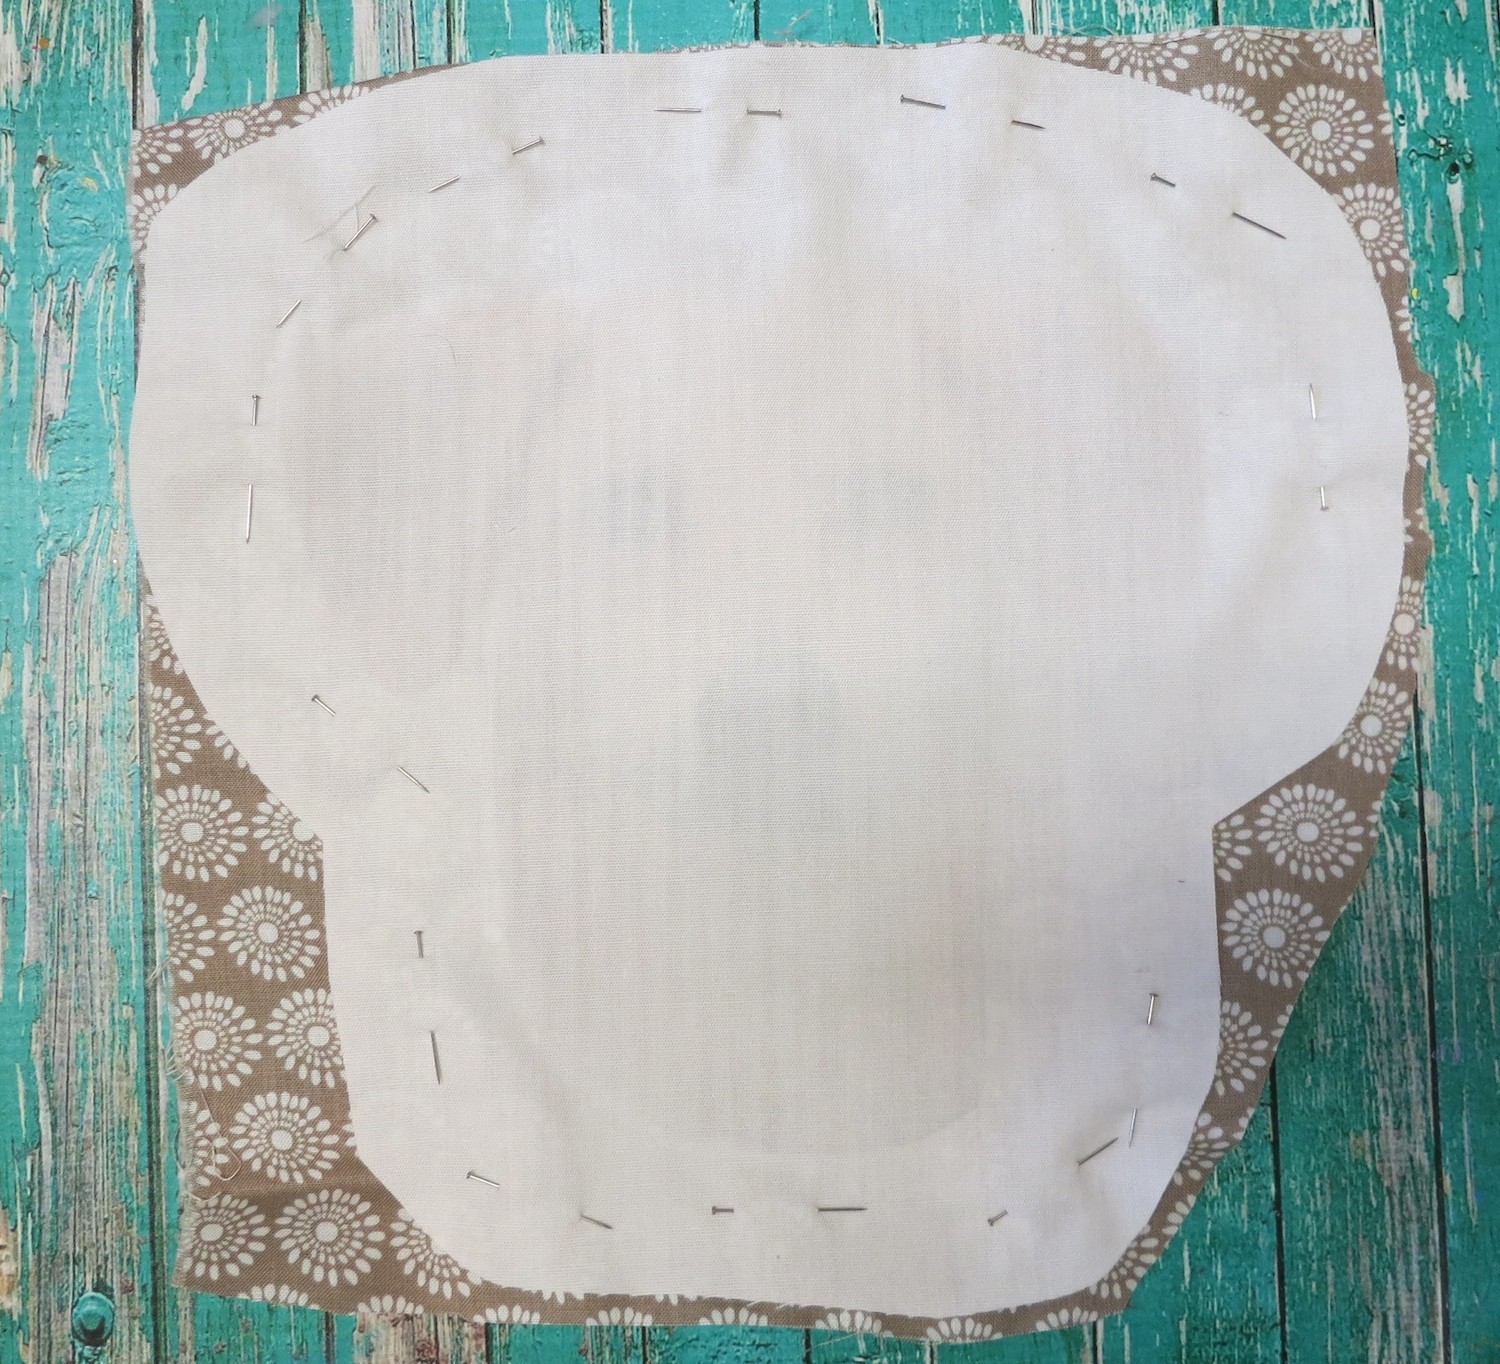
Place the cut fabric image side down on top of patterned fabric that will be the back of the pillow. Pin the fabric in place and trim off the excess.
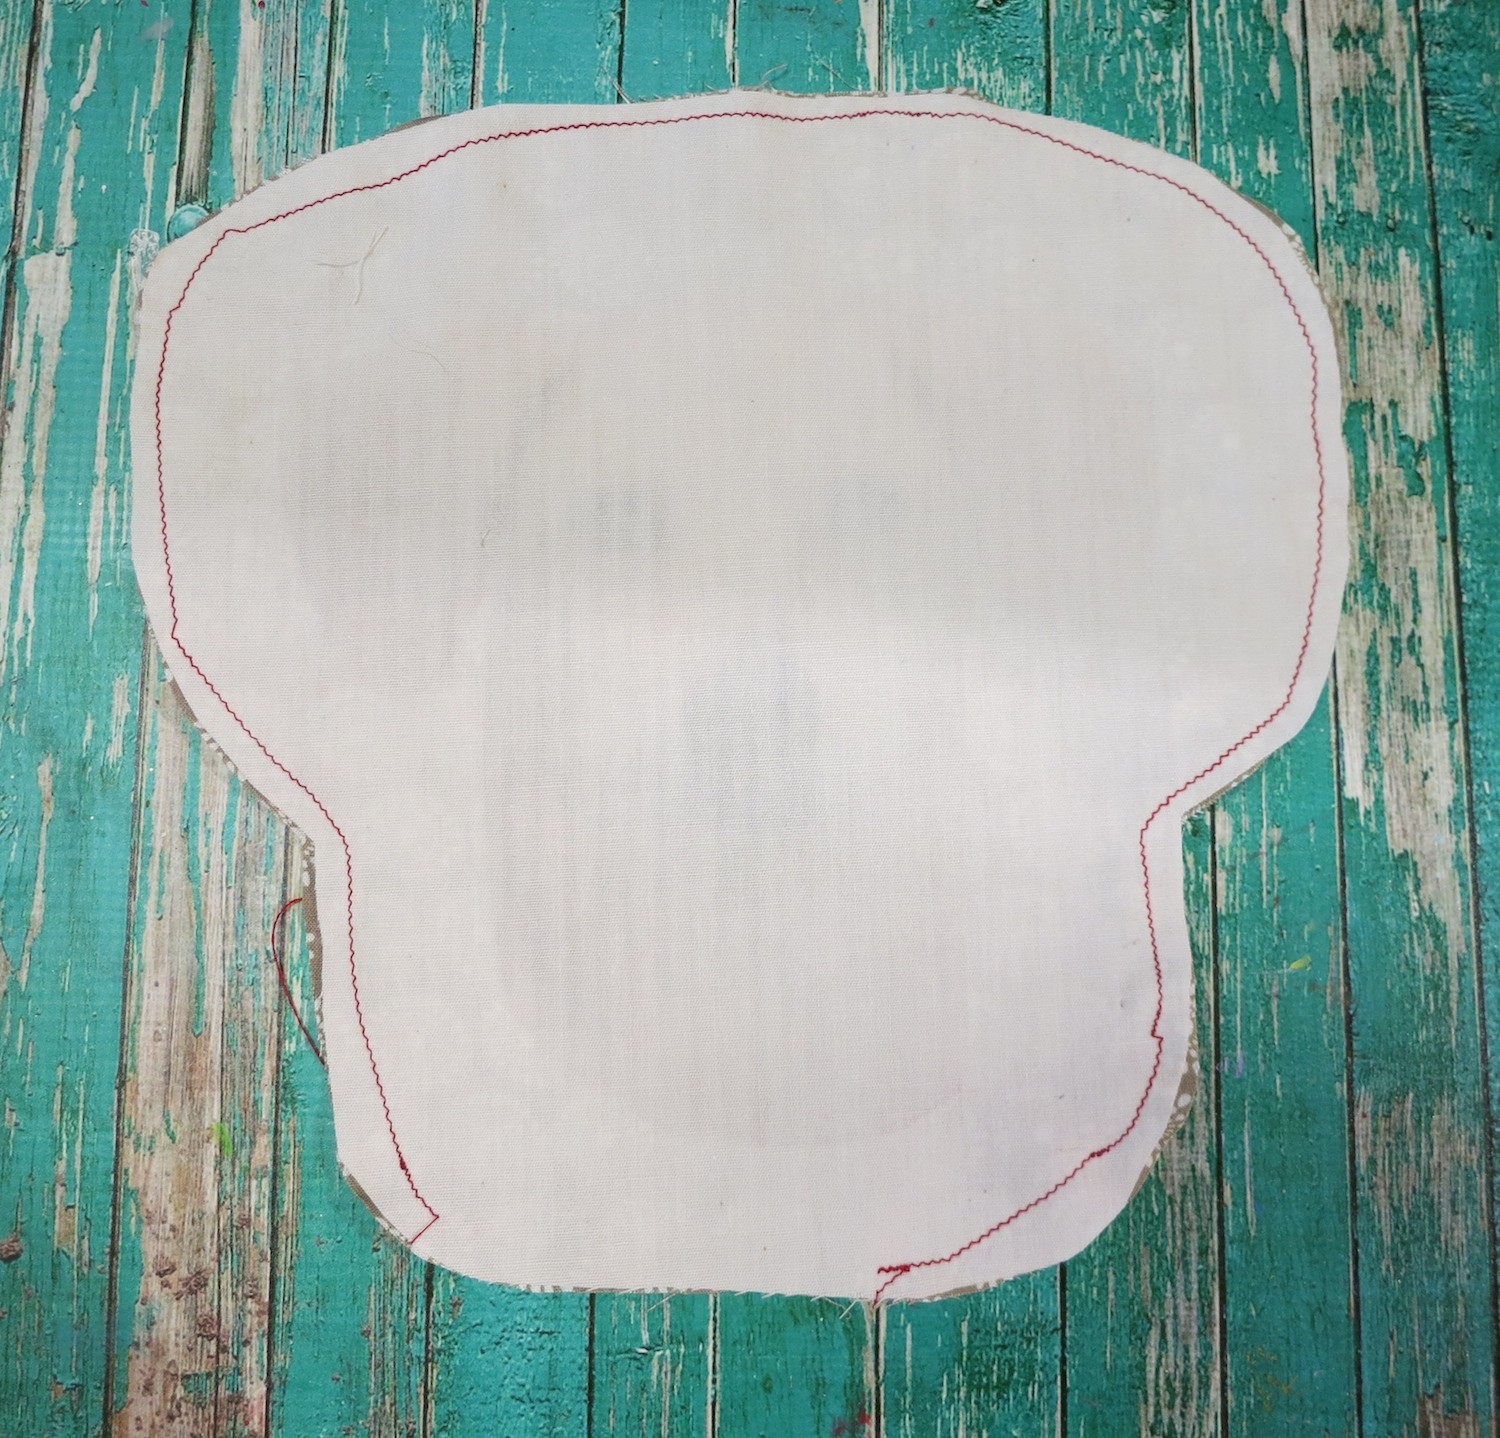
Sew around the edge of the fabric, following the cut lines and curves. Leave a small section unsewn at the base.
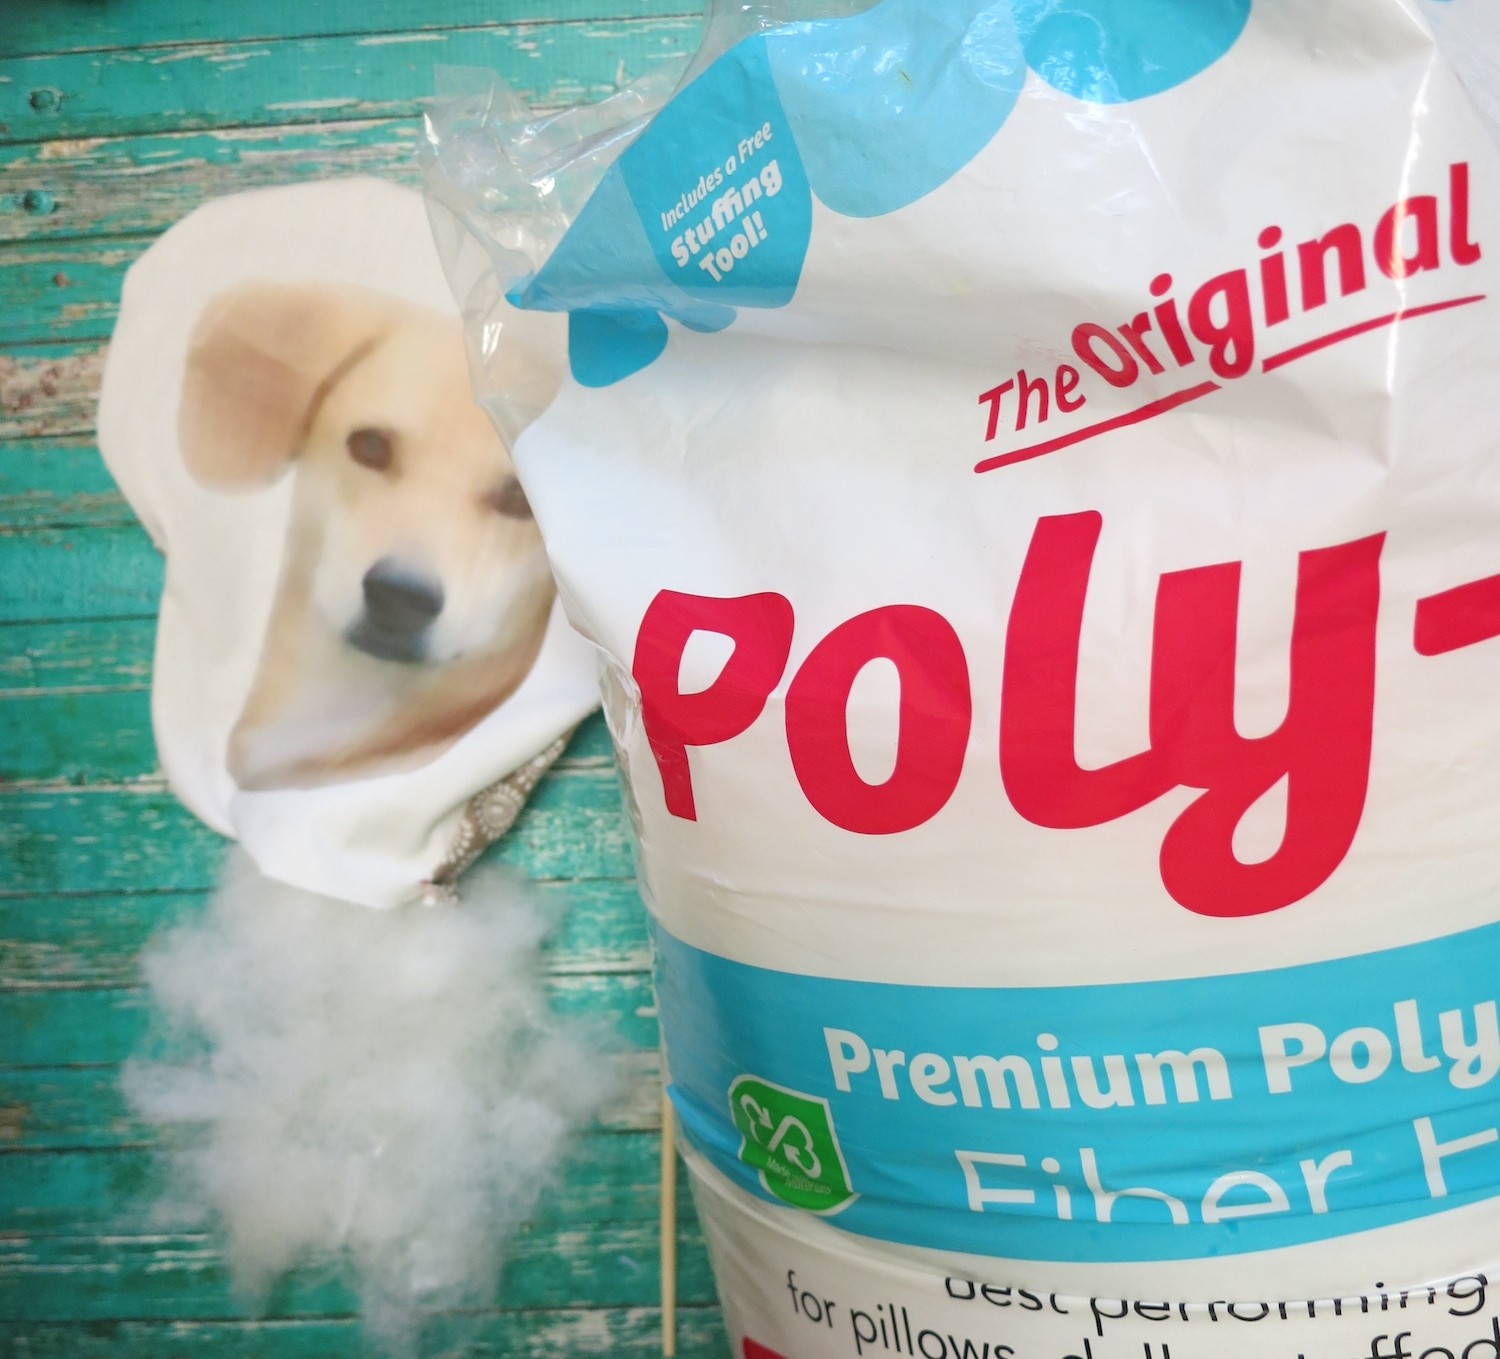
Turn the fabric inside out. Fill the fabric with high quality Poly-Fil Fiberfill. Use the included tool to help push the fiberfill into the corners of the pillow.
Pin the open section closed, and hand stitch the edge together.

For younger kids who are just learning to sew, a simple square pillow is a good start. Cut two 12 inch squares of fabric. Iron the image on the white fabric. Rather than Poly-Fil, use a 10-inch pillow base to quickly fill the pillow. Hand stitch the open side closed. Have fun crafting and creating your own DIY pet photo pillow projects!
Leave a Reply