Make Minecraft storage boxes to organize your stuff.
It is so hard to help my kids learn to keep their stuff organized, especially stuff for homework! I want them to learn that having school supplies organized and in one place makes it so much easier to get homework and projects done! Decorating your storage space makes homework just a little more fun, too, I say. I was inspired by my son’s favorite game, Minecraft, to make some cool and functional storage boxes for his desk. His most used school items (pencils, glue, calculators, etc.) are neatly stashed away inside these decorated Walnut Hollow boxes.
Supplies used to make Minecraft Storage Boxes:
- Walnut Hollow Card Keeper Box (3)
- Apple Barrel, Vibrant Spectrum Collection Acrylic Craft Paint
- Cardstock in various colors
- Square Paper Punch – 3/4″
- Mod Podge
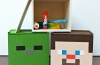
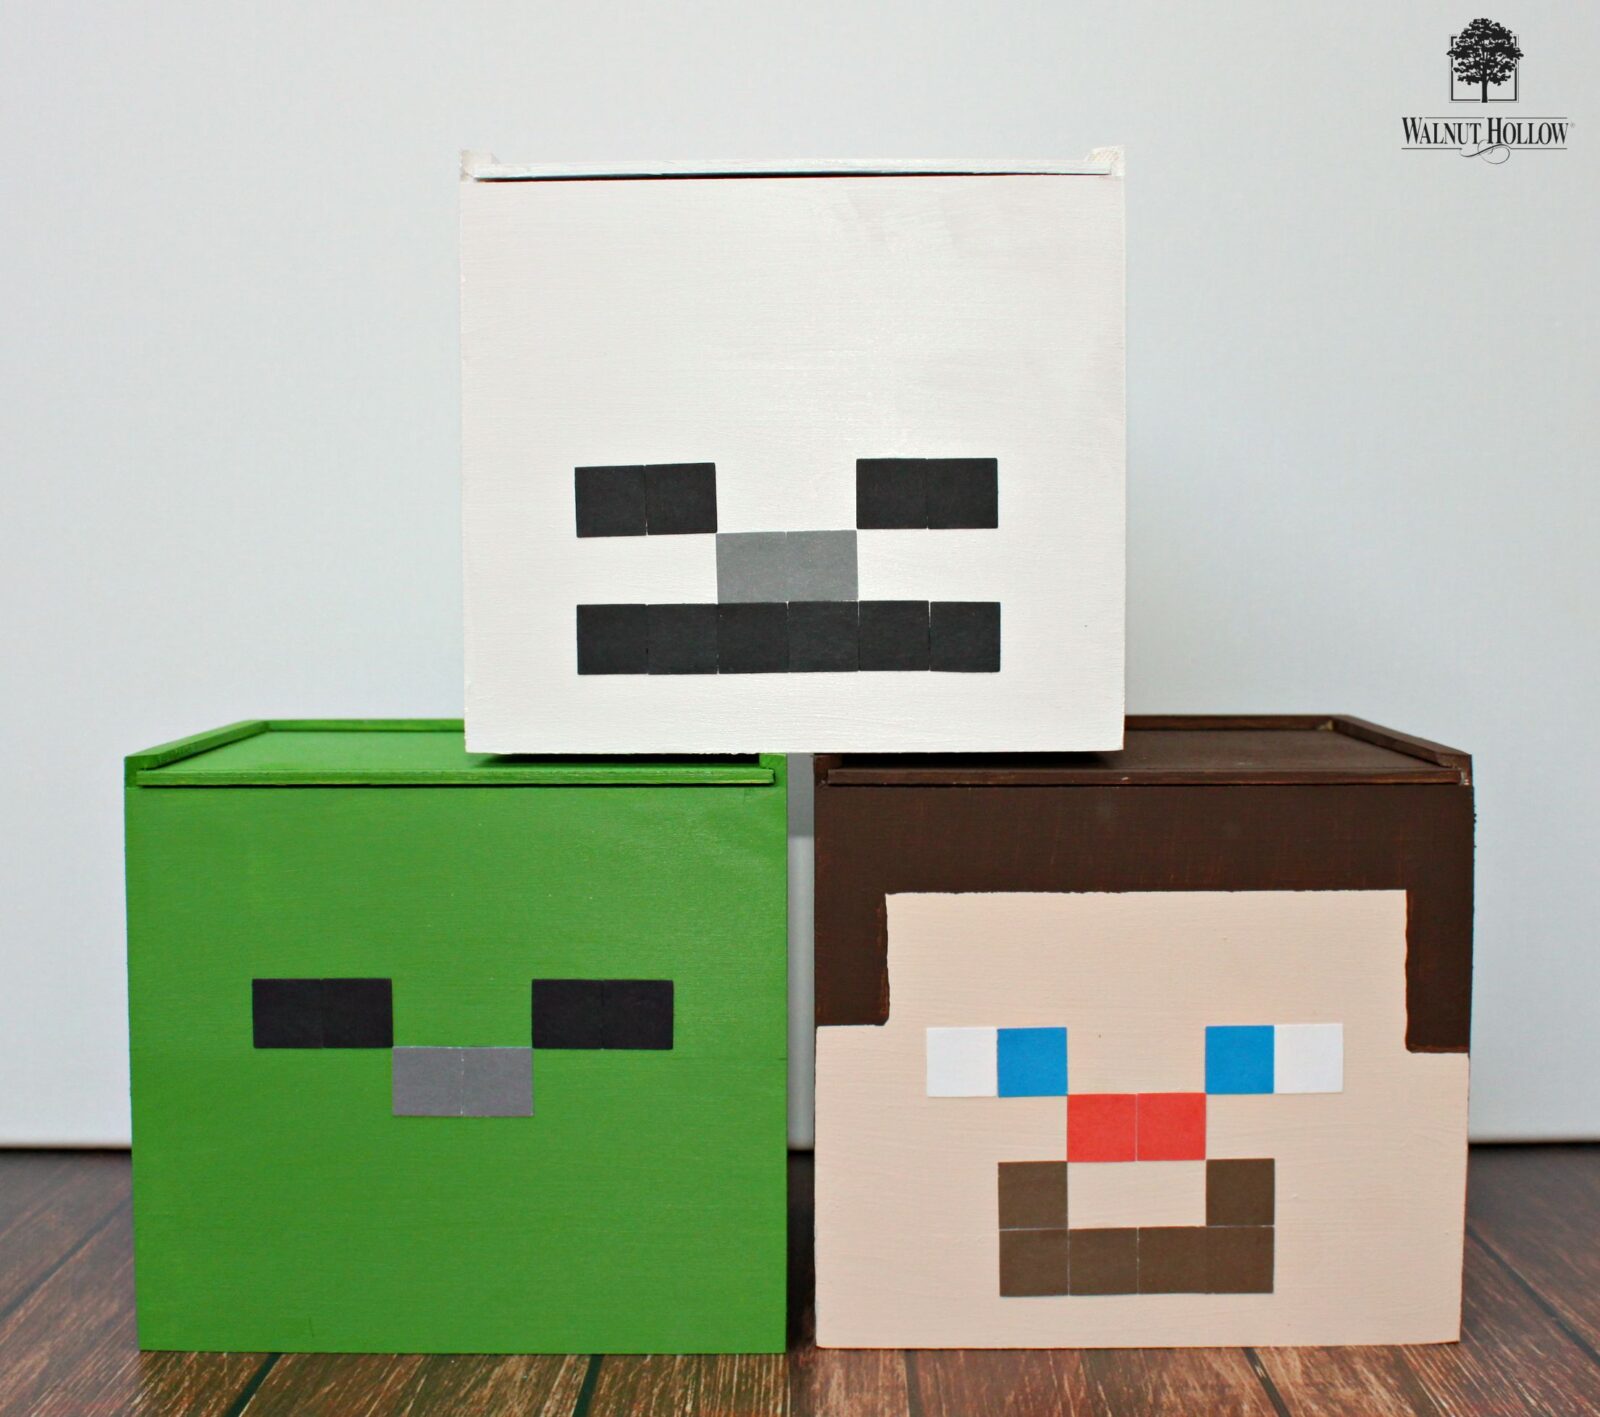
Paint each box in a color that represents the Minecraft character your child likes. Be sure to remove the lid and paint it separately from the box, otherwise the paint will dry and seal the lid to the box. I used green for the zombie, white for the skeleton, and buff beige & brown for Steve.
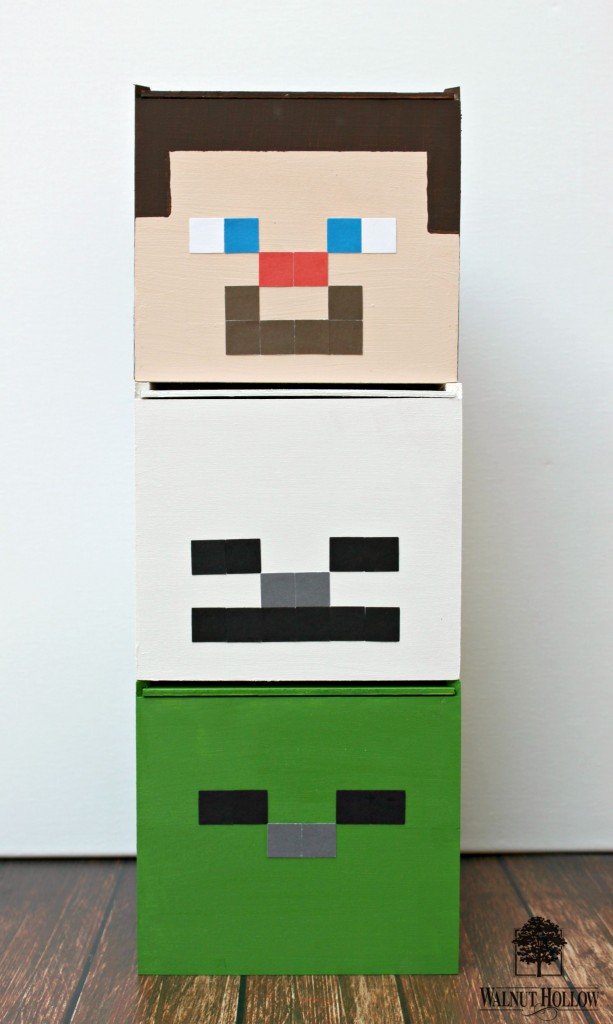
For the box inspired by Steve, I painted the sides and top brown, and used tape to outline the hair line on the front, as pictured.
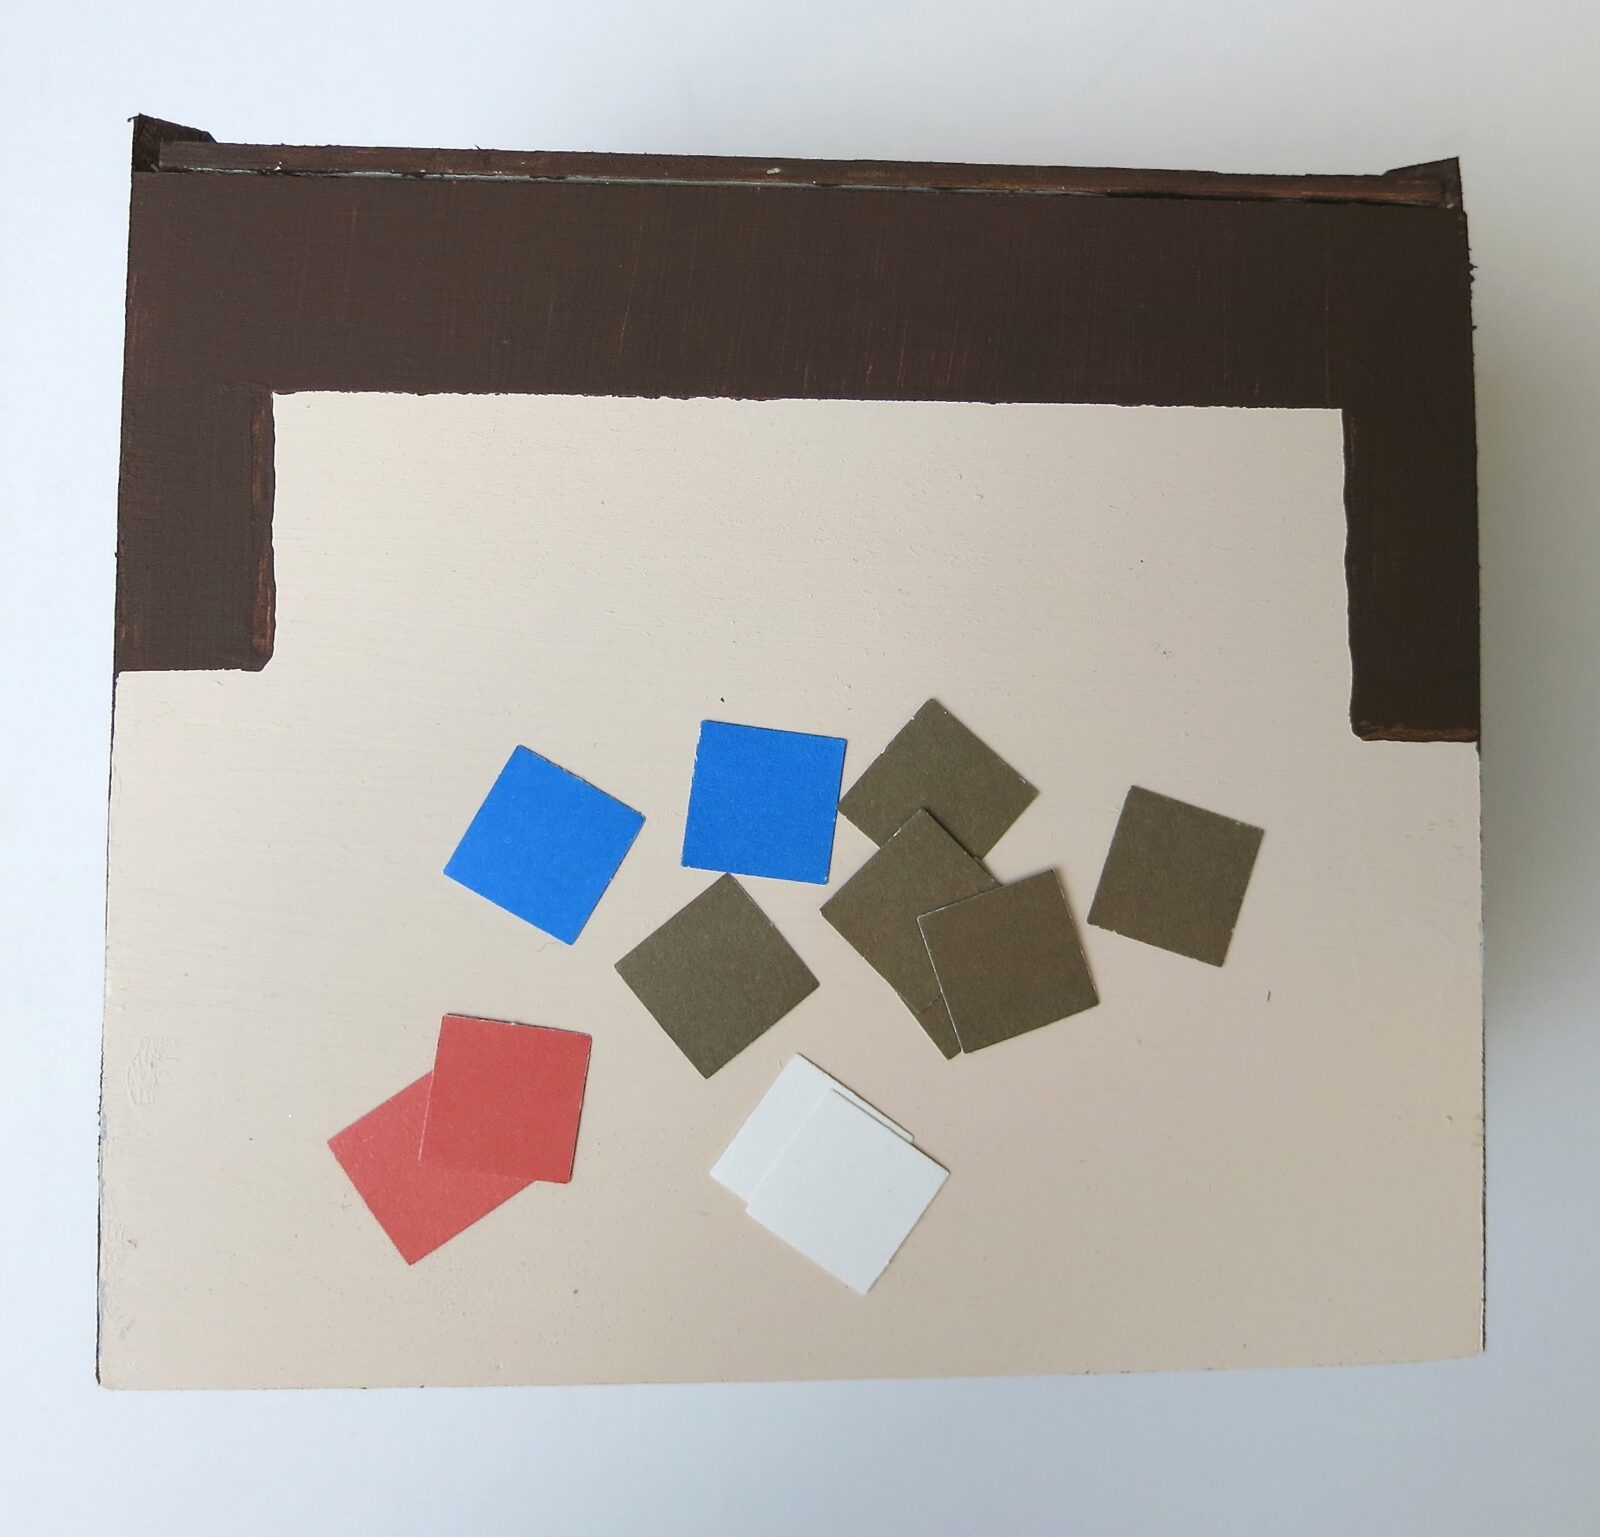
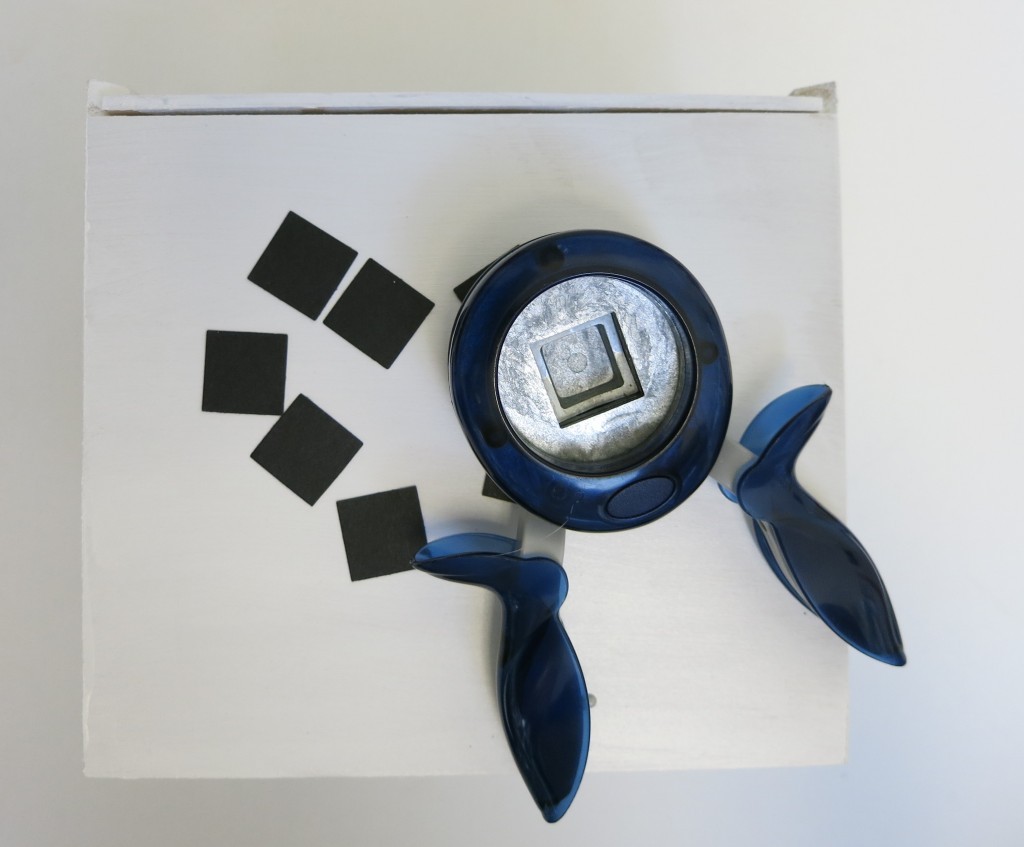
Use the square paper punch to cut out square “pixels” in various colors.
- Skeleton: 10 black, 2 gray
- Zombie: 4 black, 2 gray
- Steve: 2 blue, 2 white, 2 orange, 6 brown

Use a pencil and ruler to mark the line where you will glue the squares. Use a Mod Podge to glue the paper squares to the box. Use the photos of my finished boxes as a guide if you need to.
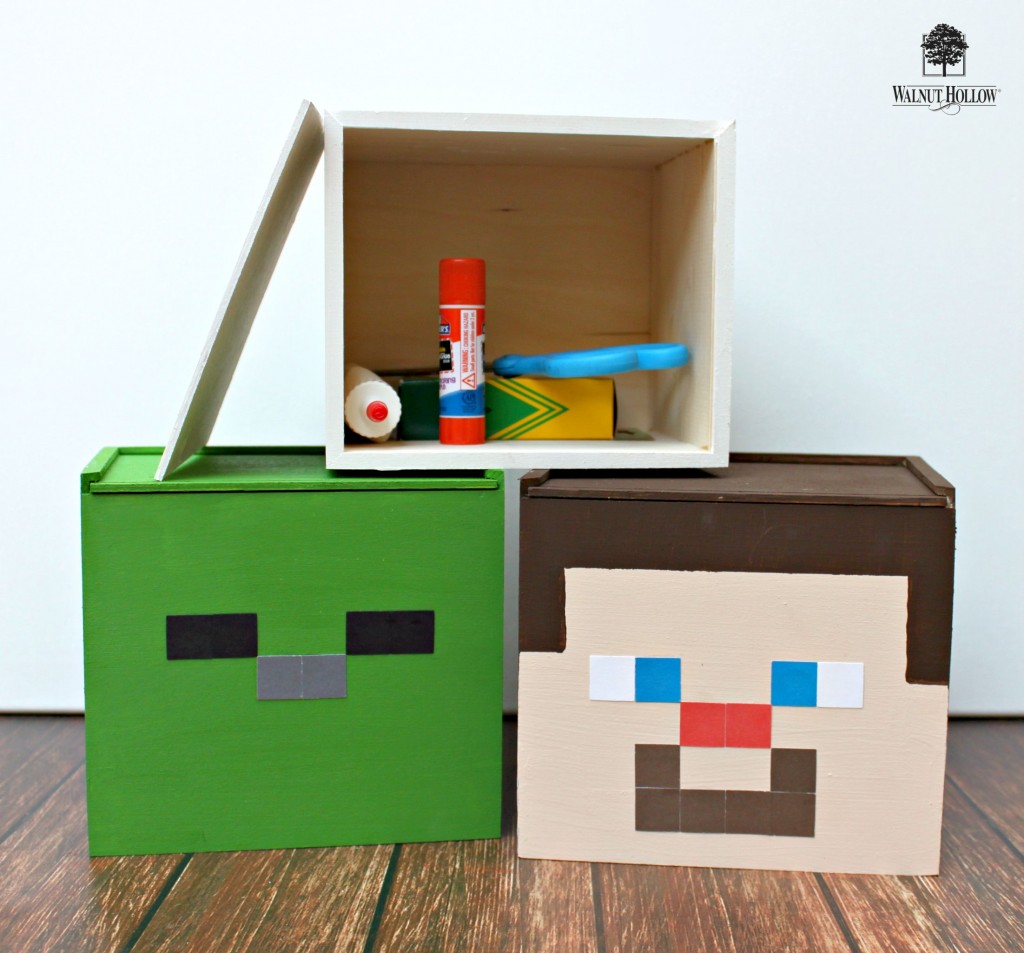
My son loves these Minecraft storage boxes and they look great on his desk, too! Who says organization can’t be cool?
I first published this project on the Walnut Hollow blog as a member of their creative team.
Leave a Reply