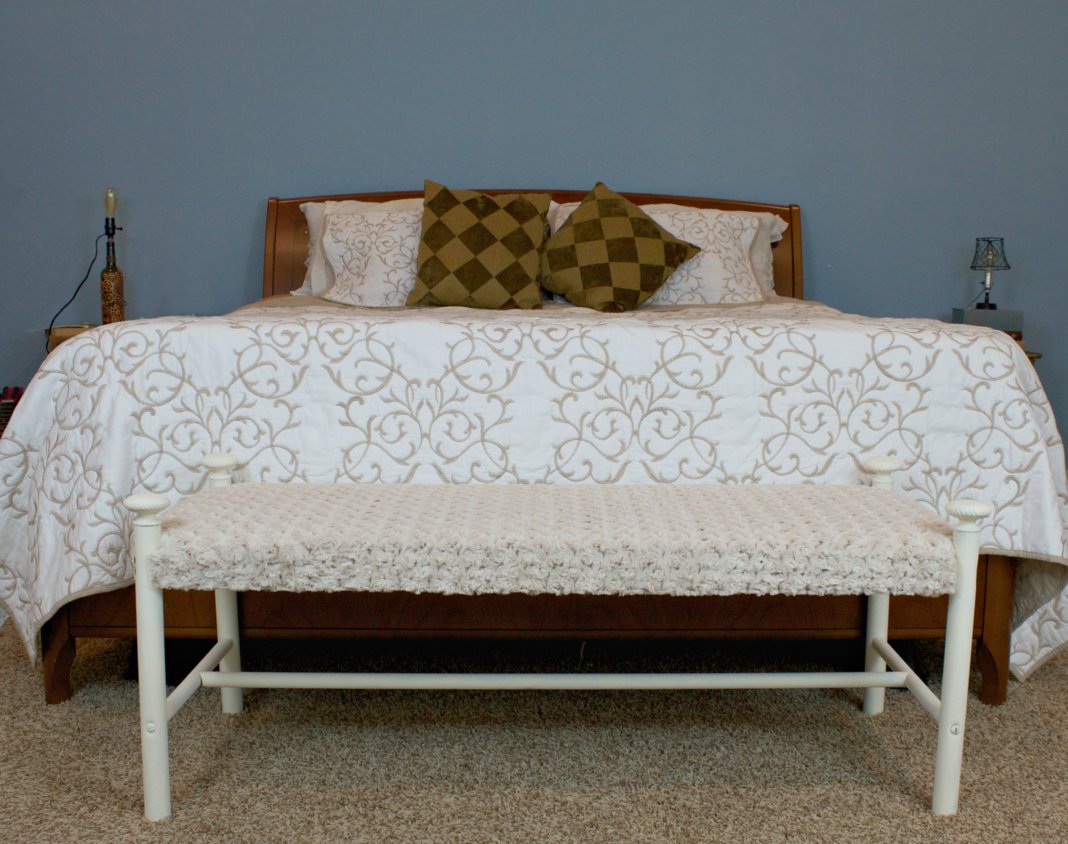
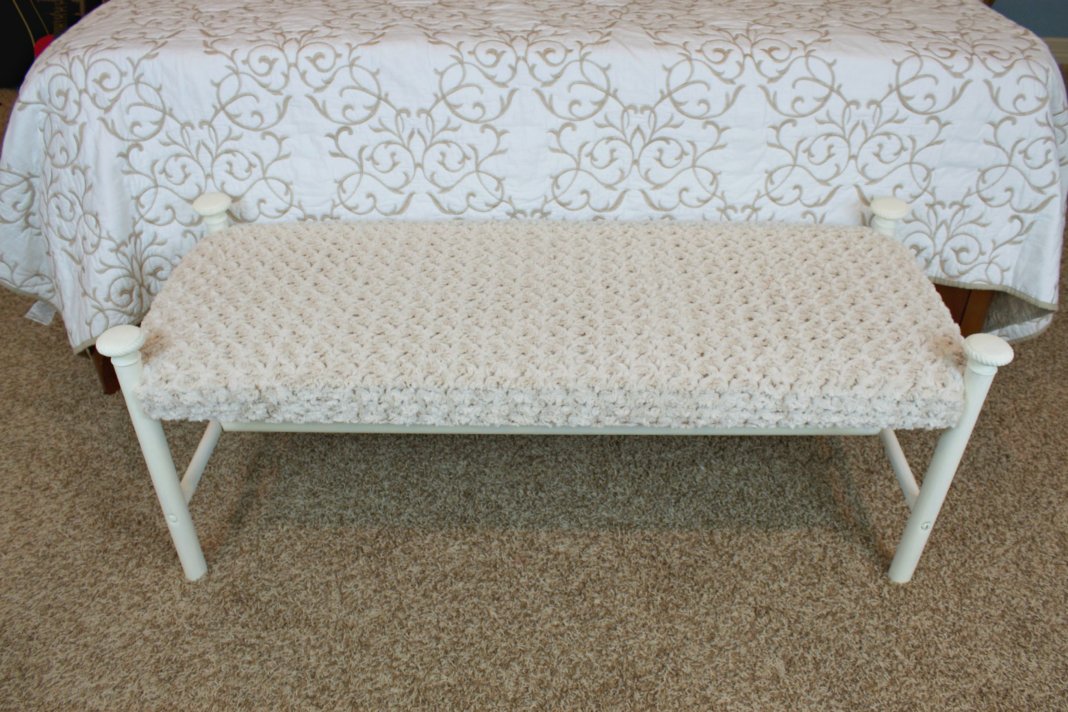
This bench upholstery tutorial will show you how to make a dated thrift store bench look modern and luxurious again! This is a sponsored post.
Take an out of date bench from Goodwill San Antonio and give it a fresh new look! I used foam from Fairfield World with beautiful rose cuddle fabric from Shannon Fabrics to make this simple project.
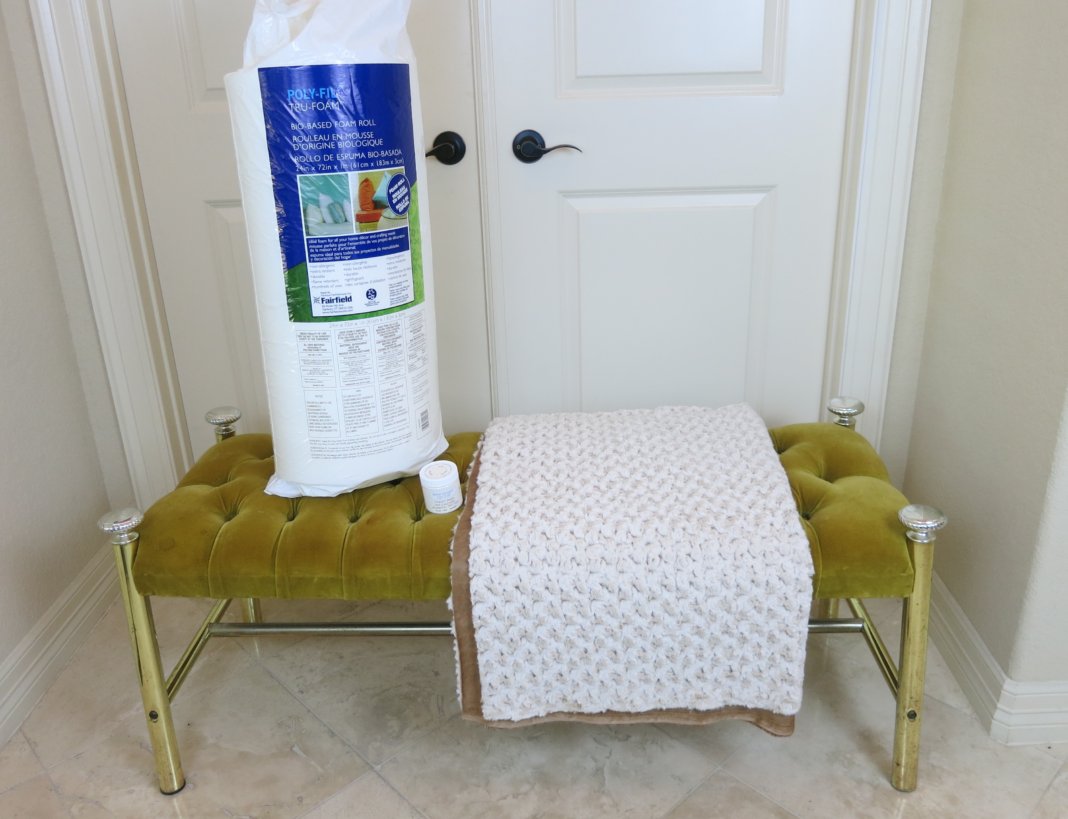
Supplies Used in this Bench Upholstery Tutorial:
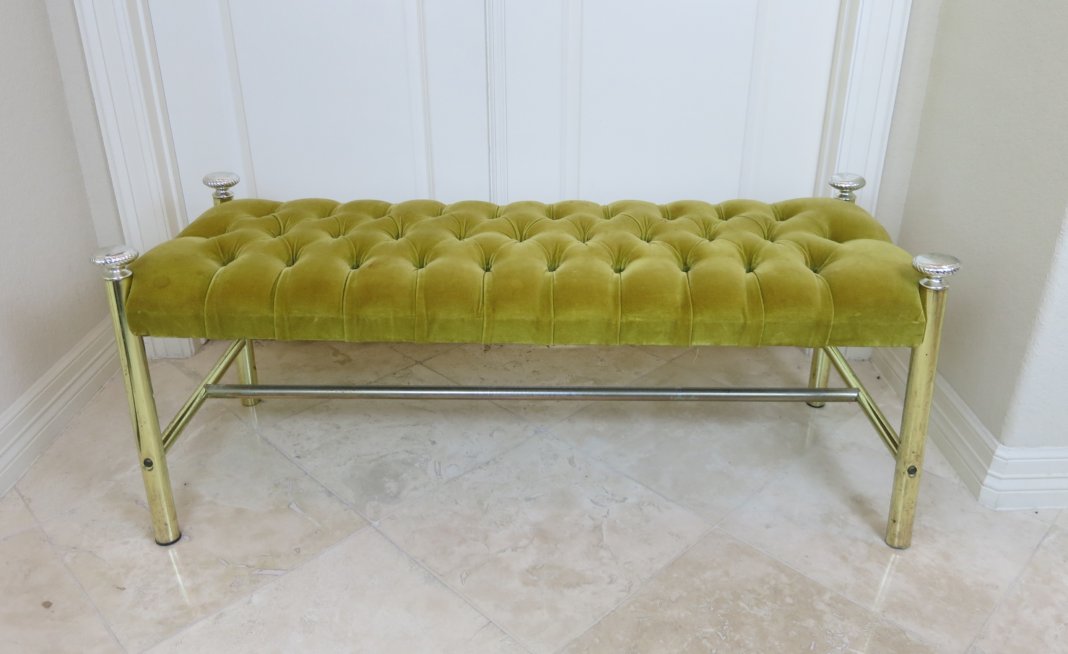
- Thrifted Bench from Goodwill San Antonio
- Foamology Foam Roll from Fairfield World
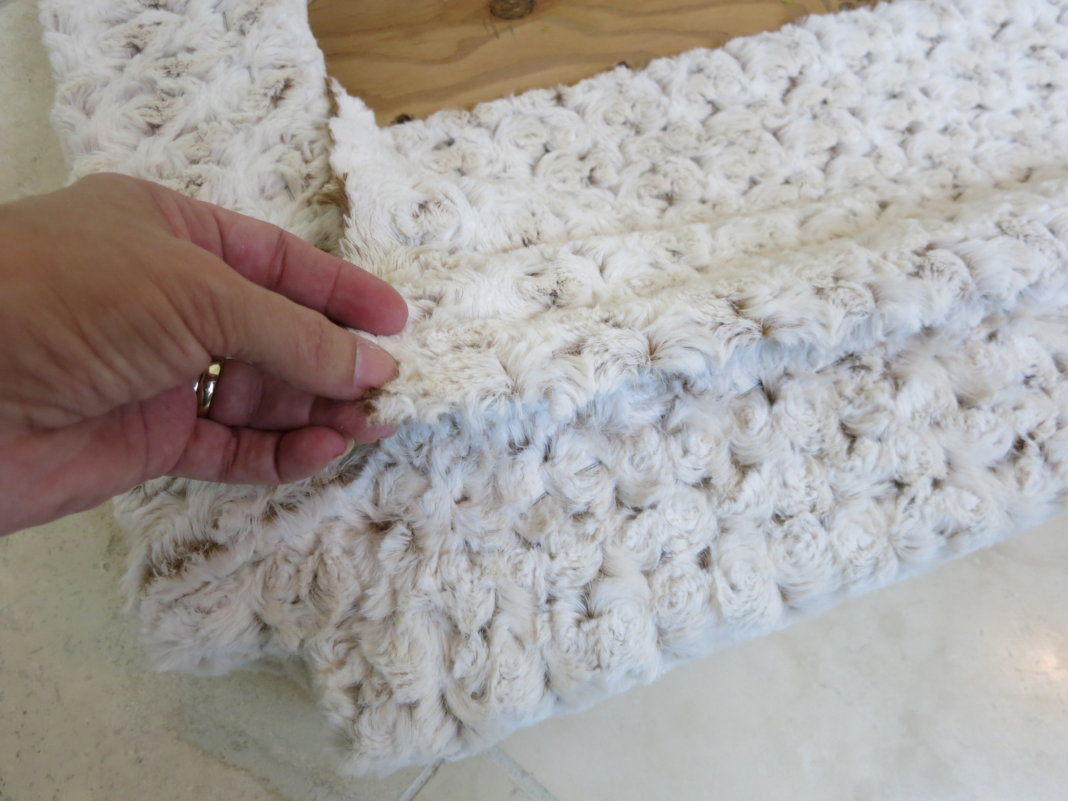
- Rose Cuddle Fabric in Camel from Shannon Fabrics
- DecoArt Chalk Paint in Lace
- Staple Gun
- Electric meat cutter
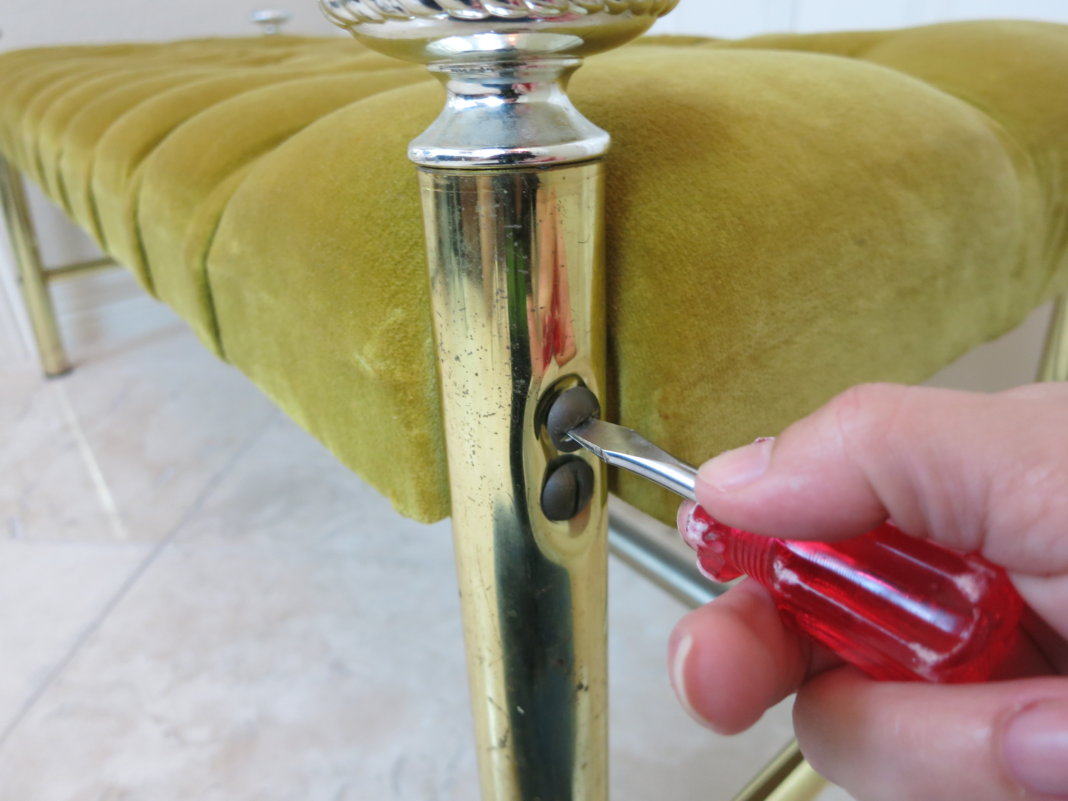
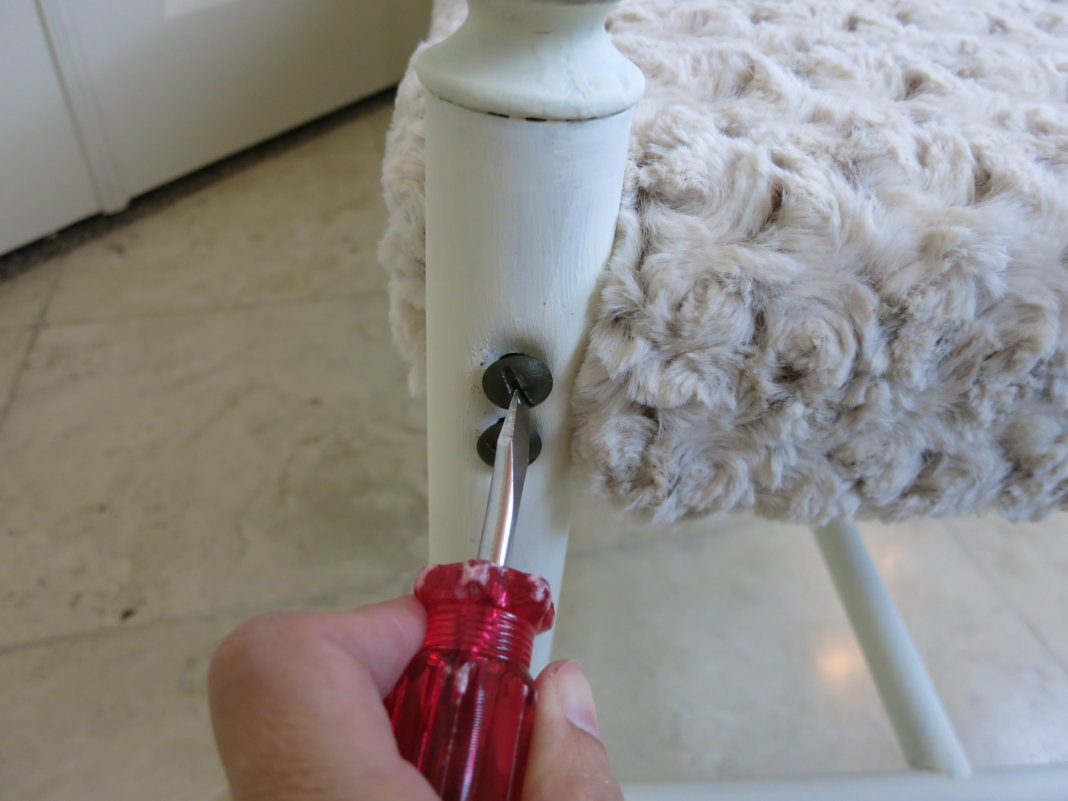
Step one: Remove the seat from the bench. Unscrew the pieces holding the top in place to take the bench apart.
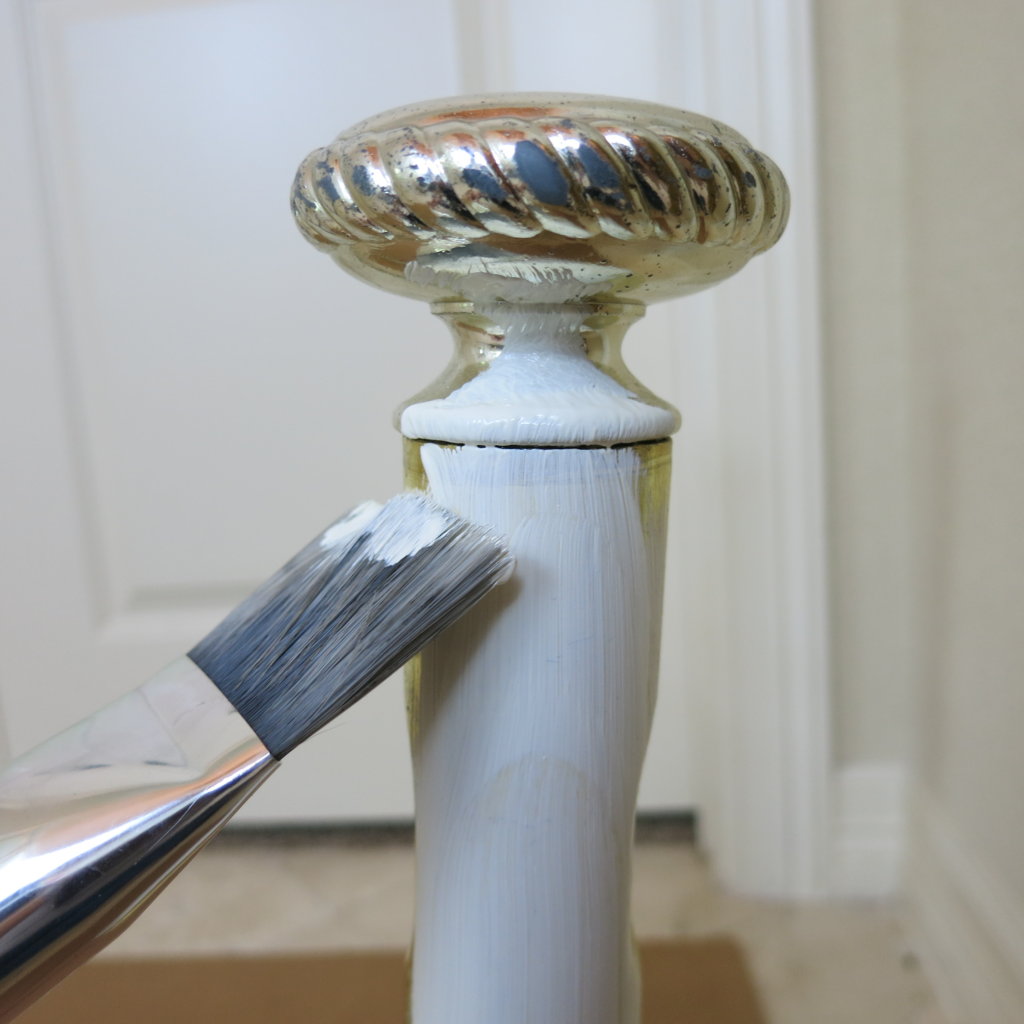
Step two: Paint the base of the bench. I love to use chalk paint because you don’t need to prime or prepare your surface. Paint the surface, let it dry, then paint it again. Two applications is usually enough for even coverage. If you think the surface will be handled a lot, seal the paint finish with varnish or a spray on matte sealer.
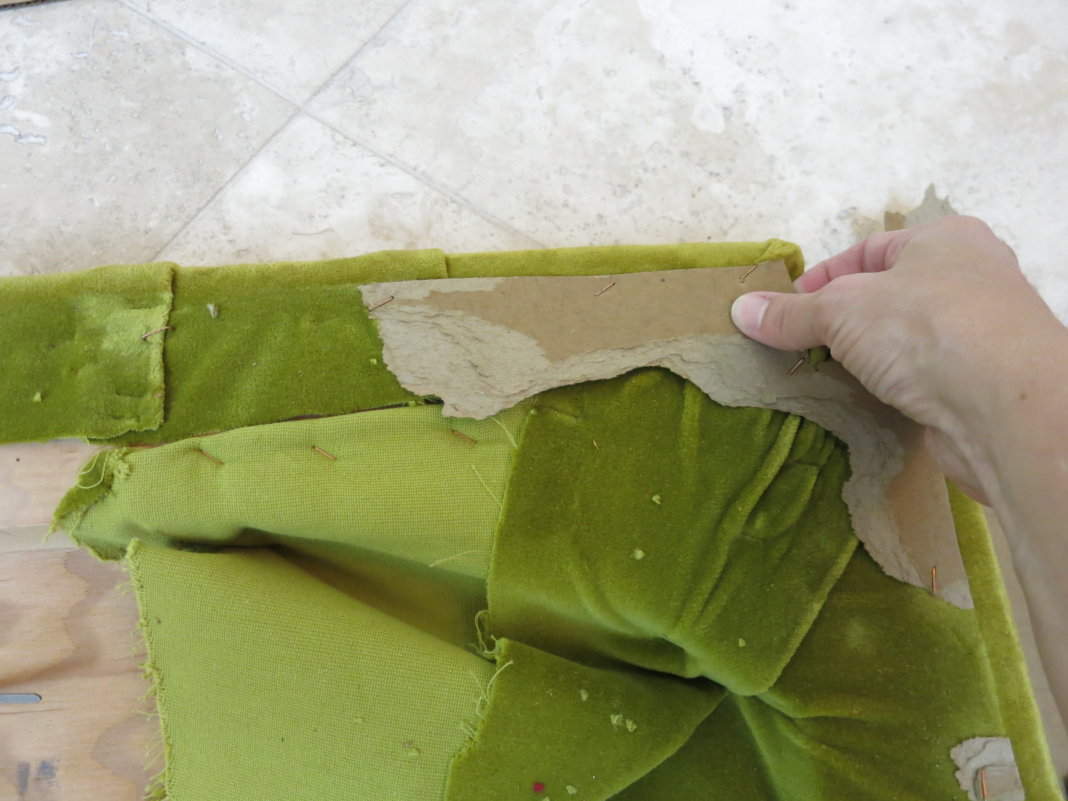
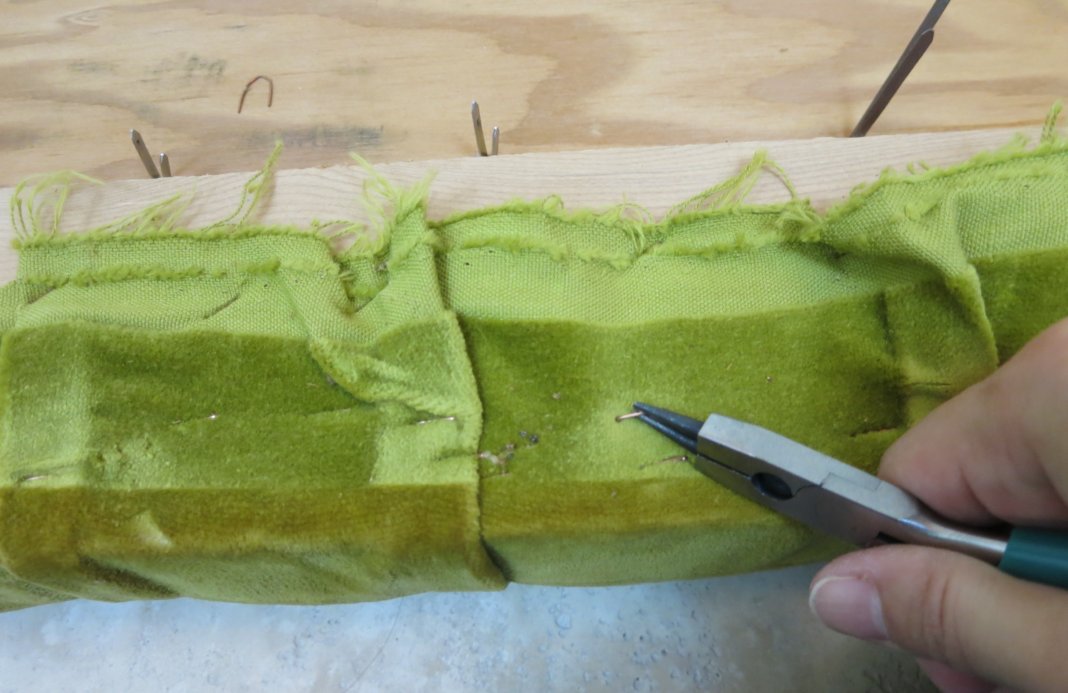
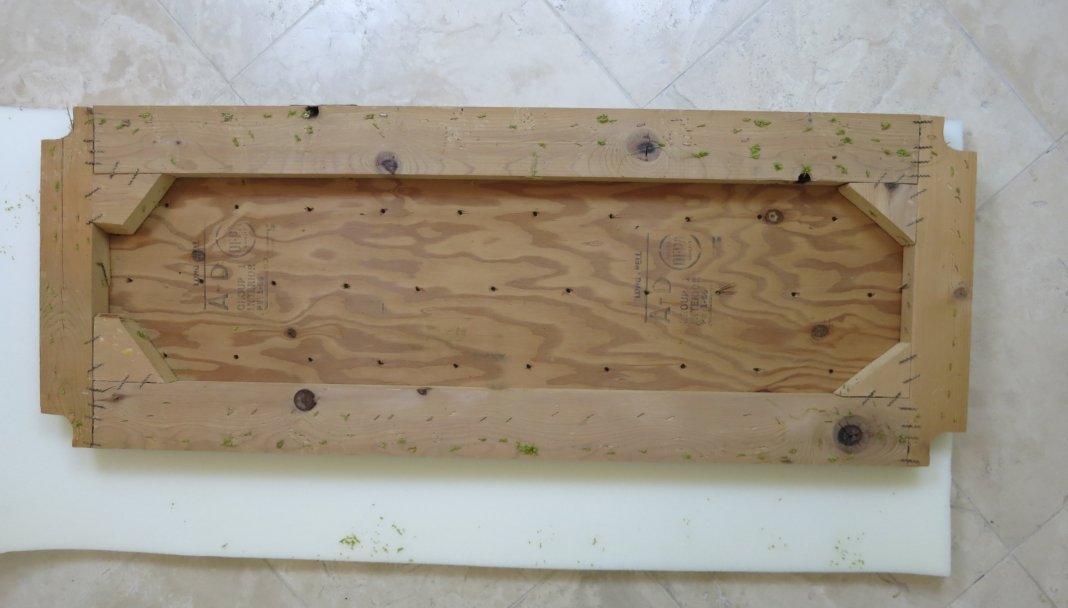
Step three: Remove the old fabric and foam from the bench cover. This can be the most time consuming part of the project if there are lots of staples to remove!
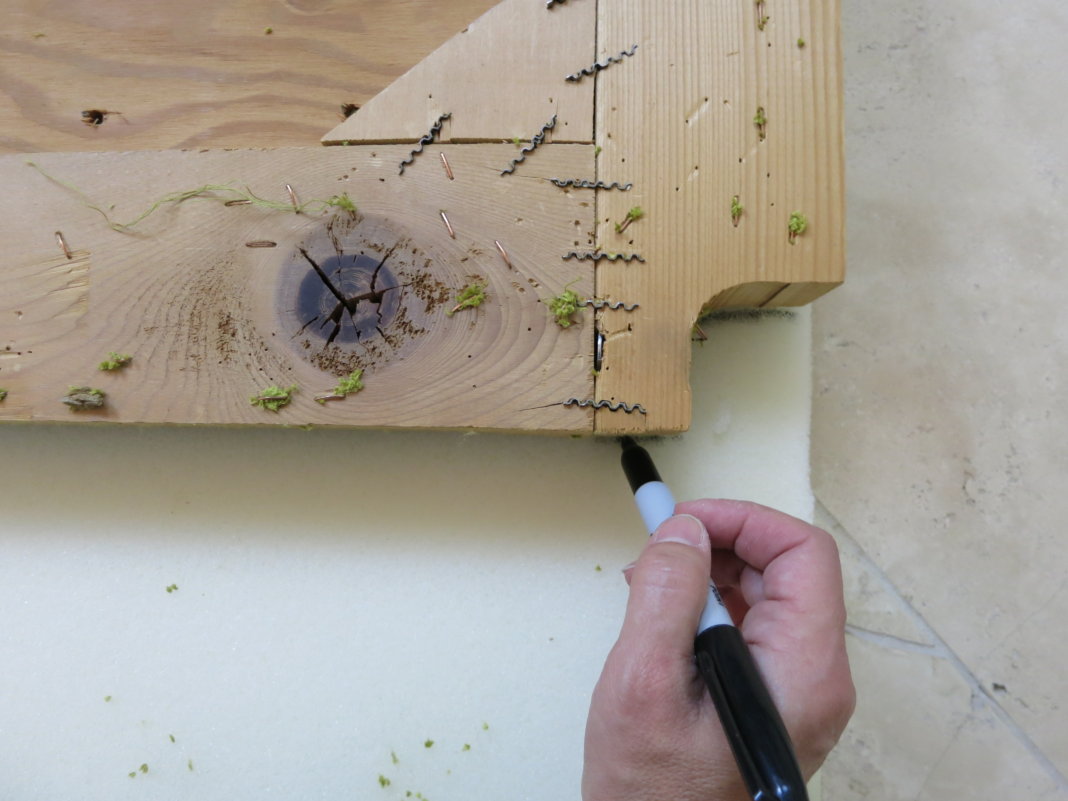
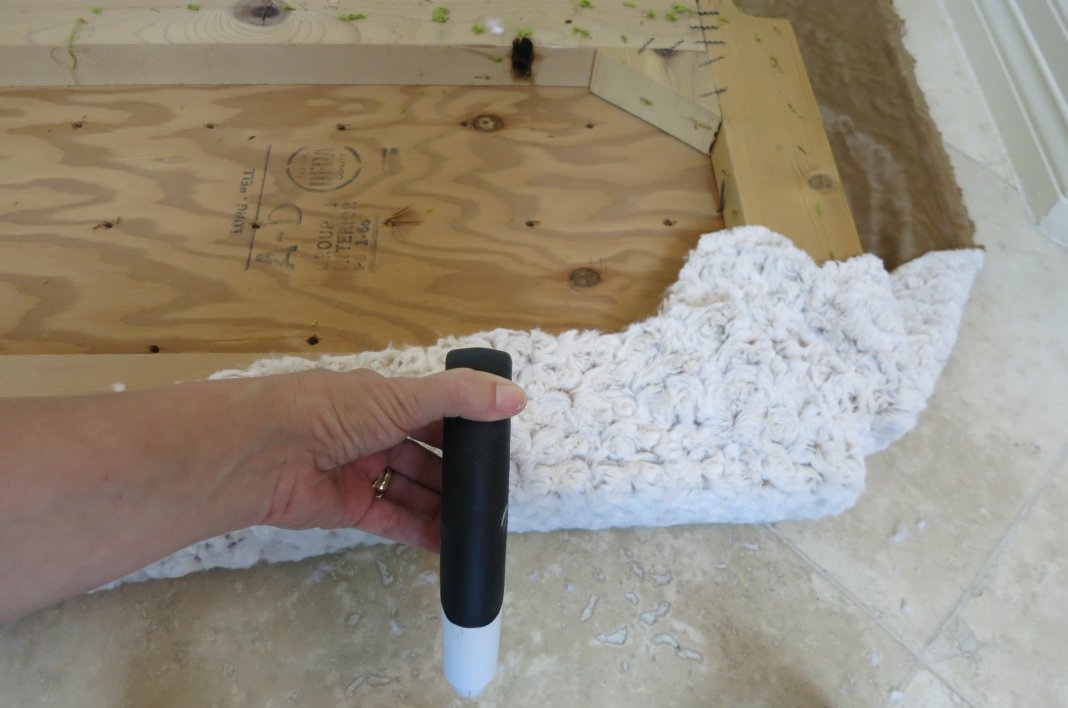
Step five: Trace the wood base of the bench onto the Project Foam roll. I like to use a permanent marker for this.
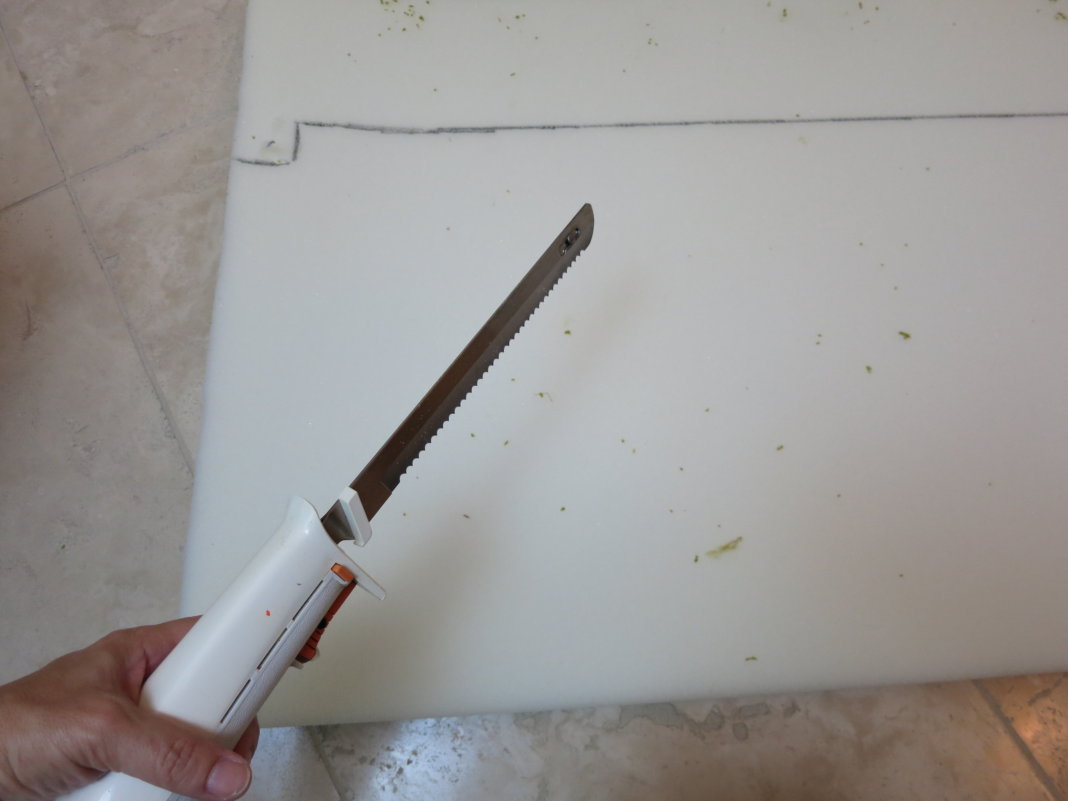
Step six: Cut out the foam. A great tool for cutting foam precisely is an electric meat cutting tool. I have an old meat cutter that I only use for foam. Carefully follow the lines traced in step five to cut the foam.
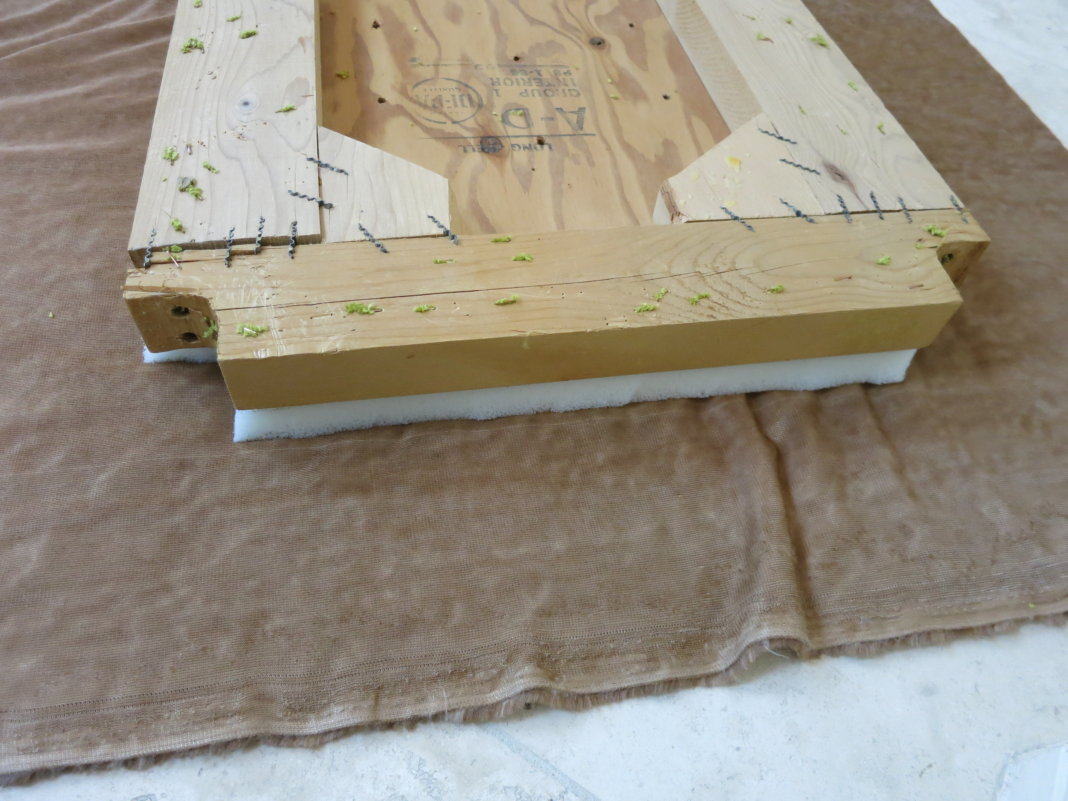
Step seven: Glue the foam to the wood base.
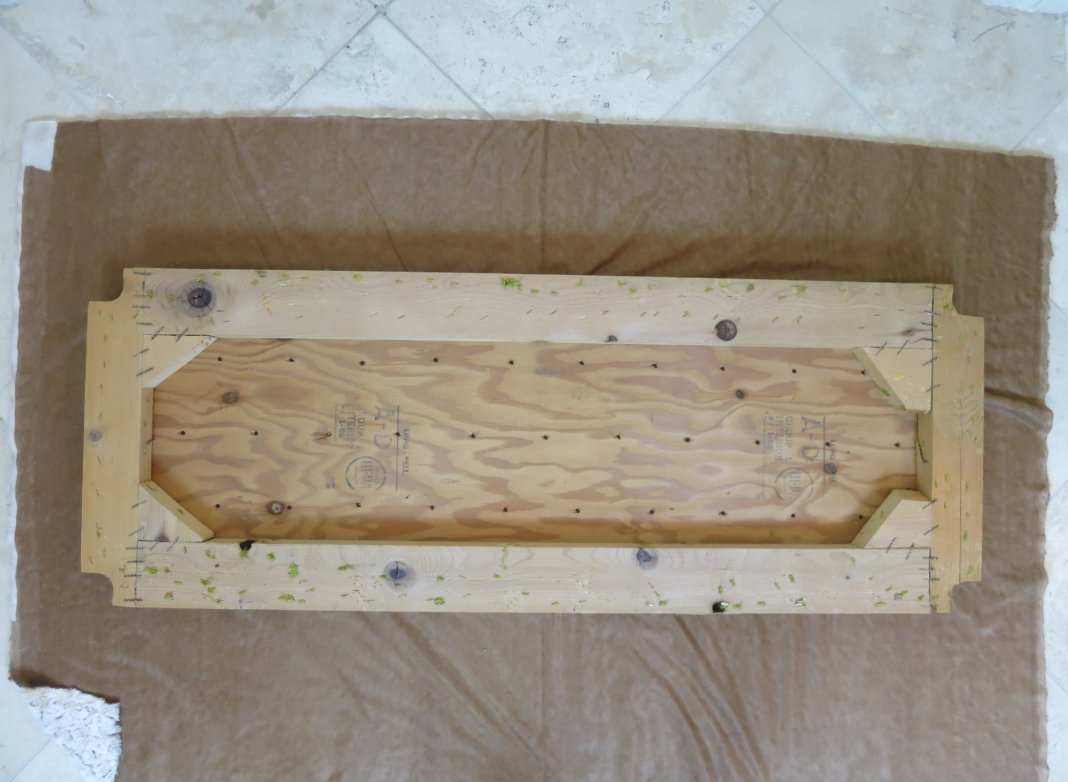
Step eight: Place the Cuddle fabric right side down on your work surface, and lay the foam piece with the board on top. Start with the corners, pull down and staple the fabric in place. Continue with the sides until the fabric is attached to the bottom of the wood board.
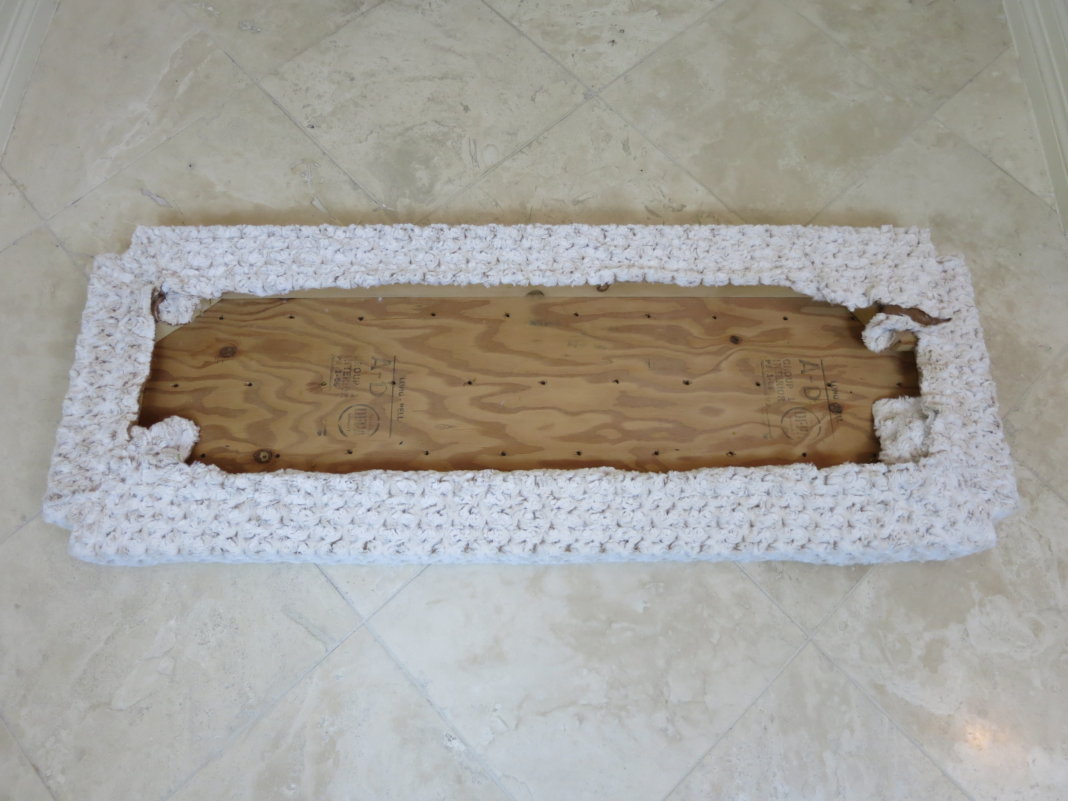
Step nine: Cut a piece of fabric to cover the wood base. Staple it in place.
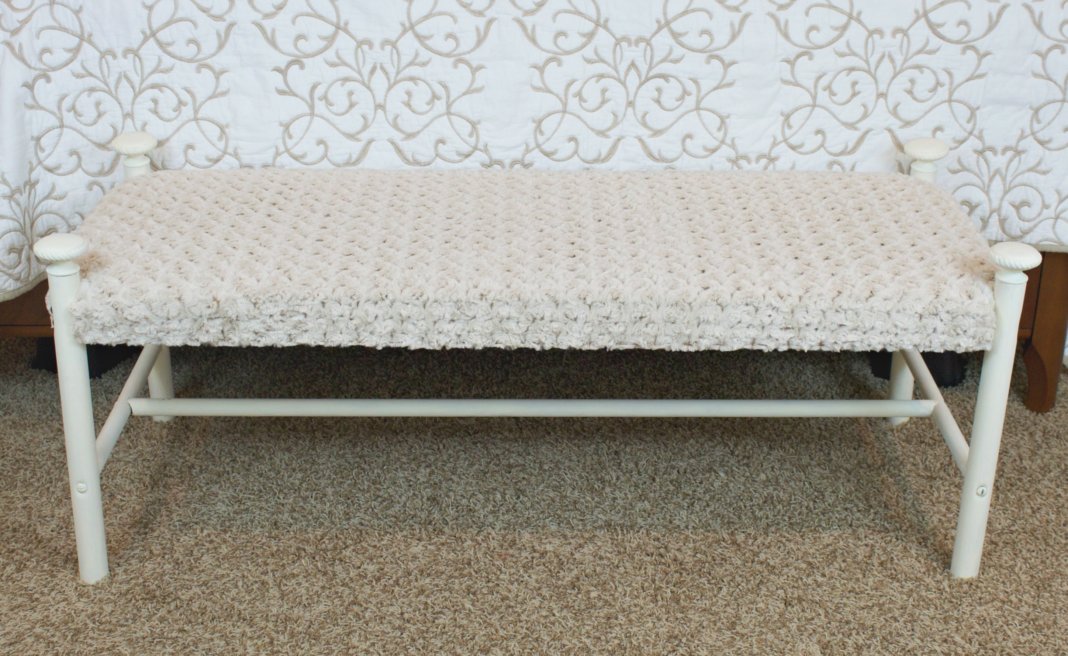
Step ten: Reassemble the bench.
Here’s another easy bench upholstery tutorial you might like: girl’s bench makeover
Leave a Reply