This Mod Podge photo transfer gift idea is perfect for Mother’s Day, coach and teacher gifts, & more!
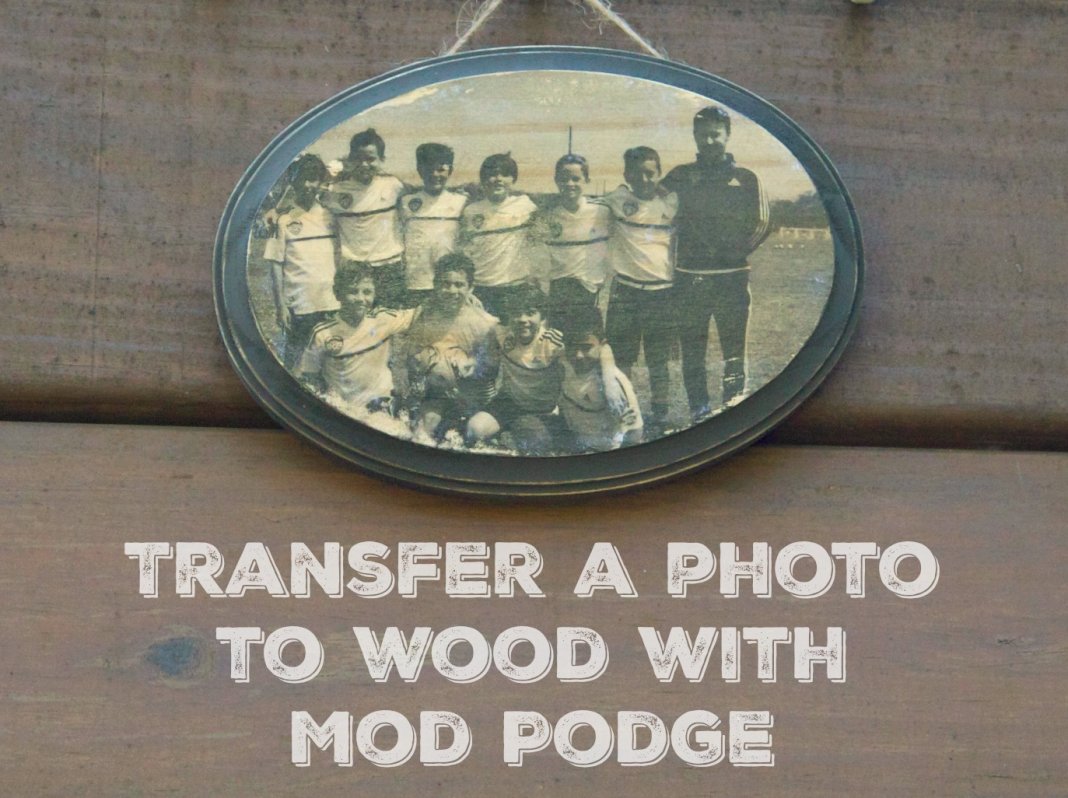
Of all the crafting techniques I do, this is easily my favorite. I just love to transfer photos and images! I get a kick out of the vintage, weathered appearance a project takes on by simply transferring images. This isn’t like decoupage….we’re not attaching the paper to a surface. This process involves keeping the pigment from the image and losing the paper, so it’s important to use the right materials for it to work correctly.
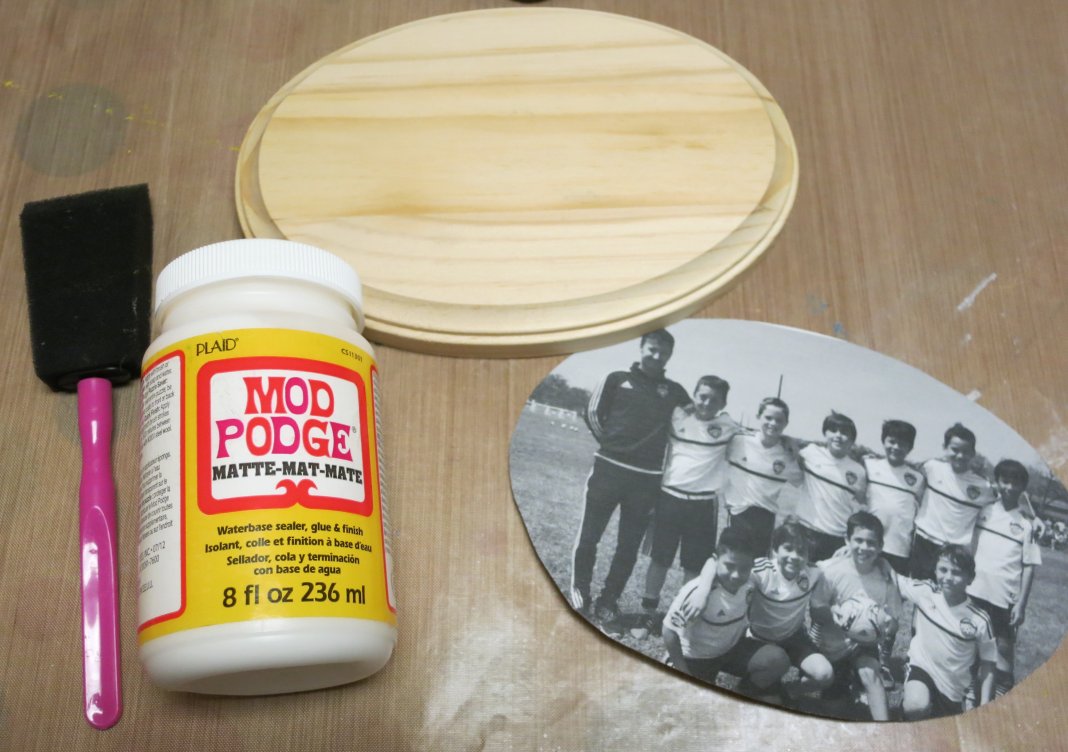
Mod Podge Photo Transfer Gift Tutorial Supplies
- Unfinished Wood Plaque
- Laser jet or copier printed photo
- Mod Podge (any variation will work but I like to use Matte)
- Washcloth
- Paint
 Print the photo using a LASER printer or copier. Do not use ink jet, as the ink will just smear and bleed.*** You must use a laser copier or use a photocopy machine. Trim the image to fit the plaque.
***The reason I don’t recommend using ink jet is that the ink WILL SMEAR when the printout gets wet. If you want to create a watercolor effect then use ink jet however the results on faces is unpredictable. I have had some come out fine and others are utterly terrifying because eyes and mouths smear and “bleed”. This is a labor intensive project and I’d hate for anyone to spend a lot of time and effort with an ink jet image only to be disappointed by the final results.
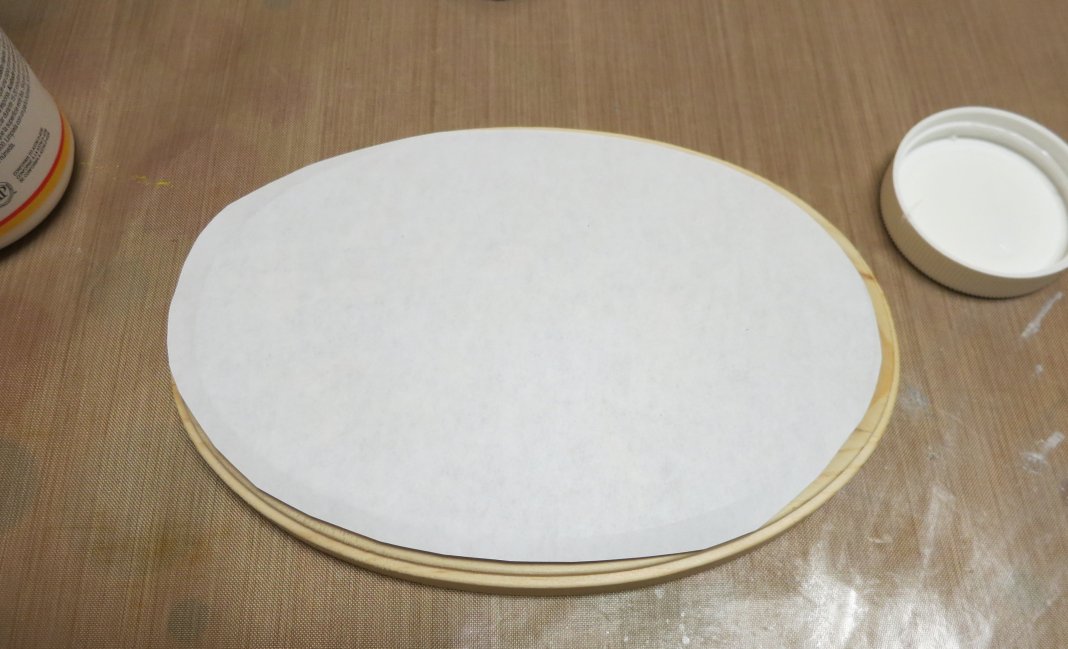
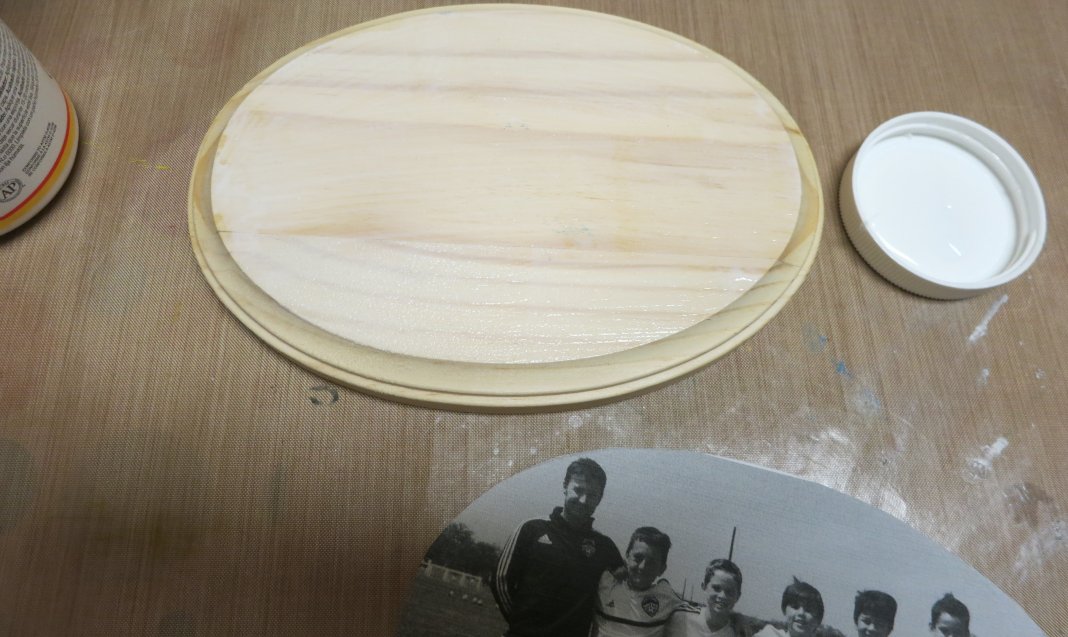
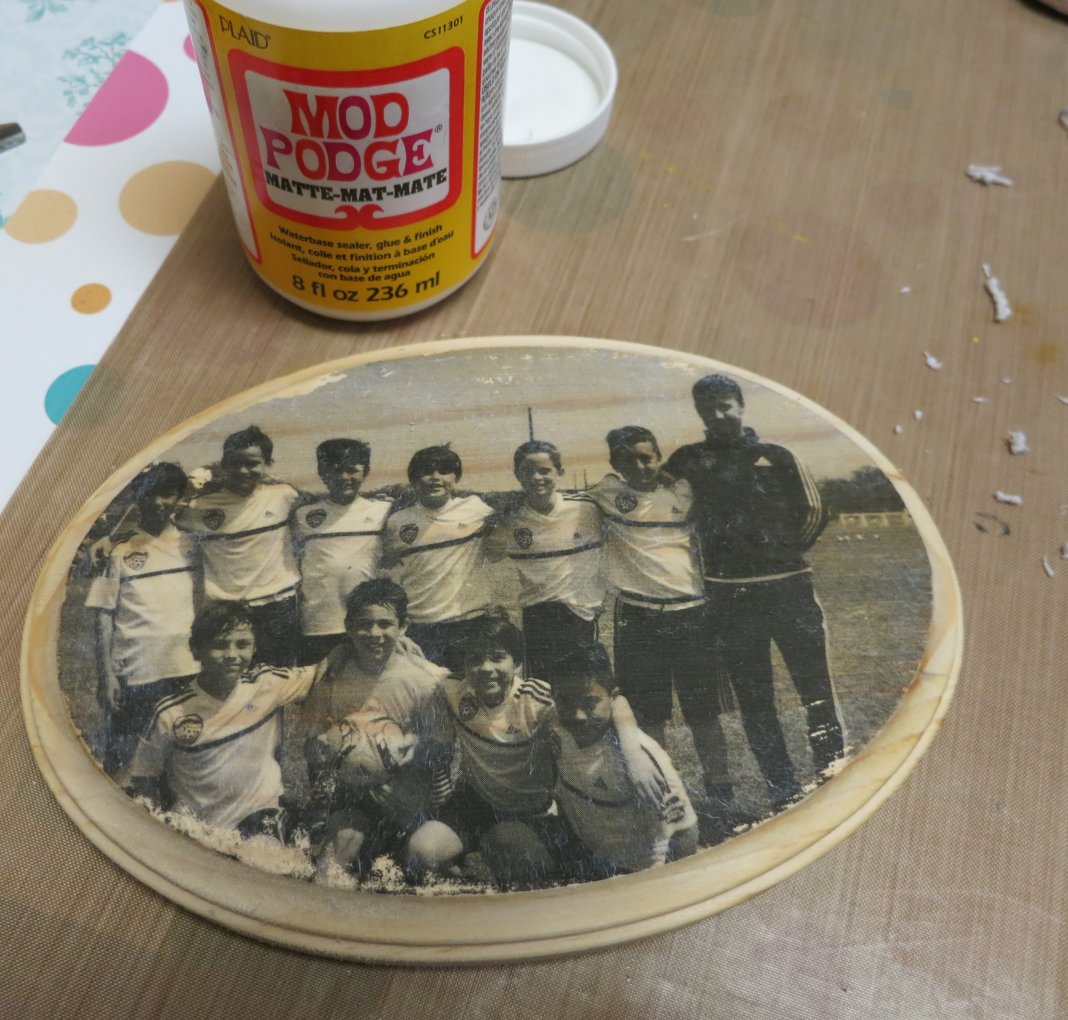
Paint the surface of the plaque with an even layer of Mod Podge. Place the paper image side down on the Mod Podge. Press firmly to make sure there are nomair bubbles. Let it dry completely.
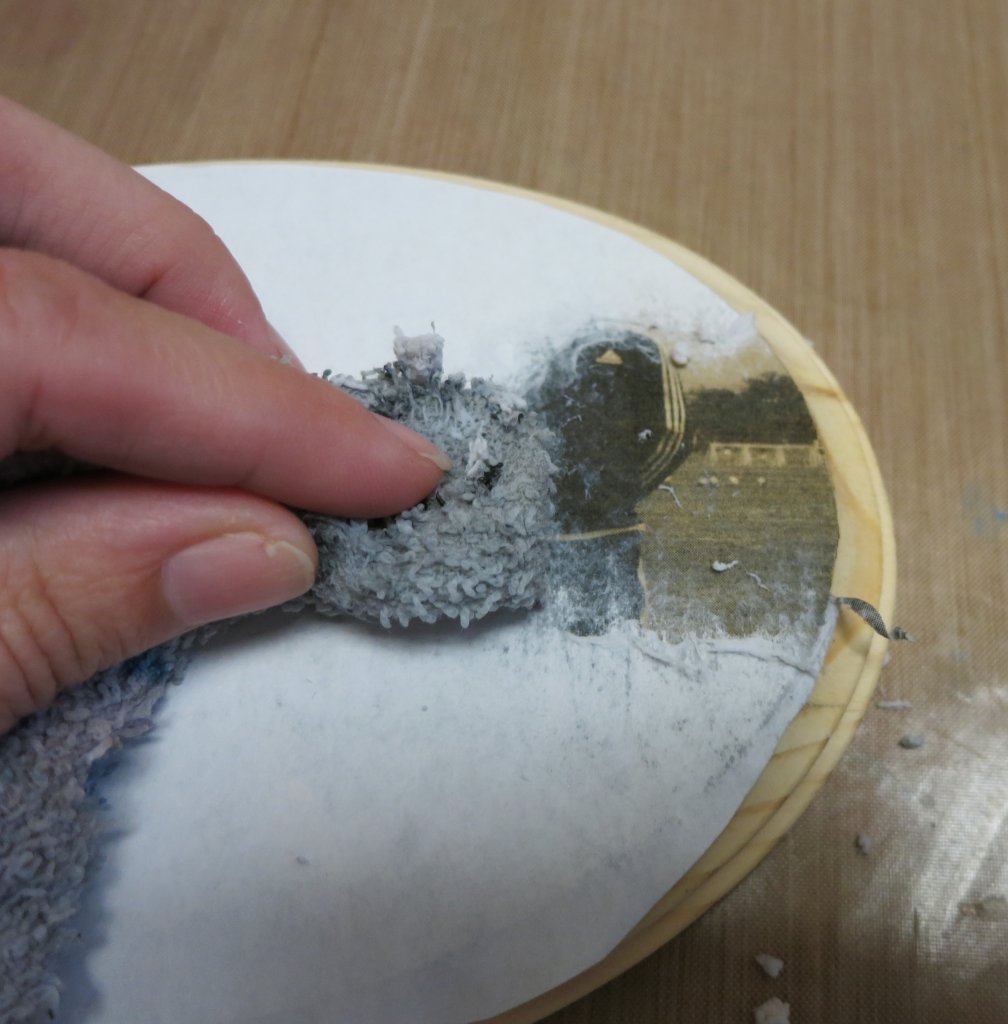
Get a towel wet, then wring it out completely so it is damp but not dripping wet. Press the towel on a section of the paper to wet it. Once you can see some of the image through the wet paper, scrub the paper gently. It will peel away and reveal the ink left on the wood. Continue until the entire image has been revealed.
Here’s a video tutorial if you’d like to see the process:
Paint over the transferred image with more Mod Podge to seal it.
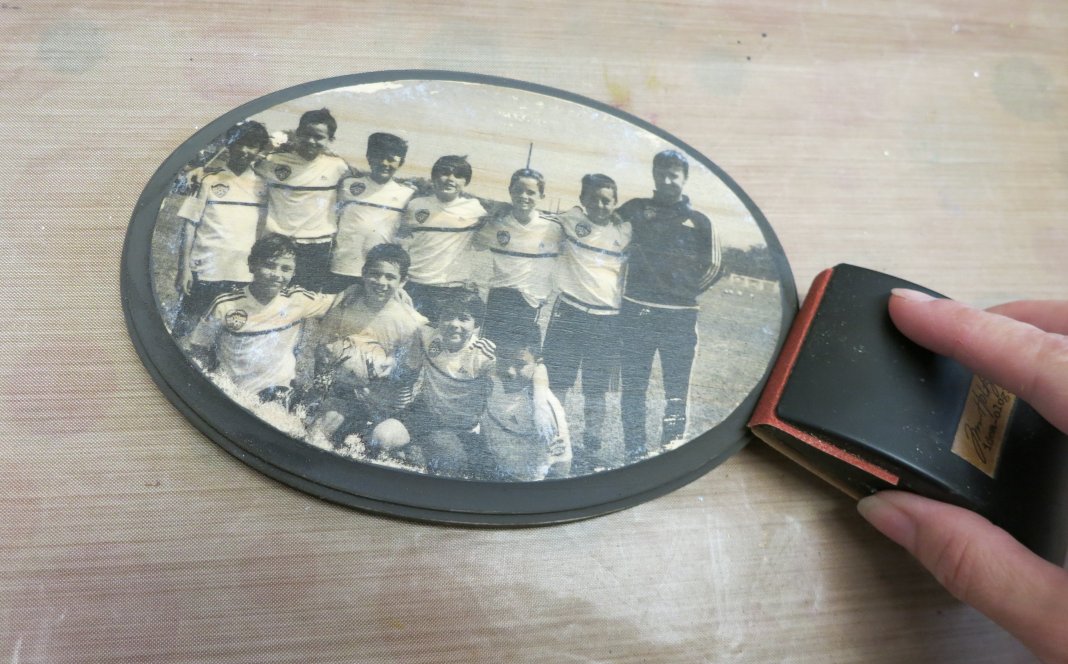
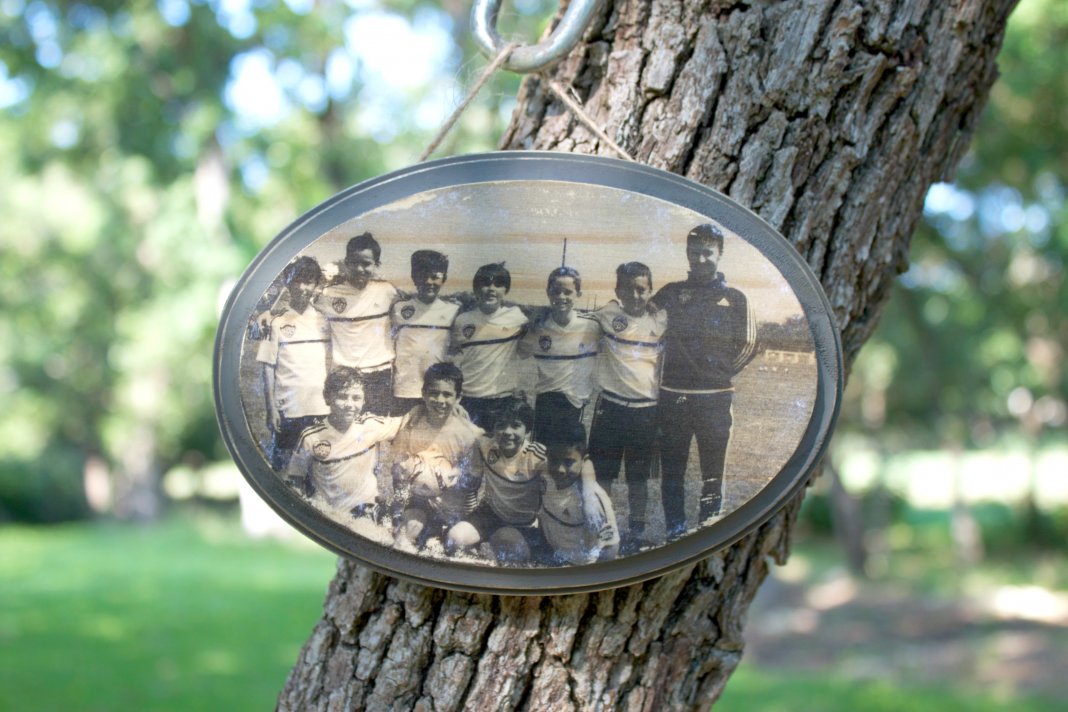
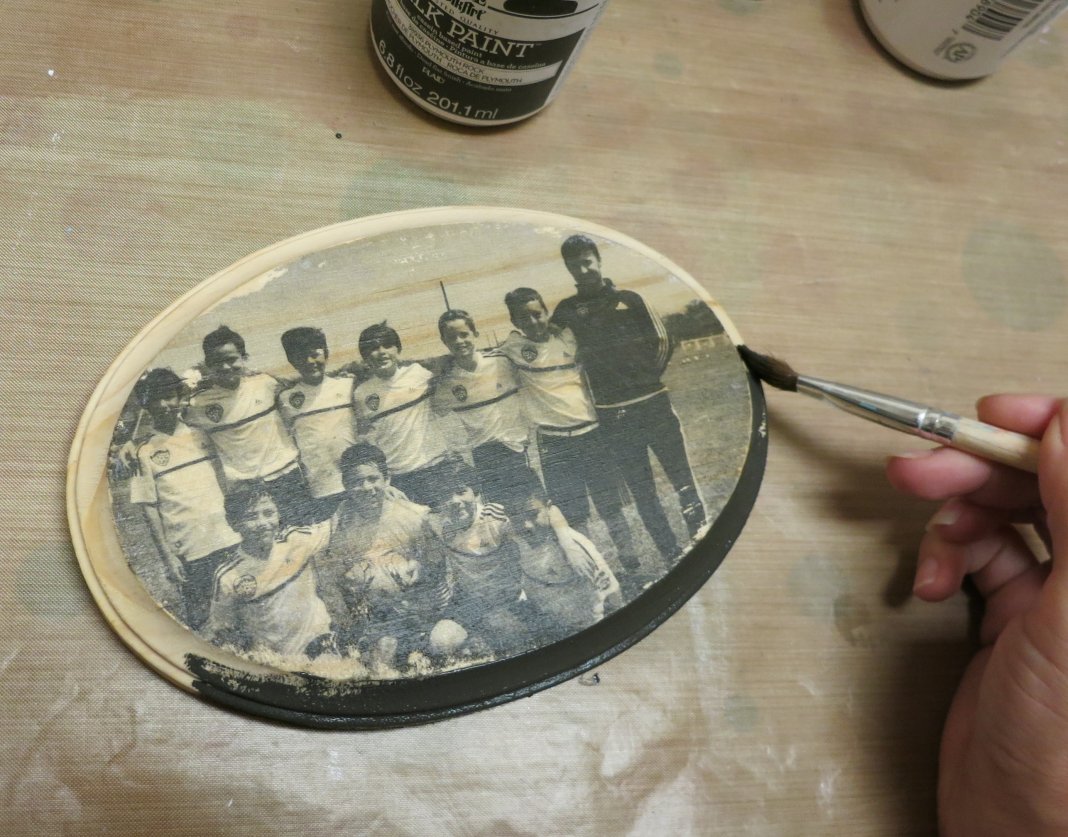 Paint the edge of the plaque, and let it dry. I chose to distress the paint finish so it would have a rustic, old look to make the photo image.
Add a bit of twine or a photo hanger to the back of the plaque to display your art! Imagine all the beautiful decor you’ll be able to create with this technique. Have fun crafting and creating with laser printed image transfers!
Leave a Reply