
Nothing captures the essence of the holiday season quite like the aroma of freshly baked cookies wafting through the air. This year, why not add a whimsical twist to your holiday decor with adorable DIY sugar cookie ornaments? These delightful decorations are not only a feast for the eyes but also a joy to create. In this step-by-step guide, we’ll dive into the art of crafting these charming ornaments, bringing a sprinkle of sweetness to your festivities. Get ready to infuse your home with the warmth of homemade charm as we embark on a journey to craft these delightful, lifelike cookie ornaments that are sure to become treasured keepsakes for years to come.
DIY Sugar Cookie Ornaments Supply List
- Poly-Fil Fiber Fill
- Kunin Felt Fabric in Tan and Cream
- Small Beads
- Cookie and Icing Free Pattern
The short video tutorial posted above shows you step by step how to make your own plush cookie ornaments. Here is a condensed version of the video tutorial steps:
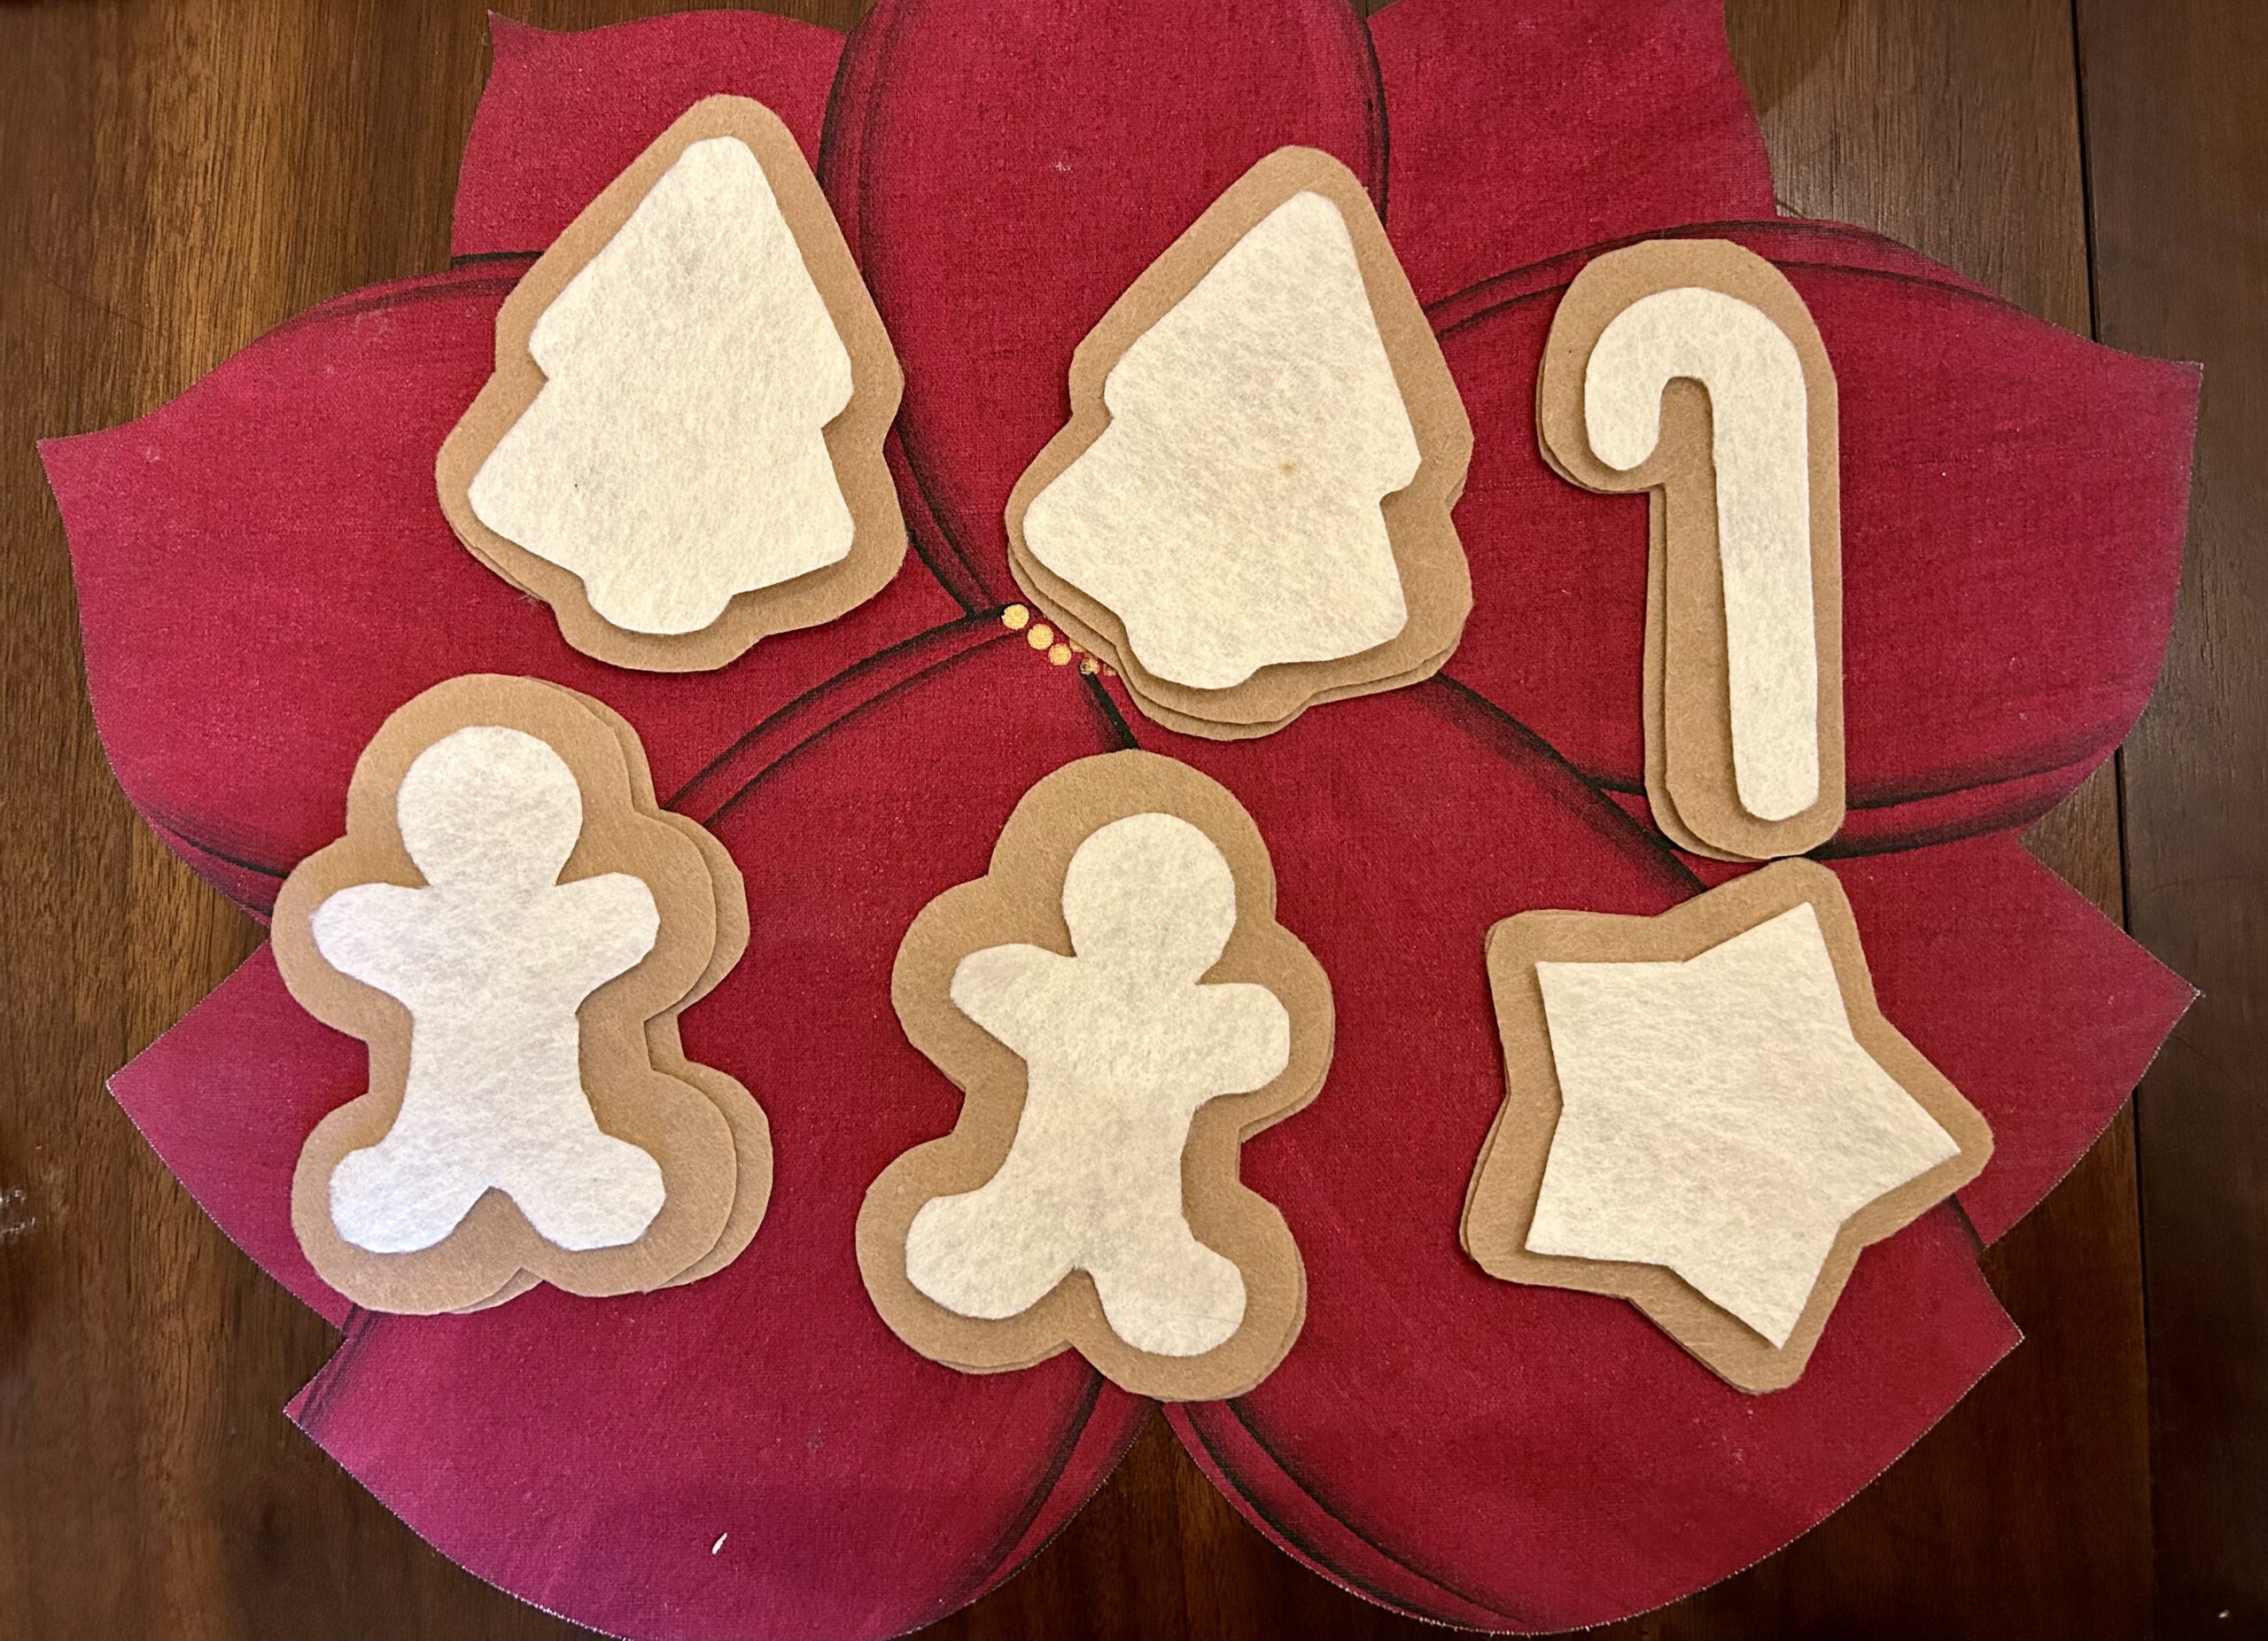
Step 1: Print and cut out the pattern. Cut two of the base pieces from the tan fabric and one icing piece from the cream felt fabric.
Step 2: Pin the icing to the cookie top and stitch around the edges.
Step 3: Hand stitch the beads onto the icing to make sprinkles.
Step 4: Pin the cookie front to the back and blanket stitch around the edges. Leave an opening for the filler.
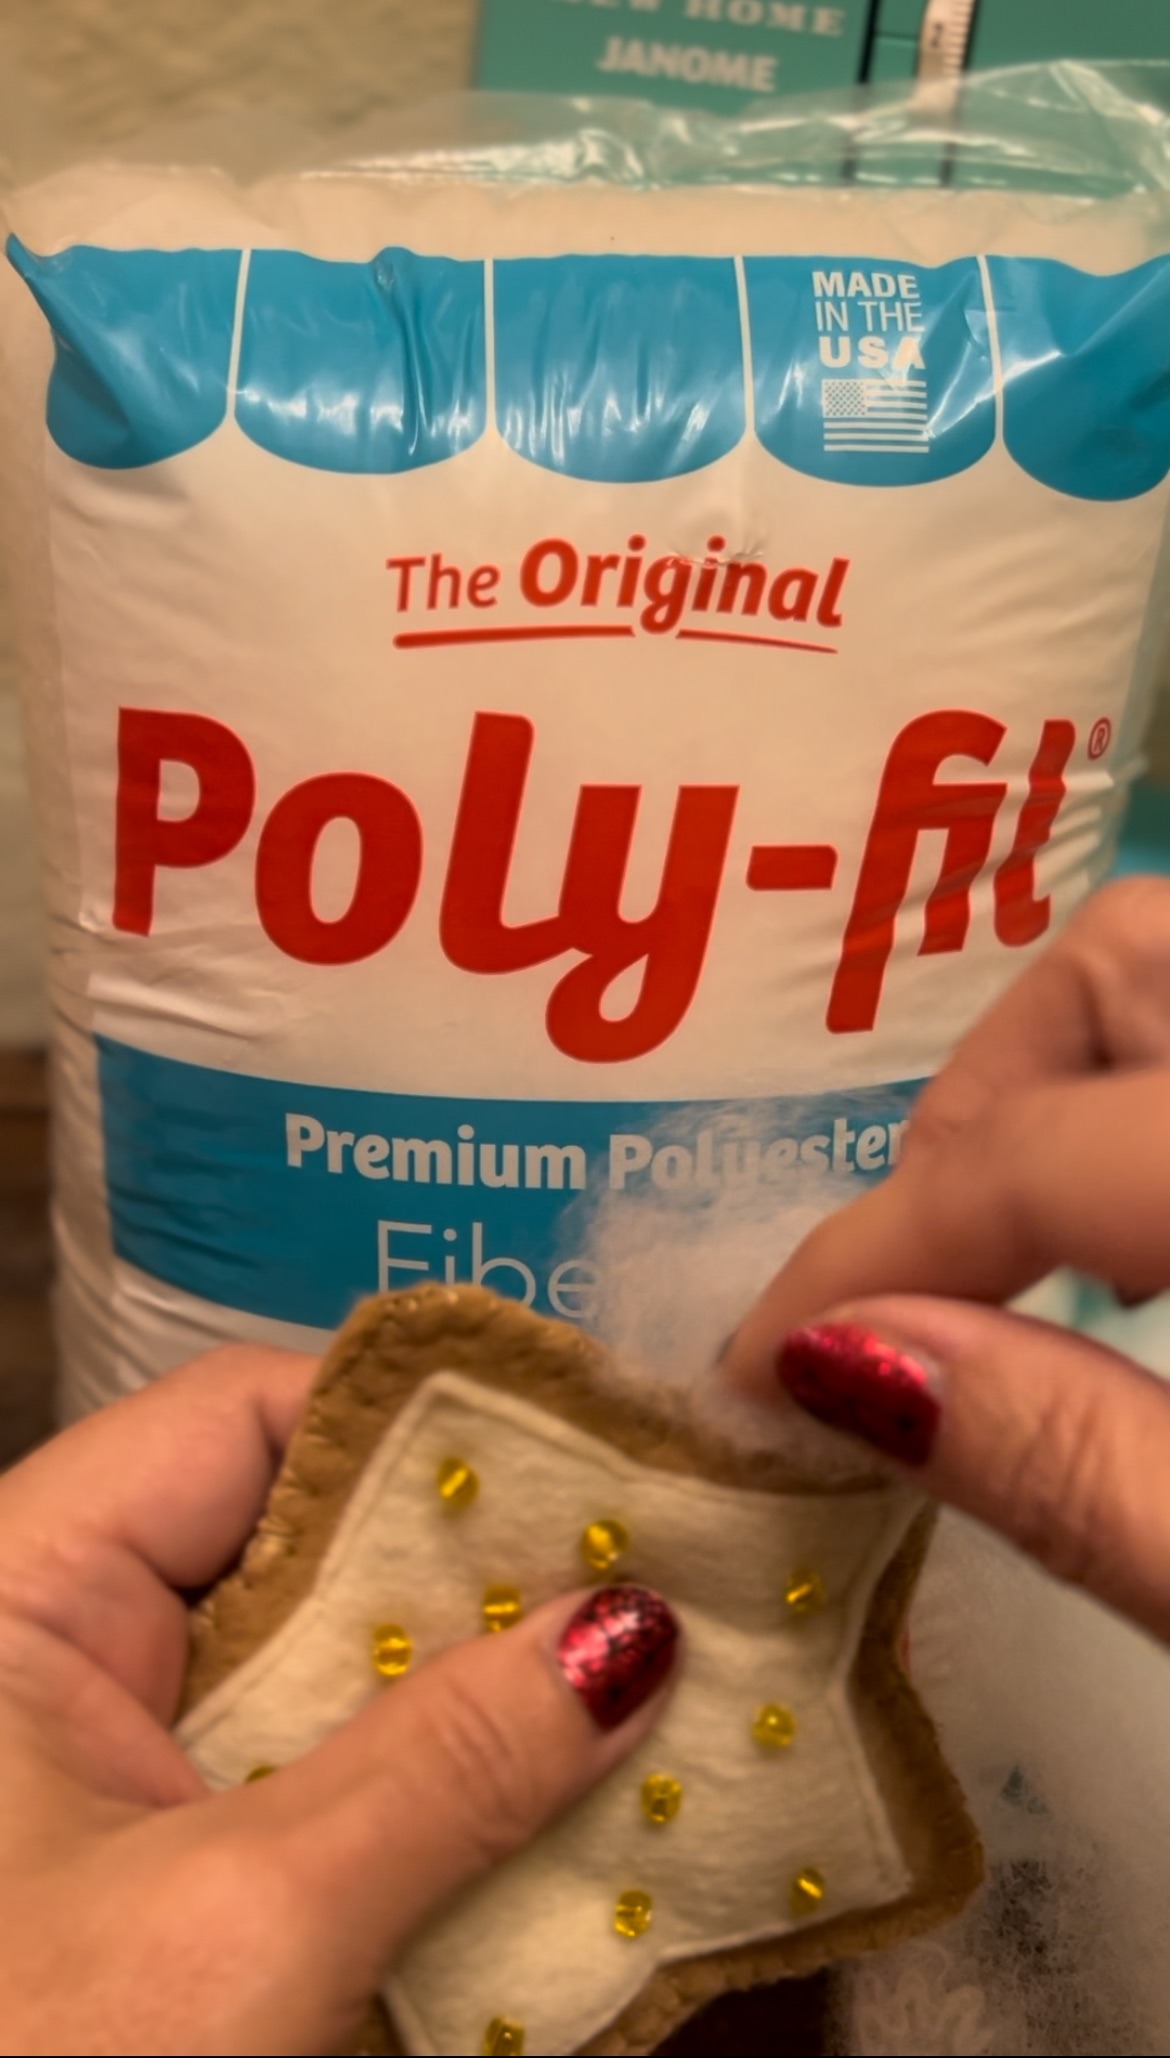
Step 5: Fill the ornament with Poly-Fil Fiber Fill and sew the opening shut.
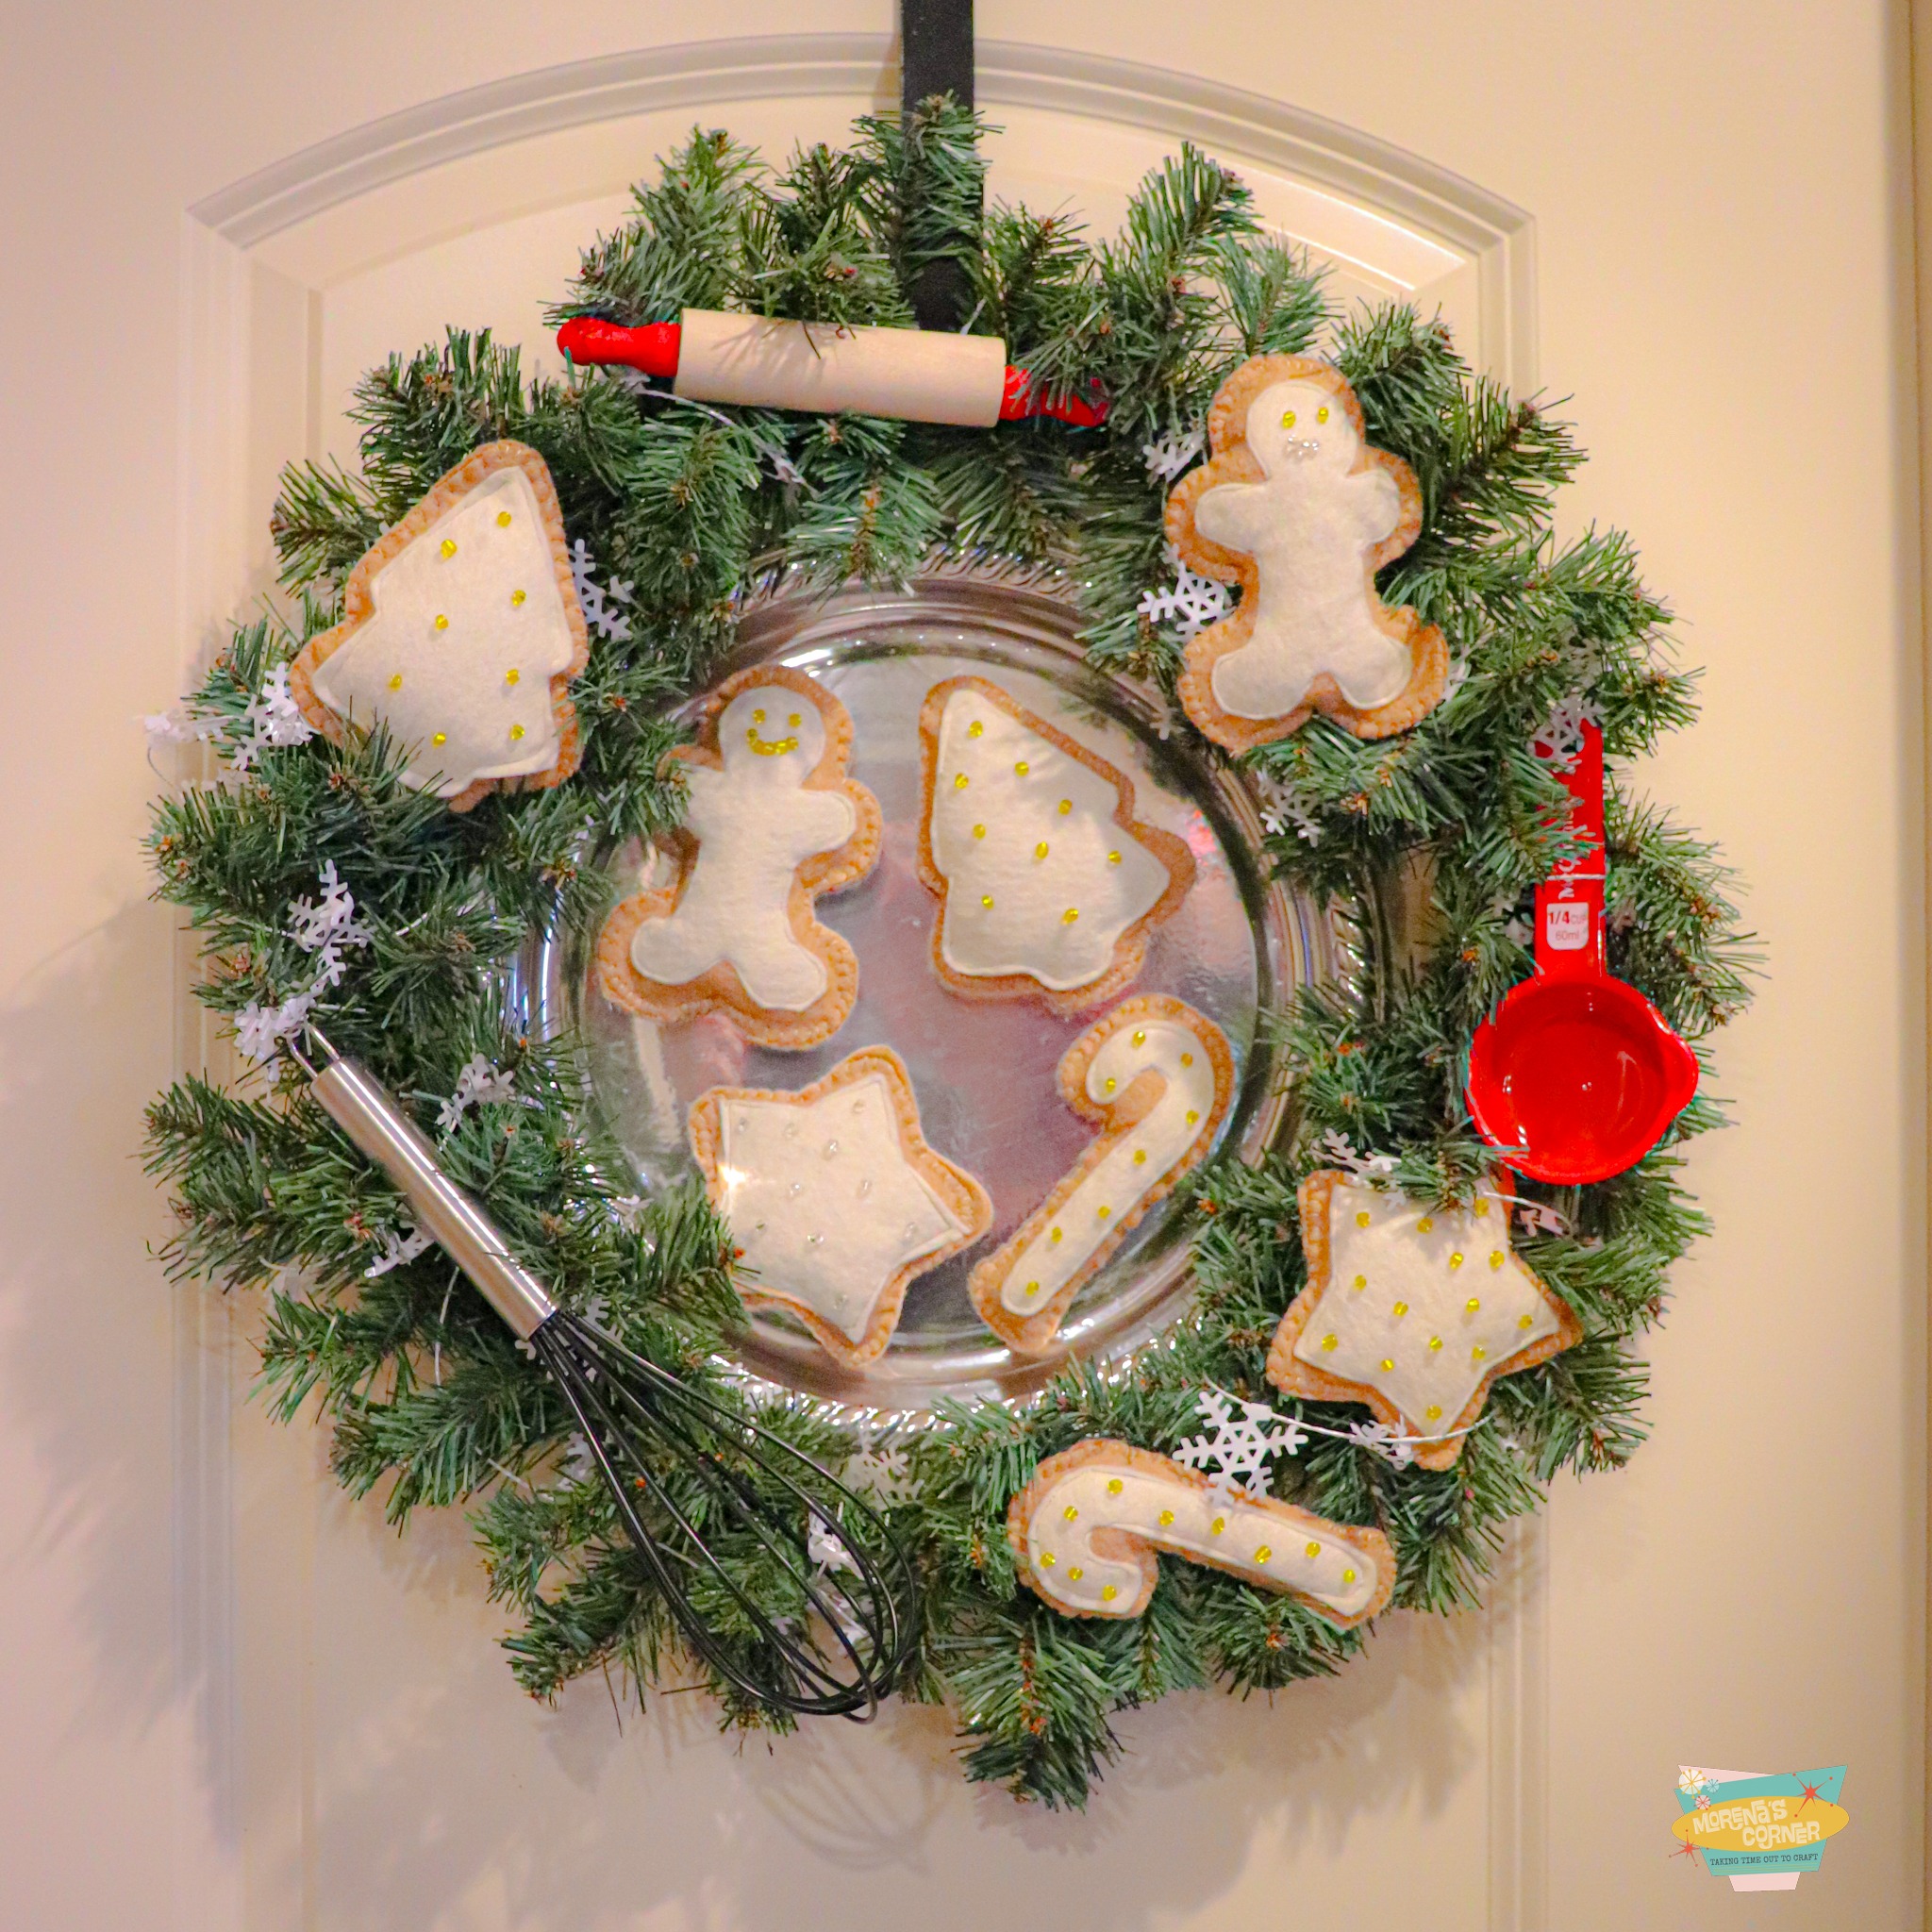
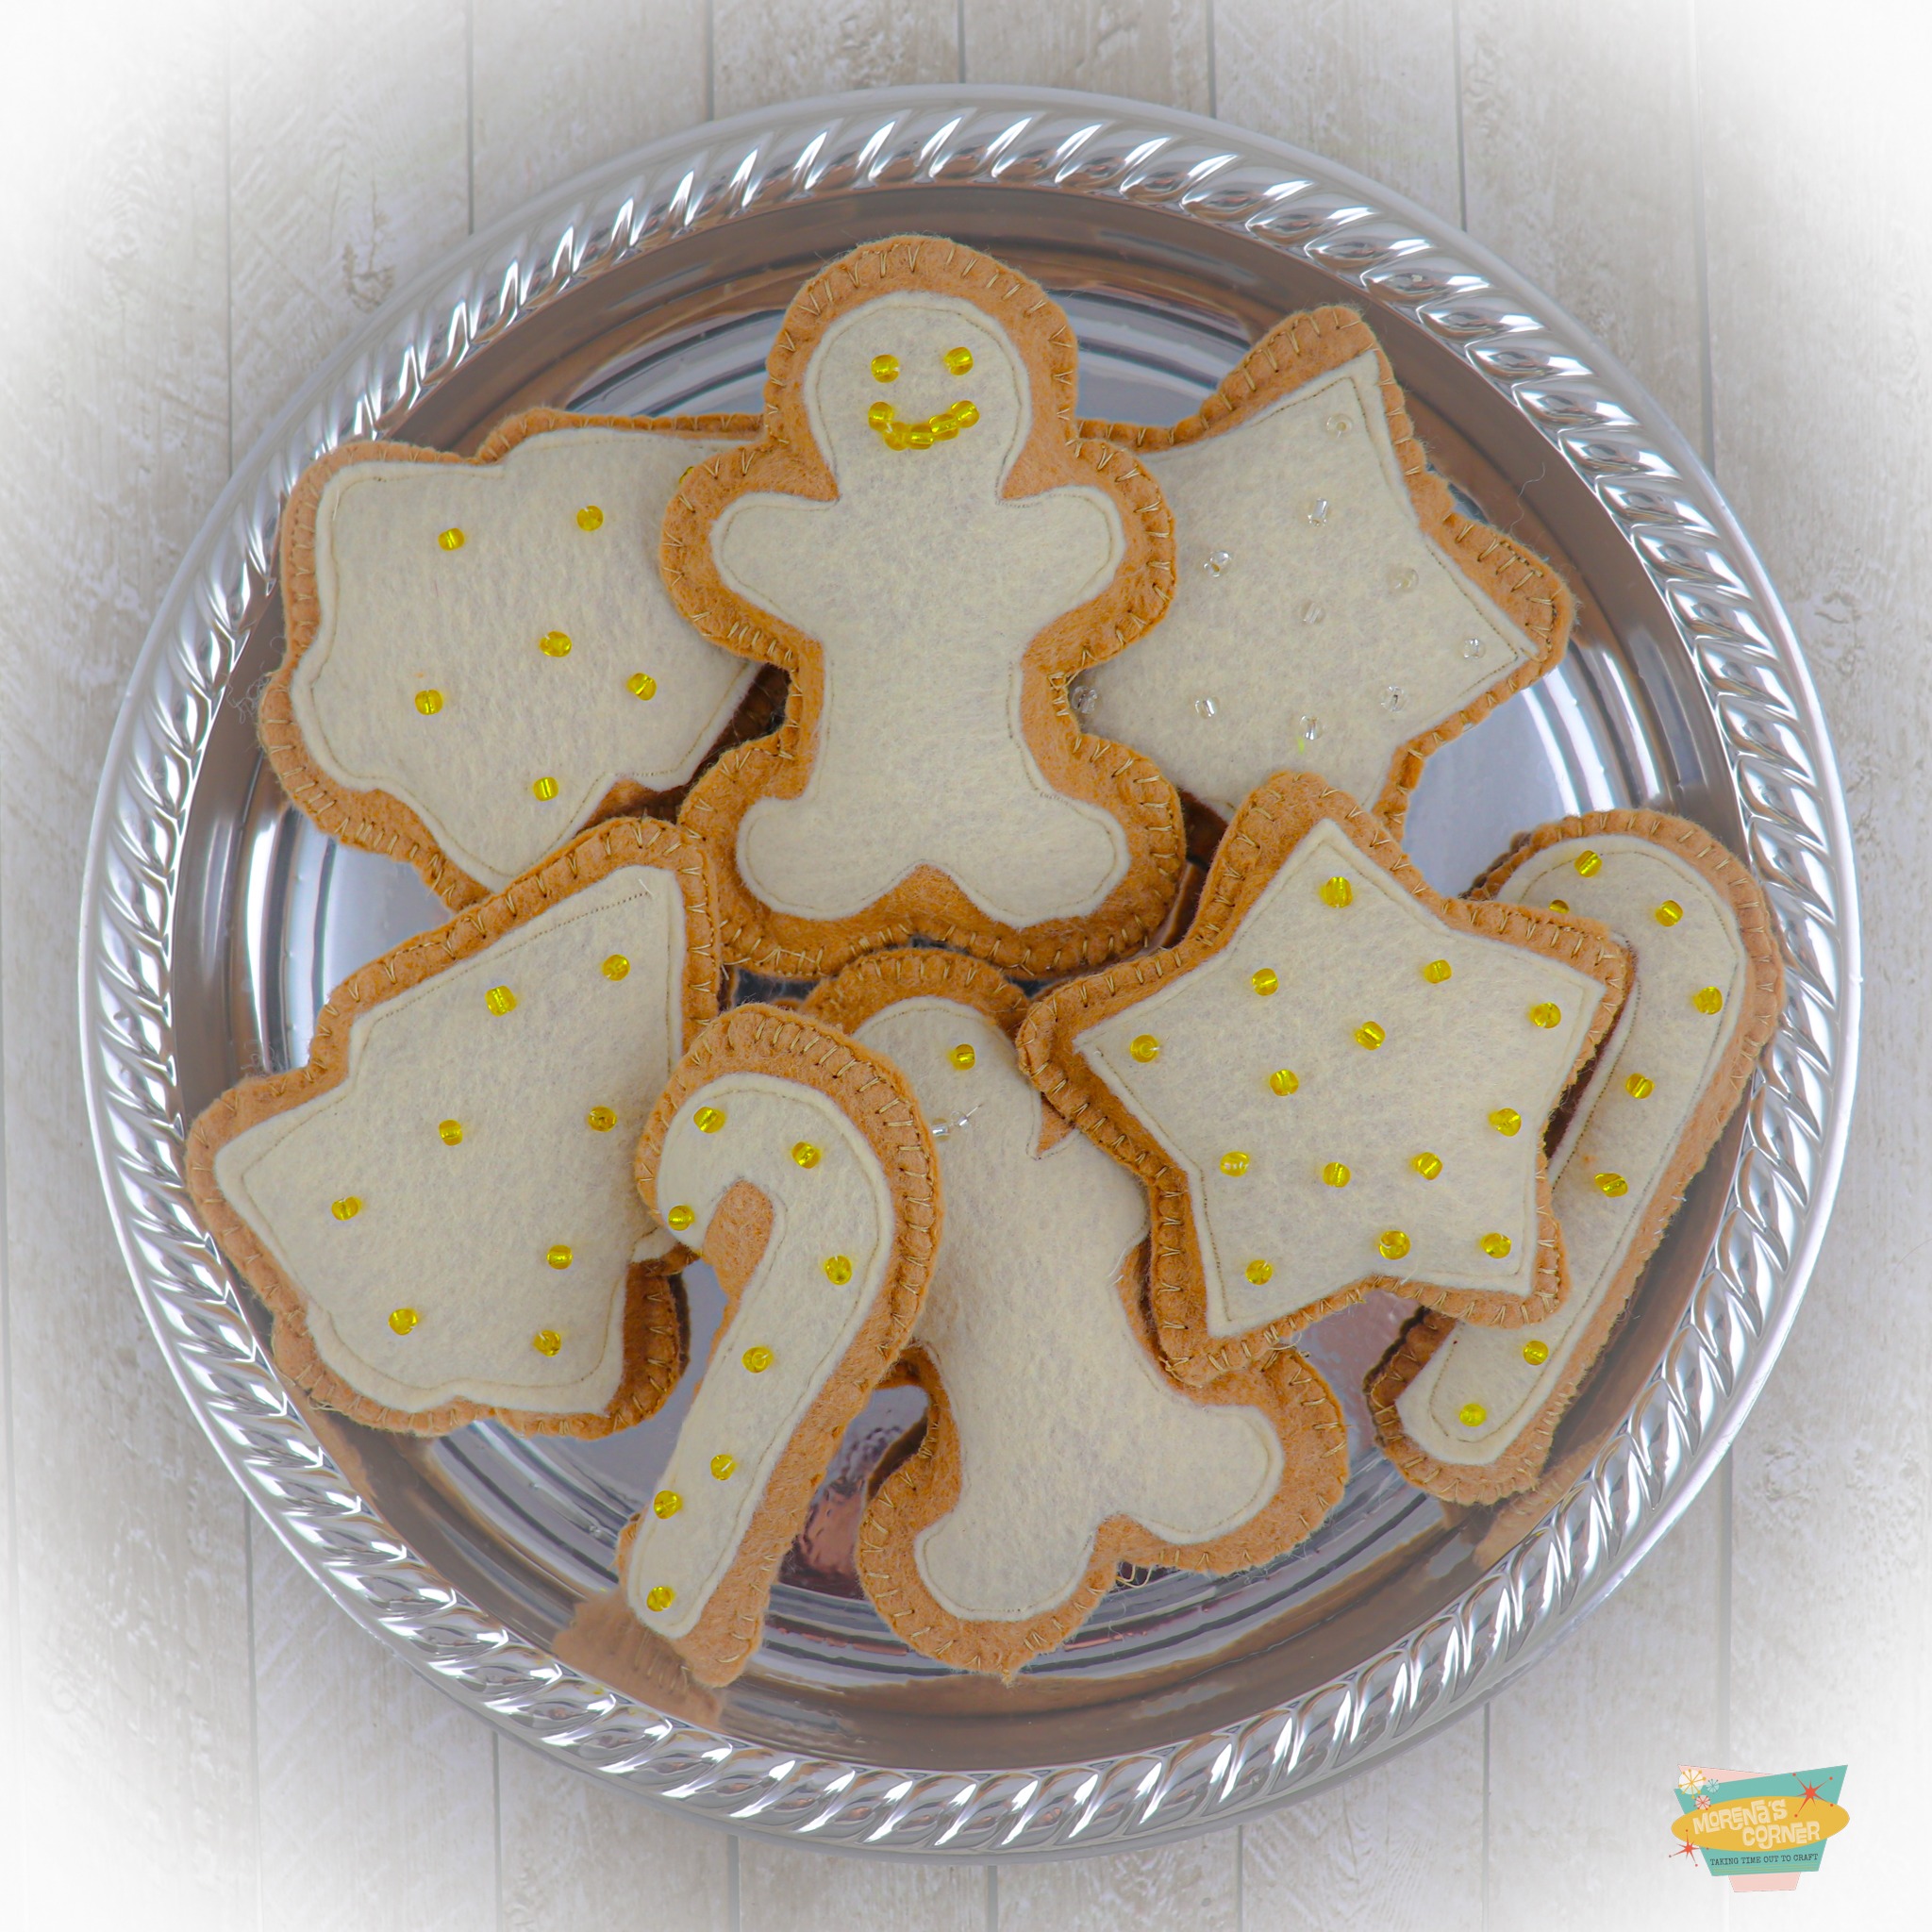
Use the plush cookie ornaments to decorate a tree, create a banner, or even make a wreath like I did. They would make adorable tags for gift baskets, too!
Are you ready to embark on a delightful crafting adventure that will leave your home filled with the aroma of creativity and the charm of homemade ornaments? Have fun crafting and creating your own DIY sugar cookies to use this holiday season!
Leave a Reply