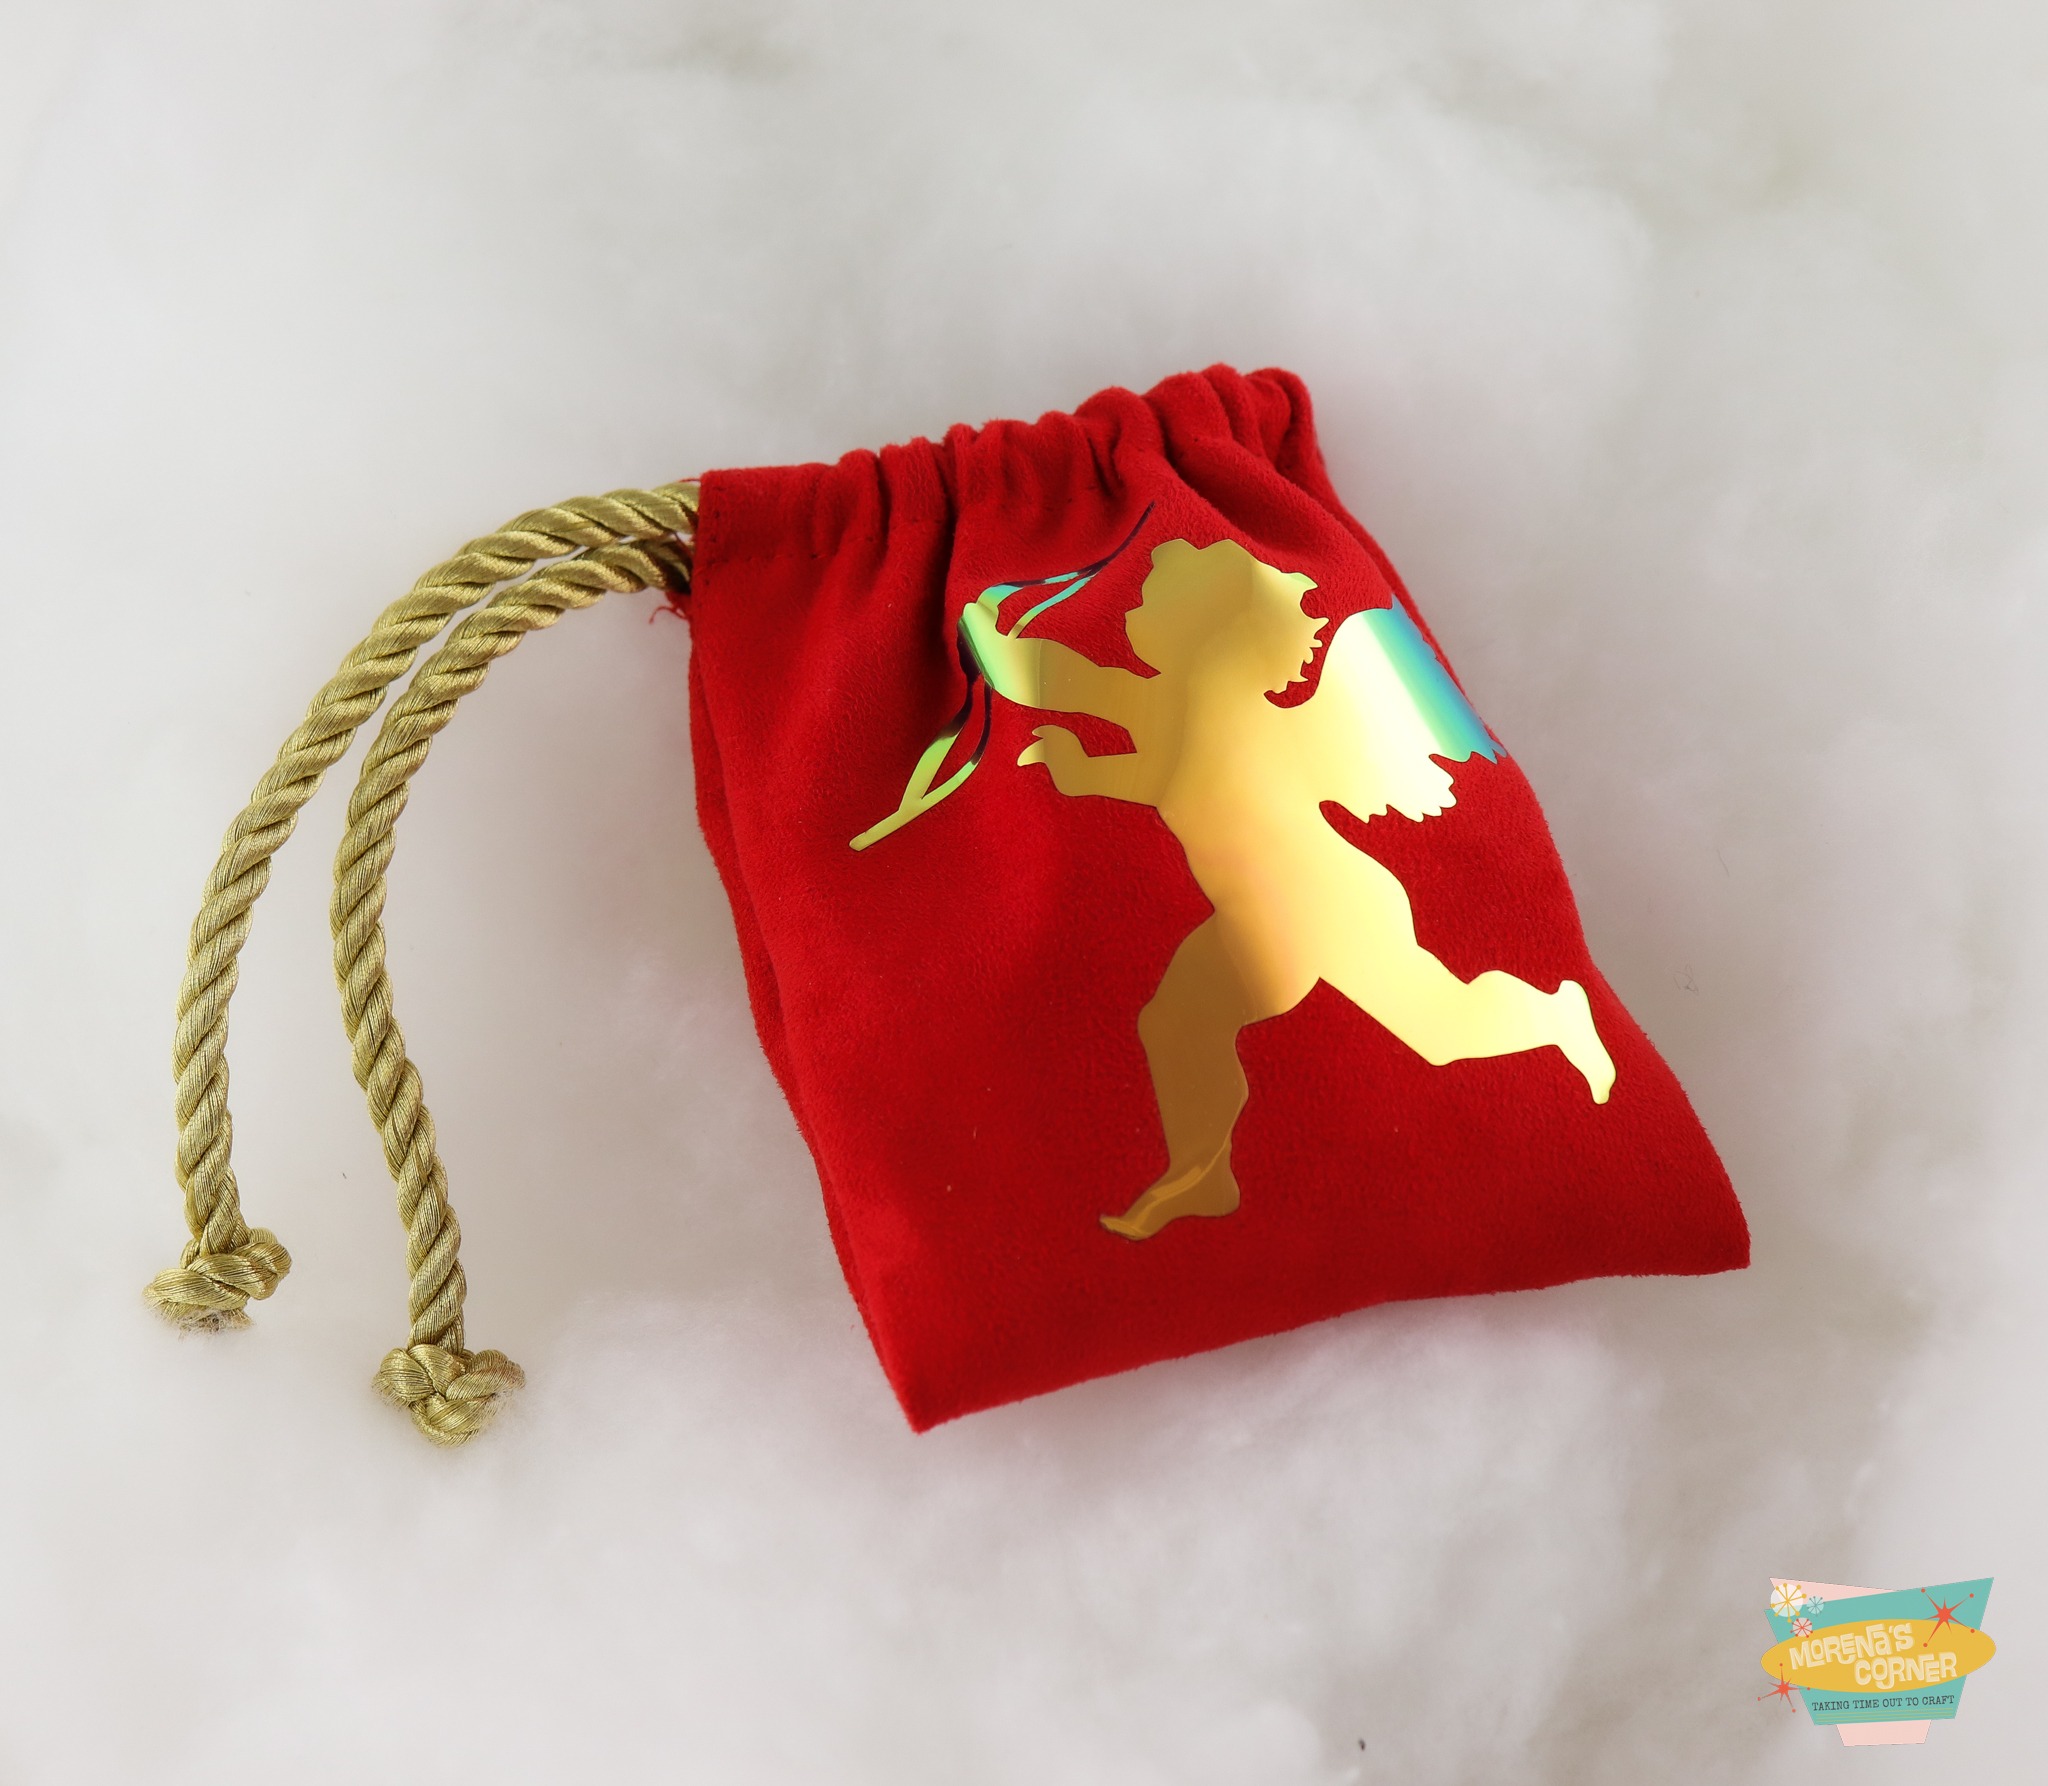
Whip up luxurious gift bags in no time at all! This valentine bag tutorial shows you how to make your own. I love the combination of the microsuede fabric with the metallic heat transfer vinyl from StyleTech Craft.
Valentine Bag Tutorial Supplies Needed
- WITPAK HTV Metallic
- Red microsuede fabric
- Gold cord
Choose your designs and cut them from the metallic heat transfer vinyl. I used the HTV-Metallic settings on my Silhouette Cameo.
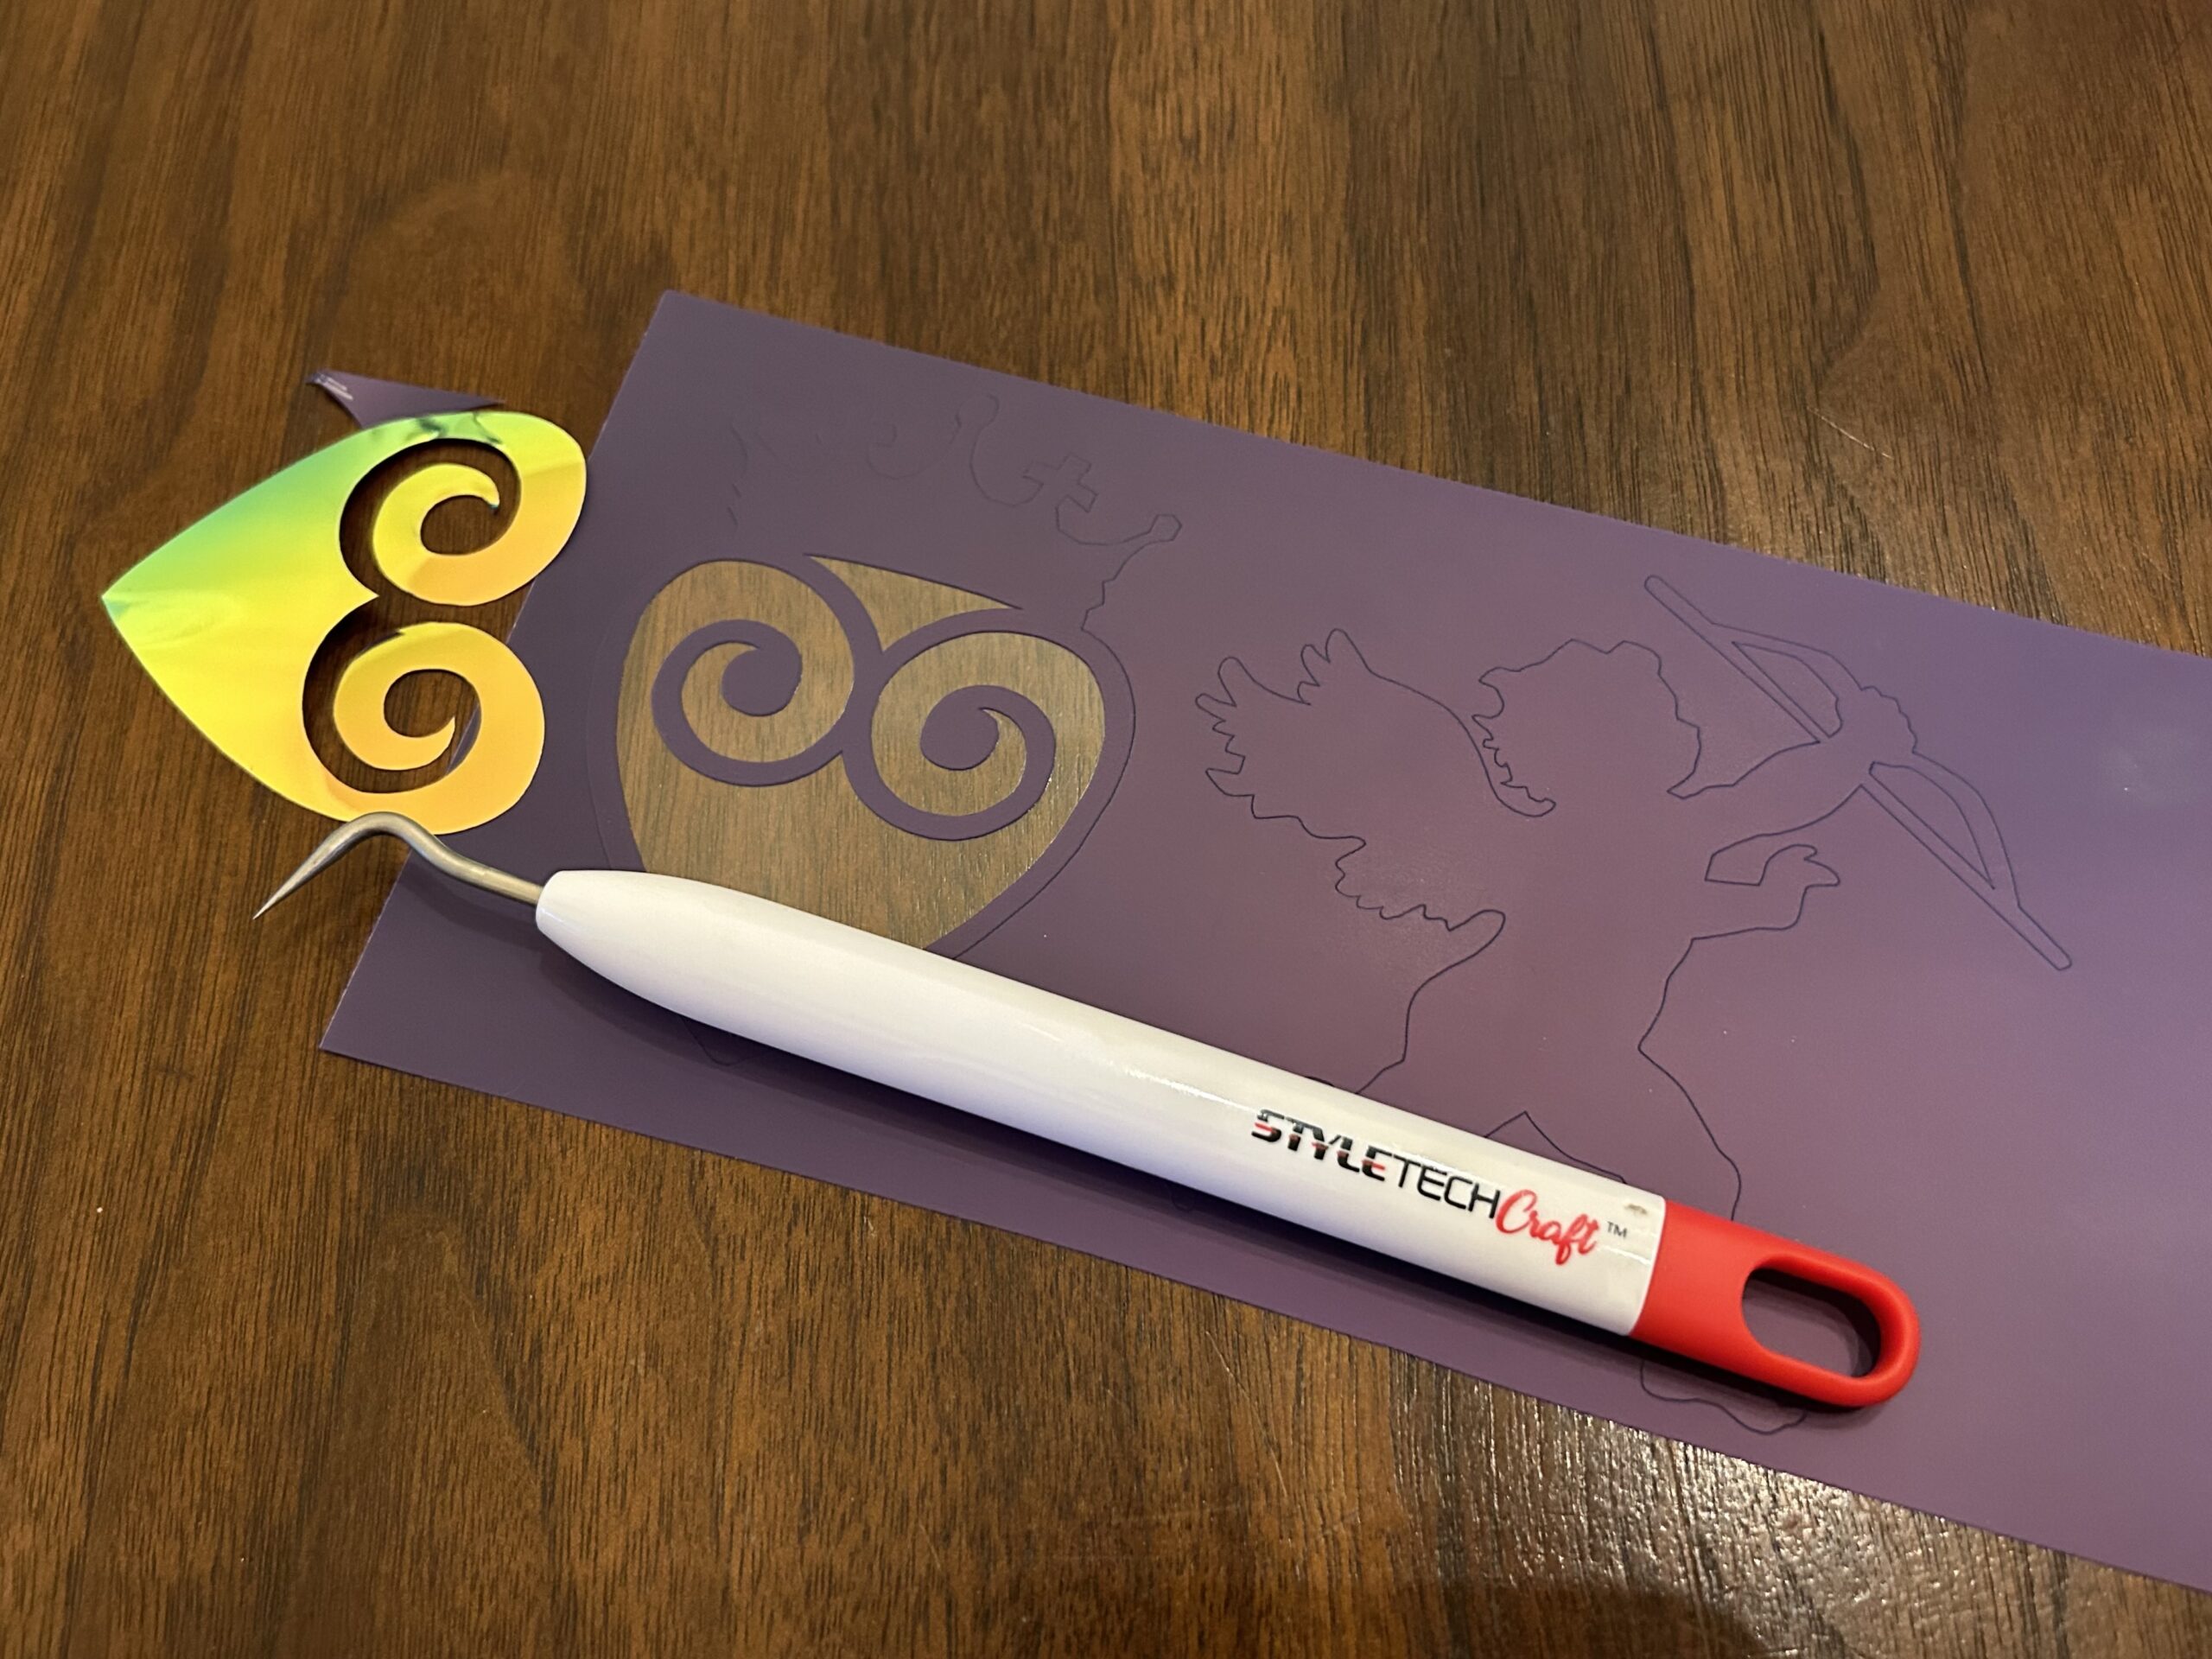
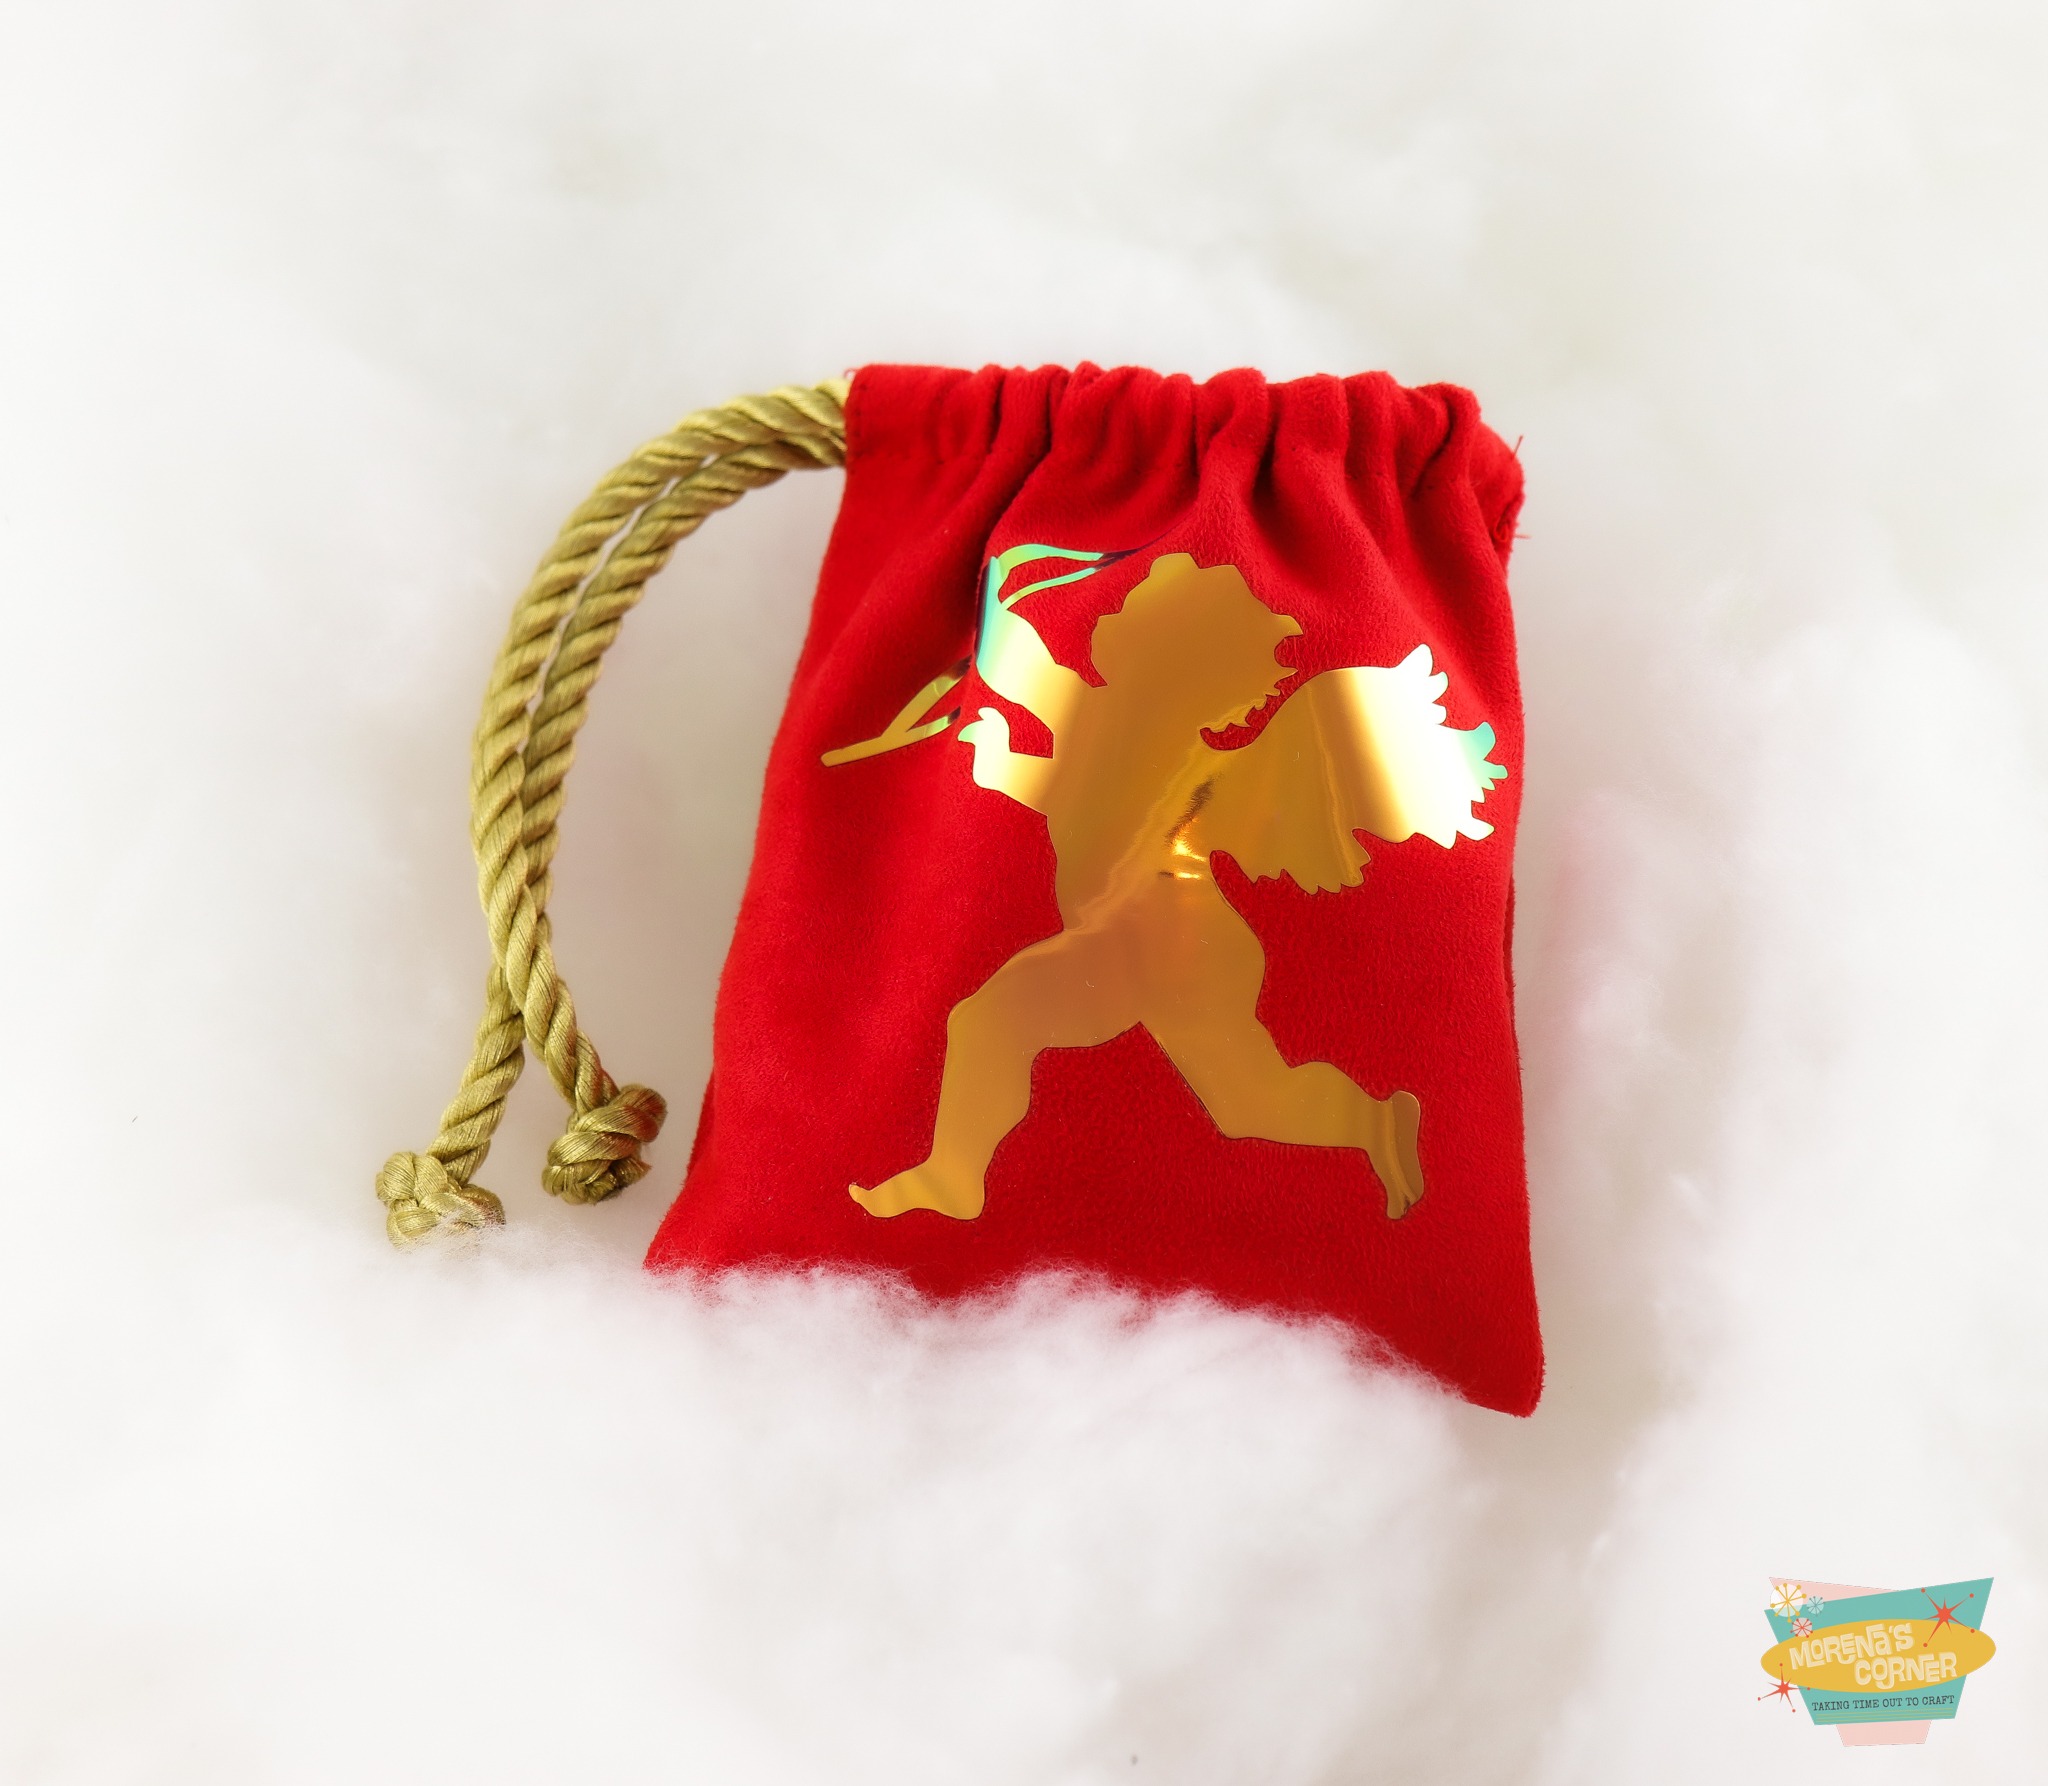
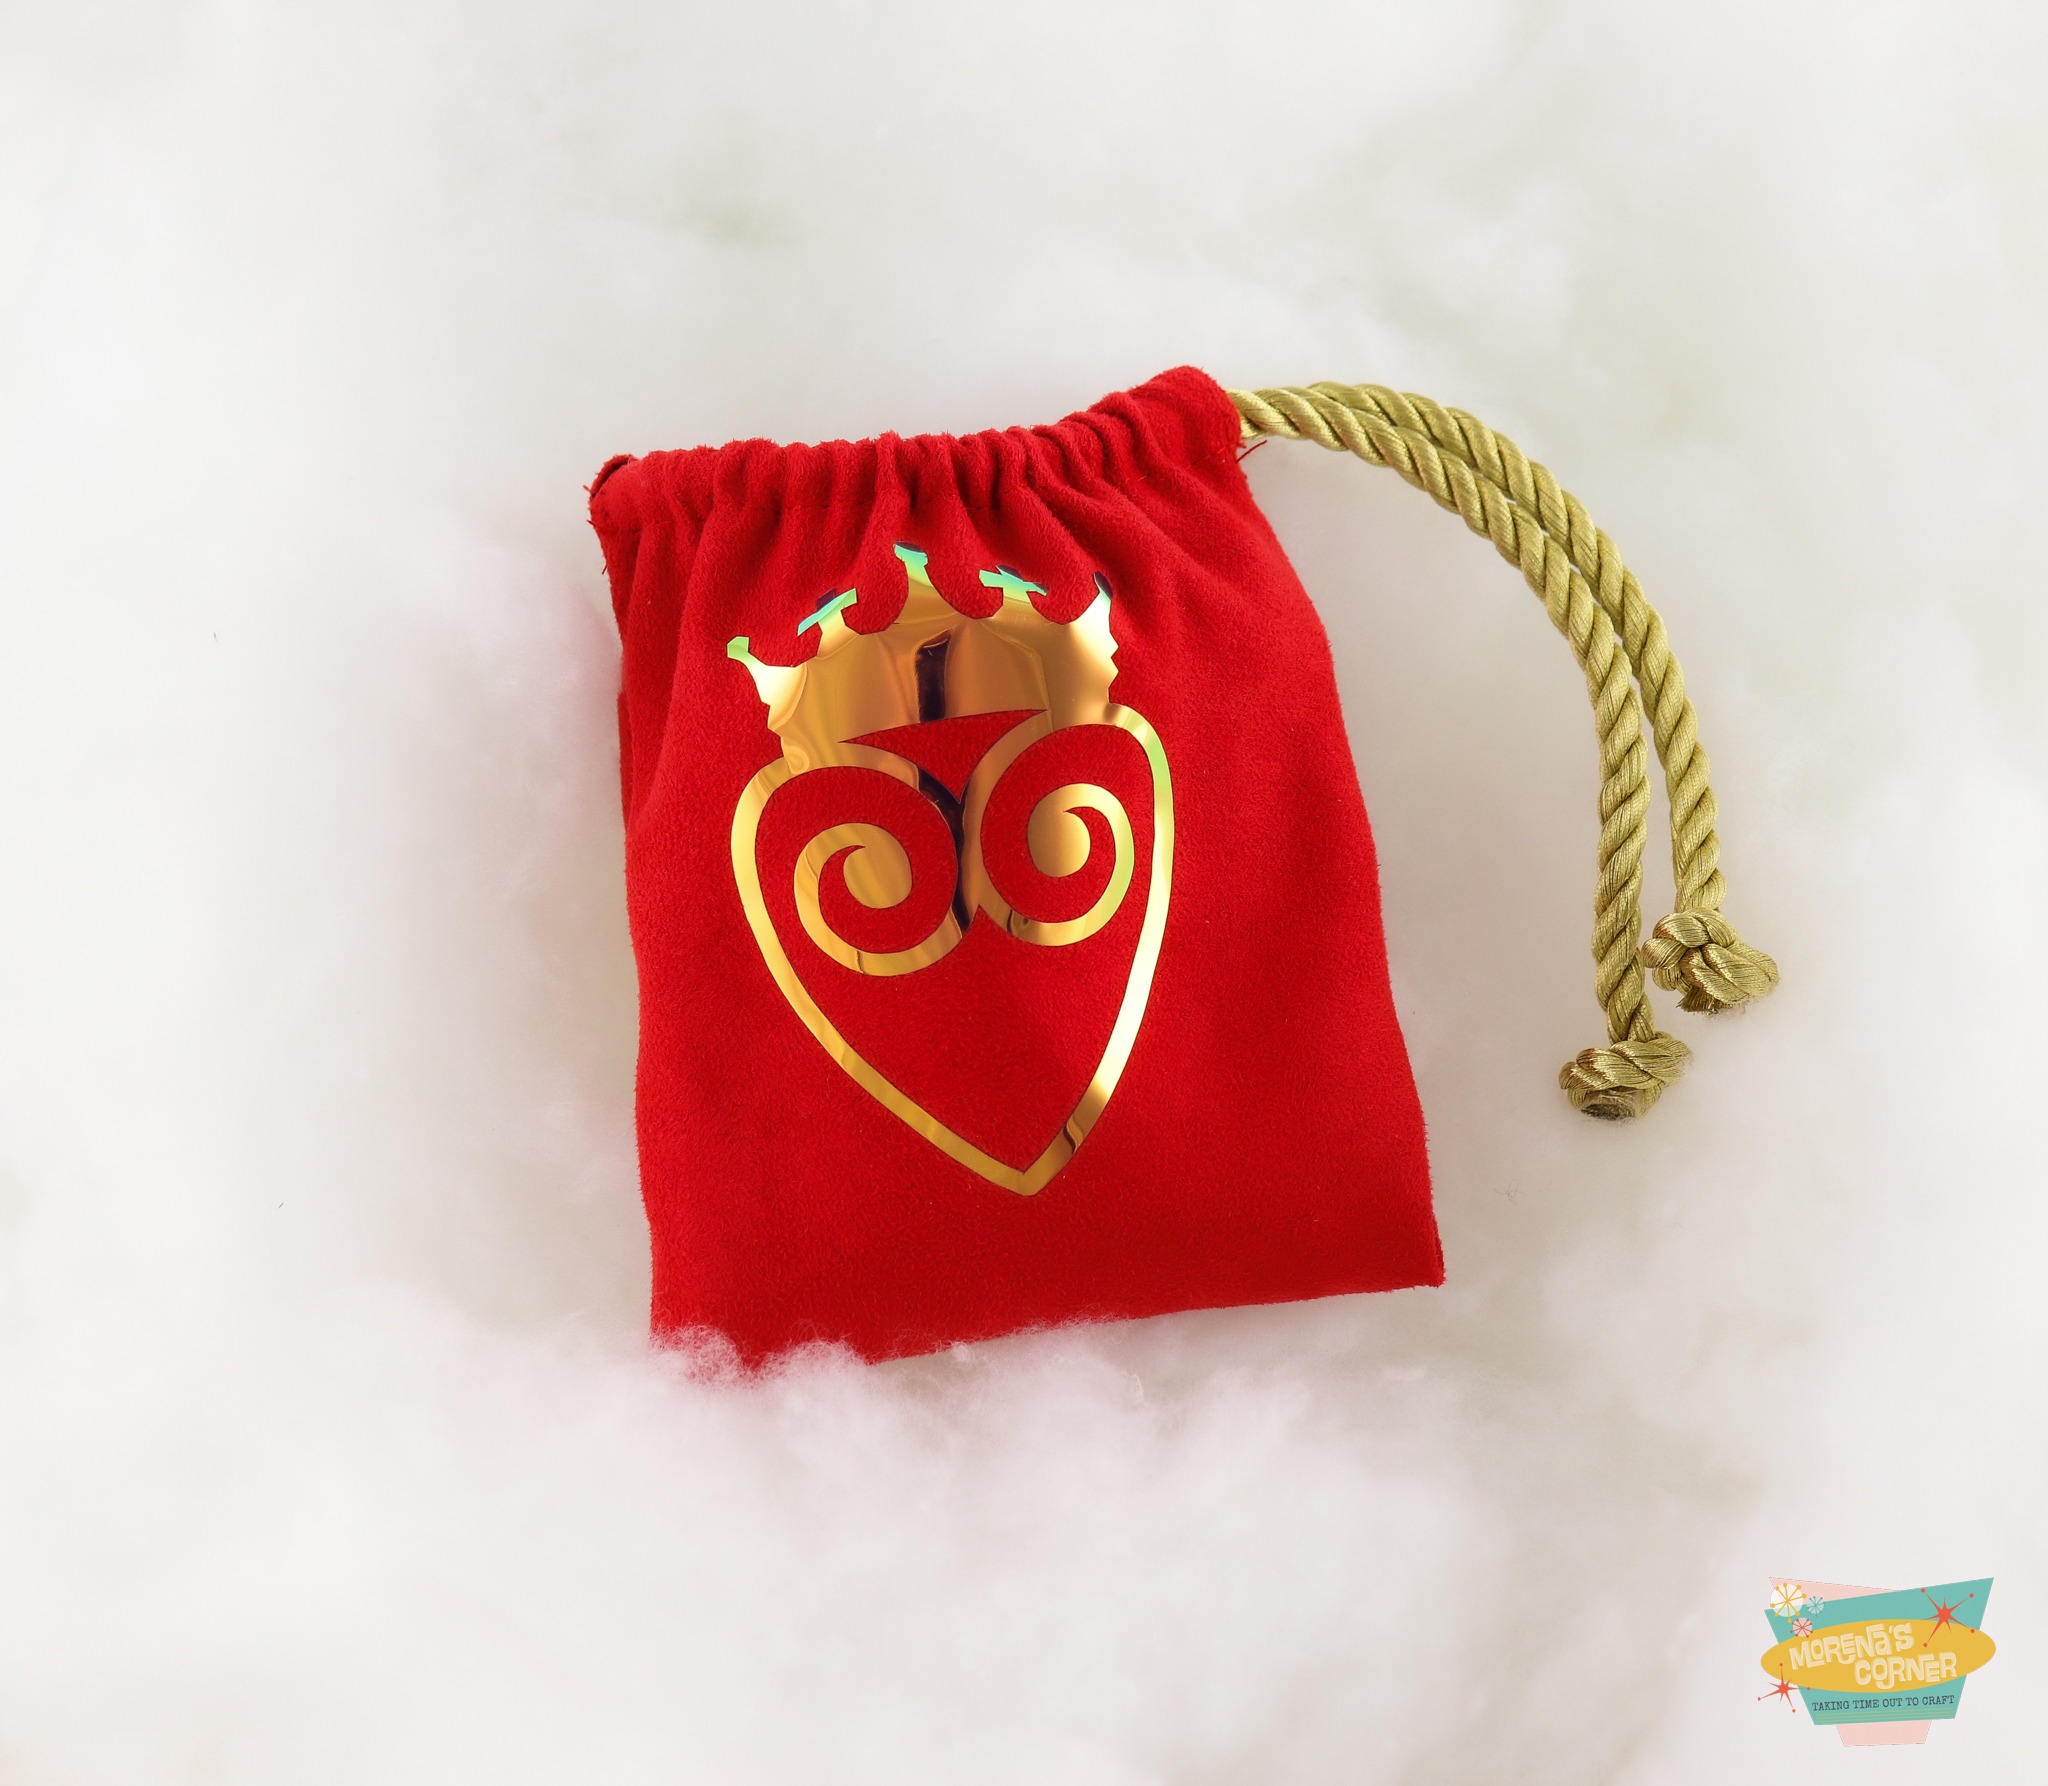
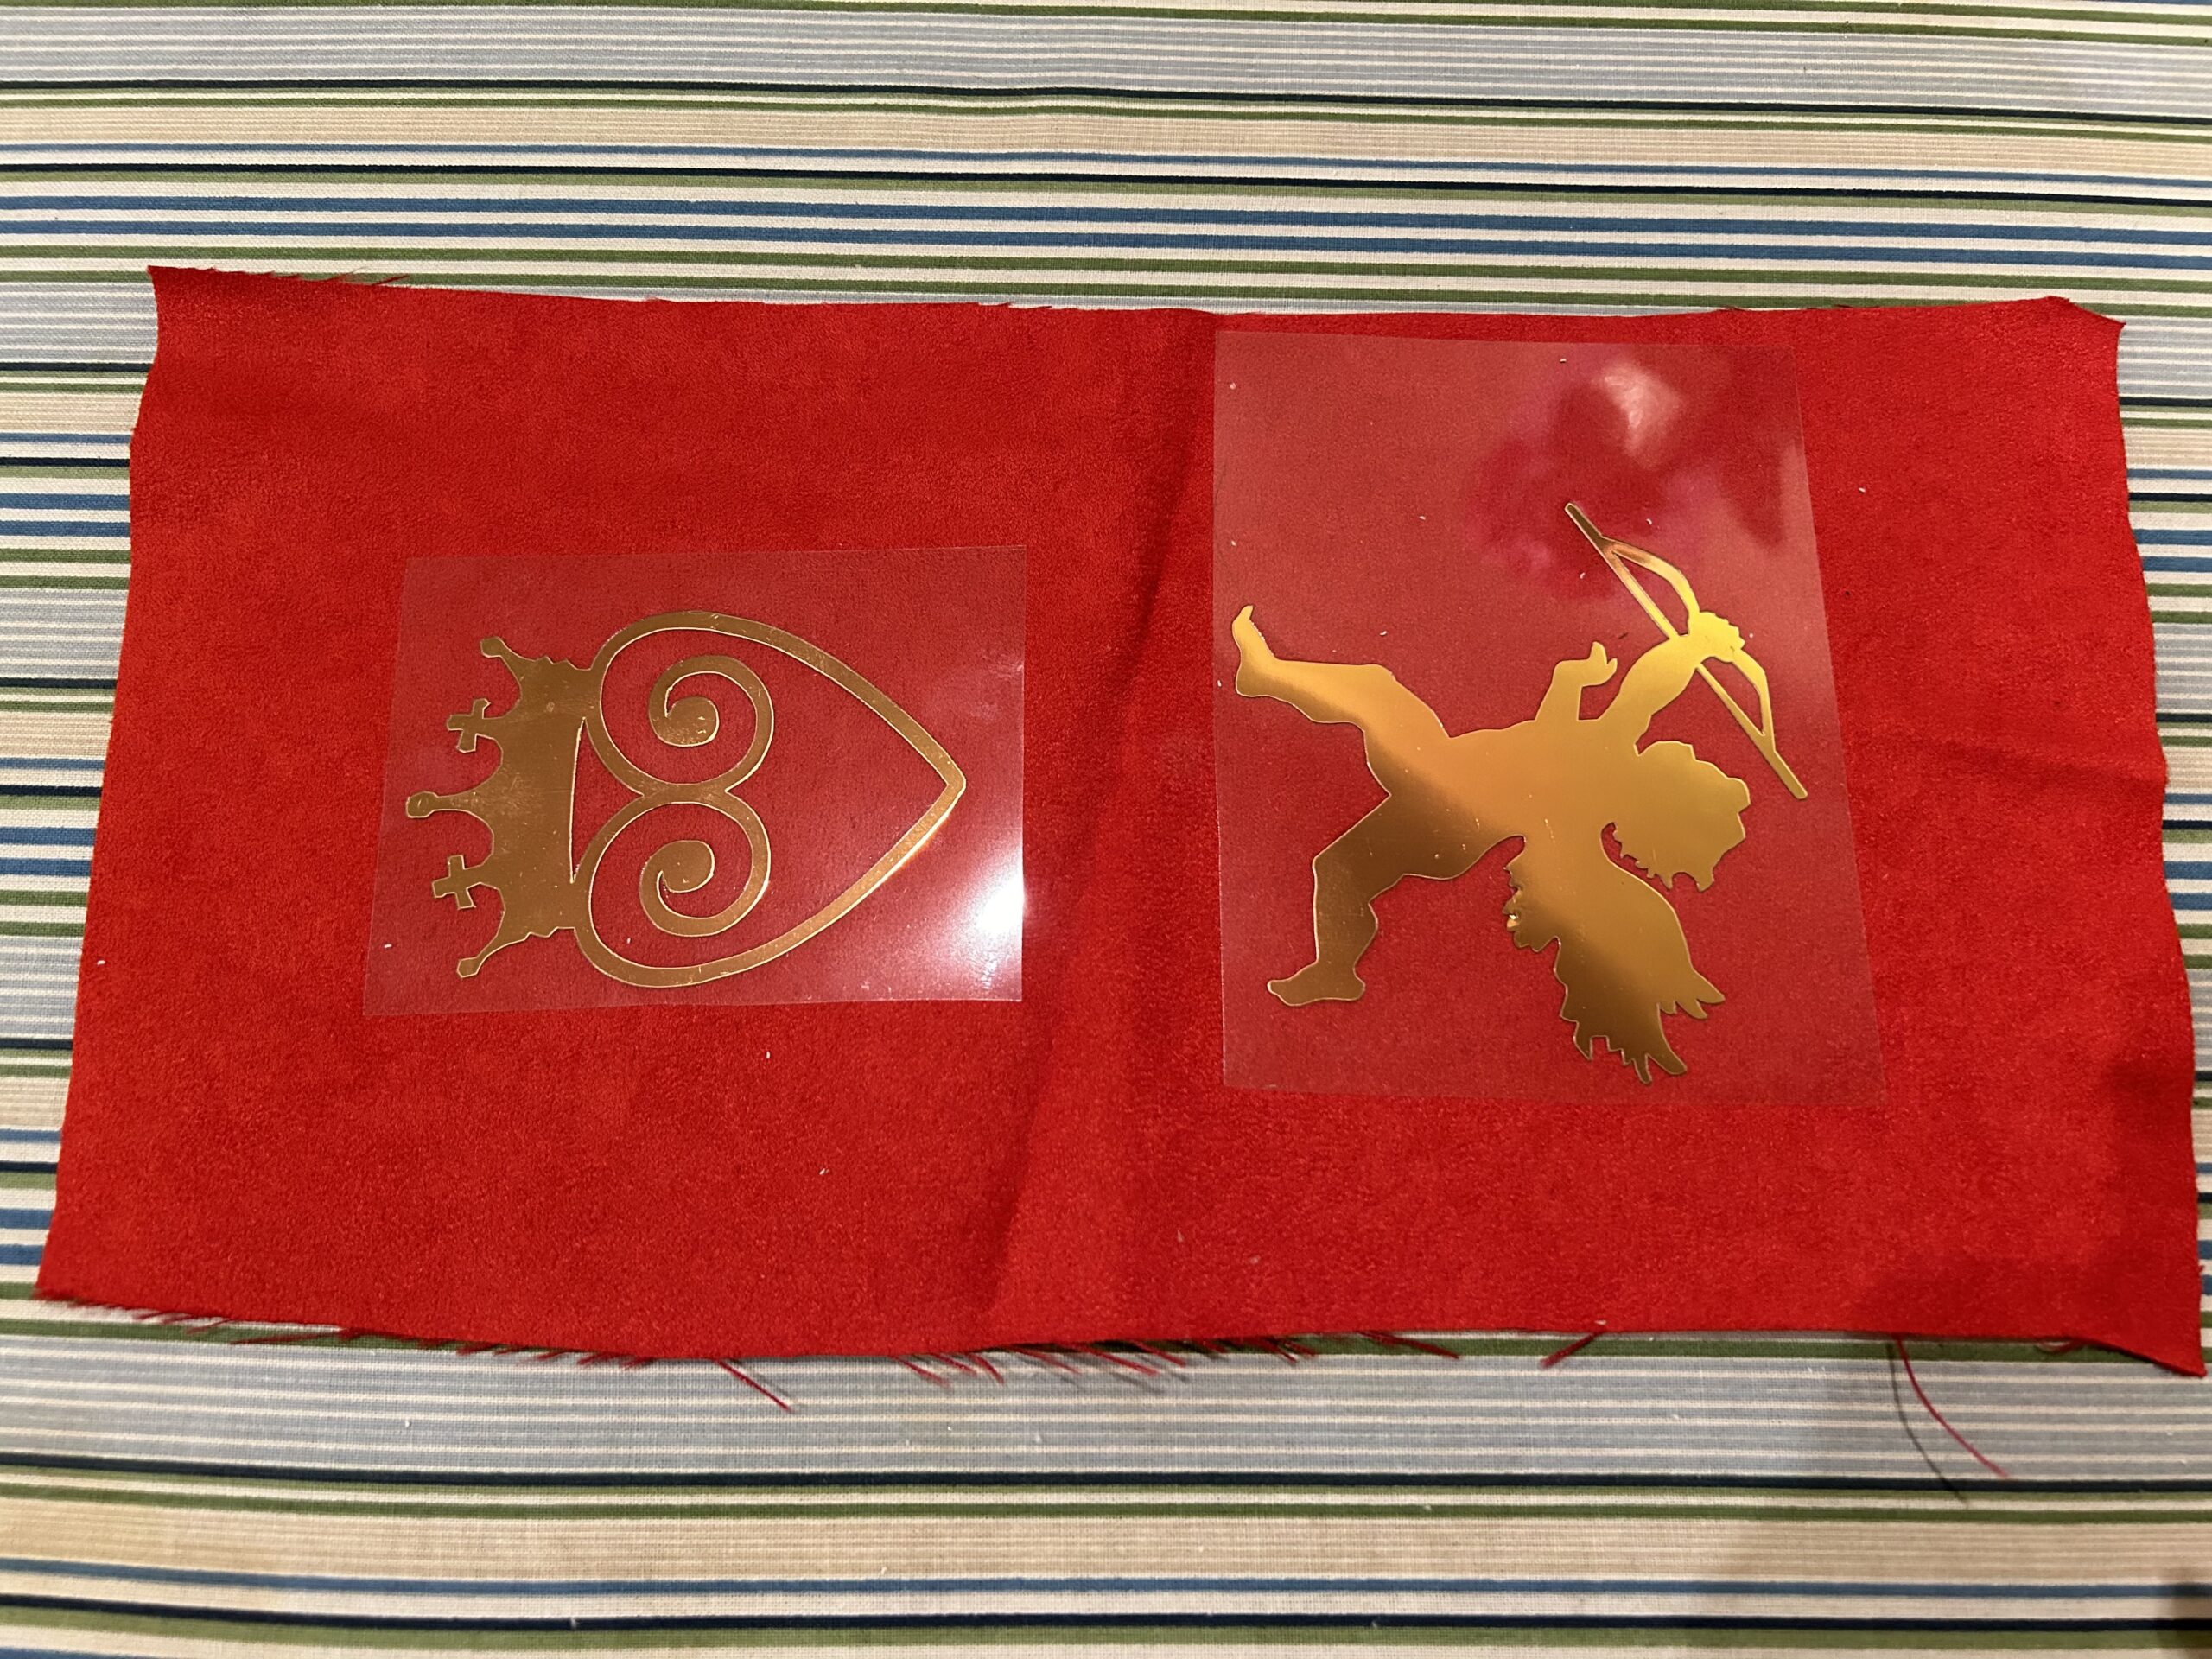
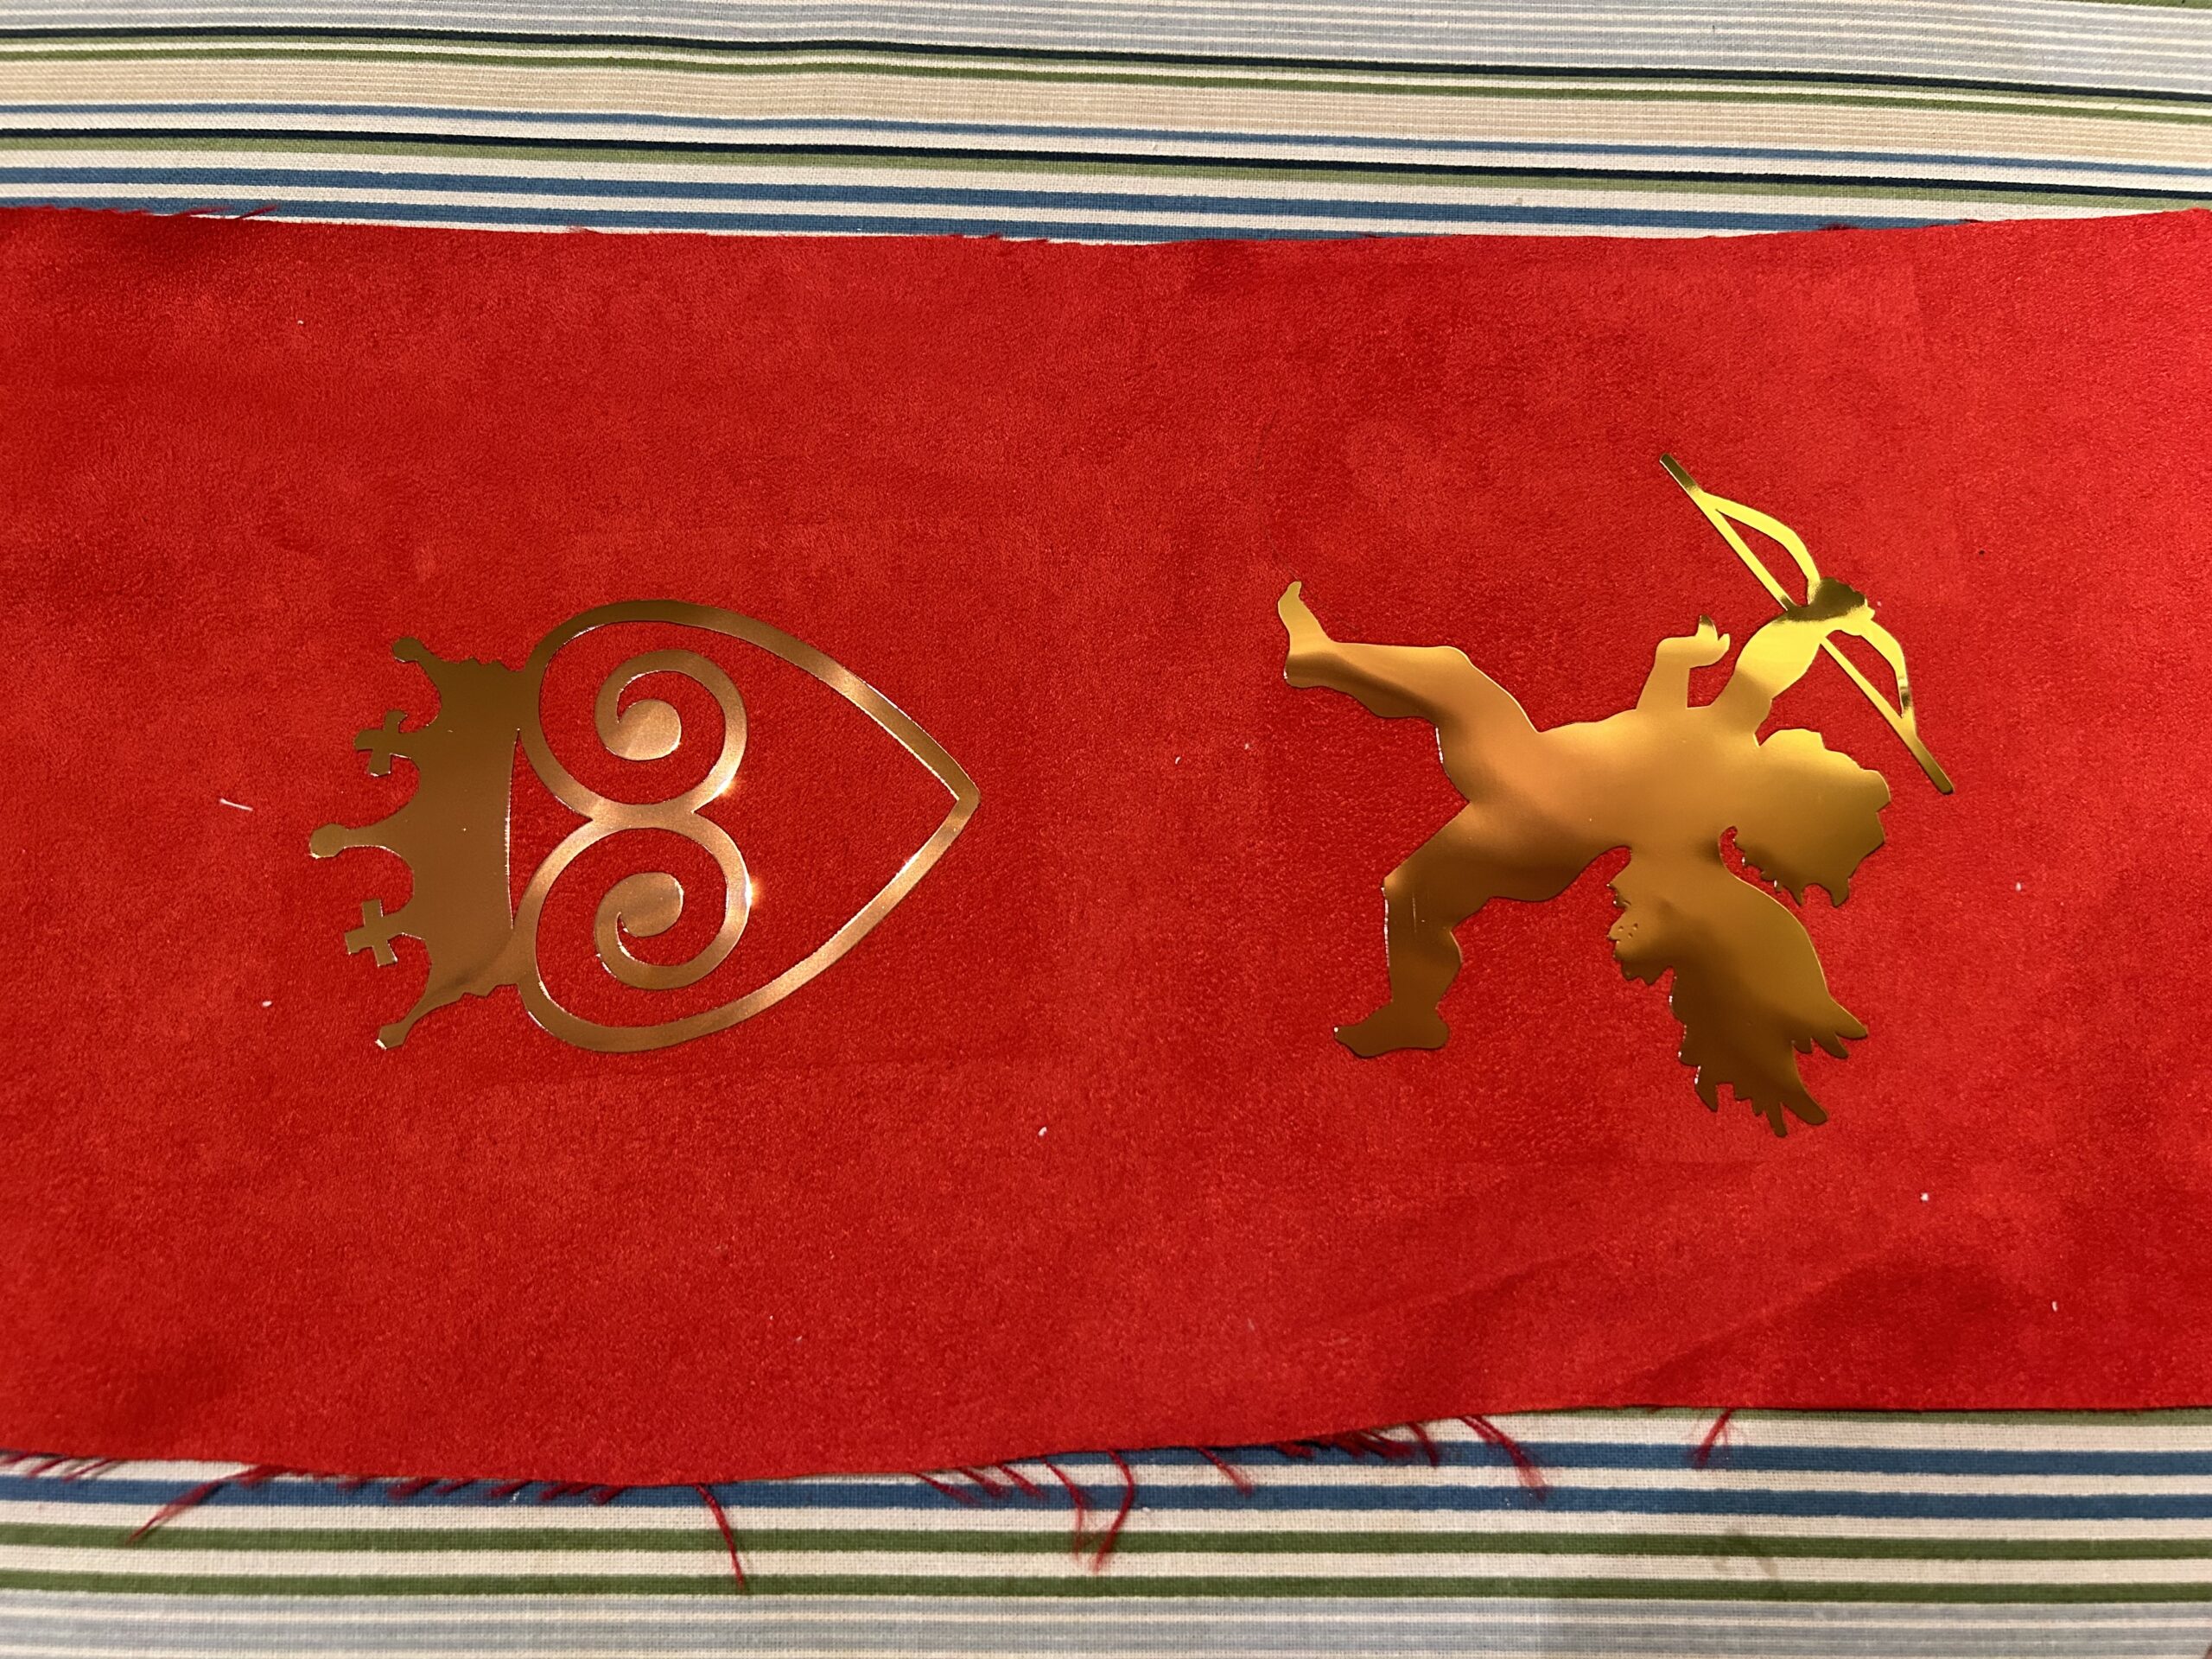
After weeding the designs, arrange them on a piece of fabric. Mine in 6 inches wide and 12 inches long. I wanted a different symbol on each side of the bag.
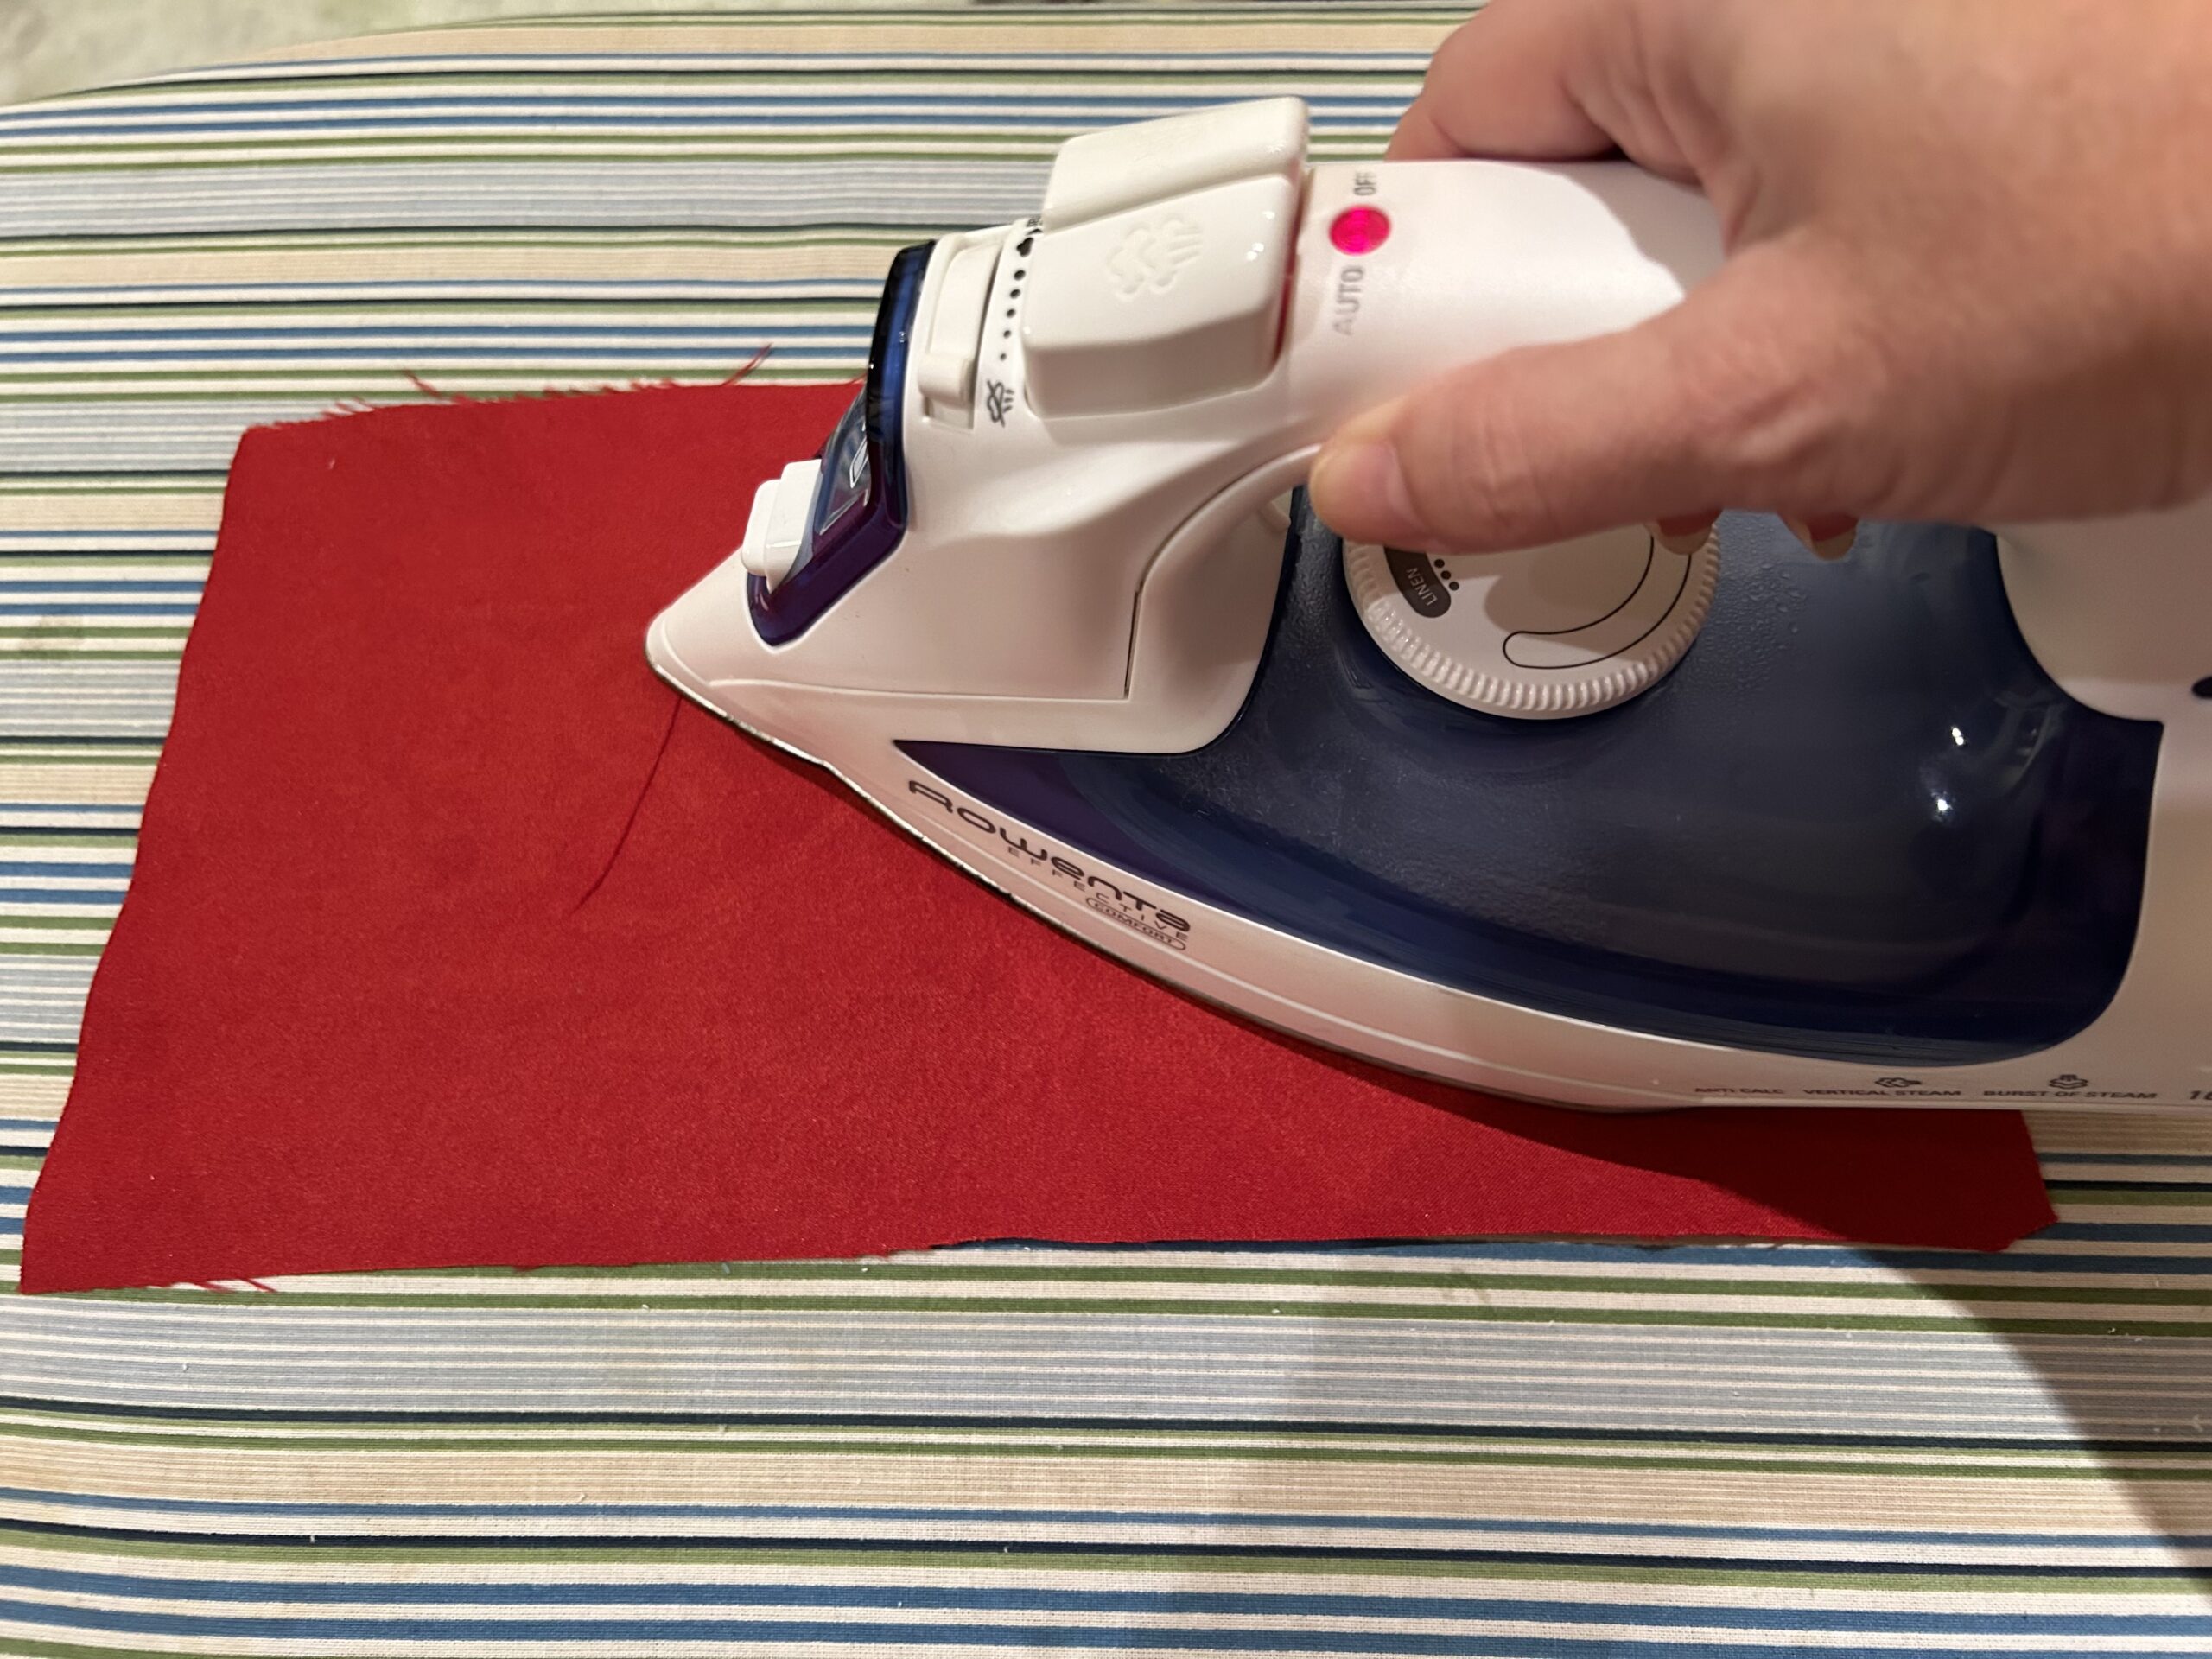
With metallic HTV, I like to iron on the backside of the fabric. Metallics tend to shrivel when they get too hot, so ironing on the back helps me activate the adhesive without ruining the vinyl.
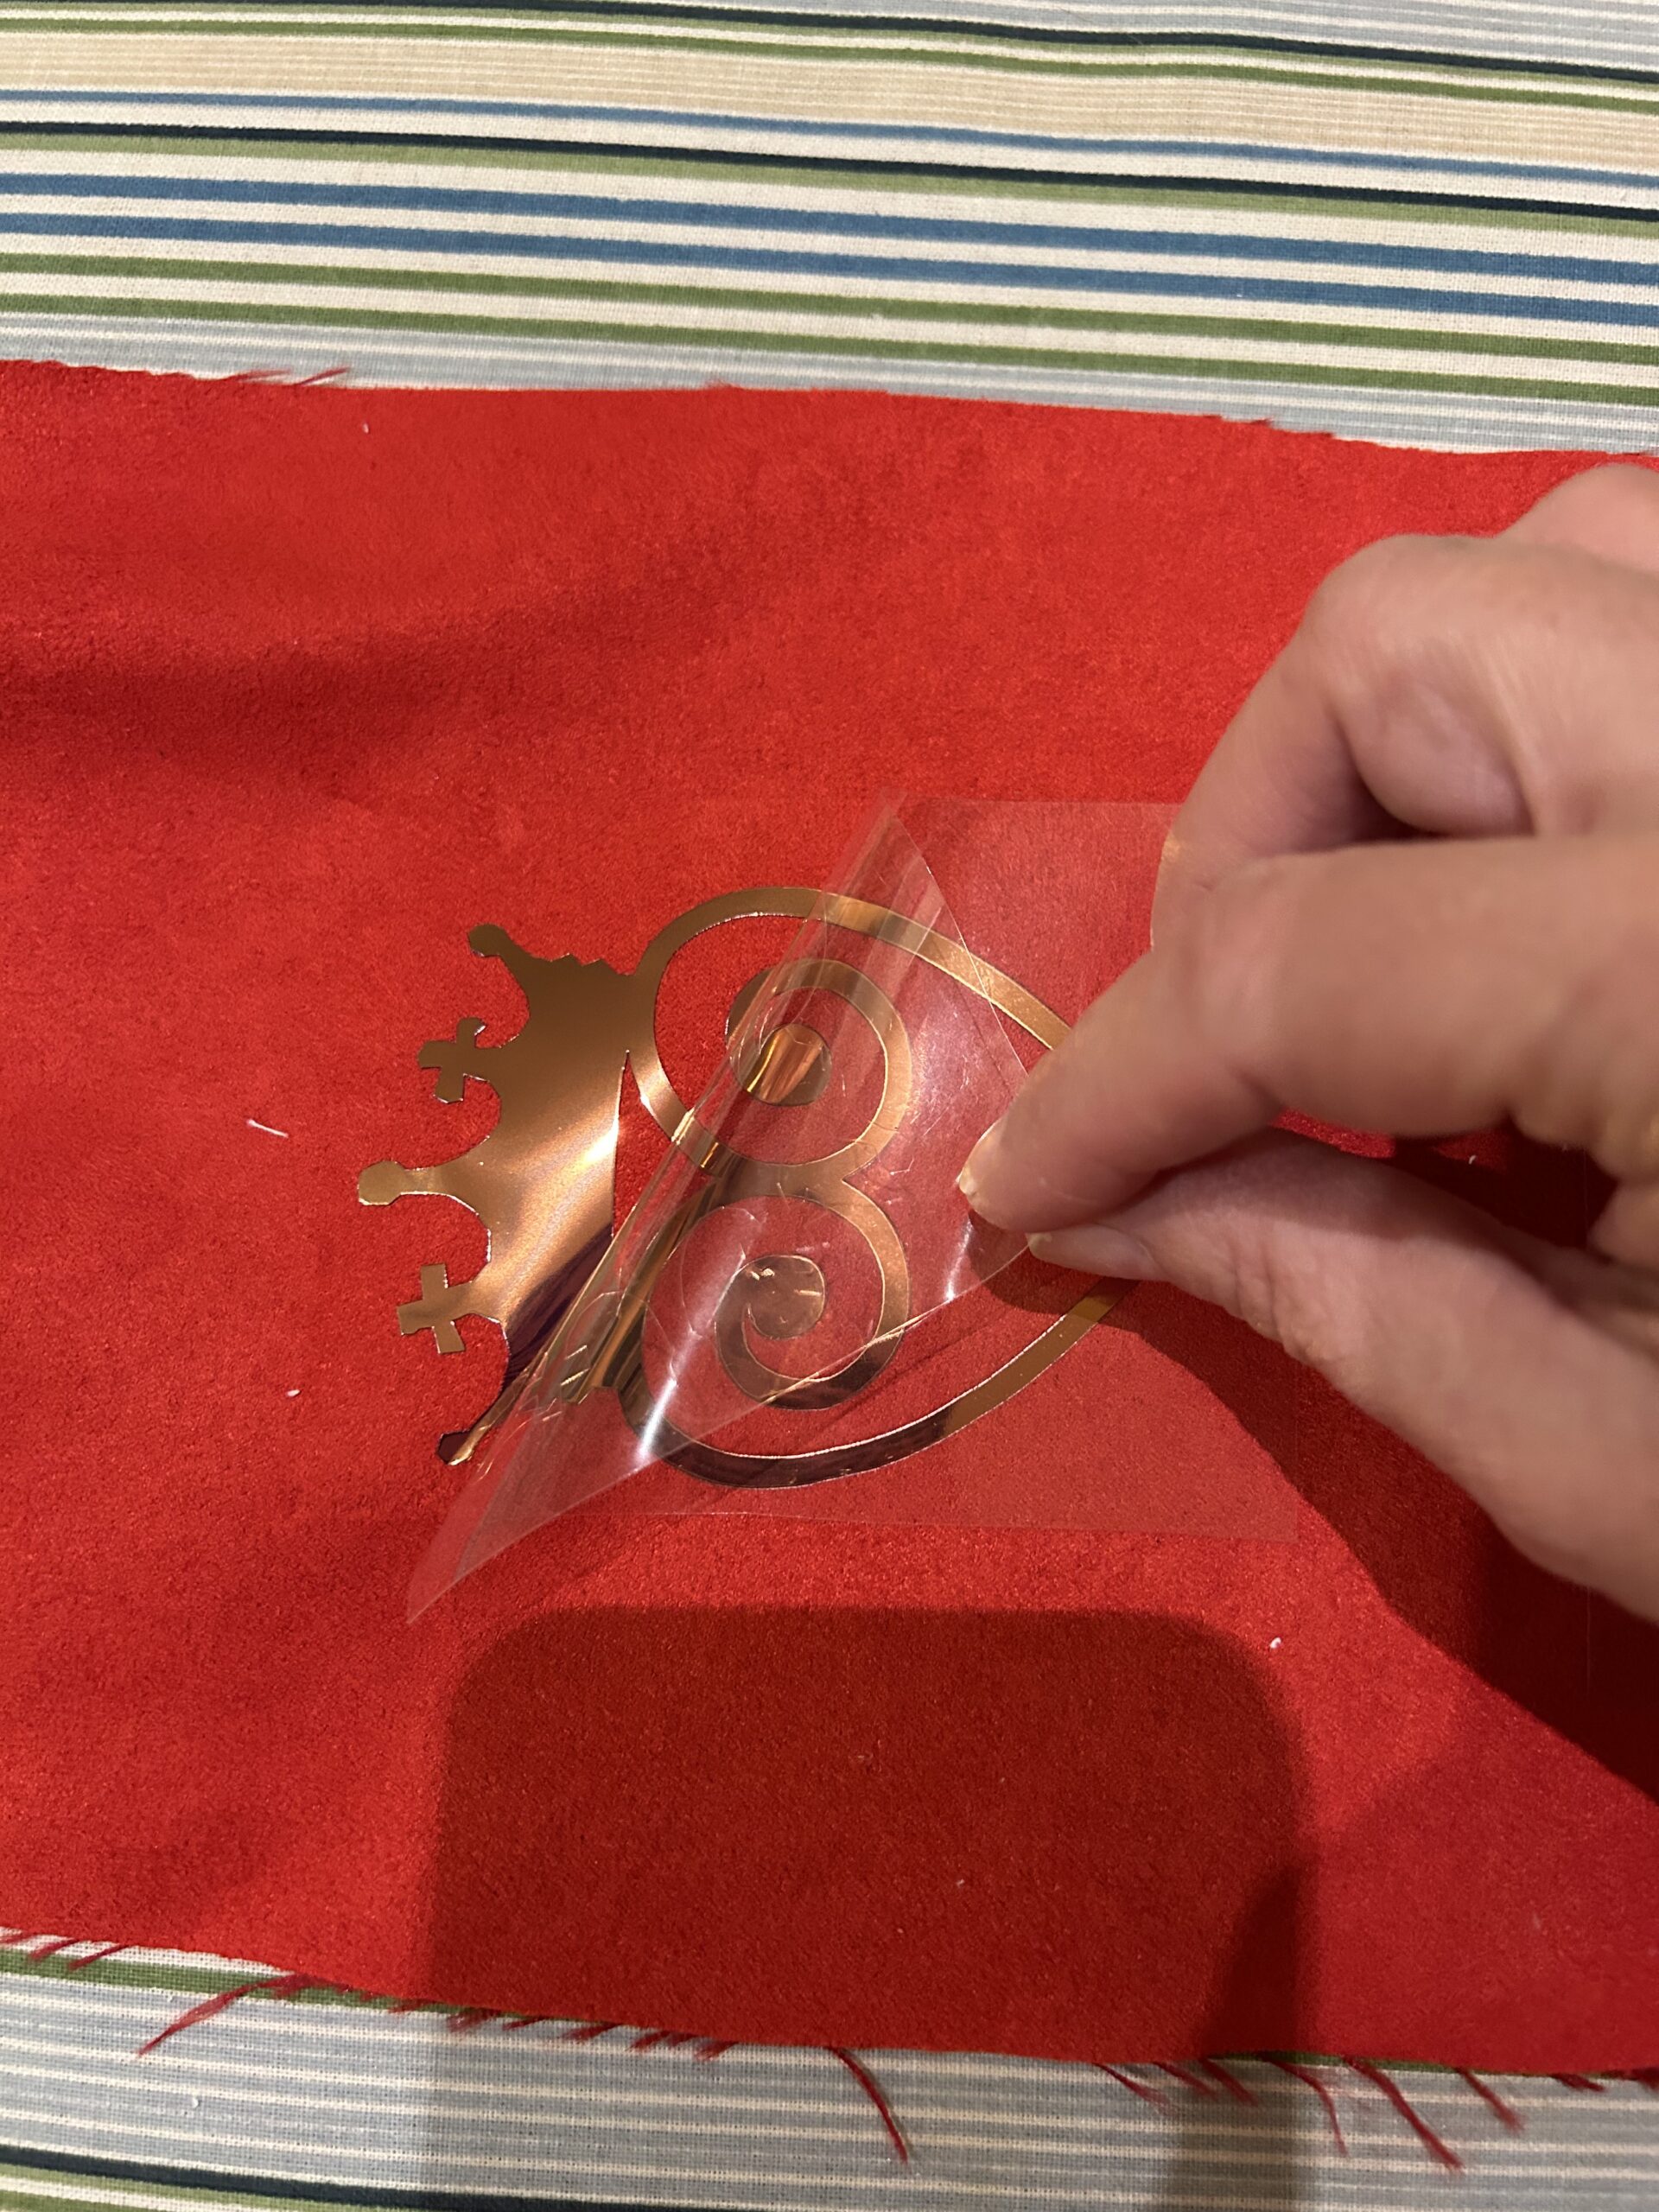
Flip the fabric over and peel off the protective plastic sheet.
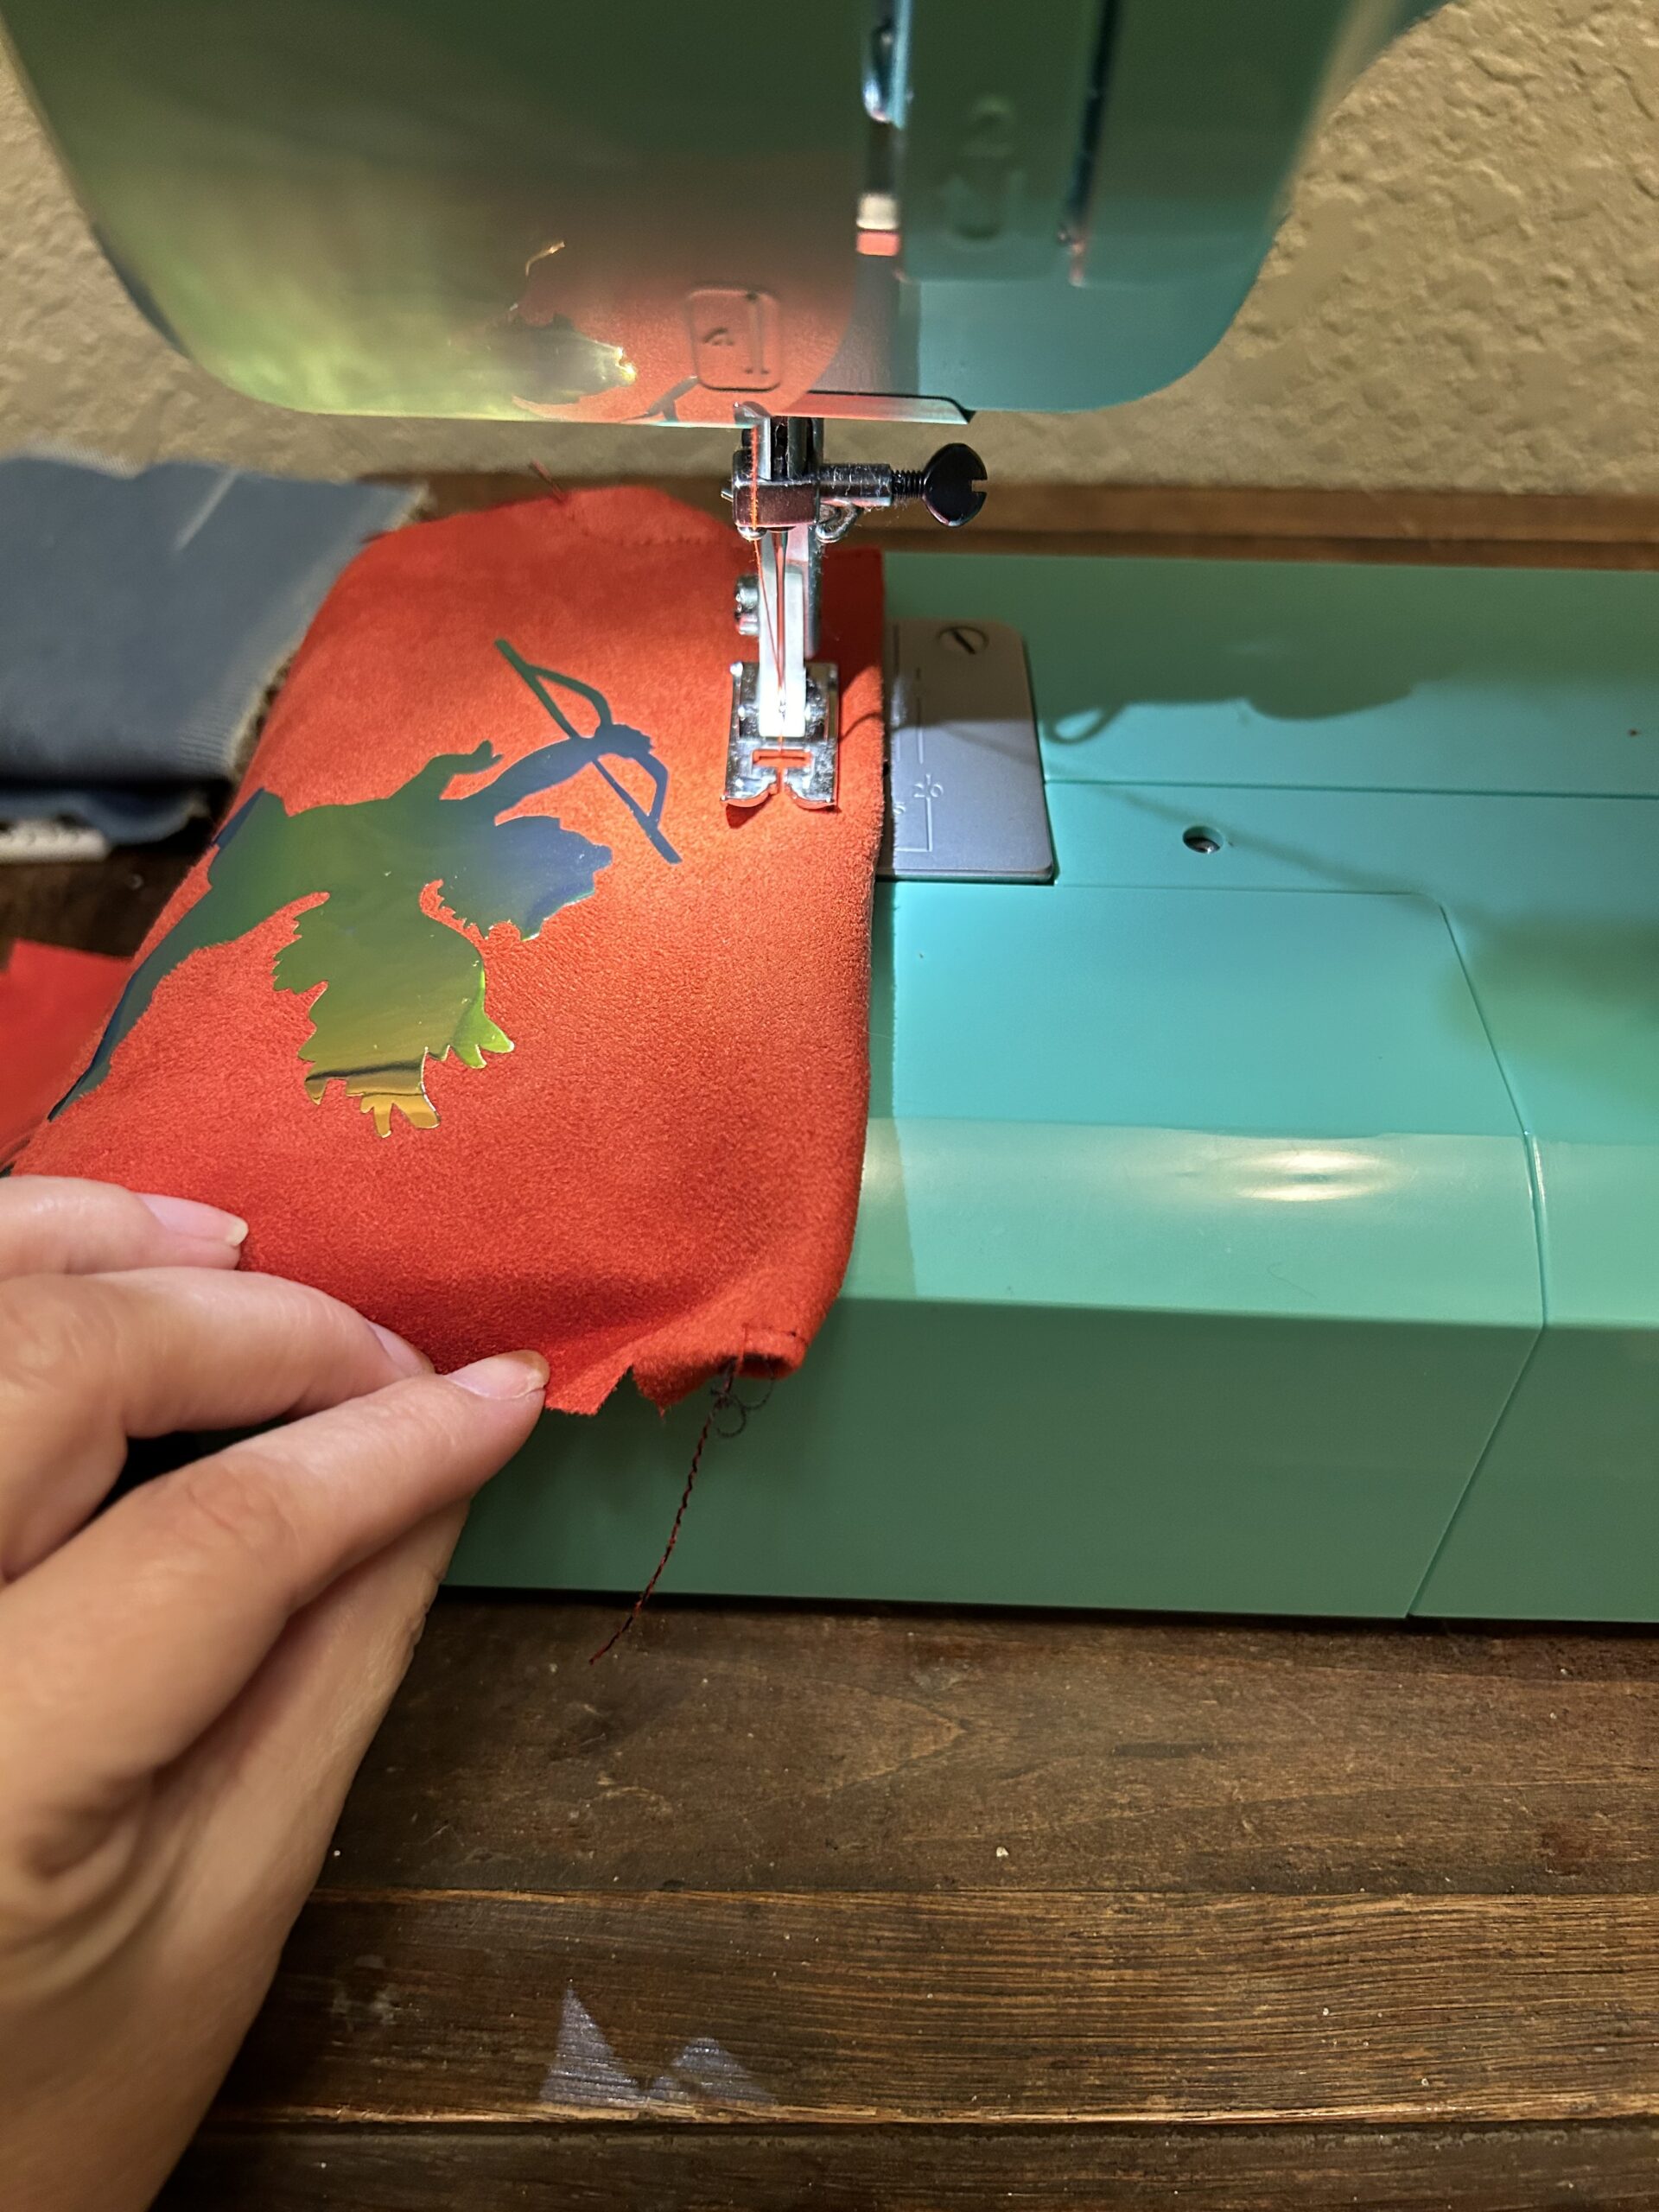
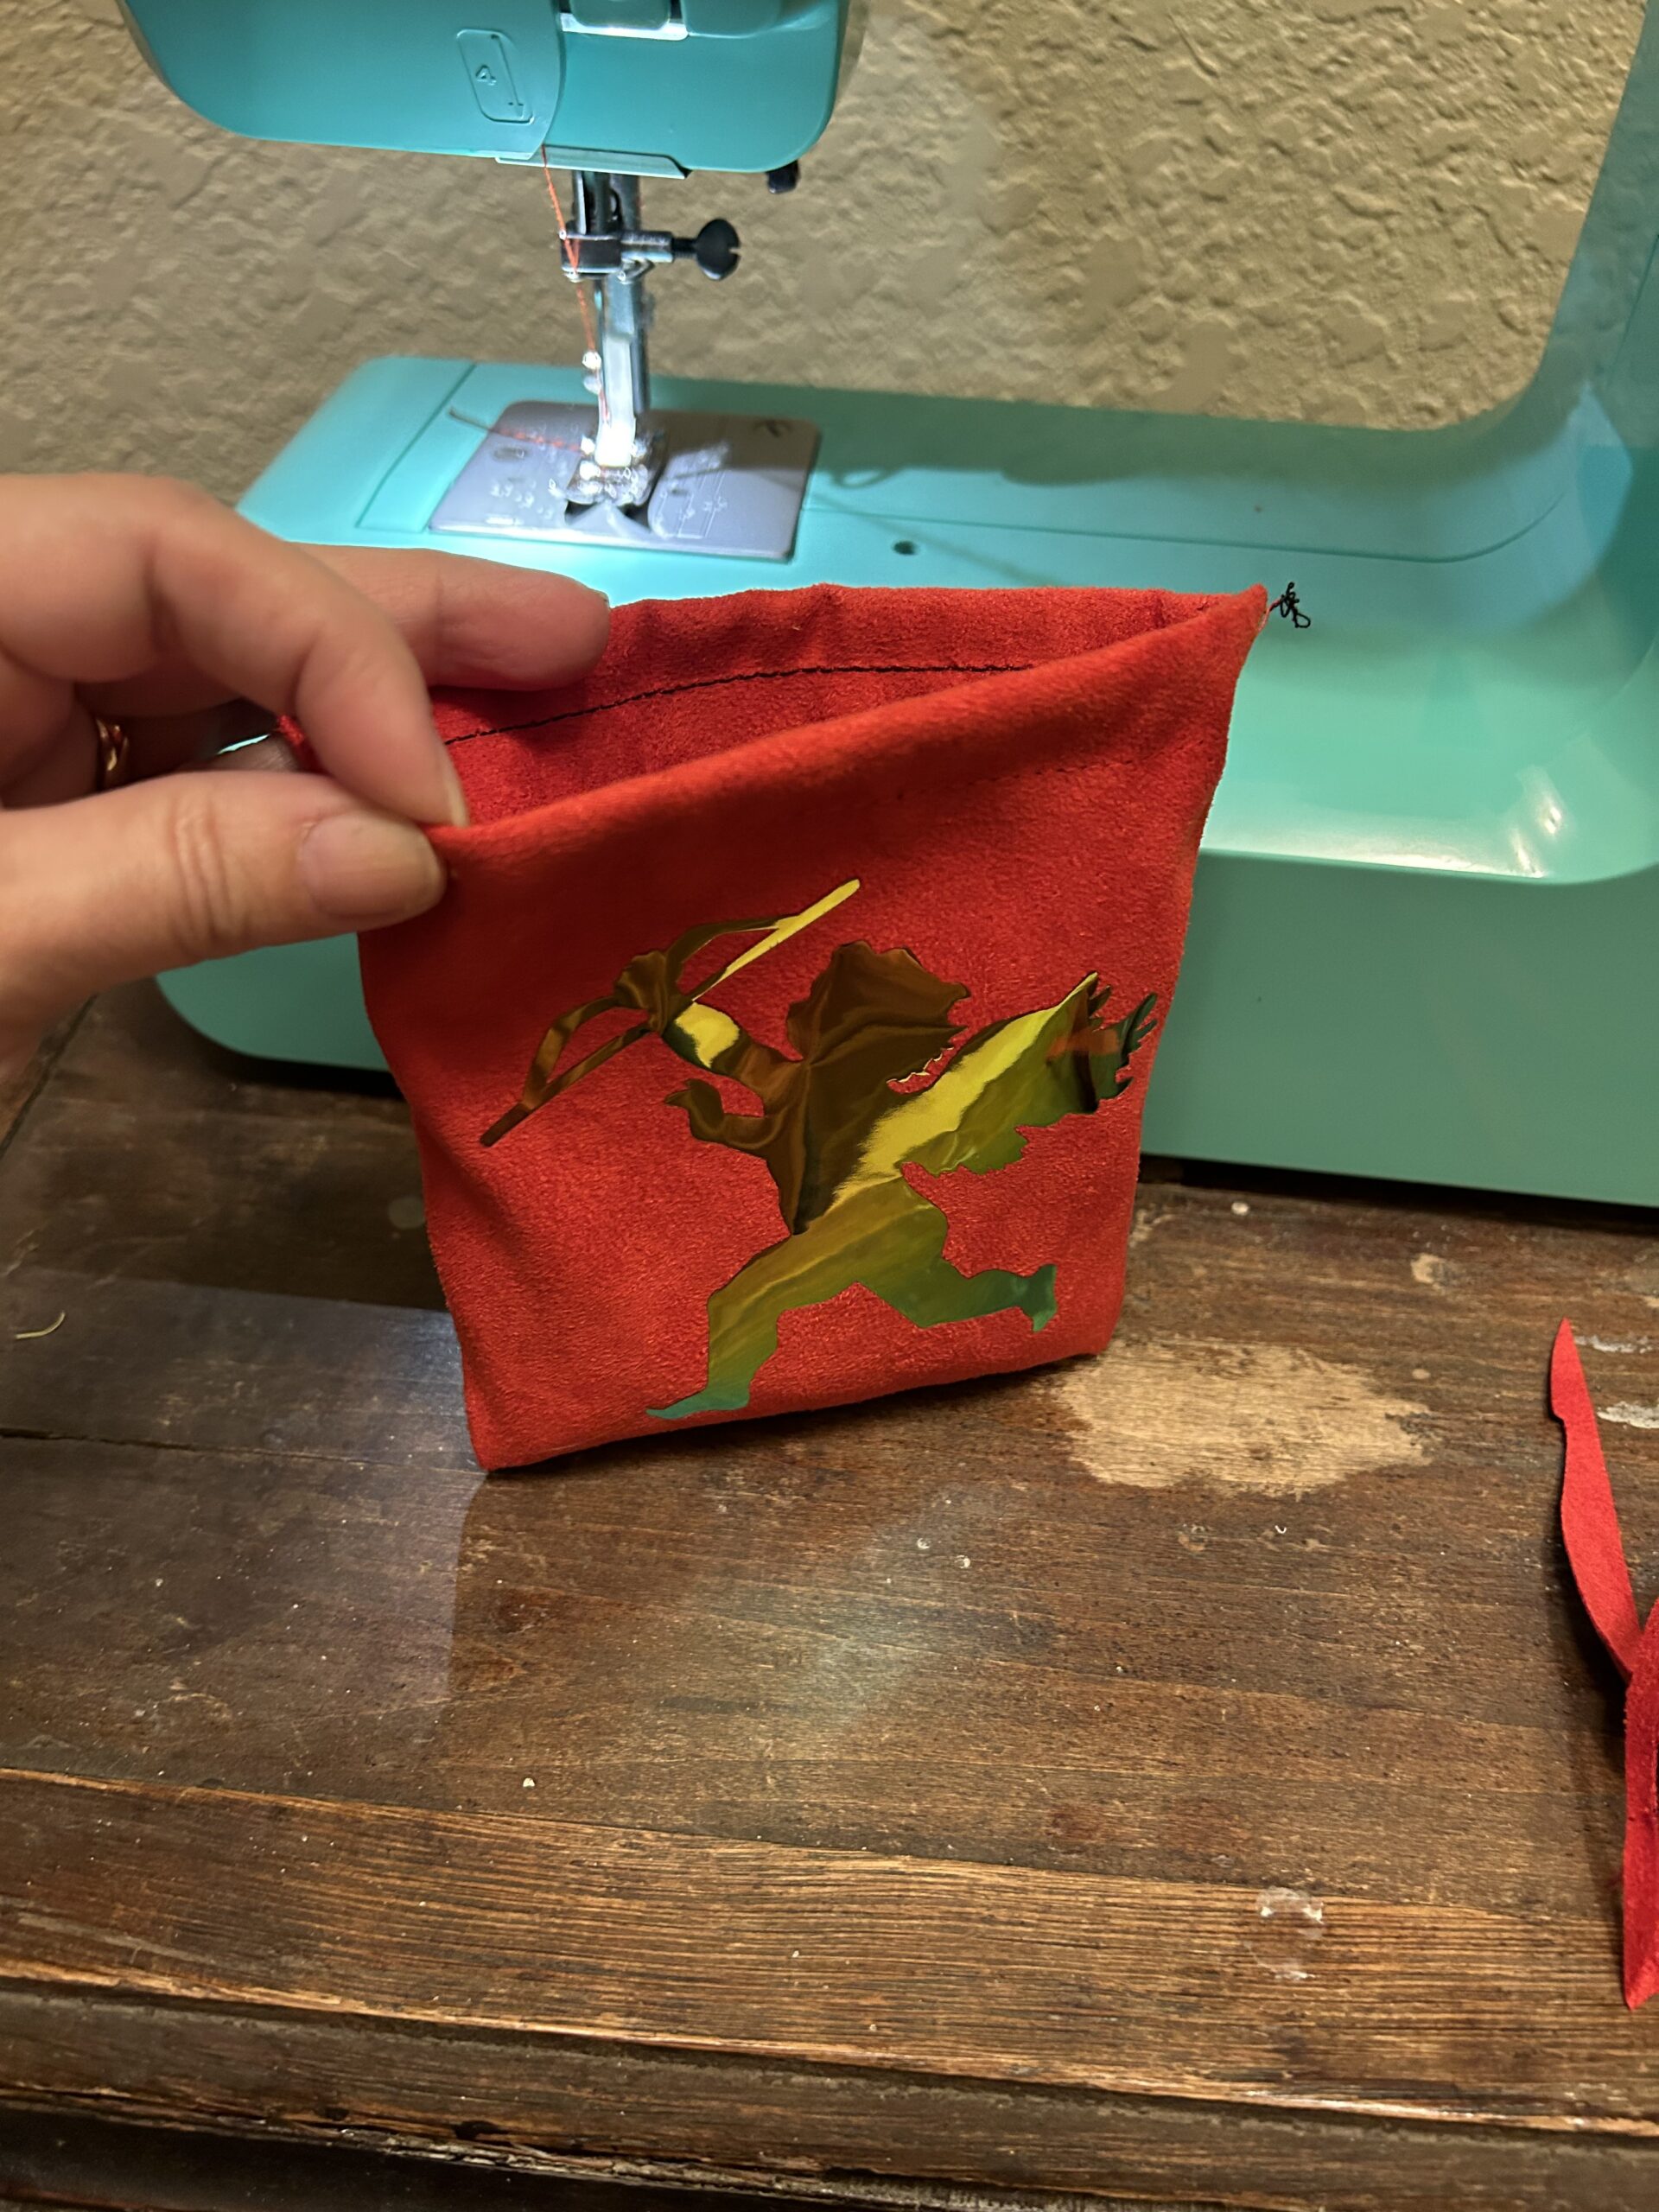
Now that the metallic heat transfer vinyl images are in place, we can start on sewing the drawstring bag!
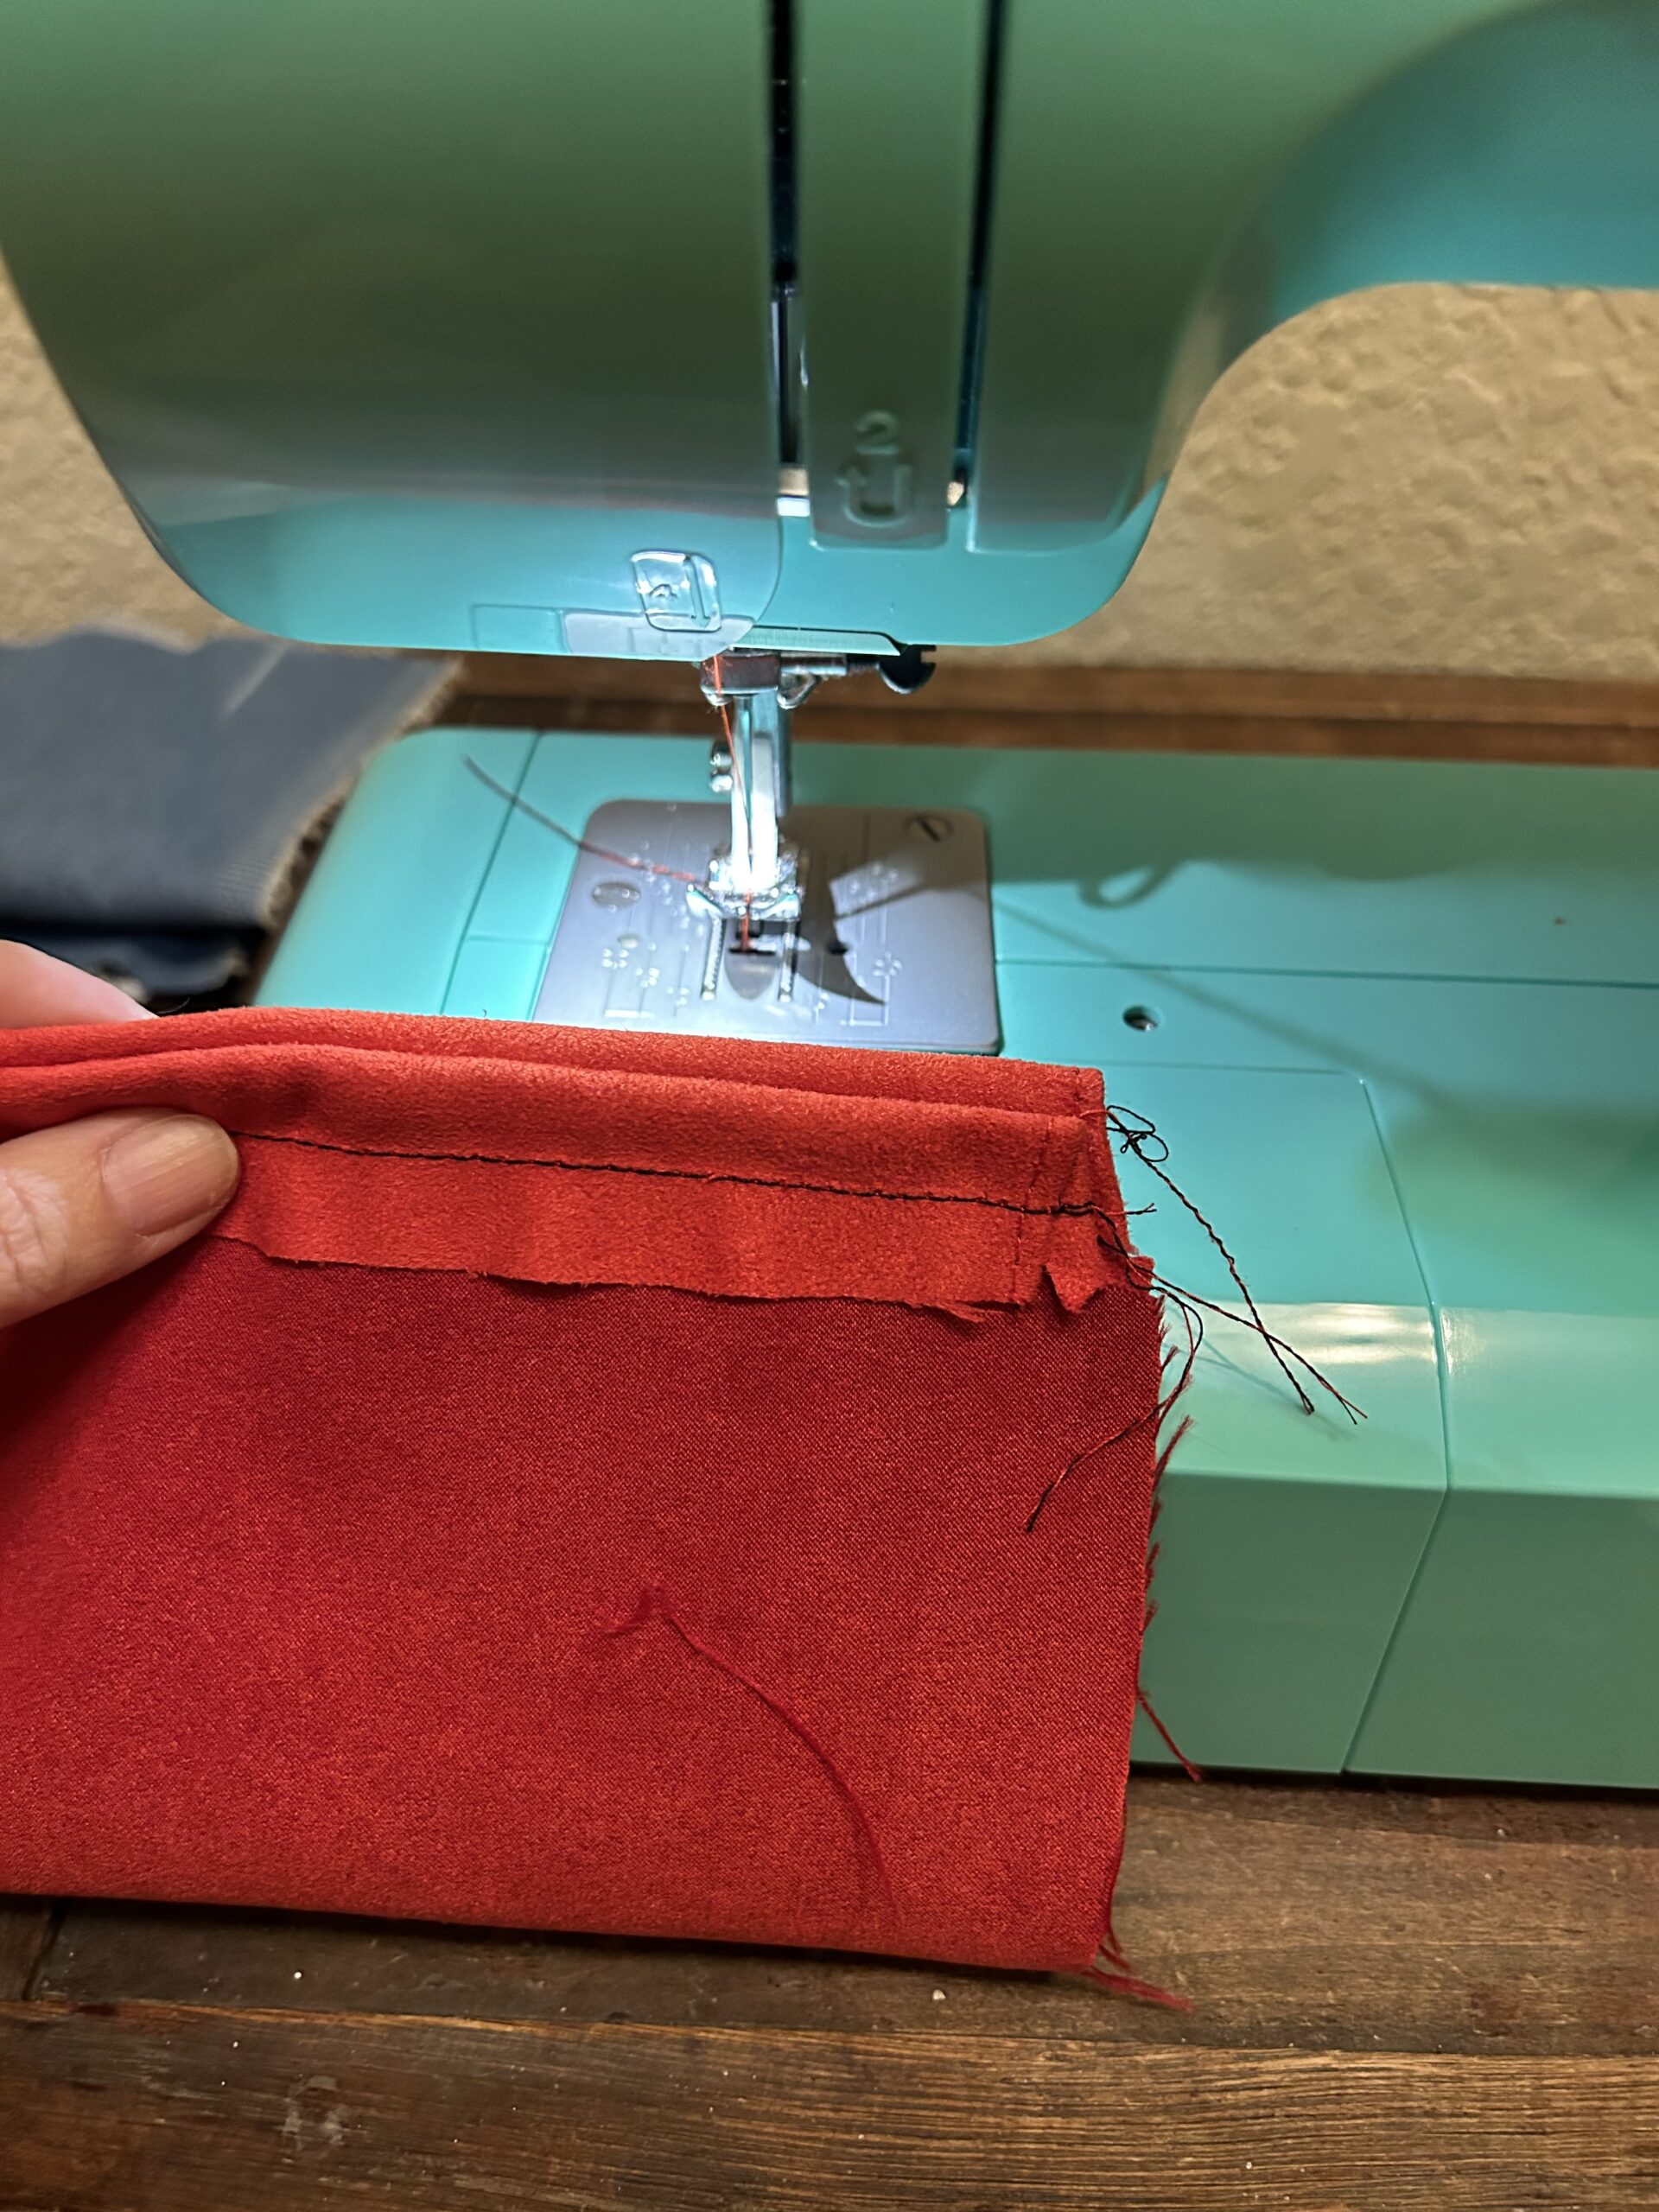
Fold the top over and sew it to create the “tunnel” for the drawstring. I like to notch the ends so I have an easy to access opening.
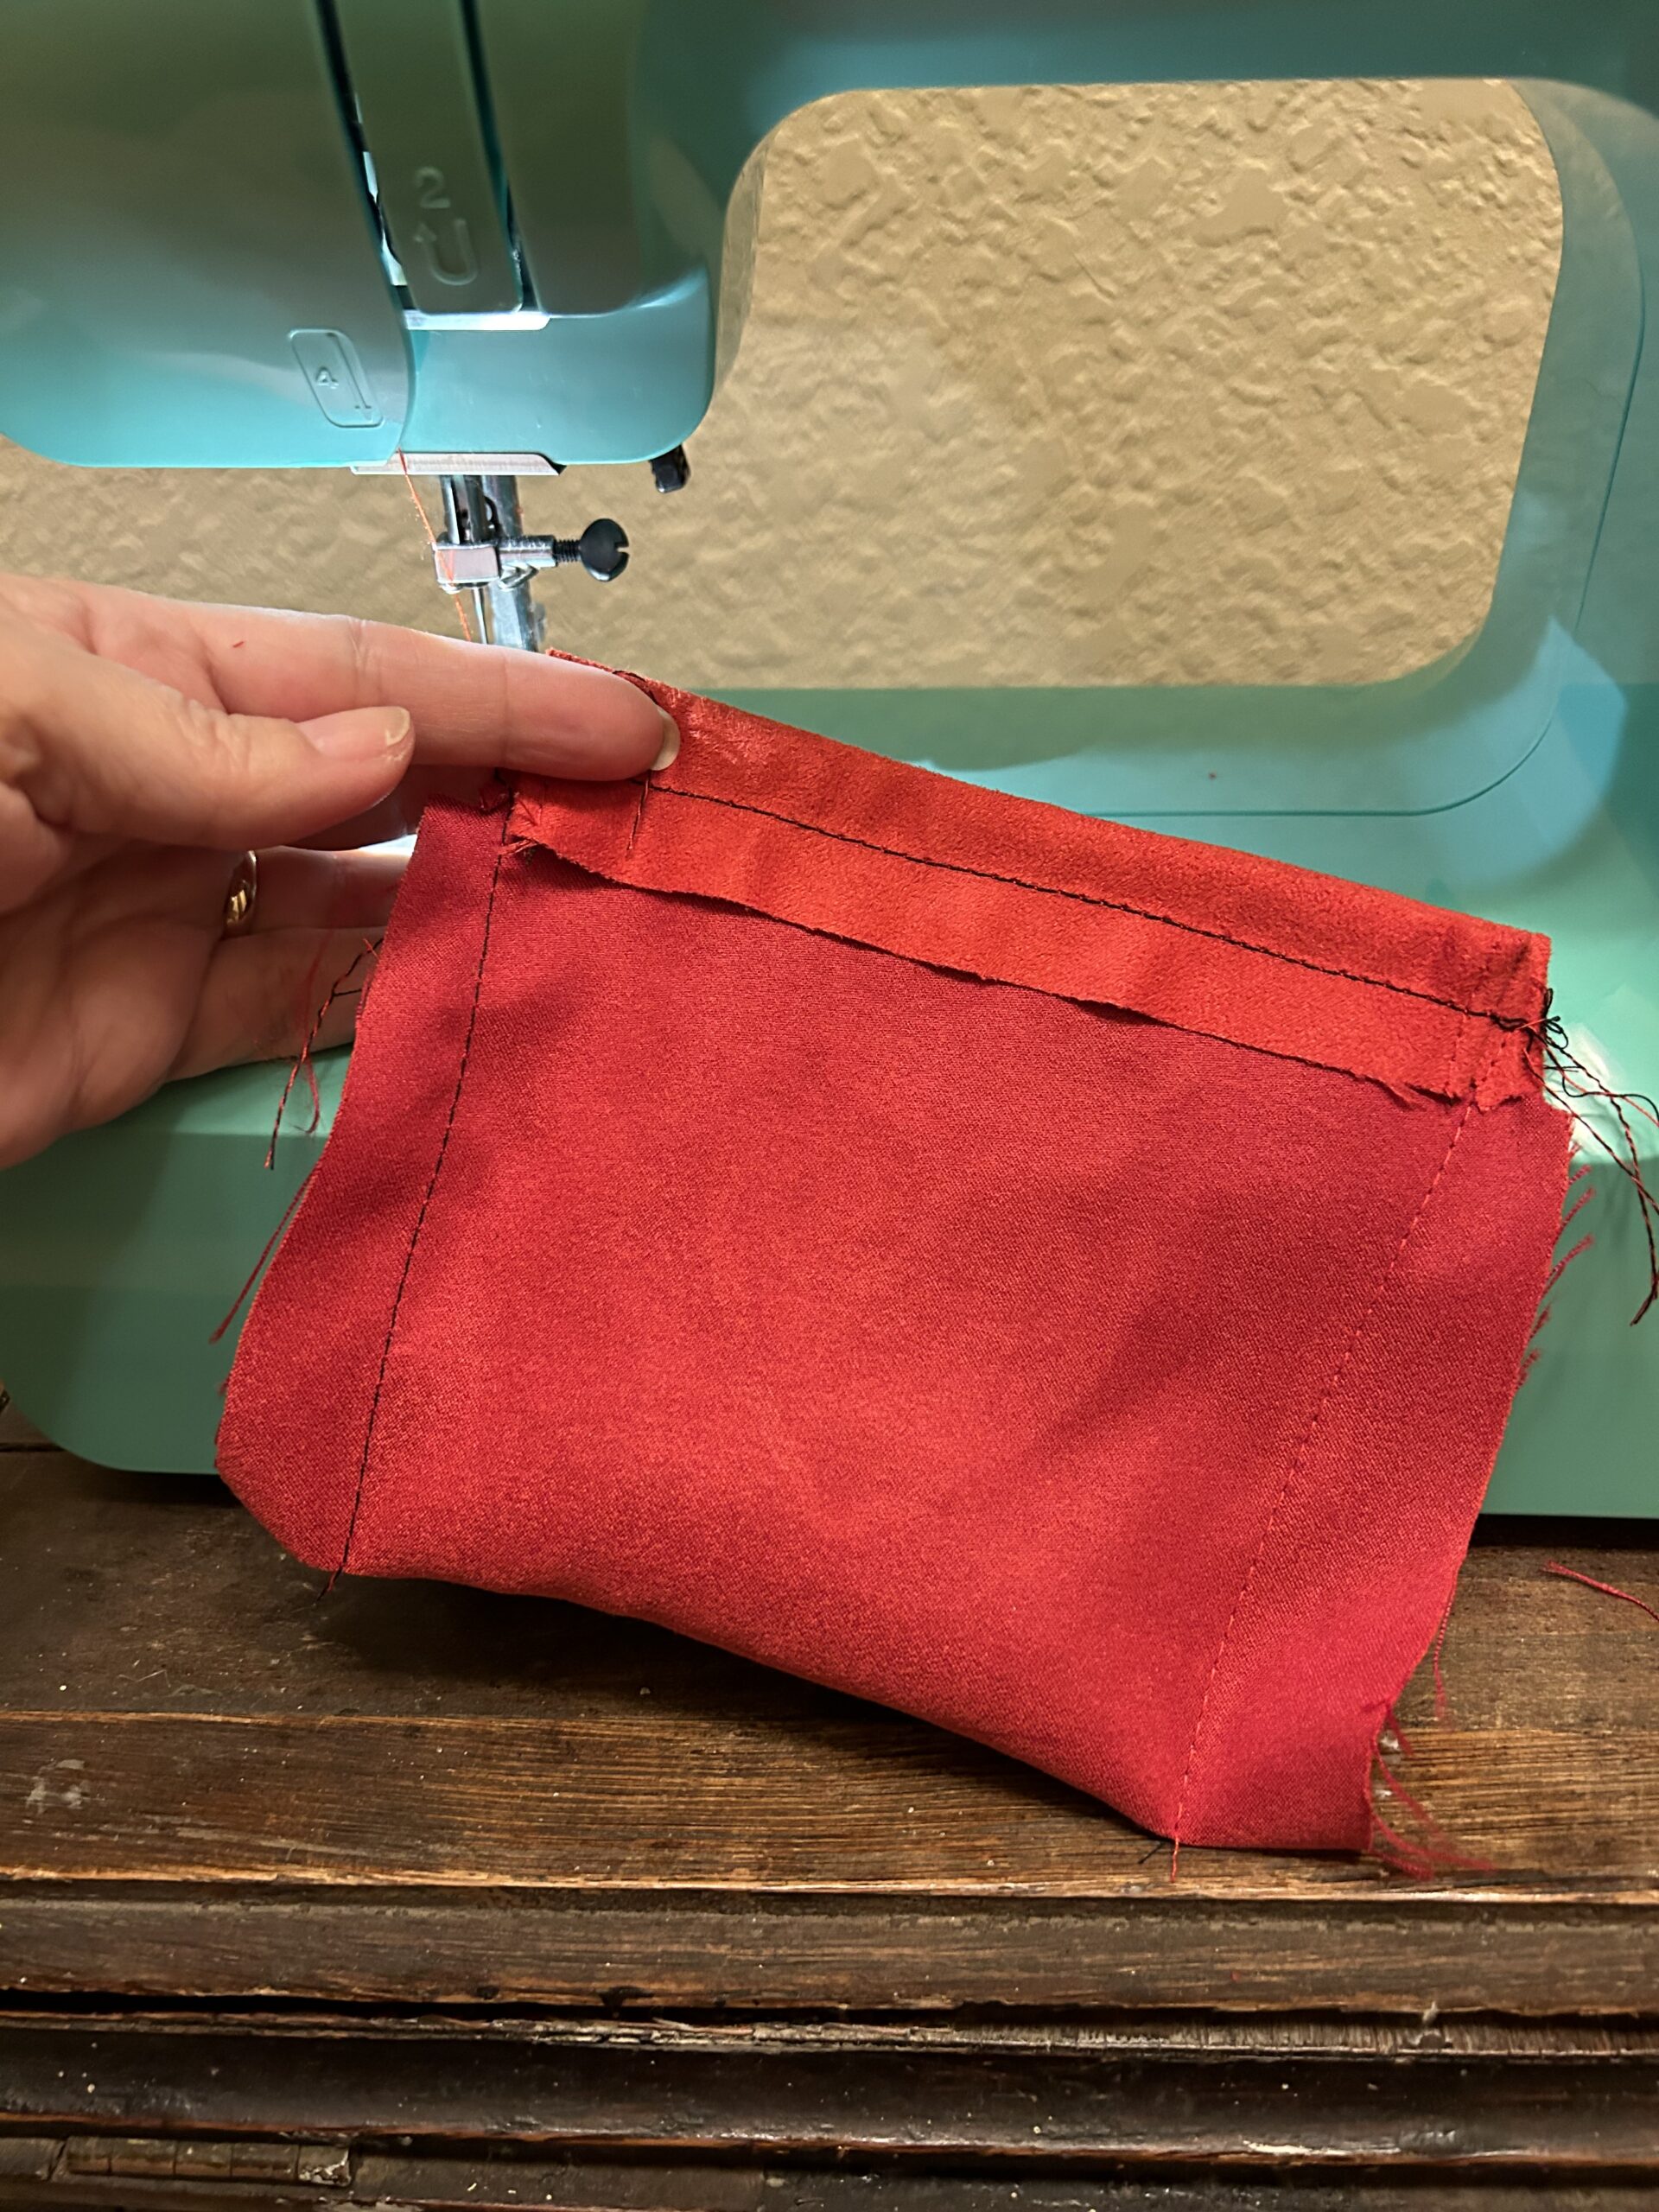
Once the top is done, fold the bag with the right sides together. Sew each side (right and left) shut.
This is what it looks like when you are finished sewing. You can trim off any excess fabric before flipping the bag inside out.
Pull the cord through the drawstring portion of the bag. I LOVE this tiny Dritz Ezy-Pull Bodkin because it makes it so easy to add cord to bags like this!
Tie knots at the ends of the cord and snip off the excess. What will you fill your DIY Valentine bags with?
This is a sponsored post made in collaboration with StyleTech Craft vinyl, but all ideas and opinions are my own.

Leave a Reply