Advice for how to make a memorial shadow box to remember a loved one who has passed away.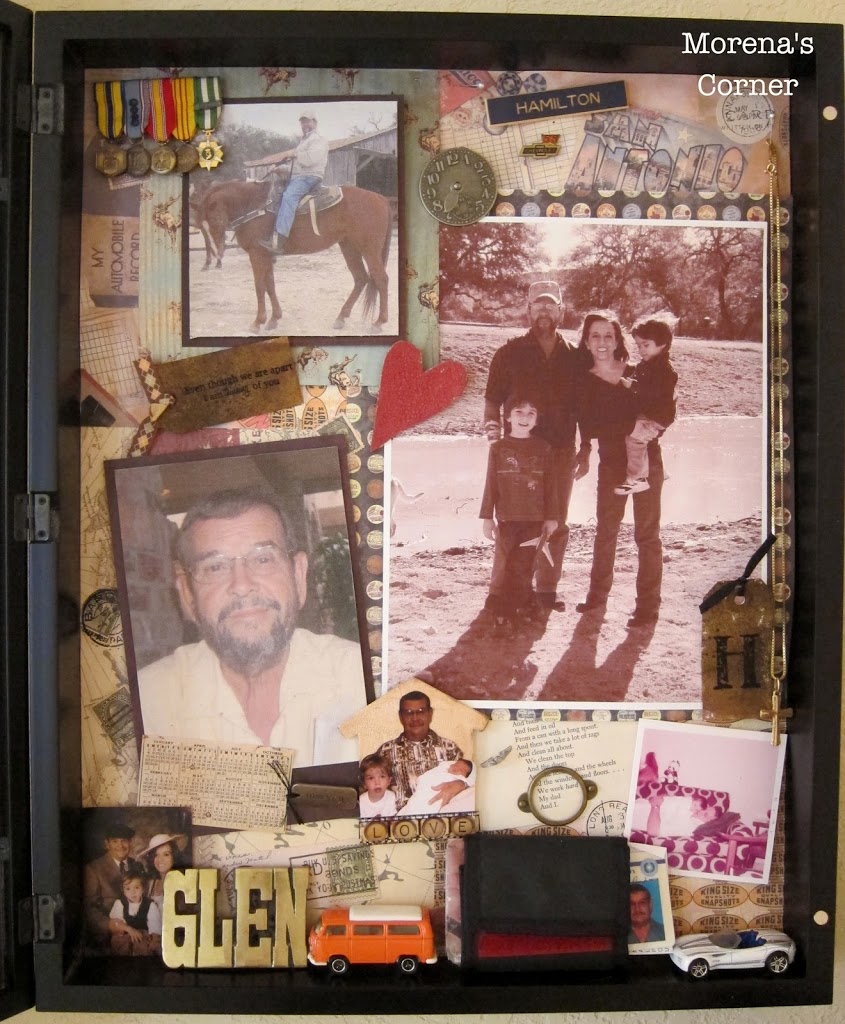
When a loved one passes away we often look for ways to honor that person’s life and to keep their memory alive. A shadow box is one way to preserve and display precious memories.
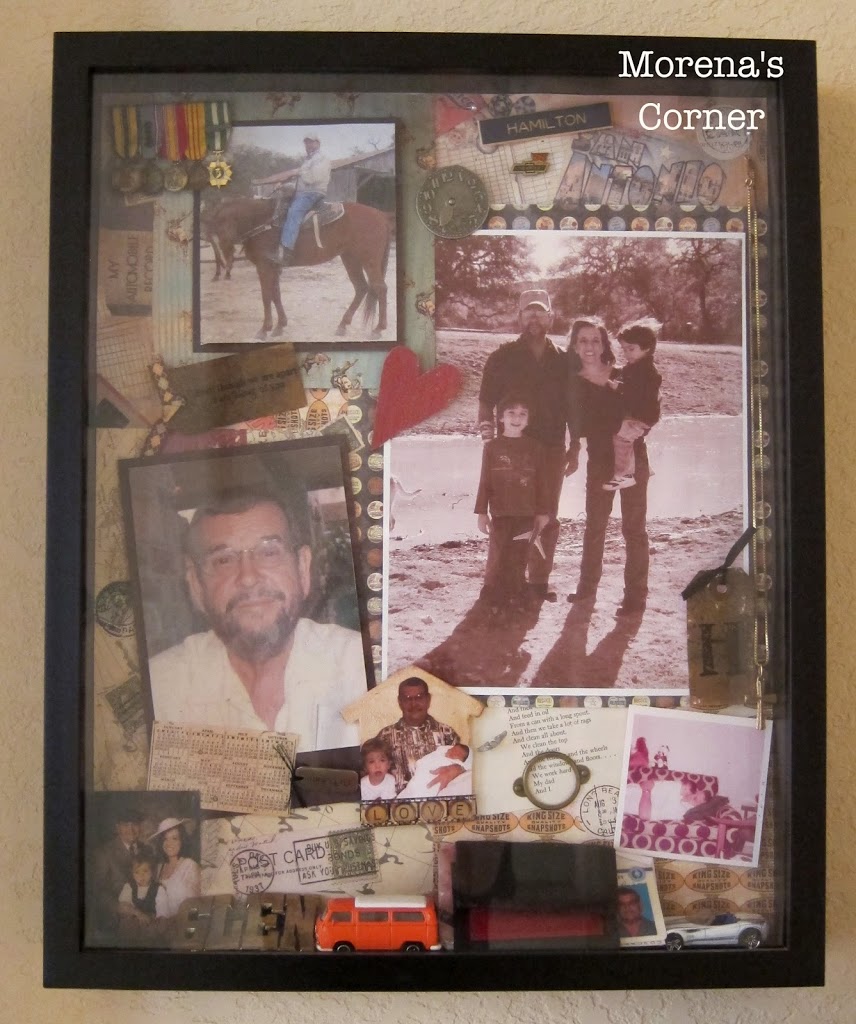
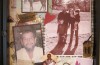
When my father passed away unexpectedly two years ago, one thing I worried about was how to keep his memory alive so my young children would not forget him. I searched online for ideas but couldn’t find anything, so I came up with a shadow box of mementos and memories. I hope that my ideas and suggestions will help you if you are looking for a way to honor someone you have lost with a memorial shadow box.
Suggestions and ideas for creating a memorial shadow box:
1. Take your time. There is no right or wrong way to do this, so don’t stress about making it “perfect”. In the beginning I couldn’t even look at my father’s picture as it was too painful, but once I started this project it actually helped me feel better. Reflecting on his life, going through pictures, and deciding what items represented him best helped more than I thought it would.
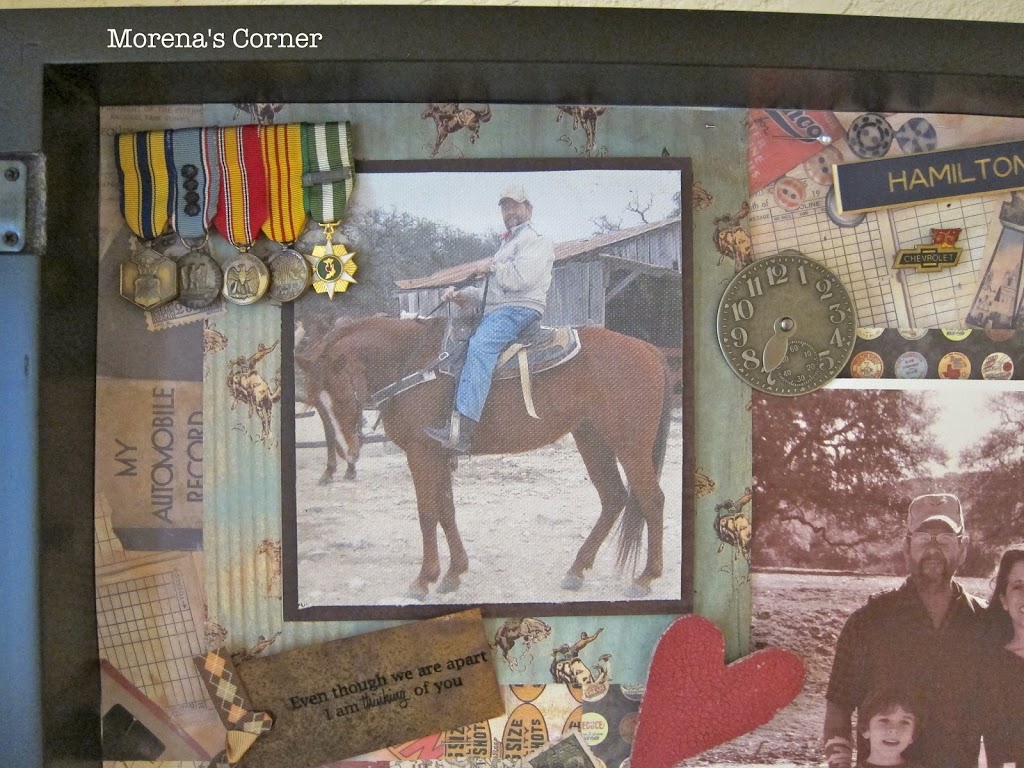
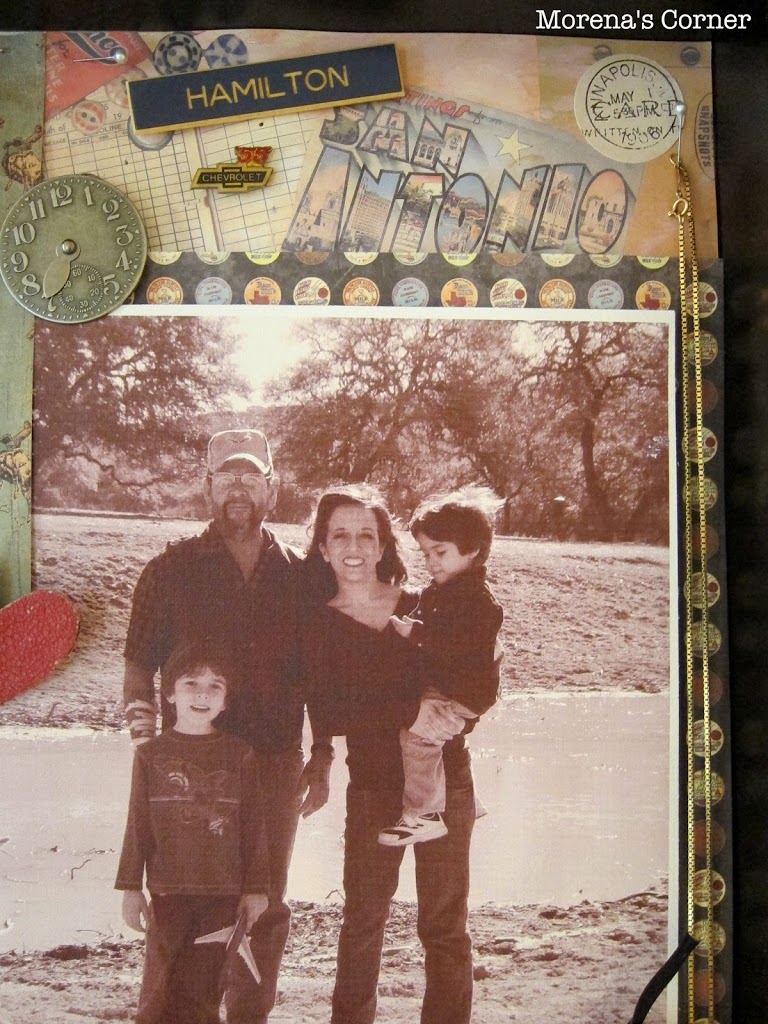
2. Go through photos and choose some favorite memories. I chose to print mine on canvas photo paper to give them a softer look. I used Mod Podge to adhere the print to a cardstock mat.
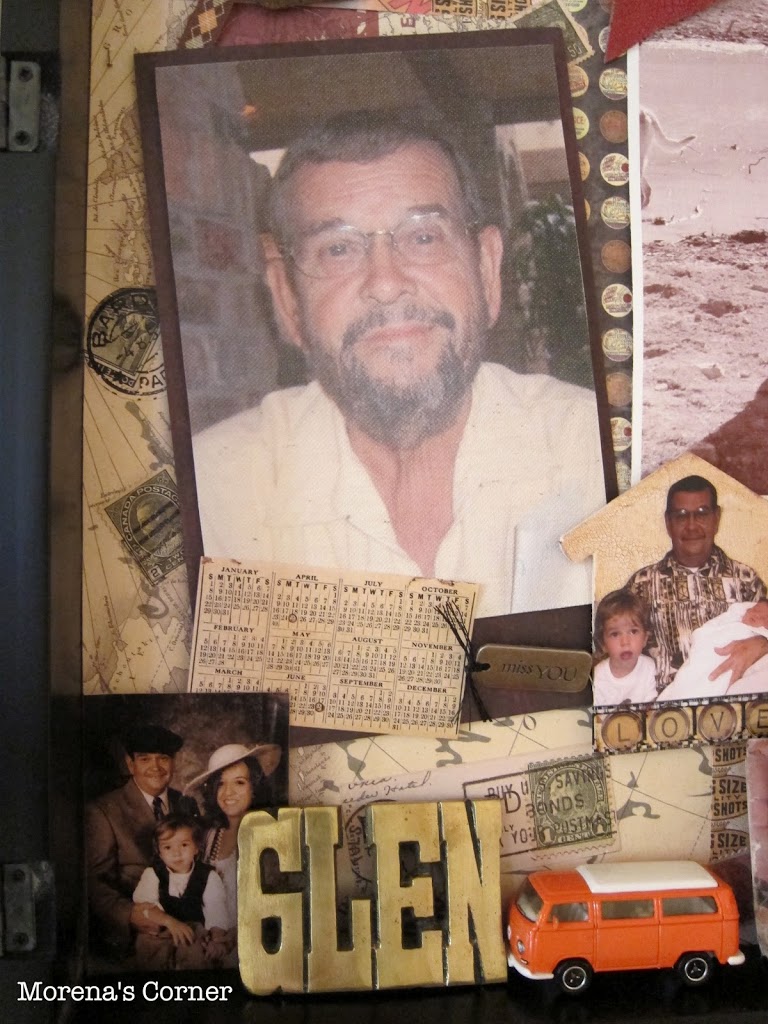
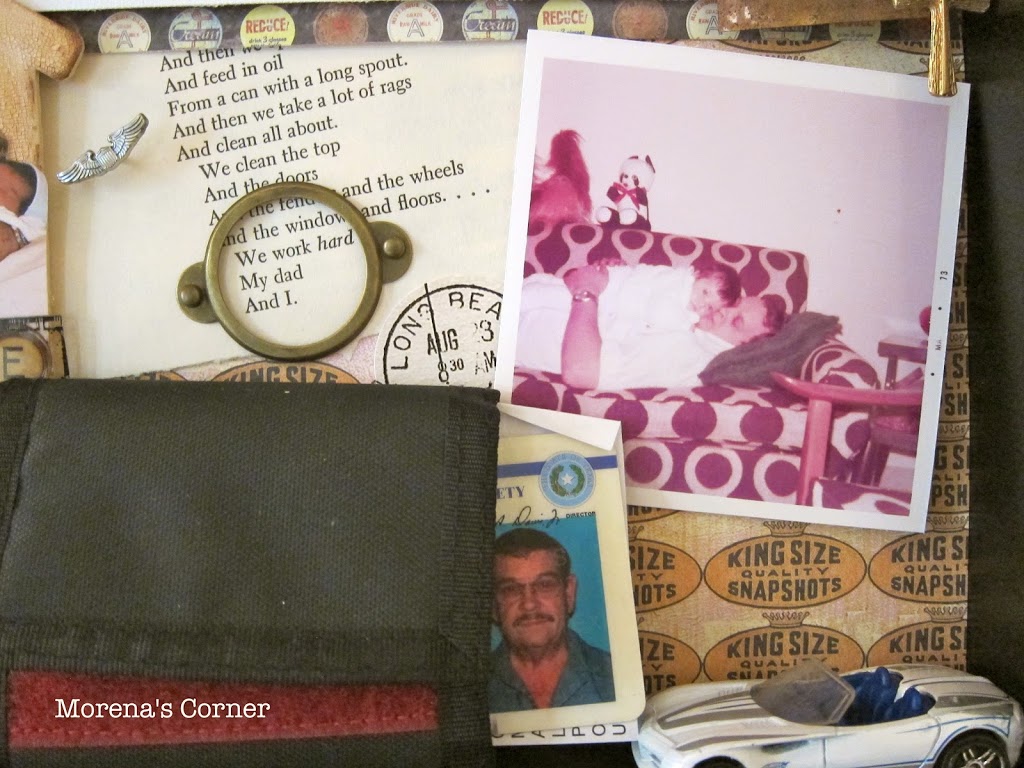
3. Choose items to include in the shadow box. I found most of mine in and on my dad’s desk and in his bedroom. These were little things that he had held on to over the years that had meaning to him. Items such as medals, name tags, pictures, scribbled notes, wallets, belt buckles, etc. fit nicely in a shadow box. Poems and excerpts from books (as I included) can also add to your display.
4. Decide on your background. Don’t feel like you have to spend a lot of money buying papers or scrapbooking items. Often things your loved one left behind, like old maps, ticket stubs, receipts, and collector cards can make a beautiful background. My dad loved to travel and to work on cars, so I chose papers and stickers that represented his hobbies along with places we had lived in.
5. Arrange your layout. Again, there is no right or wrong way to do this. I placed my papers on the floor near my desk and began laying items on them. I kept rearranging them until I was happy with the look. This took me about two weeks of slowly coming back to the project and looking over it.
6. Assemble your shadow box. I purchased mine at Hobby Lobby and went with one that had a fabric background. This way I could use pins to attach everything so I can rearrange them or add to it easily. Start with your background papers, and layer up. I suggest that you wait until after you have hung the frame up to add heavier items that will sit on the bottom.
7. Invite others to add to the memorial. I hung my shadow box low enough that my children could see it. They added the cars (gifts from my dad) to the box.
I hope these tips are helpful, and that you will find this project to aid you as you grieve a loss. Feel free to comment or email me if you have any questions or need further ideas.
Leave a Reply