Recycle board books, calendars, and junk mail into fun DIY scratch paper. This project is easy for kids to make and fun to play and draw with!
Today I’m going to show you how to make your own scratch paper and scratch books. This was a favorite project when I was in the classroom, but I used to have the students color their own paper with crayons. That was time consuming, so I found a way to make it faster and recycle at the same time.
Supplies used to make DIY Scratch Paper:
- Black Tempera Paint: 1/3 cup
- Dishwashing soap: 1 tsp
- Glossy colorful paper
I found that board books and the covers from paper back books work really well with this project. Catalog covers and junk mail are good, too, as long as the paper is sturdy and glossy, like a calendar page. I didn’t have any spare calendars to use, but I will be saving them in January to use for this project!
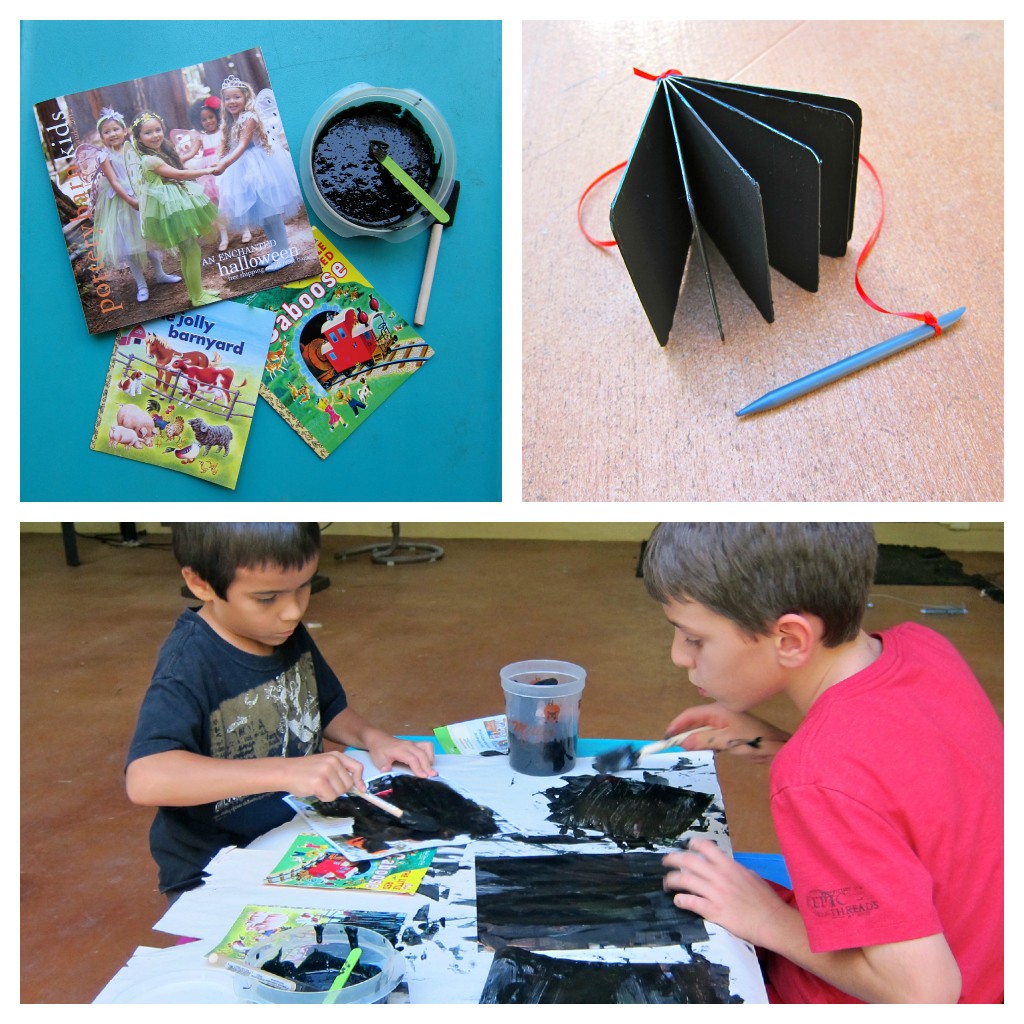
Mix the soap into the paint, and cover the entire page with paint.
(My kids loved this and thought it was hilarious to paint over faces!)
They painted one thick layer of paint and let it dry.
I did two layers on mine, but the project worked either way (my way blocked out more of the color underneath, but the kids didn’t seem to care!)
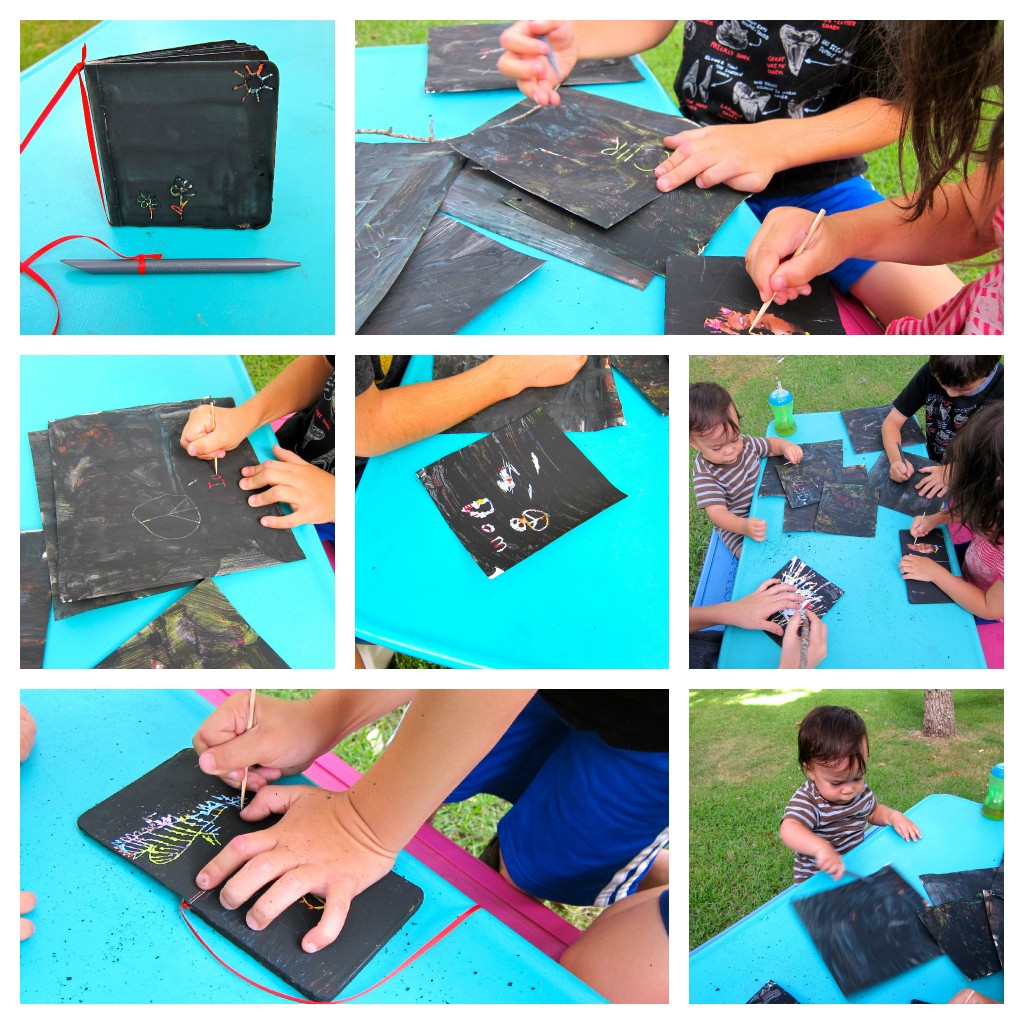
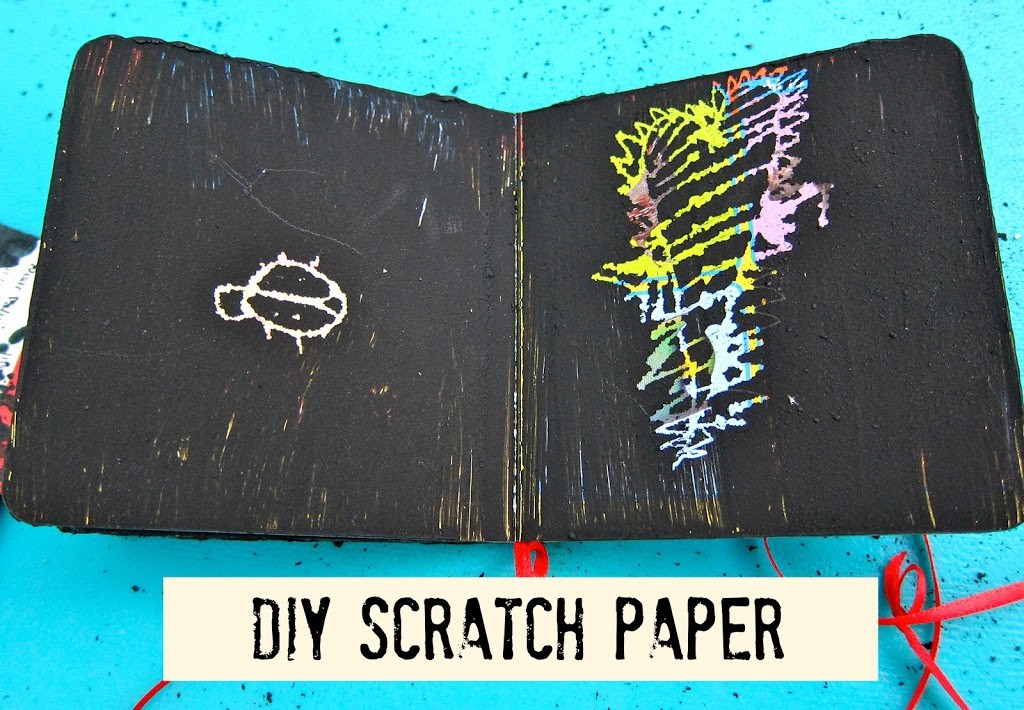
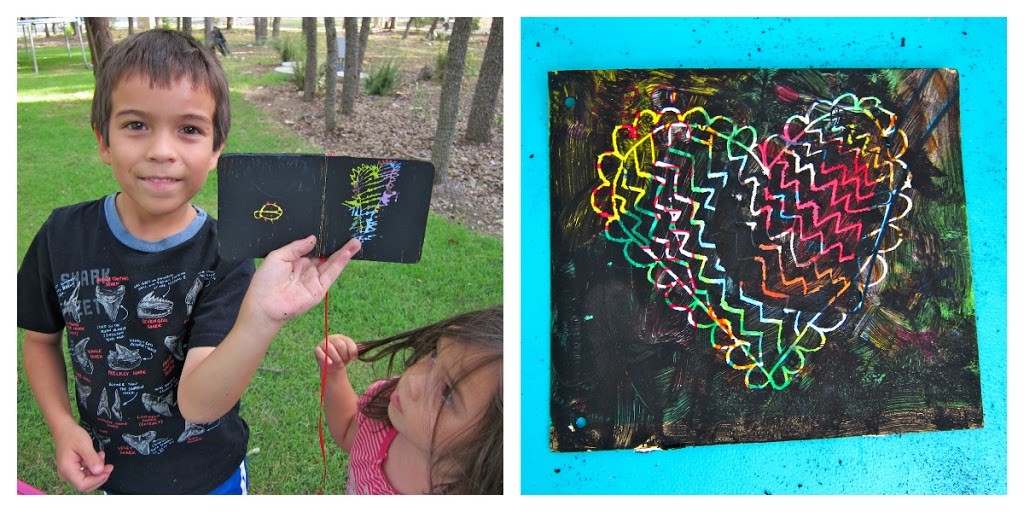
After the paint has dried, the kids are free to scratch away and reveal the bright colors underneath!
I used a stylus, but my children preferred using sandwich toothpicks, and even small sticks from the yard. Some of them drew pictures and designs, while others just wanted to reveal the picture underneath. Either way, it kept everyone (even my one year old!) entertained for a long time. Enjoy!
PS…You can use the same technique to make scratch off Valentine cards!
(This tutorial was first published at Ucreate with Kids!)
Leave a Reply