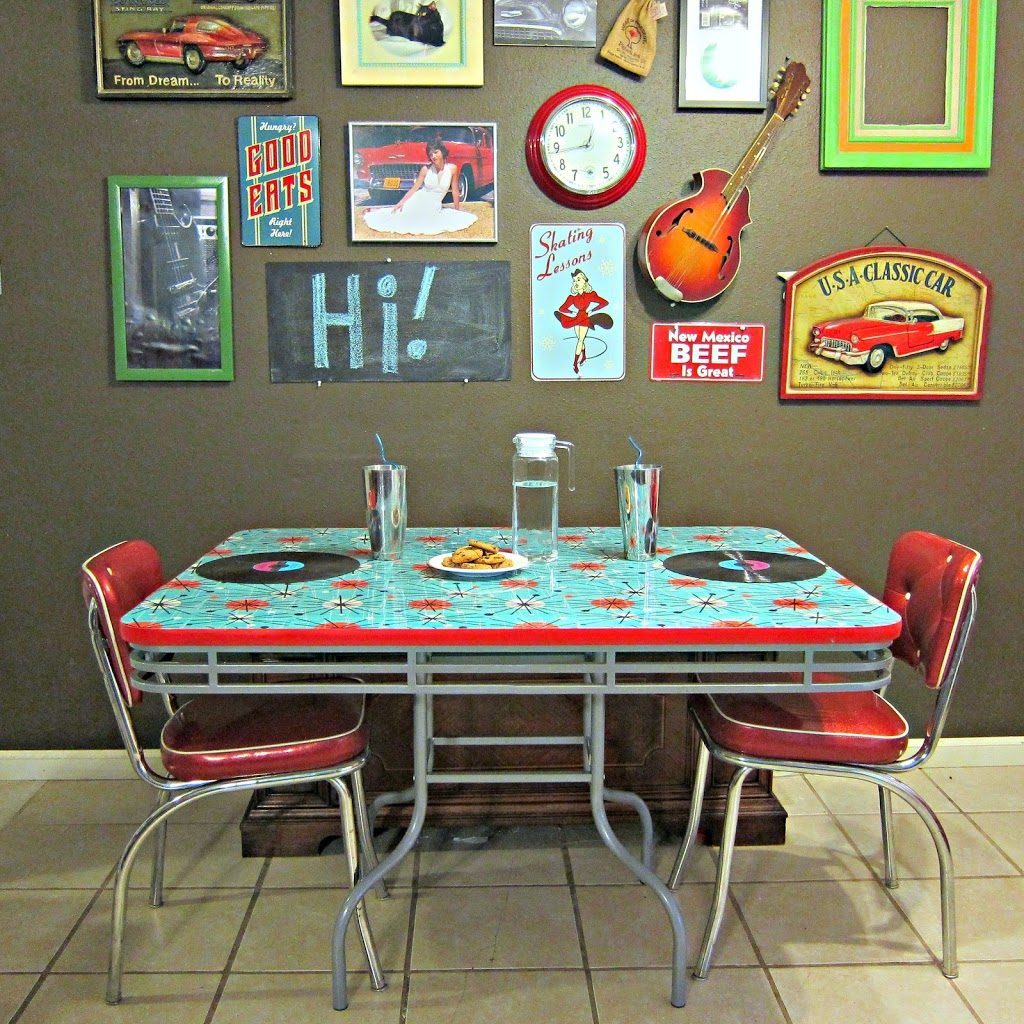
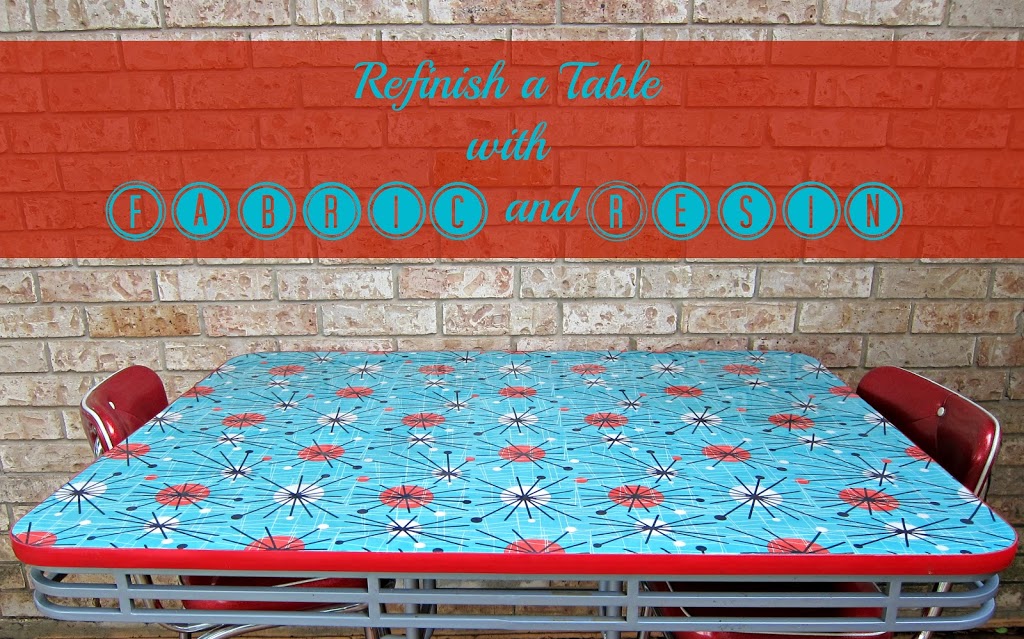
If you have a table you want to update, here’s an easy way to revamp your table, with no painting required! Fabric is a fun way to bring color and pattern to your furniture, and epoxy gives it a polished, professional finish.
This post first appeared at Crafts Unleashed, where I am a member of the Design Team.
Supplies (click on the link to purchase):
- Fabric
- Mod Podge
- Painters tape
- Craft Casting Epoxy, Clear
- Brayer
- Multi-Purpose Heat Tool
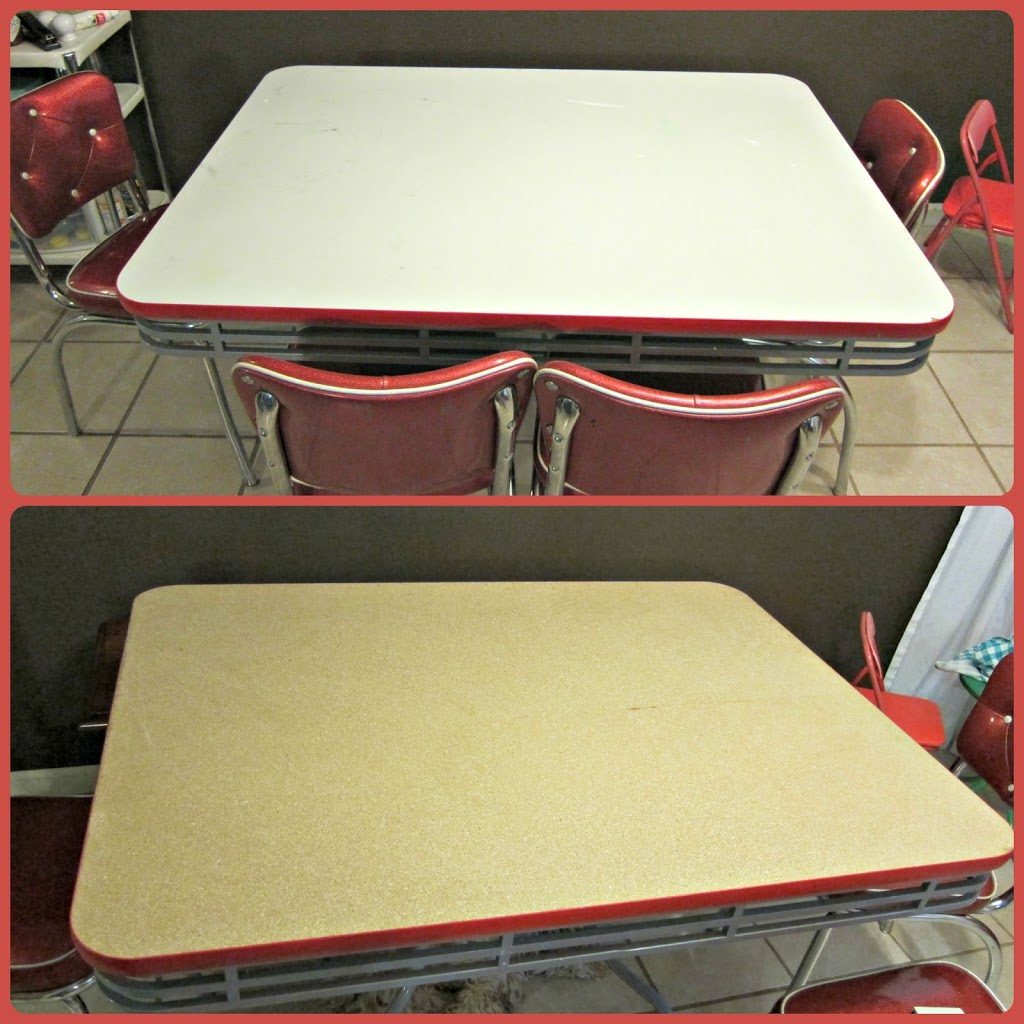
Step one: Prepare the table surface. This table was chipped and peeling in the corners, so we removed the laminate.
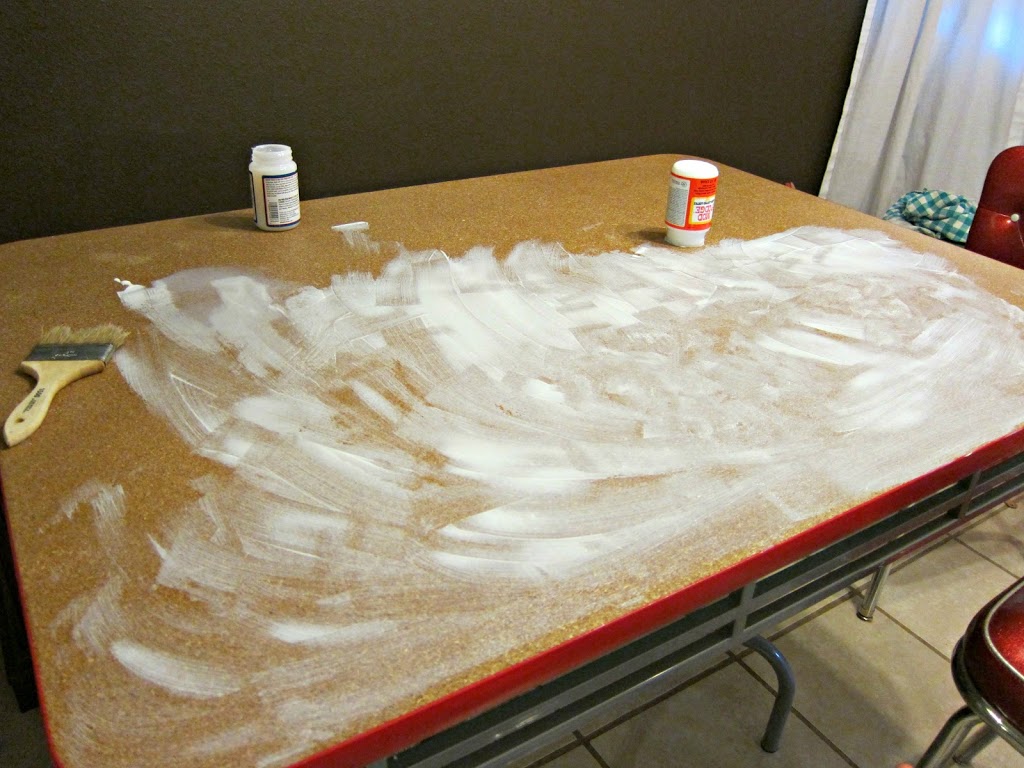
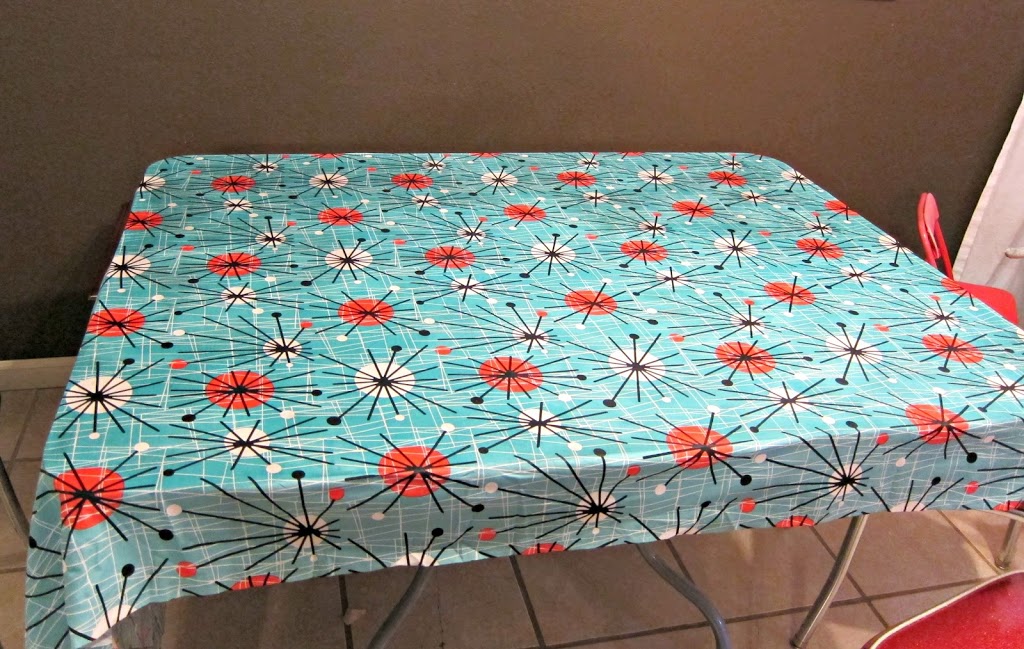
Step two: Paint a layer of Mod Podge on the table, and lay the fabric on top. Smooth out any wrinkles or air bubbles with the brayer.
Step three: Seal the fabric with Mod Podge. When it has dried, seal it a second time. This is critical because the resin will stain the fabric if it isn’t sealed. We decided to paint the fabric with Mod Podge a third time to be on the safe side.
Step four: Trim off the excess fabric. This table had a plastic edge to it, so we tucked the fabric edges under the plastic.
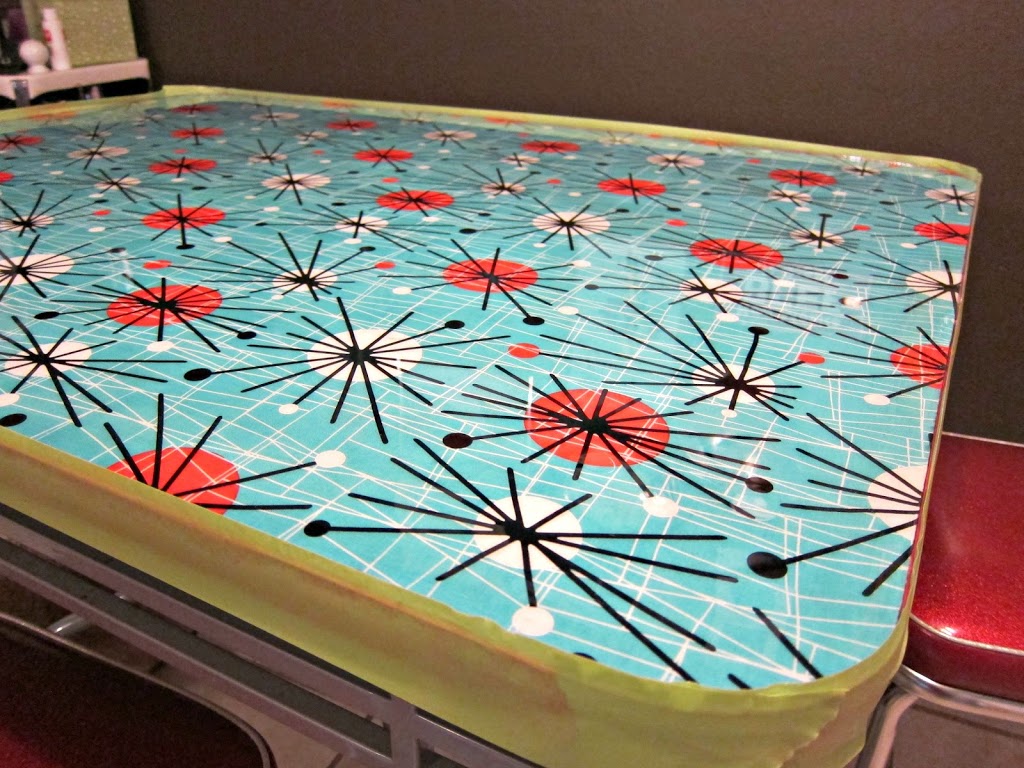
Step five: Put painters tape around the edge of the table to prevent drips.
Step six: Mix the resin according to the package instructions. Pour it onto the table surface and spread it out to form a thin layer. Use the heat tool to pop any bubbles that may appear. Just blast them briefly and they will pop to the surface.
Allow the resin to cure for 48 hours, then remove the tape. Sand the edges if they are rough or uneven.
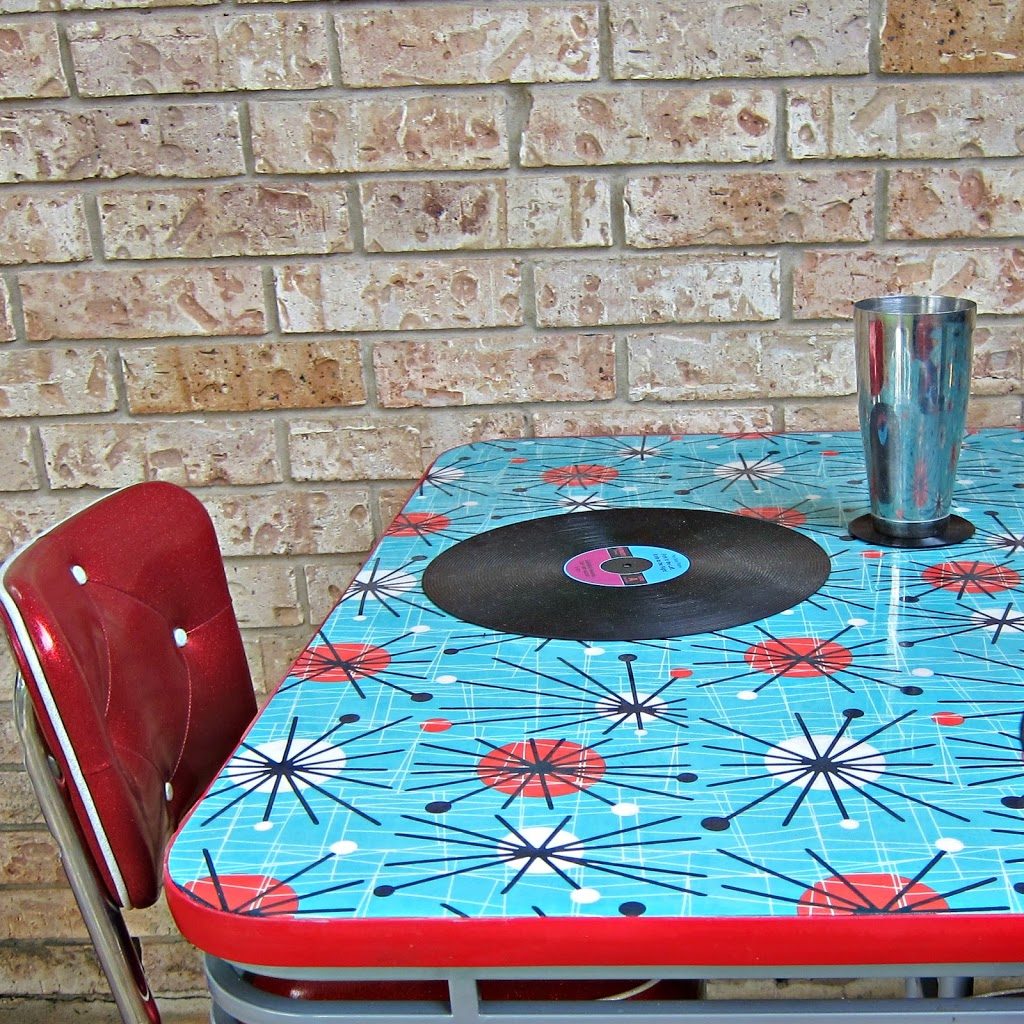
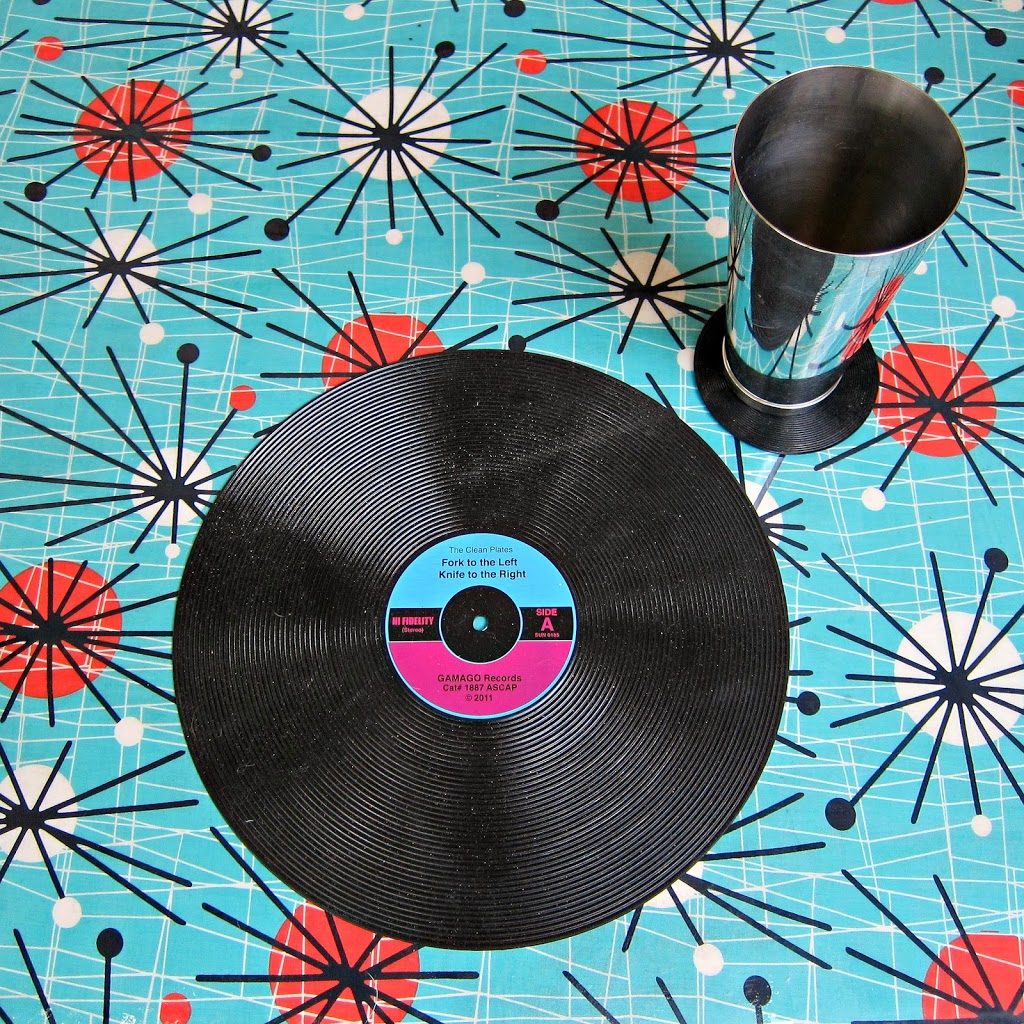
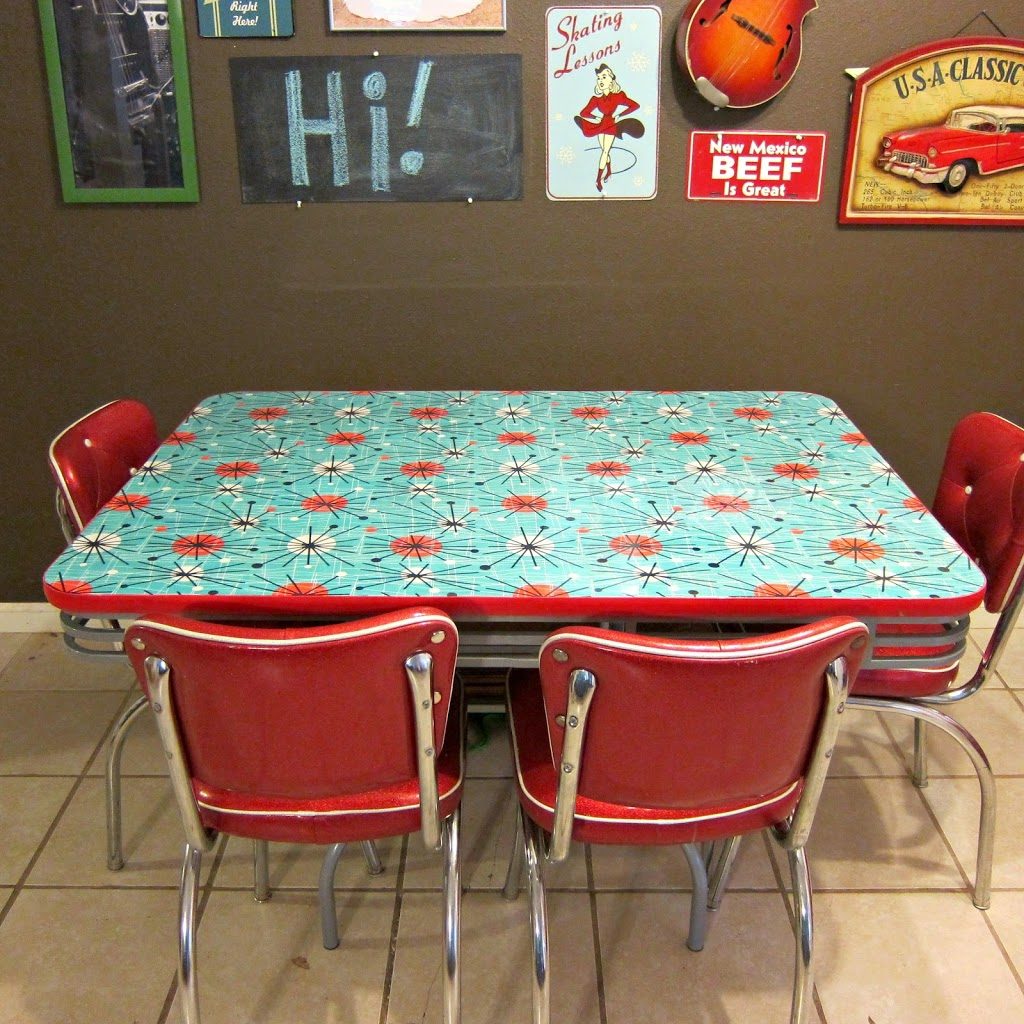
The cured resin looks amazingly like glass. It has an incredible shine to it! If you don’t need to revamp your dining table, you could always use this technique to update a coffee table, end table, or even a serving tray. Have fun crafting and creating!
[…] posts: My most popular posts in 2014 included a light that looks like a cloud, a uniquely refinished table, and a fun recycling project. Halloween is my holiday…and yours: By far, however, my […]
Very cool!! Love that fabric, is that repro? If so, where from?
The fabric is by Michael Miller! I’ll see if I can find the name of it.
Thanks so much for this information–it looks great! Quick question: how much epoxy did you need to cover this table? Thanks!
Glad you enjoyed it! We used 3 boxes of the epoxy that I linked to in the tutorial. Hope that helps!
[…] resin to create projects that have a professional finish to them. You might remember when I used fabric and resin to makeover an old […]
This turned out gorgeous! LOVE the whole vintage vibe of your finished table and dining area. Two thumbs up for creativity and style.
Thank you!
That turned out so nice. Is the resin difficult to control? I would like to use it on a side table I decopaged.
The resin “domes” and won’t run off the project as long as you don’t over pour it and work on a very level surface. I recommend starting with some smaller projects, like jewelry pendants or trays, to get used to resin first. I hope that helps!
Love it and your whole cozy diner look ! Can I order a cheese burger and fries with a nice thick strawberry shake please?!? I will be doing this to some old TV trays I have. Thanks for sharing.
Come on over! 🙂 Thanks for the nice compliment!
If your table doesn’t have a rim around the perimeter, how would you finish off the fabric?
I would cut it slightly larger than the table and Mod Podge the fabric to make it stiff. Then trim the excess fabric off before you pour the resin. The Mod Podged fabric cuts more cleanly and should give you a crisp edge.
Did you have to take the plastic edge off the table to tuck the fabric under?
I didn’t. We used a flat head screwdriver to nudge the fabric into the slight gap that was left after we lifted the original top off.
This is something I never believed I’d see, but it is so absolutely wonderful!!! I think the old diner-style table is so cool. I wish I had thought of using fabric myself. Now I am going to search for a table I can love!
Do you think a polyurethane would also work in place of the resin?
Yes, that should work! You won’t have a surface that is as rigid or smooth as you would with resin, but it would be an effective way to seal the fabric surface so you can wipe it clean.
Hi Morena,
Just wondering, how far did 1 small pot of mod podge get you? I’m about to do my first project project want to know if I should buy more first?
Thanks
Are you doing a whole table? If I remember correctly we used several containers, maybe 4? One would be enough for a smaller project like a tray. Good luck!
I have looked for a dinet set for some time now but, to no avail.
I love, love, love what you did with the table.
Thank you for posting.
Thank you very much! I believe this set was from Target. Hope you find one soon!
Is there types of fabric this won’t work with? Thinking of using vintage kimono silk. Thank you!
I would test it with a small swatch to make sure it doesn’t still look wet when the Mod Podge dries.
I wonder if a spray adhesive and spray poly would work on the fabric to stick and seal, prior to the resin.
I’m an art teacher and would love to do this to our tables:) Only one way to find out!! Thanks for a brilliant alternative! Cathy
That is a fantastic idea and I bet it would work! I’d love to see how it turns out!
Do you think this would work over laminate on a table? We want to do this on RV table & it’s been suggested to remove it but the laminate isn’t already peeling off and wonder how necessary that may be.
I think that would work! Mod Podge is great at adhering things to slick surfaces, like glass, so laminate should be fine.