
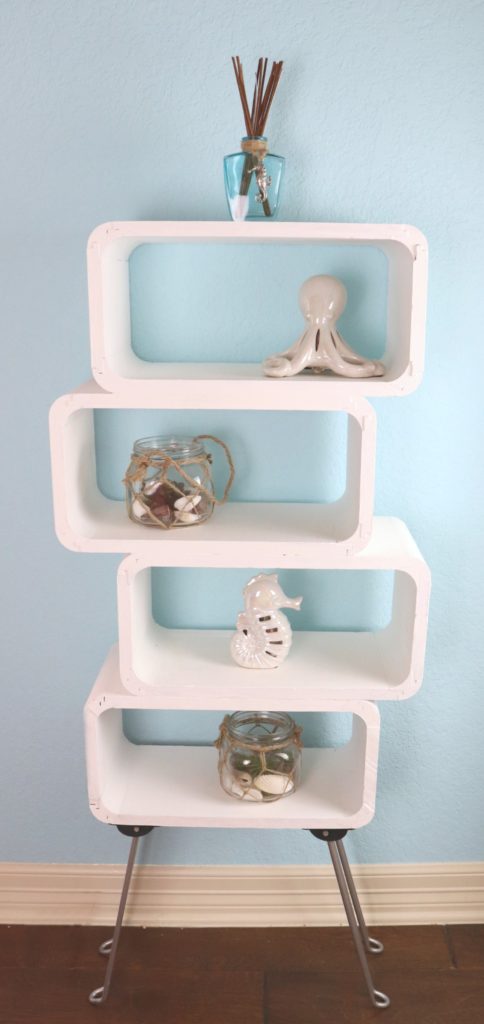
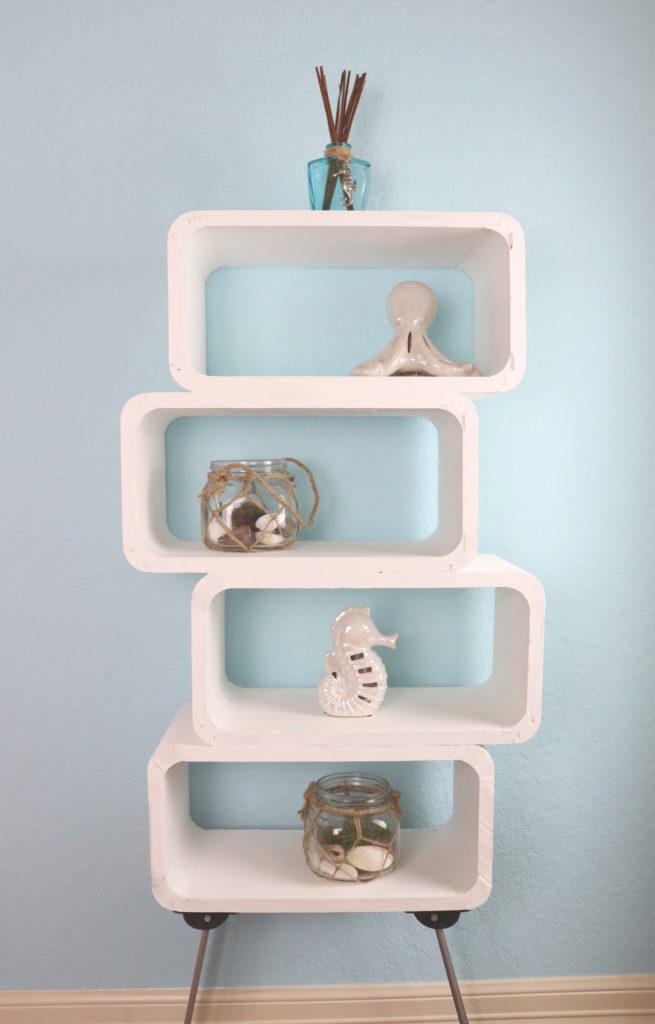
This mod shelf DIY is my version of an expensive designer furniture item. This is a sponsored post with Goodwill San Antonio.
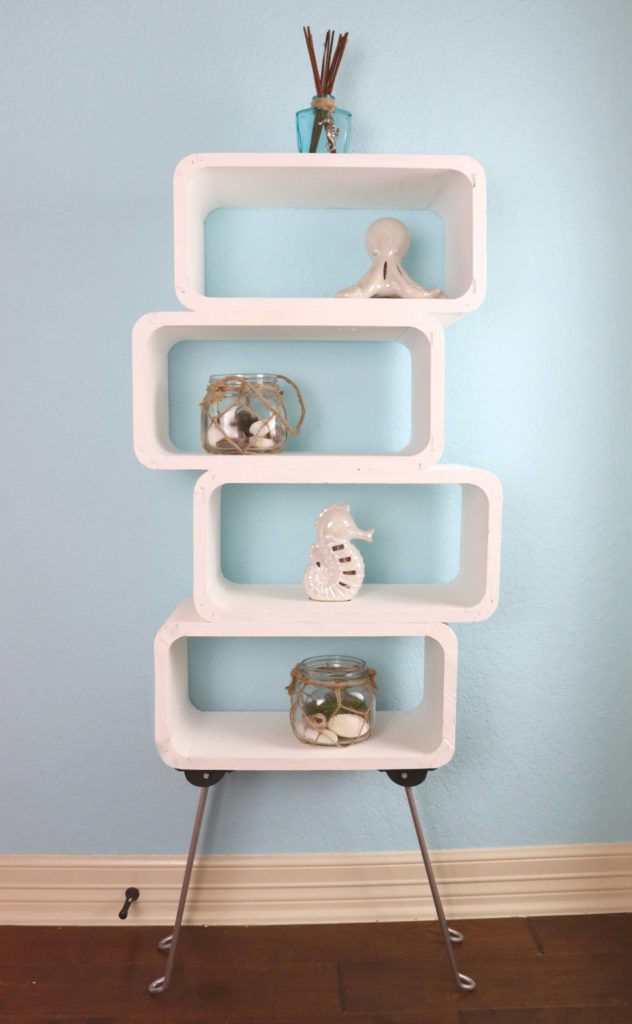
I’ve been redecorating a room in my house with a retro theme. I found a shelf that I LOVED but it was more than I wanted to spend. I was so excited when I found these four floating shelves at Goodwill San Antonio.
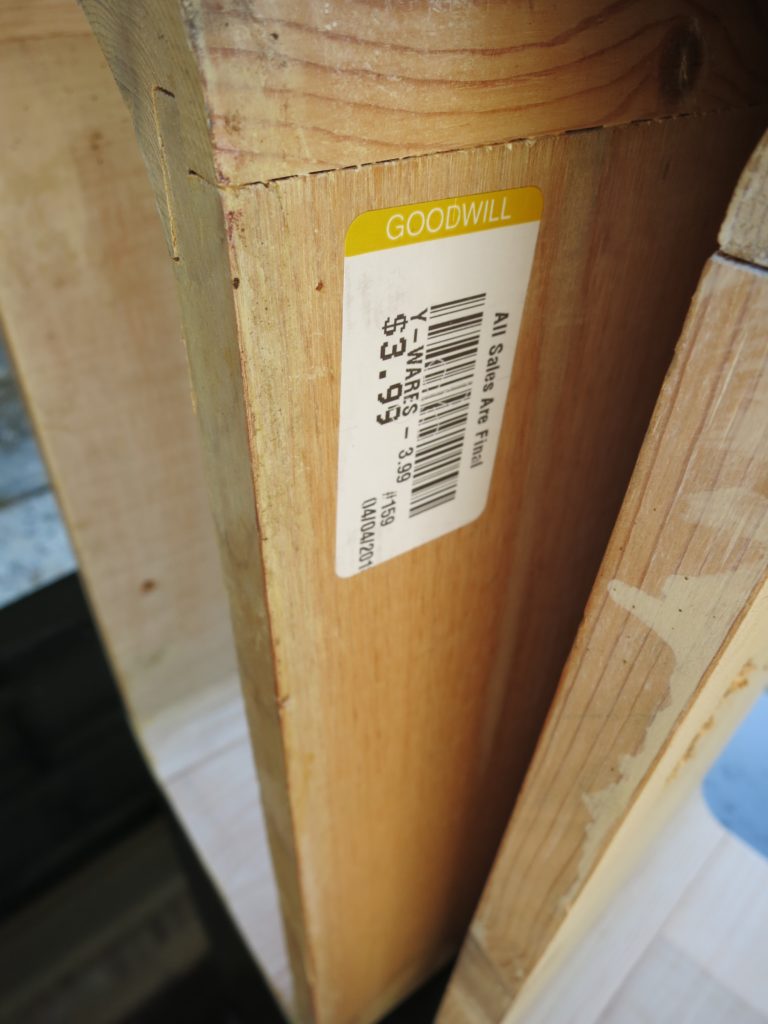
They look like maybe they came from a woodworking class, as they were not completely polished and perfect, but they were still in great, solid condition. At just $3.99 each they were an incredible deal!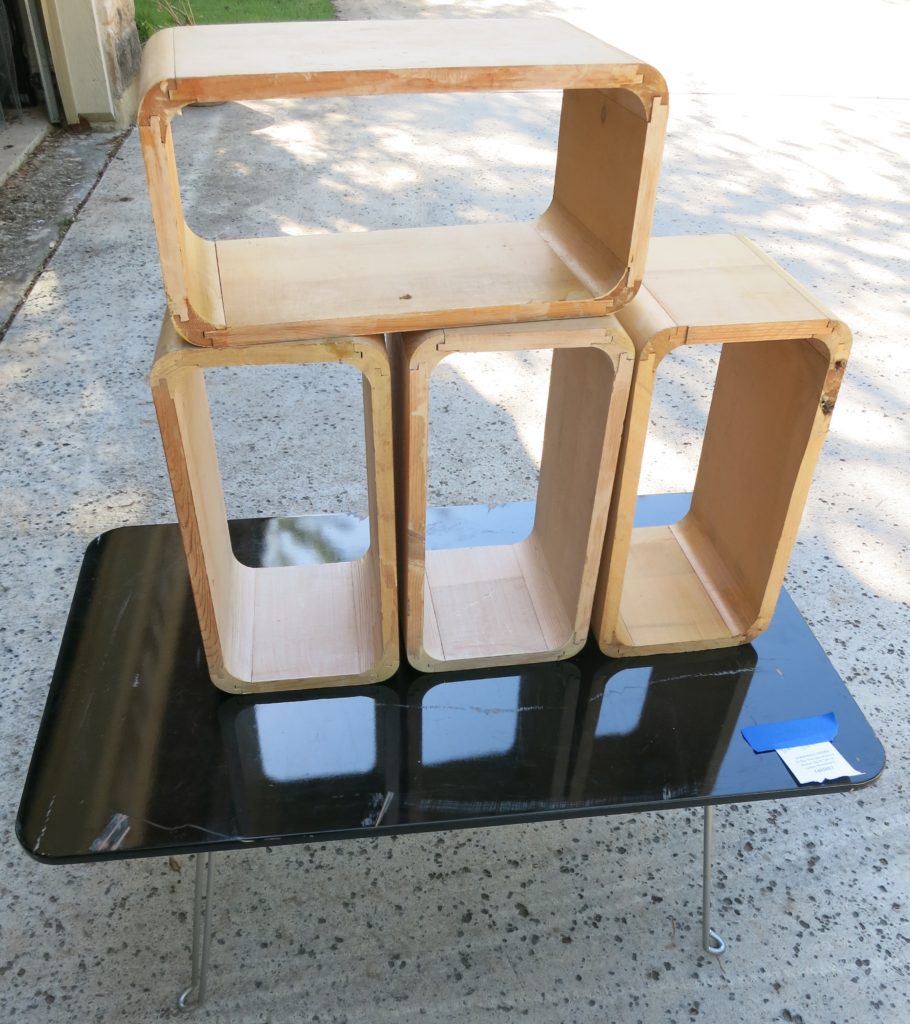
I knew they were perfect for making my own version of the shelf unit I had seen online, and I just needed some retro looking legs for it. It only took me two weeks and three Goodwill stores till I found the perfect legs on a coffee table. I bought that (at just $14.99 it was so much cheaper than buying furniture legs at a supply store!) and got to work on my project. For under $35 I made this cool shelf that looks great in my room.
Supplies Used for the Mod Shelf DIY: (affiliate links included)
- Shelf cubes (4) from Goodwill SA
- Table legs (removed from a table)
- DecoArt Americana Chalky Finish Paint, 8-Ounce, Everlasting
- DecoArt White Americana Decor Creme Wax 8oz White
- Paintbrush
- Electric Drill
- Wood glue
Wipe dust and dirt off the wood pieces. You can use wood filler to patch up old holes in the wood if needed.
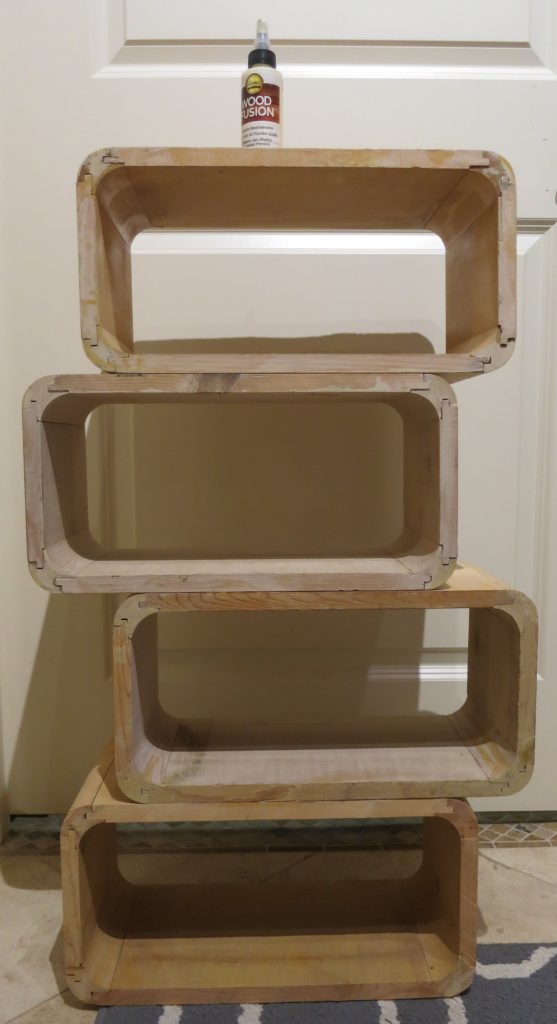
Decide how you want to arrange the cubes. I wanted an off center, mismatched look. Use wood glue to attach the pieces together and let the glue dry.

Paint the entire unit with white paint. I used chalk paint from DecoArt. It took me 3 applications to get an even finish. I let the paint dry between each application, so this part took a while.
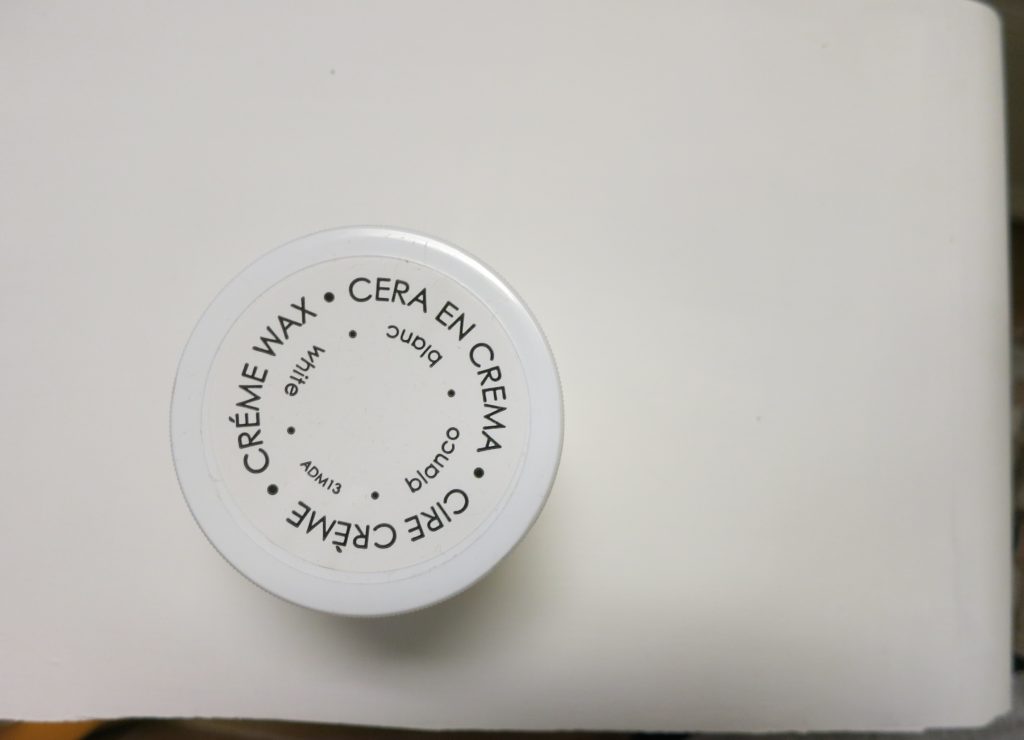
When the paint is dry, apply a layer of wax/varnish to protect the paint finish.
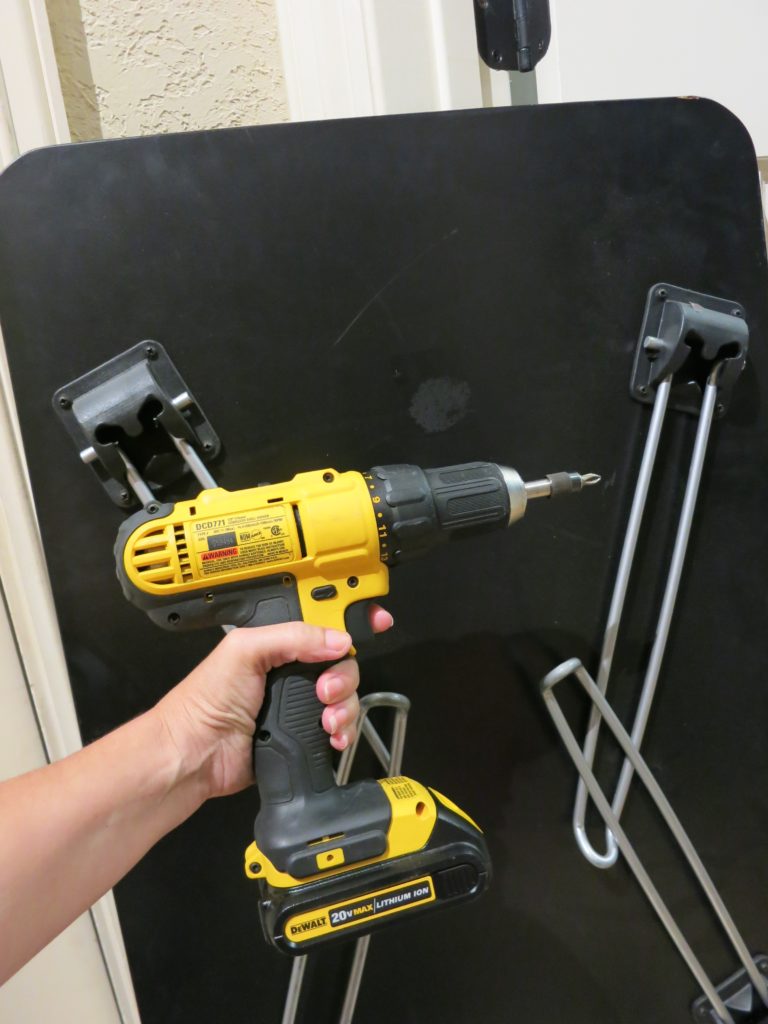
Remove the legs from the coffee table. Save all the hardware!
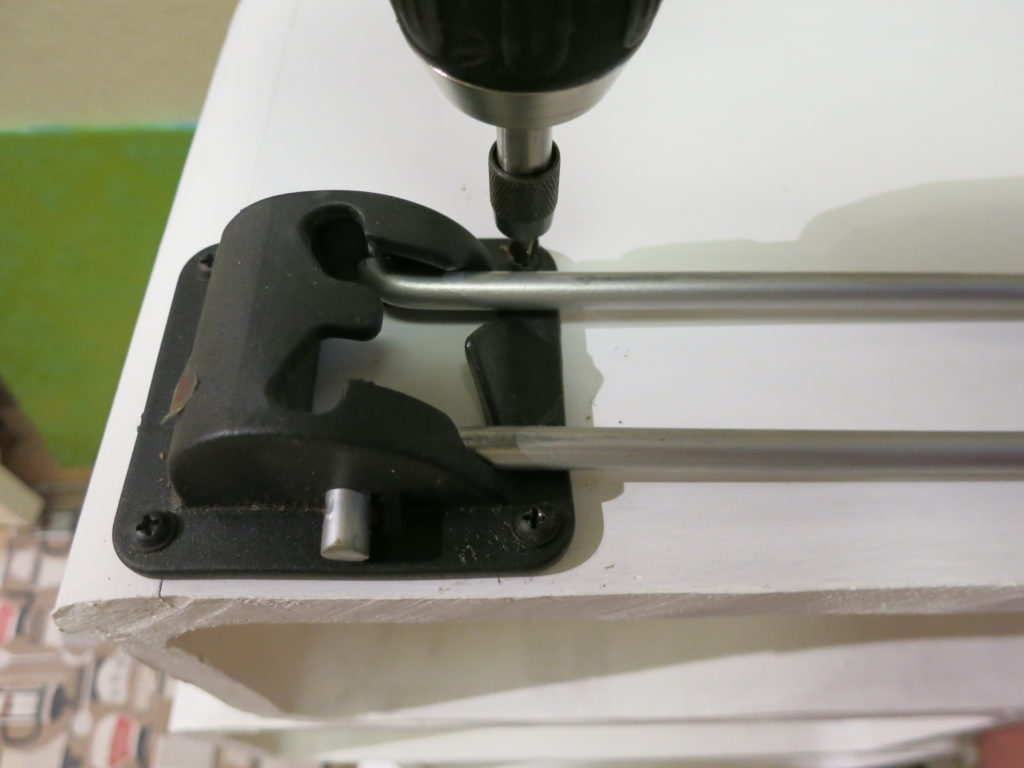
Arrange the legs as desired on the shelf base and use the drill to secure the legs to the base.
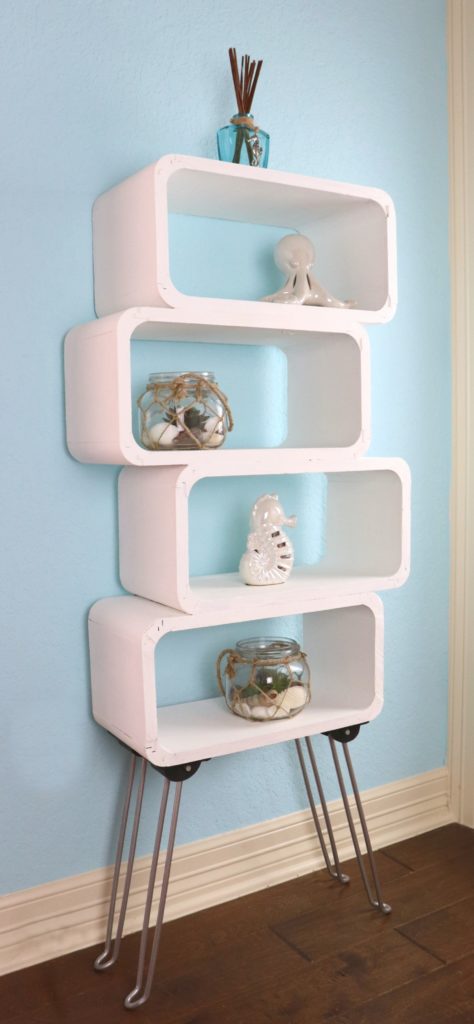
My piece is very tall and if pulled on could tip, so I anchored it to the wall. I could have arranged the legs differently to make the piece very stable, but I wanted to create clean, thin lines and give the piece the smallest footprint possible, so I designed it this way. Just be aware that if you use this design it will be safest to anchor the piece to the wall!
For lots more tutorials using thrift store finds from Goodwill San Antonio, just click HERE.
Leave a Reply