
There are lots of products on the market that can help you create a painted crackle finish. But what if you’re on a budget, snowed in, or just trying to de-stash? Here’s a frugal solution.
A lot of my friends are new to crafting, so I mentioned on my FB fan page that I was thinking of doing an occasional post where I teach some basic techniques. People liked the idea, and even offered several suggestions for things they’d like to learn how to do. Here’s one of their requests: how to use glue to make crackle paint.
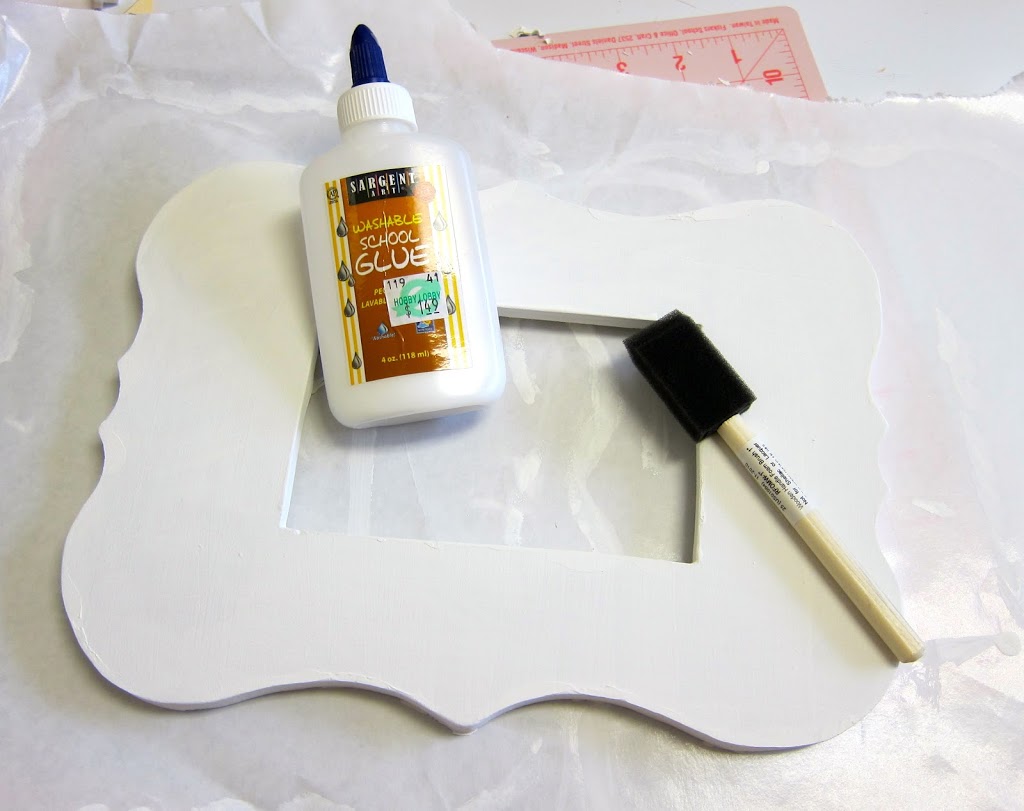
I have done this process on wood and ceramic. It’s really pretty basic. First, paint your project with a base coat. This is the color that will show through the cracks. Then you cover the entire surface with white school glue (like Elmer’s).
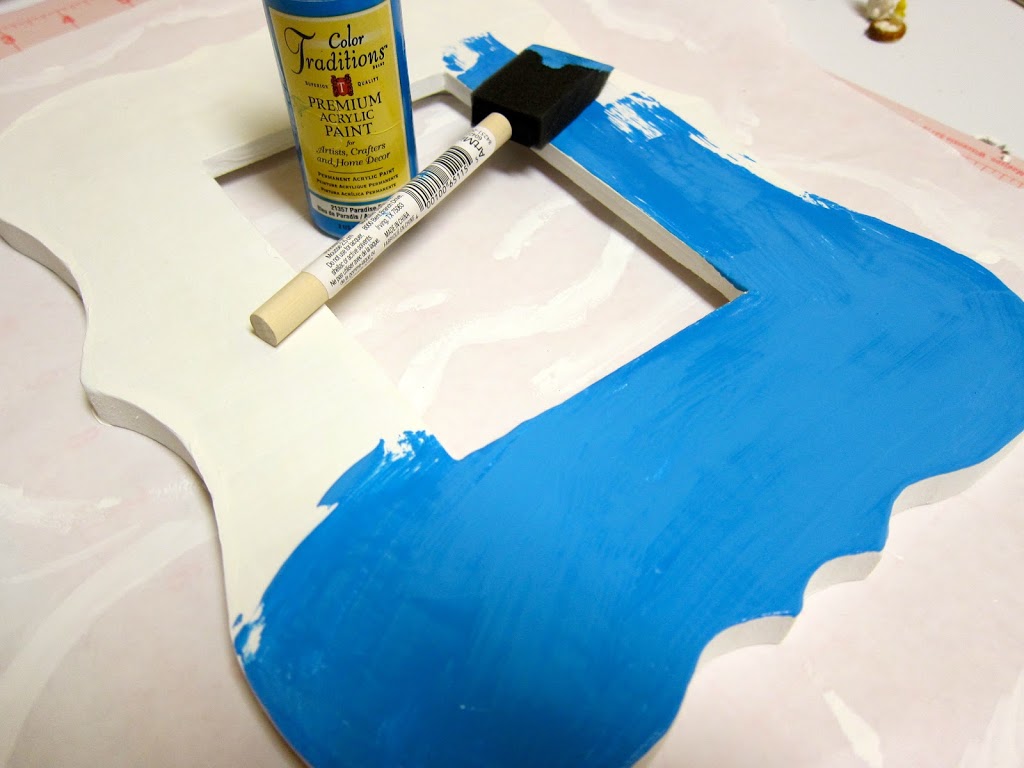
Don’t wait for the glue to dry! Paint over the glue with the top color. I used crafter’s acrylic paints.

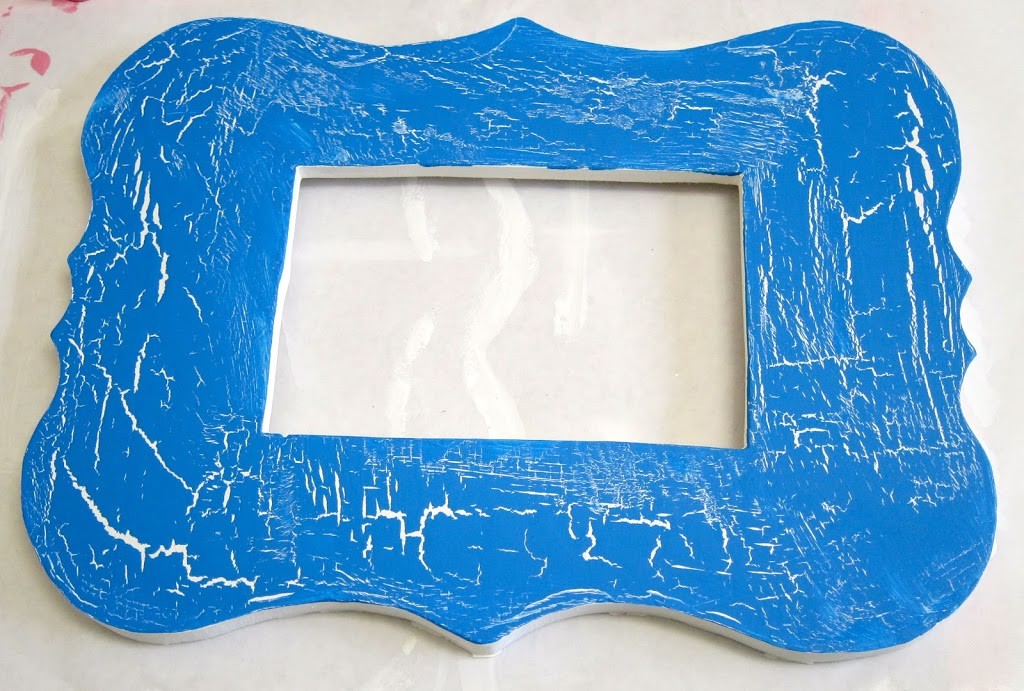
As they paint dries, you will see cracks form.
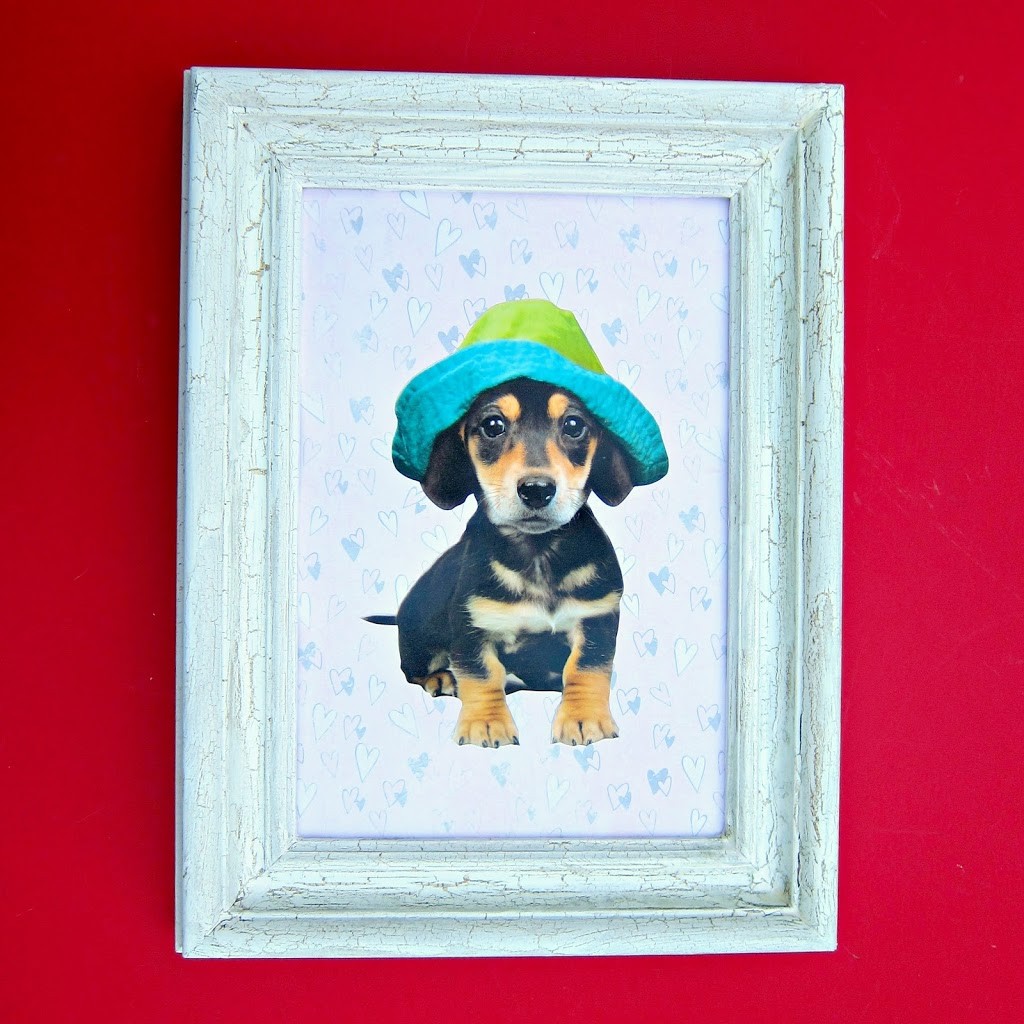
Here’s the finished project!
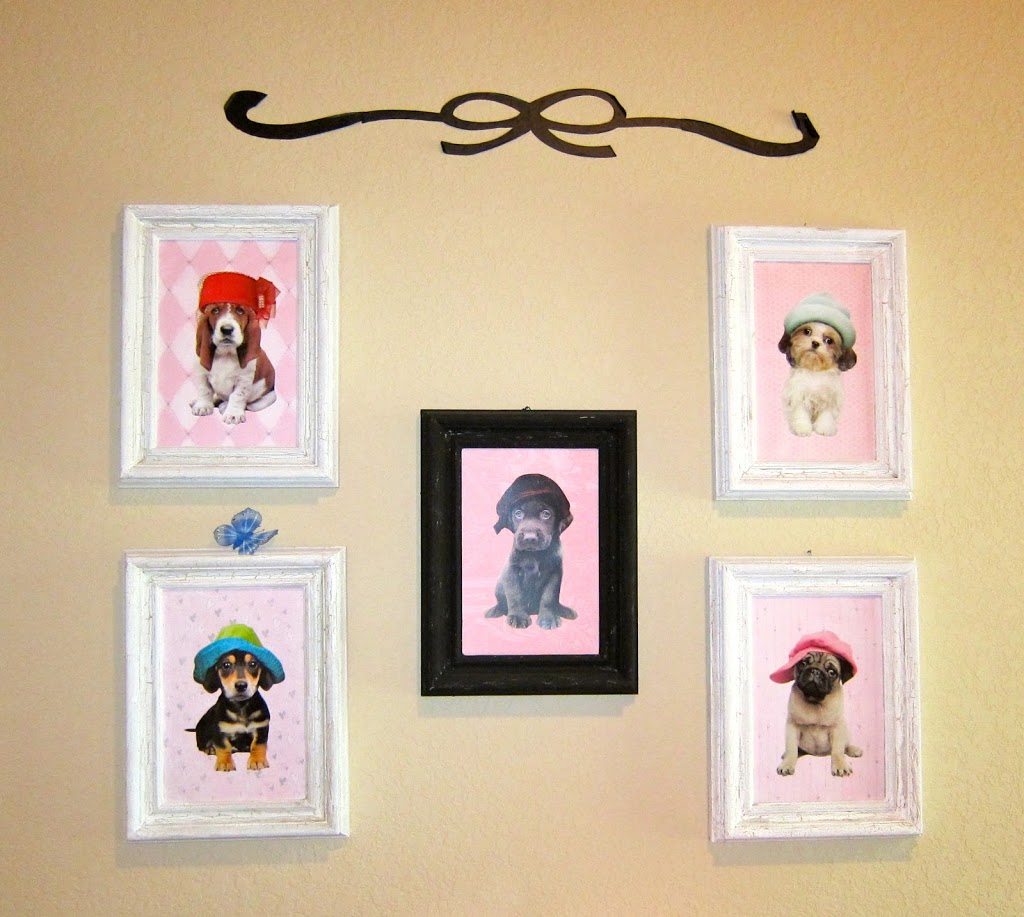
I love a crackled, distressed finish, so I’ve used this technique a few times. I repurposed some old paintings to create decor for my daughter’s room. These frames were originally gold, and I used glue and white paint to change them. A little scrapbook paper and some vinyl wall clings helped complete the puppy wall grouping for her room.
If you haven’t tried making your own crackle finish with glue, I hope you’ll give it a shot.
I’d love to hear what you’d like to learn for future “teach me” posts. What technique or product do you want to learn more about?
Leave a Reply