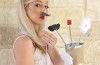
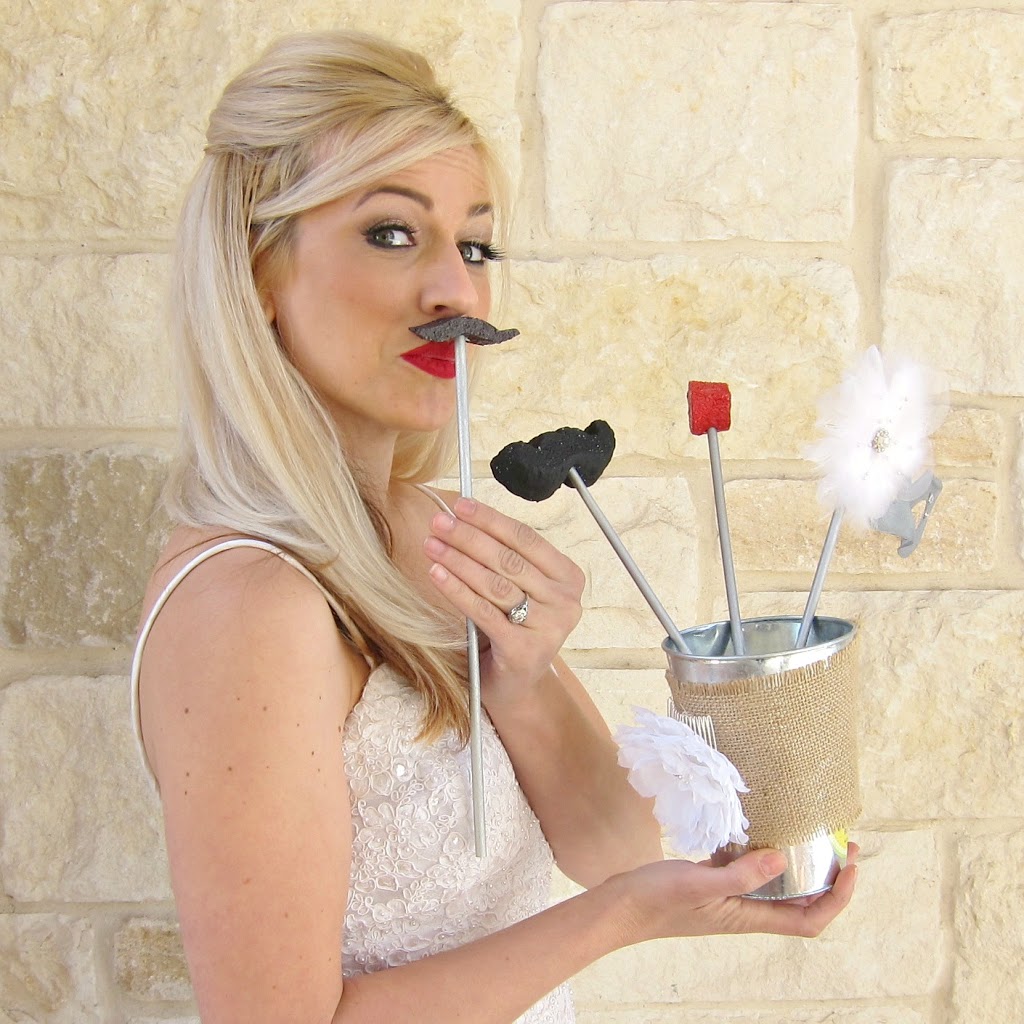
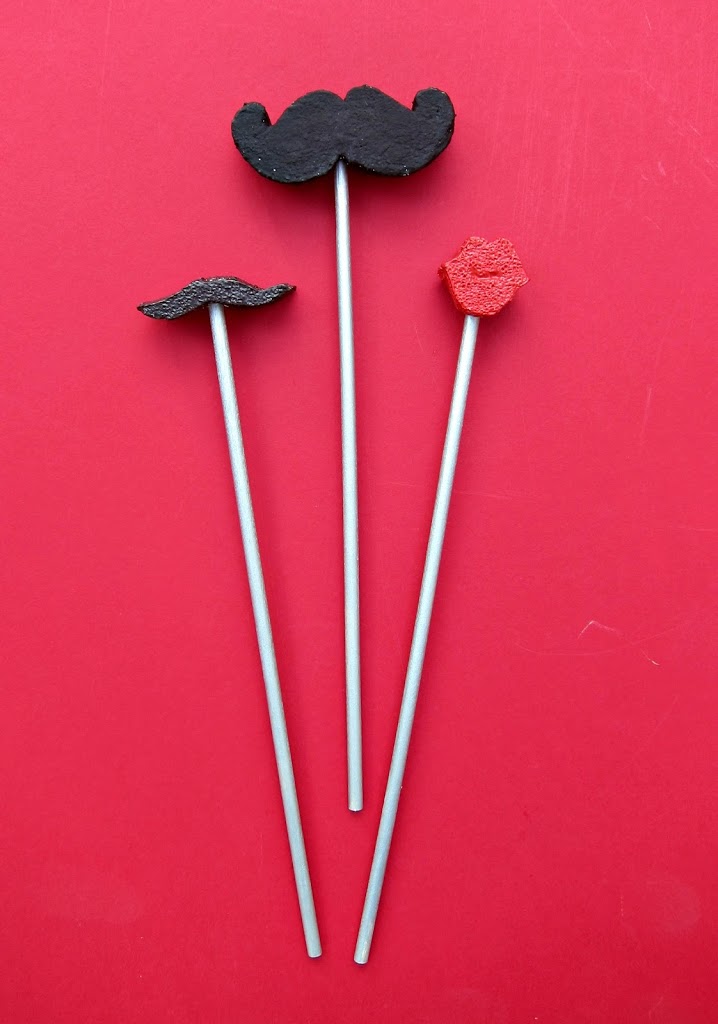
With four little ones, I need my photo props to be durable. Card stock won’t make the cut with busy little fingers. Read on to see how I made lasting, durable 3D photo props.
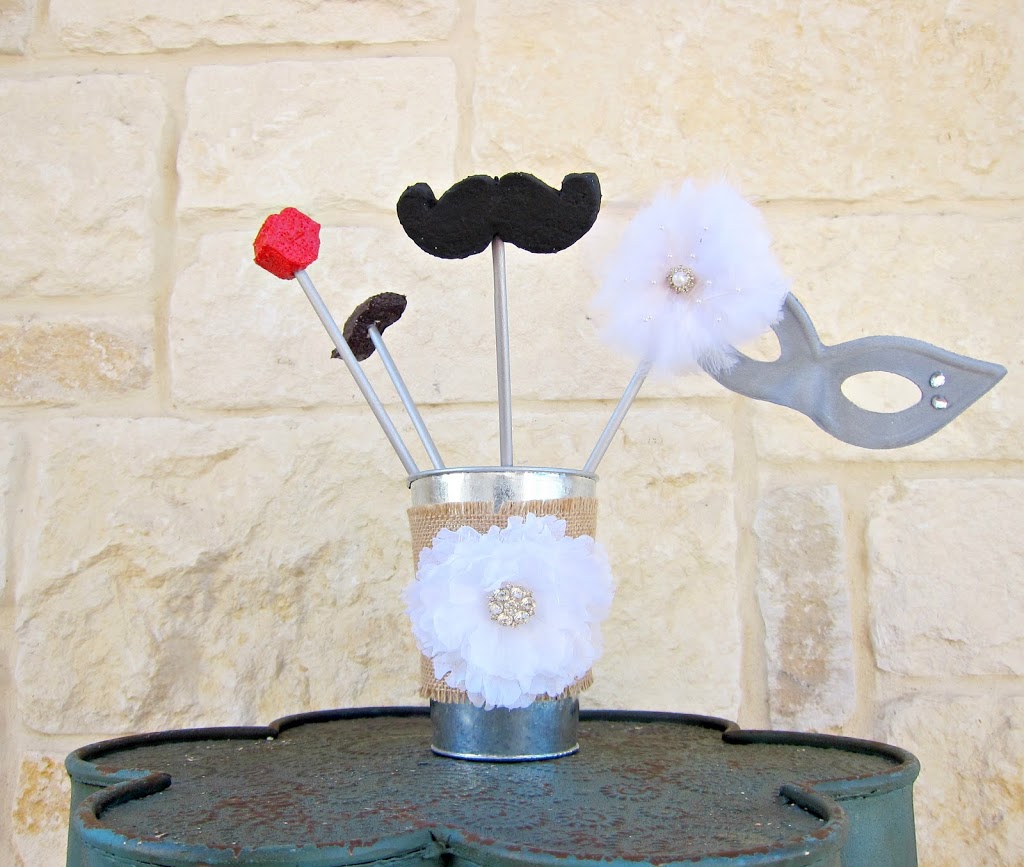
This tutorial is part of a series of posts on how to make your own photo booth and props for a wedding reception or party. I showed you how to decorate light weight frames here, mask props here, and a Grumpy Cat prop here. Now on to mustaches and lips!
Supplies:
Styrofoam
Template
MagiKote
Paint
Dowel Rod
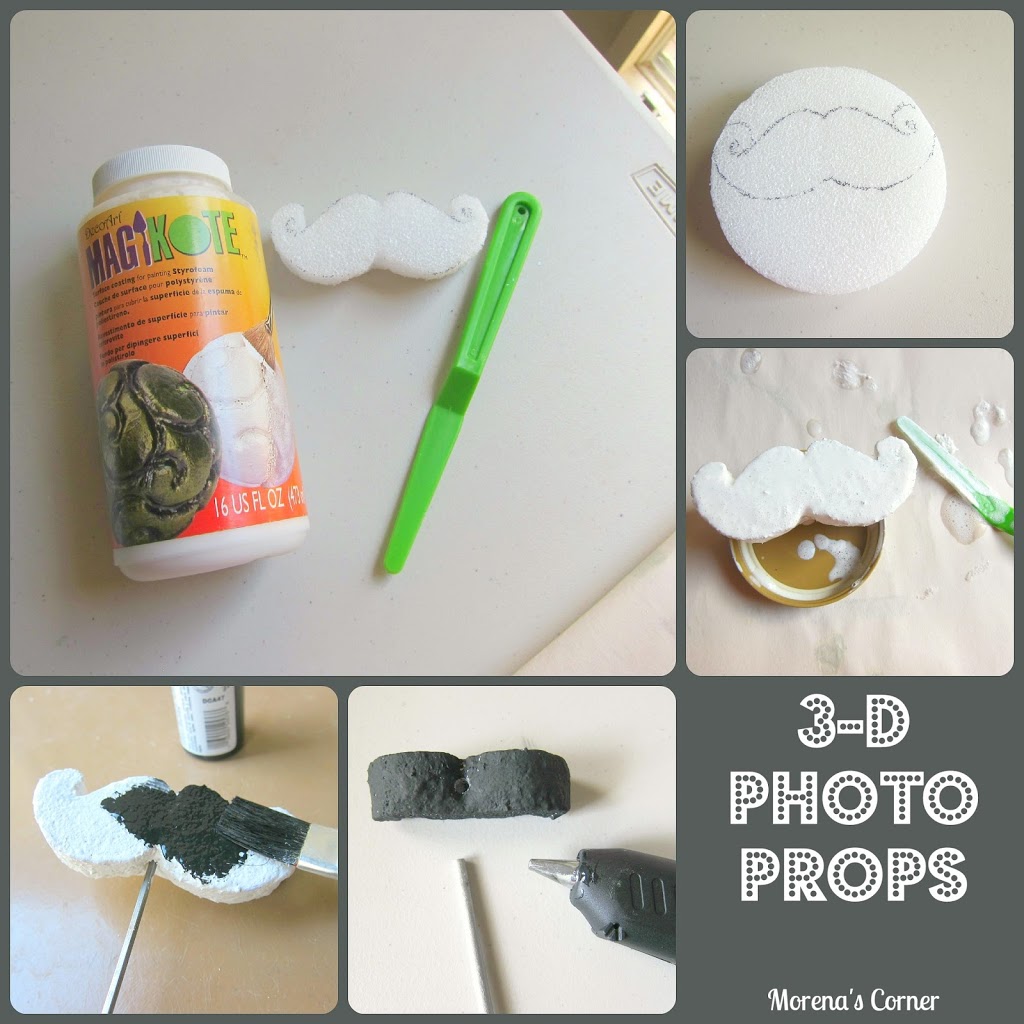
To make your own 3-D photoprops:
Step one: Find a template online and print it out. Cut out the desired shapes. Trace the shape onto the styrofoam.
Step two: Cut the shape out of the styrofoam. I used a razor. This part gets messy! Make a hole for the dowel rod.
Step three: Paint the MagiKote on. Let it dry and then repeat. I did three applications.
Step four: Paint the shape.
Step five: Put a dab of glue on the end of the dowel rod, and insert into the shape.
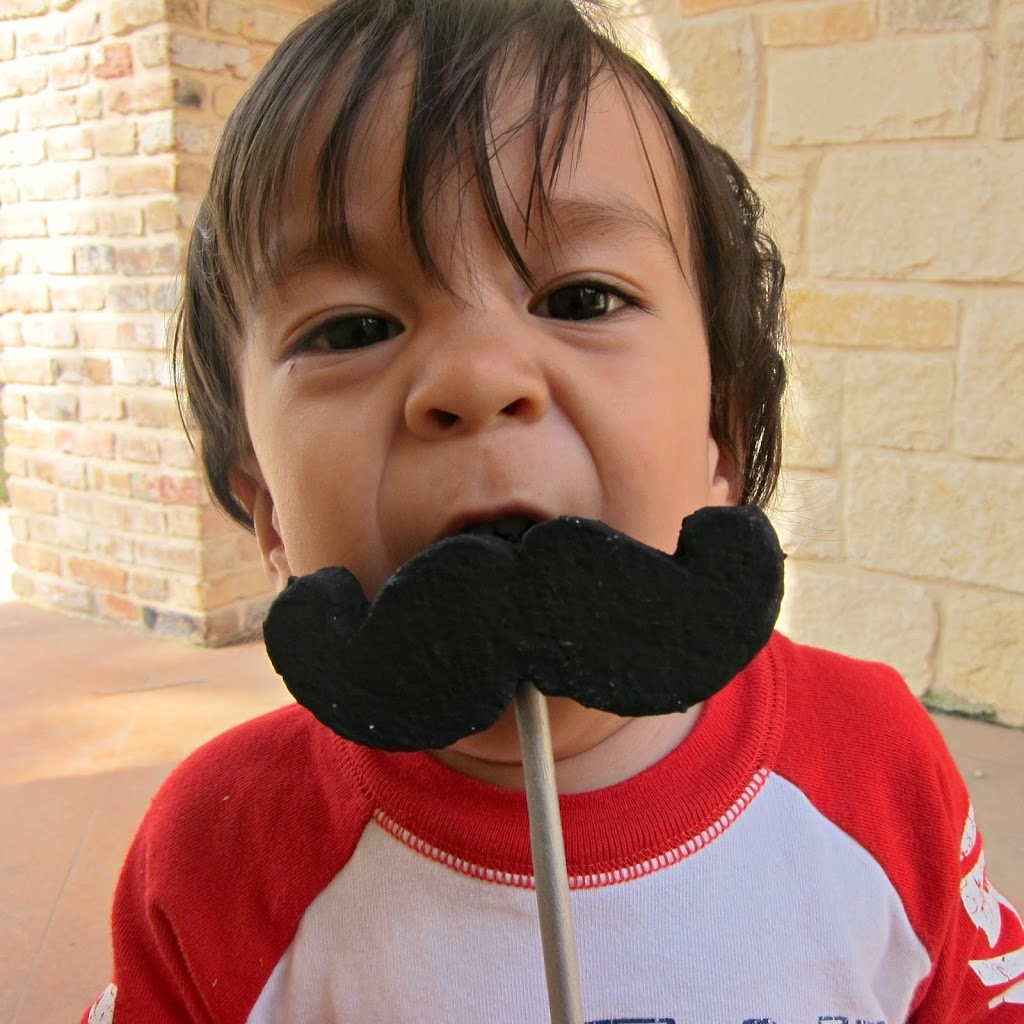 These props are loads of fun, and survived being smacked around by my one year old. The only thing that did the big ‘stache some damage was a bite from Maximus Prime. Oh well…guess I’ll make another one!

Leave a Reply