Craft room organization for thrifty people like me!
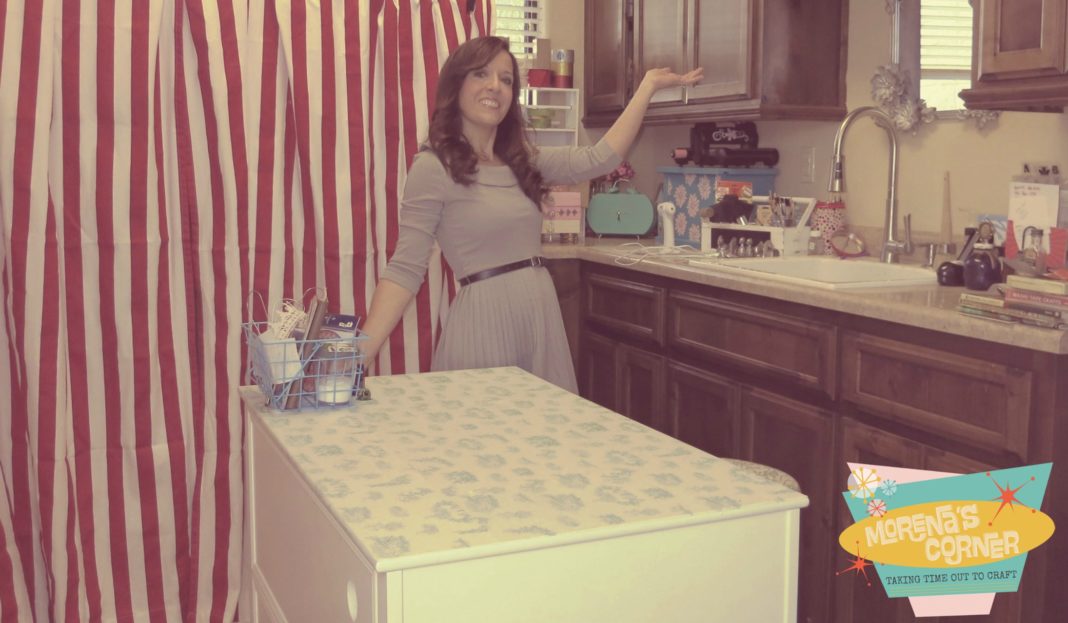
Ciao crafty amici, and welcome to my second craft room tour! You can see my first tour by clicking here. Not much has changed since the last time I took you around my craft room, so this time I’m going to highlight some of the thrifty ways I keep all my stuff organized. I hope you can find something you can use with these tips on how to organize your craft room on a budget.
This house is the first time I’ve had a whole room for crafting. Yes, it’s the laundry room, but, hey, it’s still a room. When I started crafting I had a few bins in a hall closet. Later, I bought a small computer desk on clearance at Ikea and used it to store my stuff and to craft on. Eventually, we rented a house where I had a massive closet and used half of it for my craft space. Now we’re in this house and the laundry room was spacious enough for me to store all my stuff in.
I have a lot of shelf space in here to store my supplies in, but there are lots of smaller items I needed to organize. Everything I’m going to show you here was either from Goodwill or from the clearance center of a store. Let’s get started with this craft room organization tour!
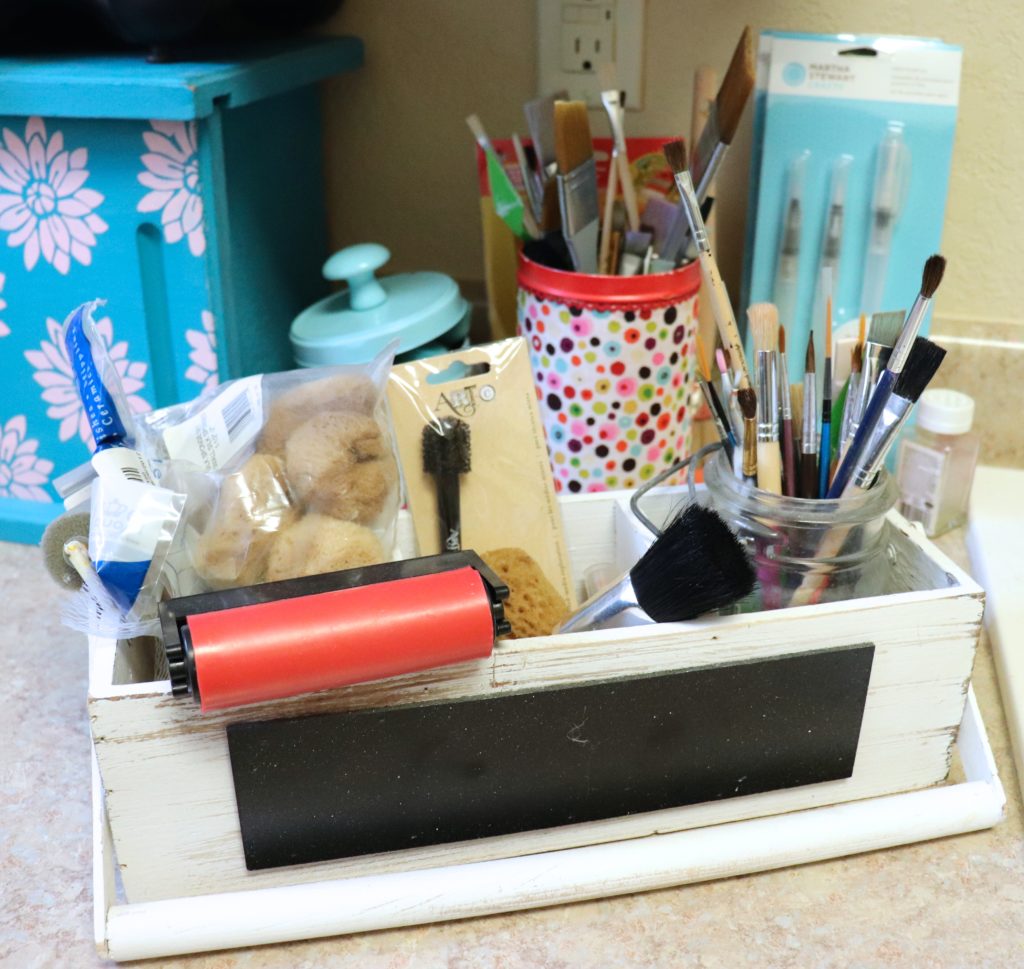
My paint brushes are organized in these tins and wood caddy. The caddy was an end of season clearance item at Michael’s, and it’s perfect for large brushes, texture tools, and sponges. The containers are cookie tins that I spray painted and Mod Podged fabric onto. You can find that tutorial HERE.
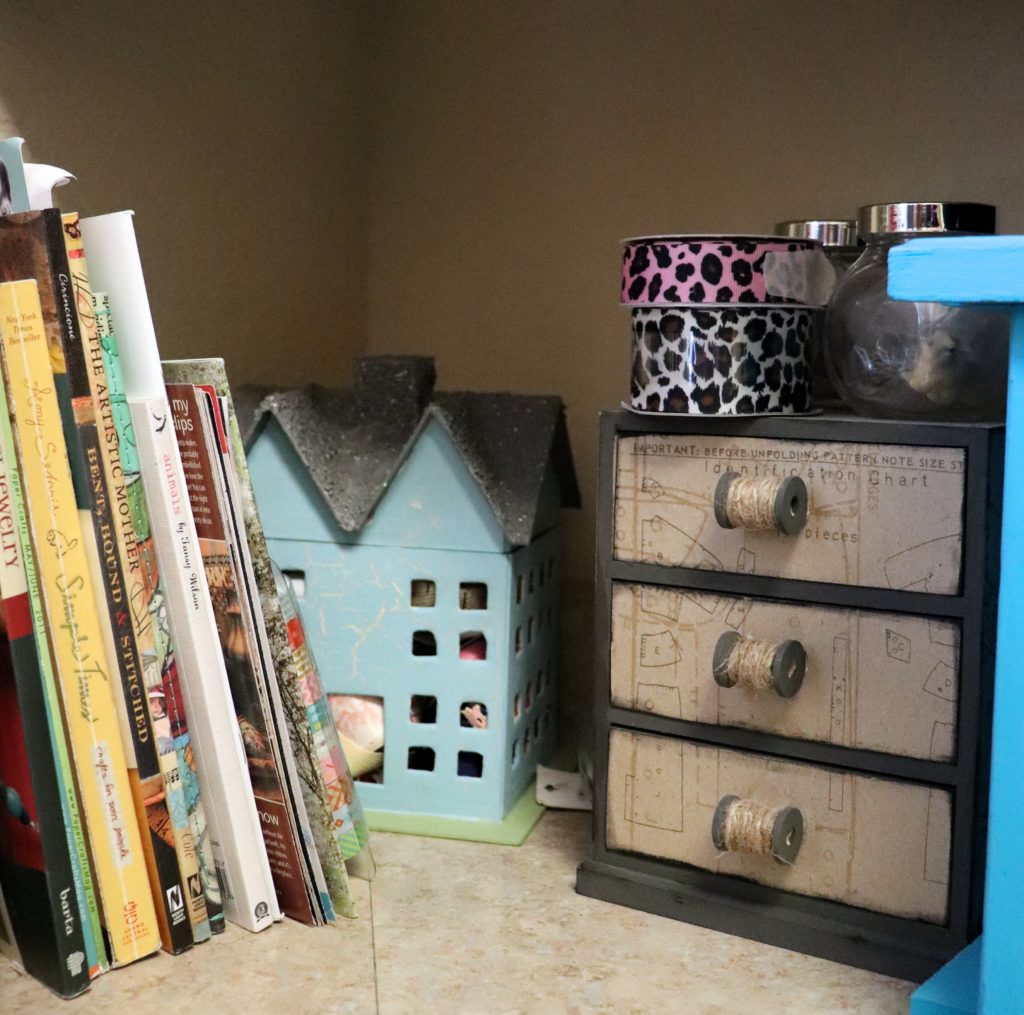
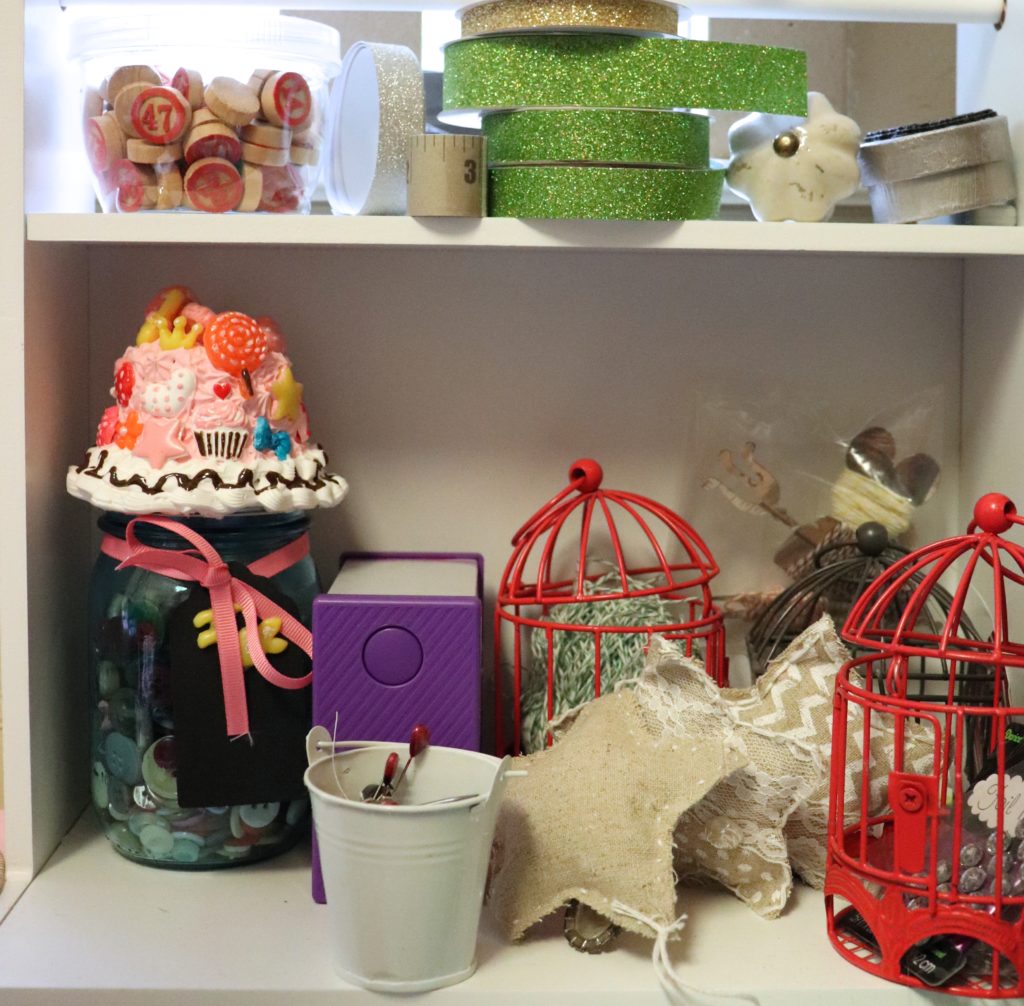
Smaller sewing items that I use often (needles, pins, and thread) are kept handy in THIS storage box that I made. Buttons are stored in THIS kawaii mason jar that I decodened. Ribbons are housed in THIS cute little building.
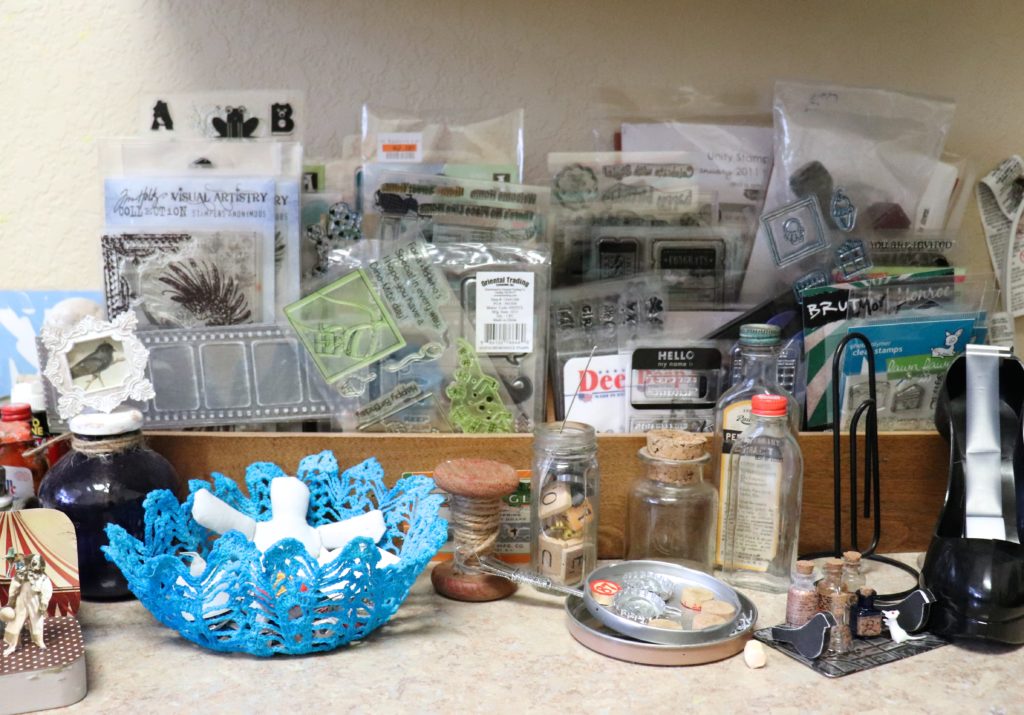
I don’t do a ton of stamping, so I can get by with keeping my stamps in a desktop mail sorter. This item was on clearance at World Market.
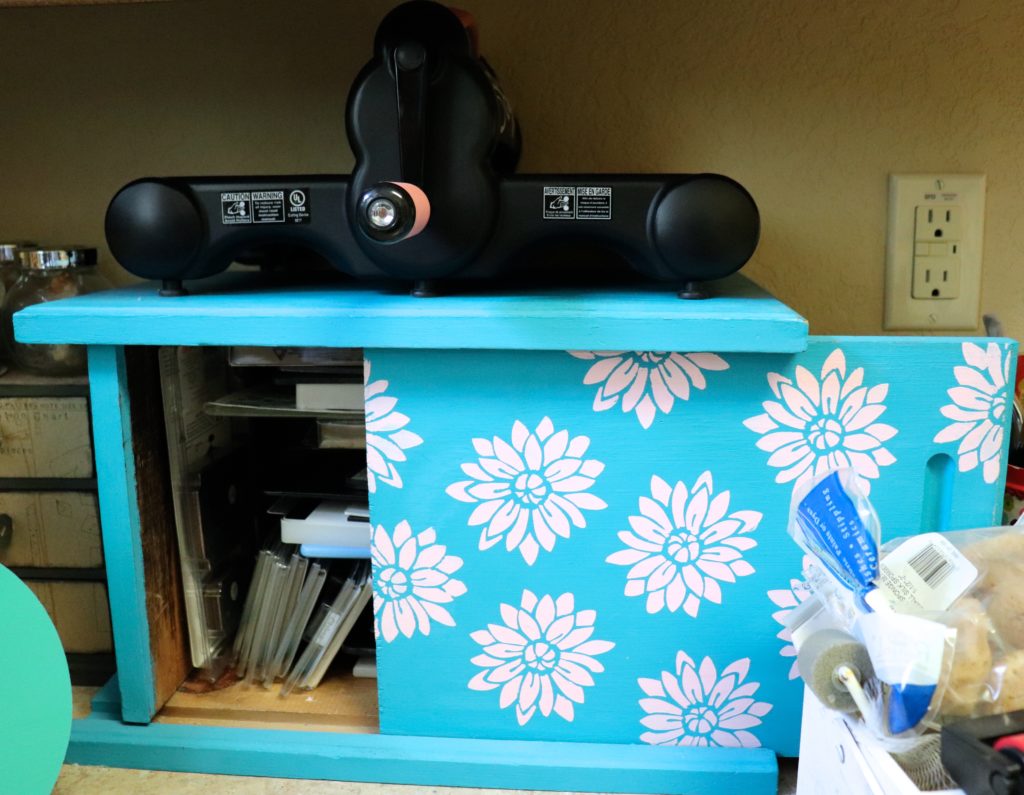
I found THIS large wood box at Goodwill, and I painted and stenciled it. It’s perfect for holding my thick dies, cutting mats, and holding my Big Shot out of the way on top. My thin metal dies are housed in a box with magnetic sheets.
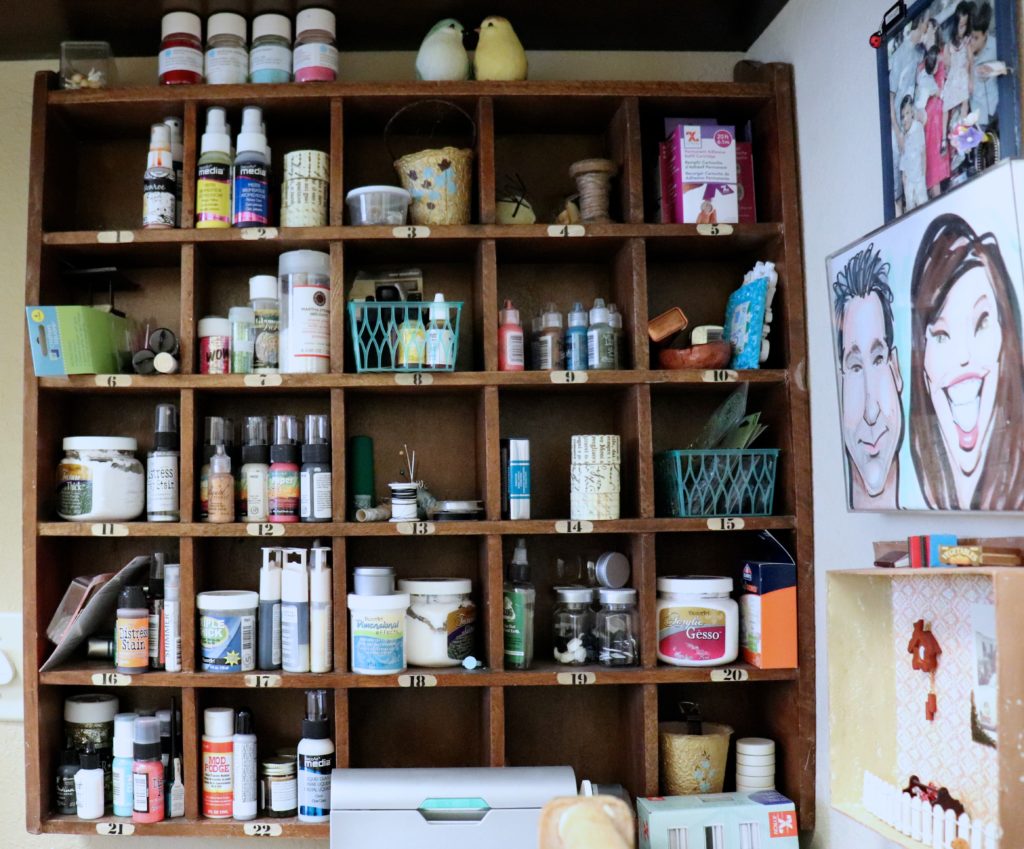
Smaller items are housed in this really cool wood box that hangs on the wall. I found this at the Pottery Barn Outlet several years ago. A corner was damaged and the hardware to hang it was missing, so I paid less than $20 for this piece. It’s great for holding my spray bottles and other small items.
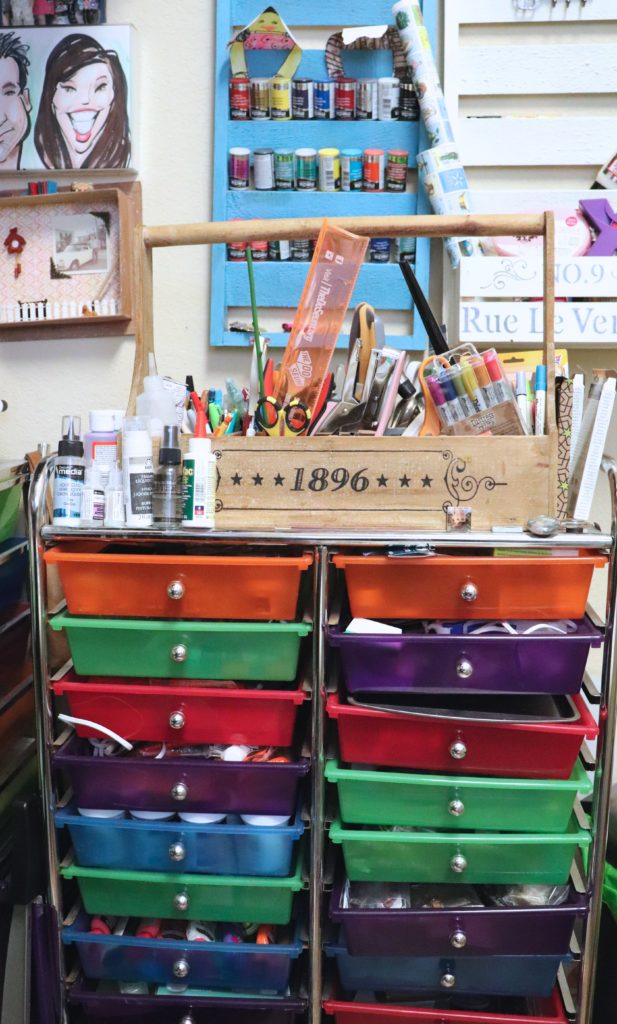
This bottle caddy holds my most used items. I keep it next to my craft desk so I can easily access my scissors, glue, ruler, markers, etc. If I use it a lot it goes in this caddy. I got this item on clearance at Tuesday Morning.
The plastic storage bins were a sidewalk rescue. My mom’s neighbor had set them out so she grabbed them for me. You’ll see these fairly often at garage sales and in thrift stores, or use your coupon to buy one at a craft store. I like this because the drawers are shallow so I can see at a glance what is in each bin.Glue runners are in one bin, adhesives in another bin, along with bins for wood burning tools, glue guns and glue sticks, wood embellishments, glass and plastic embellishments, and various small elements.
As my crafting career has progressed and I’ve accumulated more supplies, I had to move into the closet across the hall. I used an old file cabinet that I got for free in college to store paint and fabric. The drawers are the perfect size! (See the file cabinet in THIS video.)
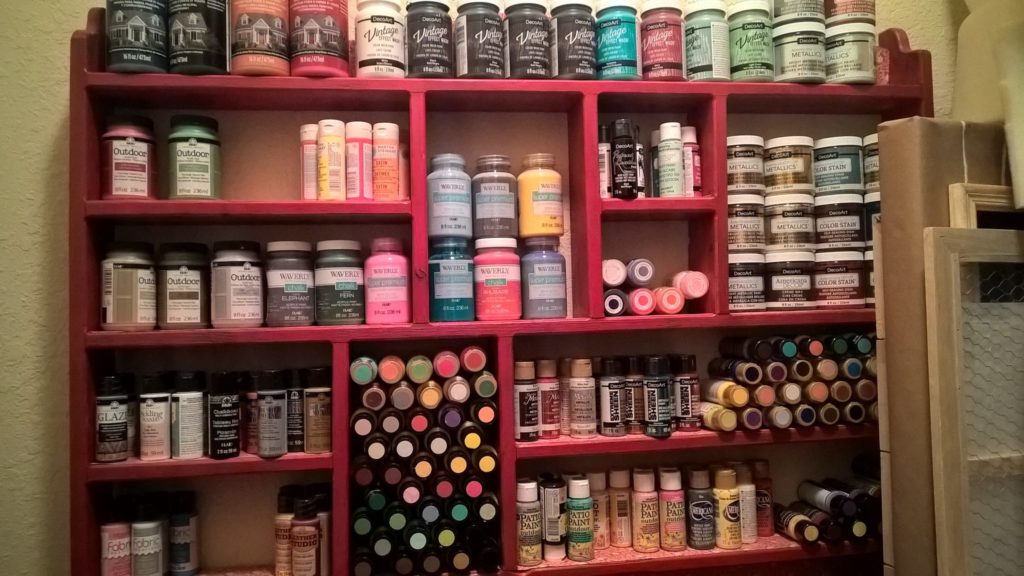
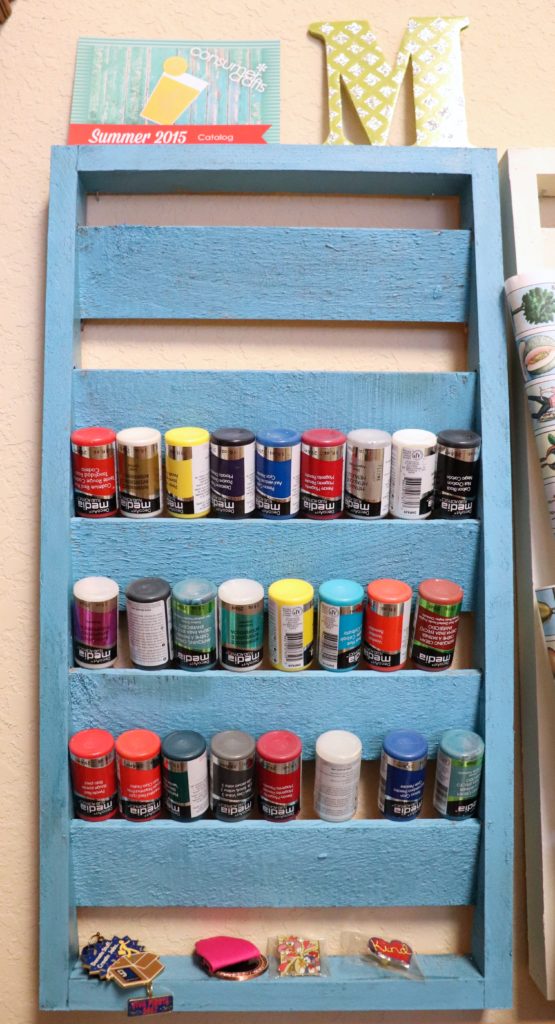
I turned THIS wall shelf into paint storage. I have paints sorted by brand and line. Smaller bottles go in a craft wood shutter.
As you can see, I have a lot of stuff! Keeping it all organize can be a challenge, but by using thrift store and clearance aisle bargains I’m able to manage my stash somewhat. Someday I dream of having my very own space with giant gorgeous shelves and tons of beautifully labeled bins, but until then, I’m very grateful for what I have.
Ready for more awesome craft room decorating and storage ideas? Visit The Country Chic Cottage for a list of all the 2018 Craft Room Tours!

Leave a Reply