
Celebrate your next event with mini party hats. This is a sponsored post with Xyron.
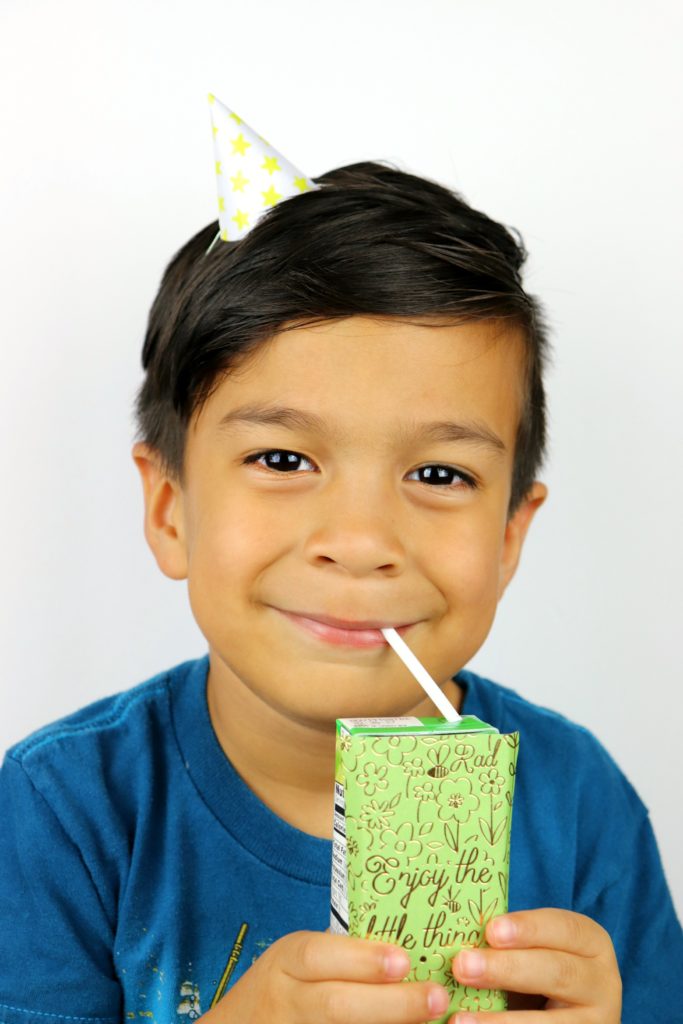
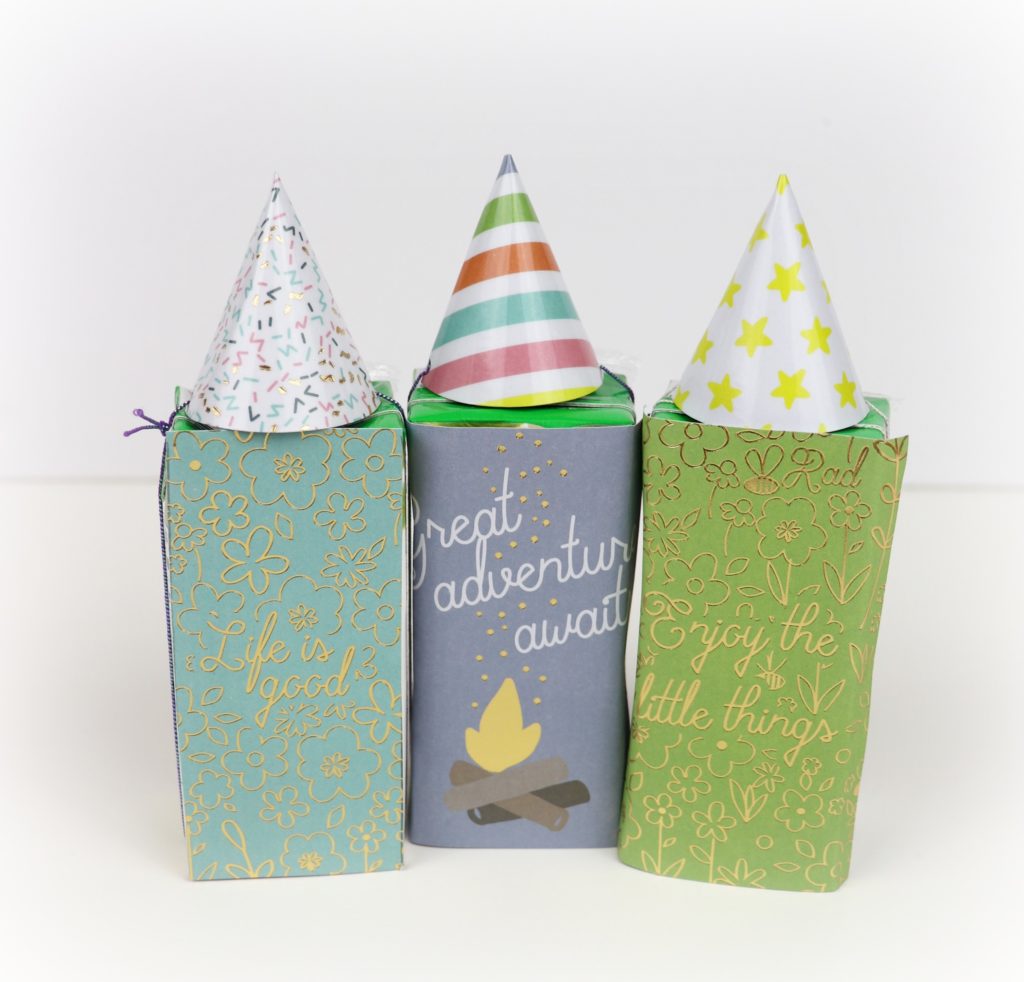
Everything is so much cuter in miniature, don’t you think? So why not throw a teeny party? I made itty bitty mini party hats for my kindergartner’s class party. These were a HUGE hit with the kids. I used colorful patterned paper from DCWV with my Xyron Creative Station to make durable hats.
Supplies Used to Make the Mini Party Hats
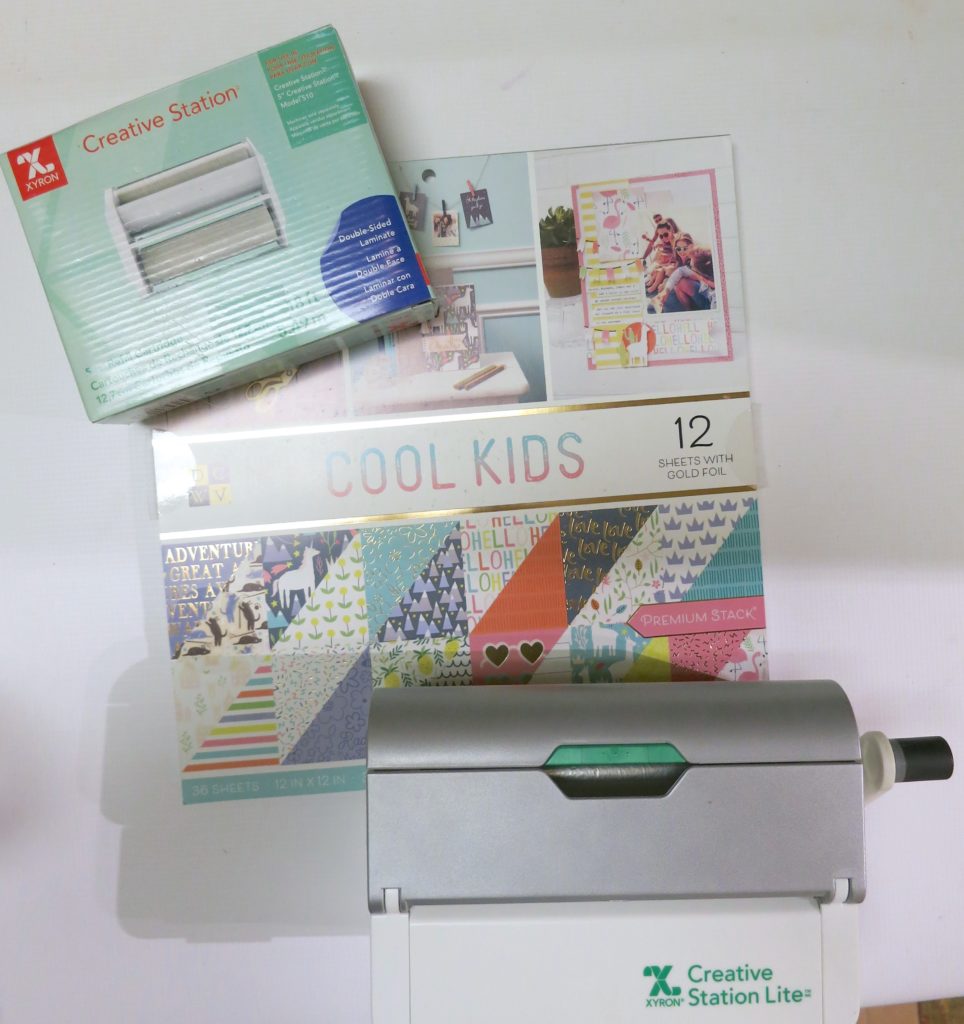
- DCWV Cool Kids Double Sided Cardstock Pack
- Xyron 624632 Creative Station, 9″ with 5″ Option
- Xyron Double Sided Laminate Refill Cartridge for Creative Station, 5 inches by 18 feet
- Free Silhouette Cut File for Mini Party Hats
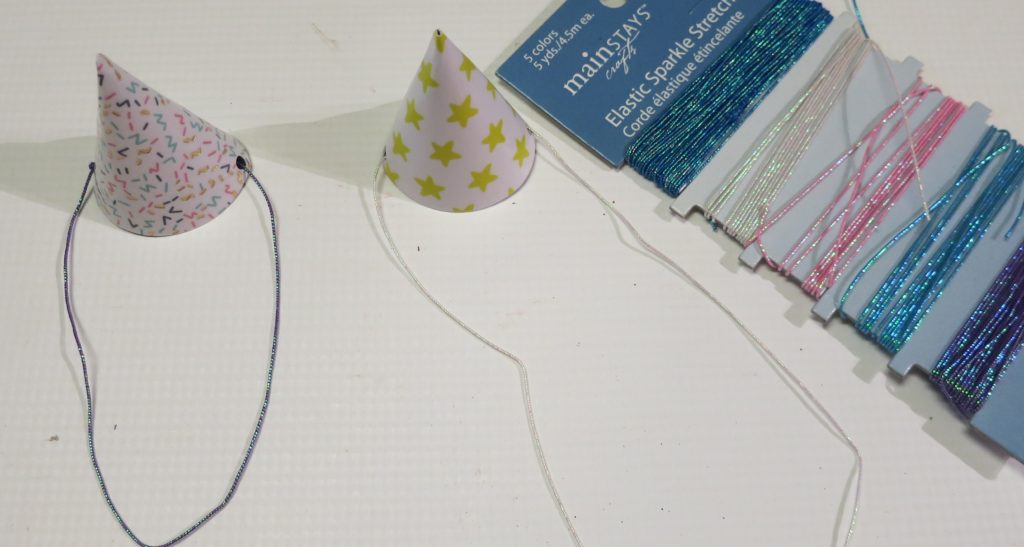
- Elastic Cord
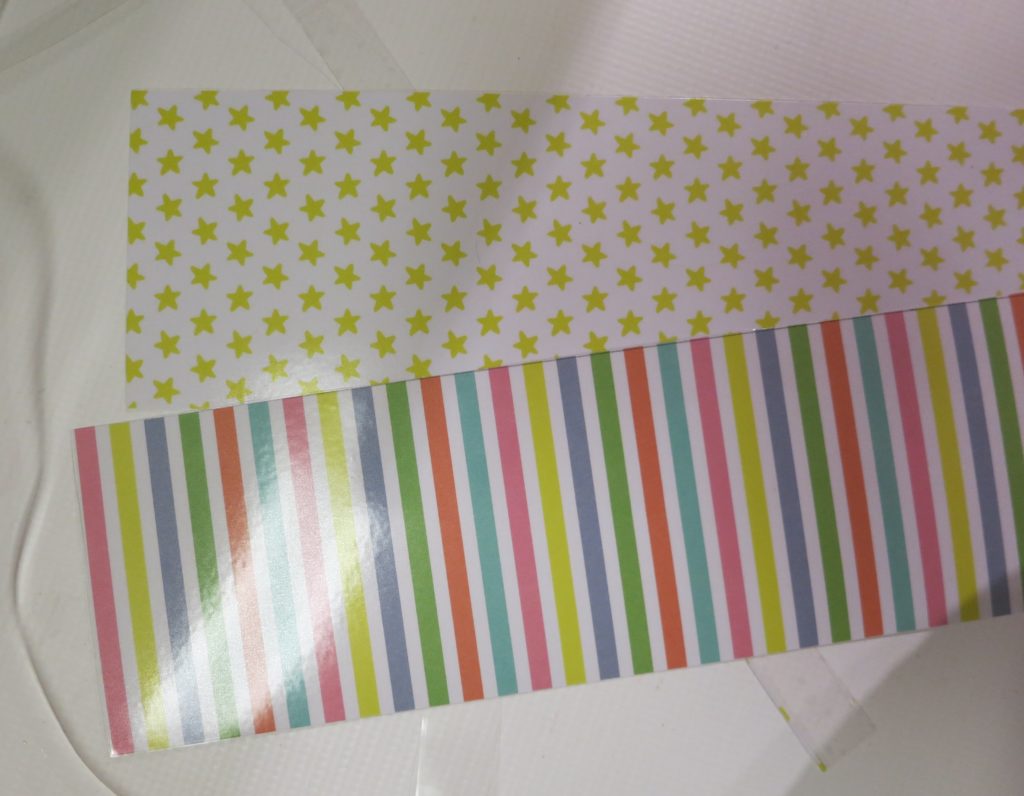
Cut the patterned paper into strips that are 5 inches wide and 12 inches long.
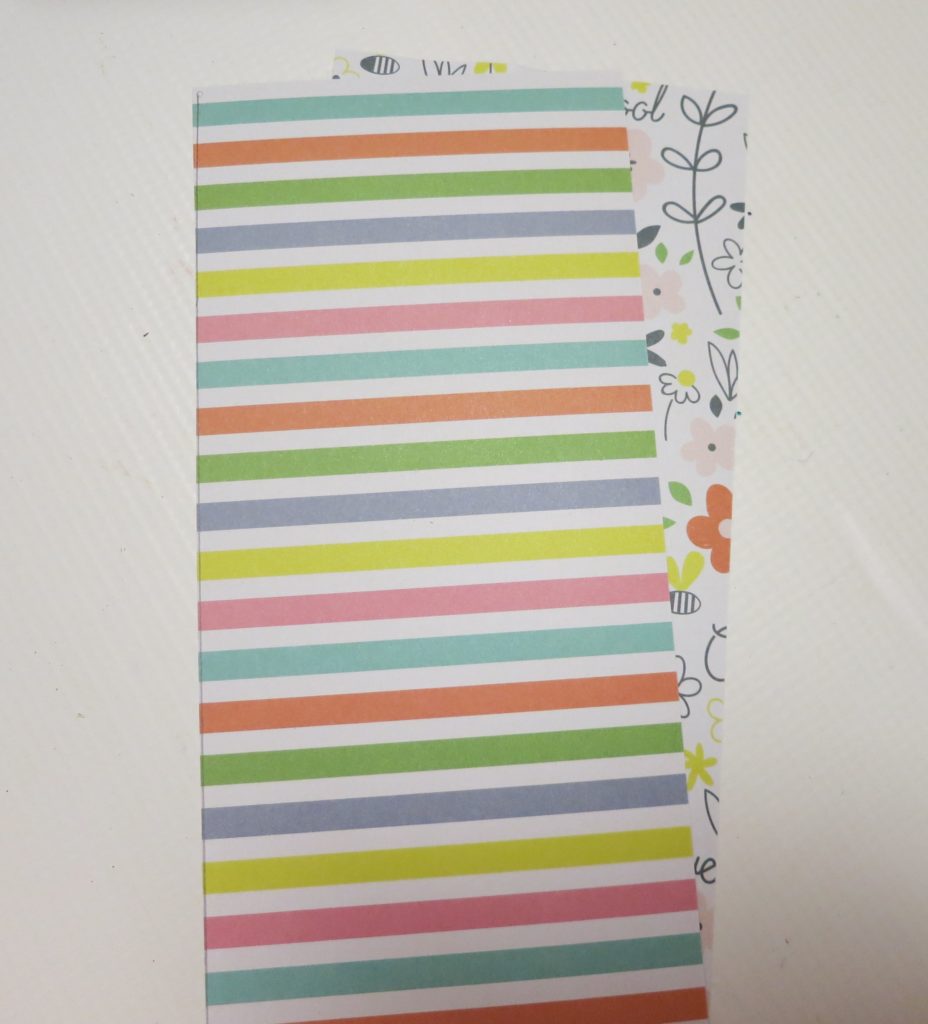
Place two sheet of the paper together, with the patterned side for the hats facing out on both sides.
Roll the two sheets of paper through the Xyron to laminate them.

Trim along the edge of the laminated edge to separate the papers. Now you have two sheets that are only laminated on one side.
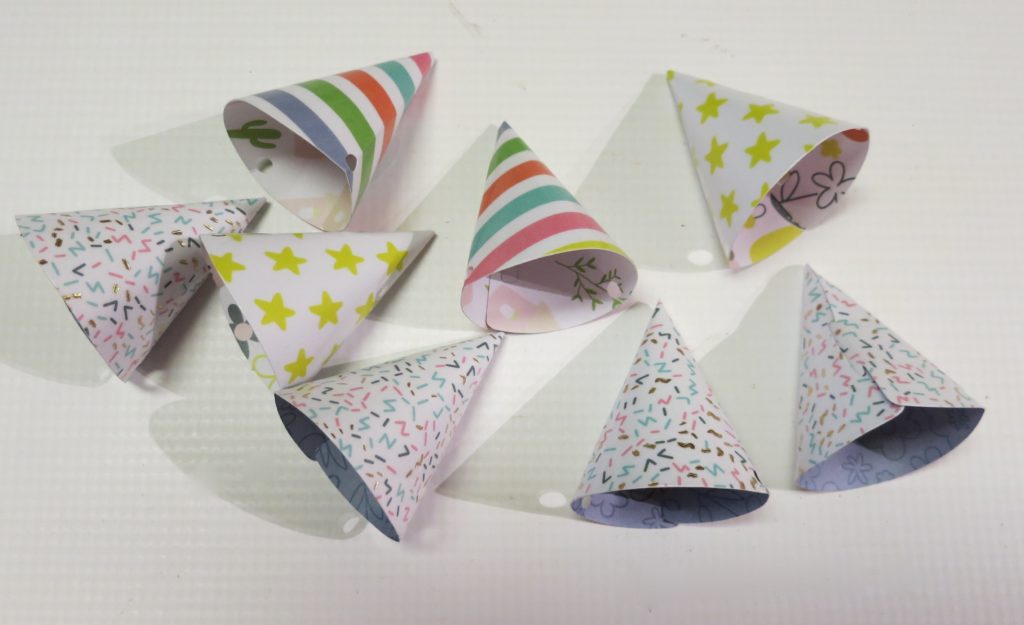
Open the cutting file in Silhouette Studio. Cut the hats from the paper.
Construct the hats by sliding the tab into the notch.
Cut 12-15 inch long pieces of elastic cord. Pull the cord through the holes in the hat and tie the ends together with a knot.
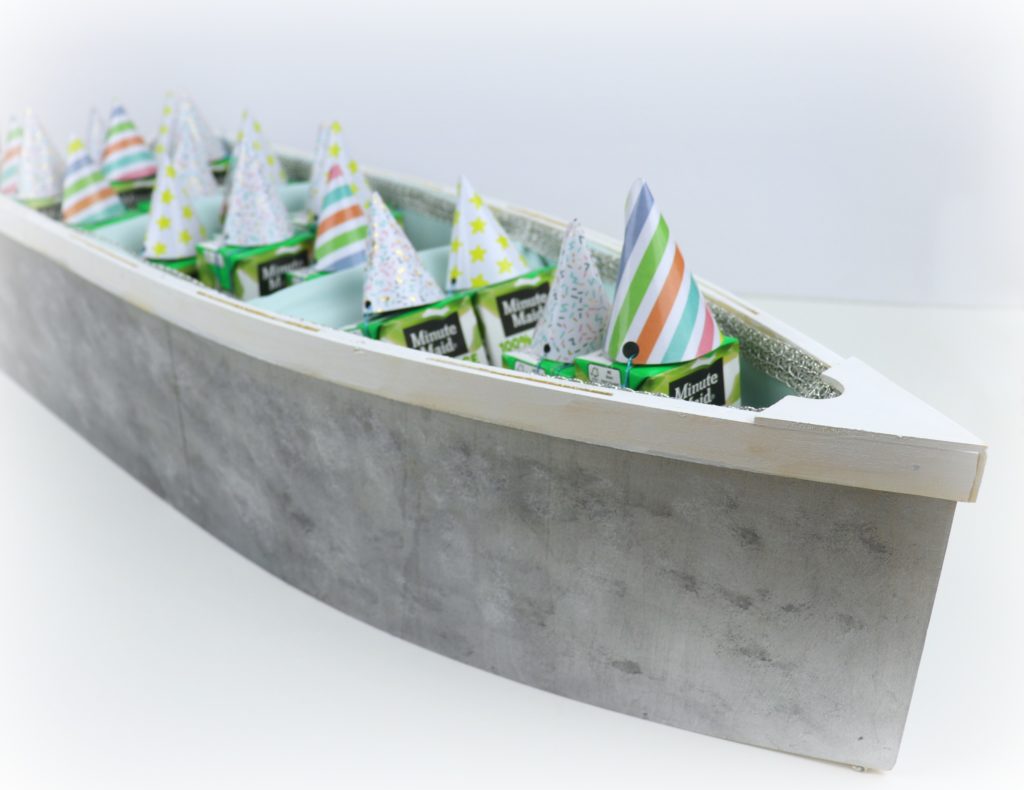
Trim paper to fit the front of the juice boxes. Use the Xyron tape runner to tape them to the fronts of the boxes.
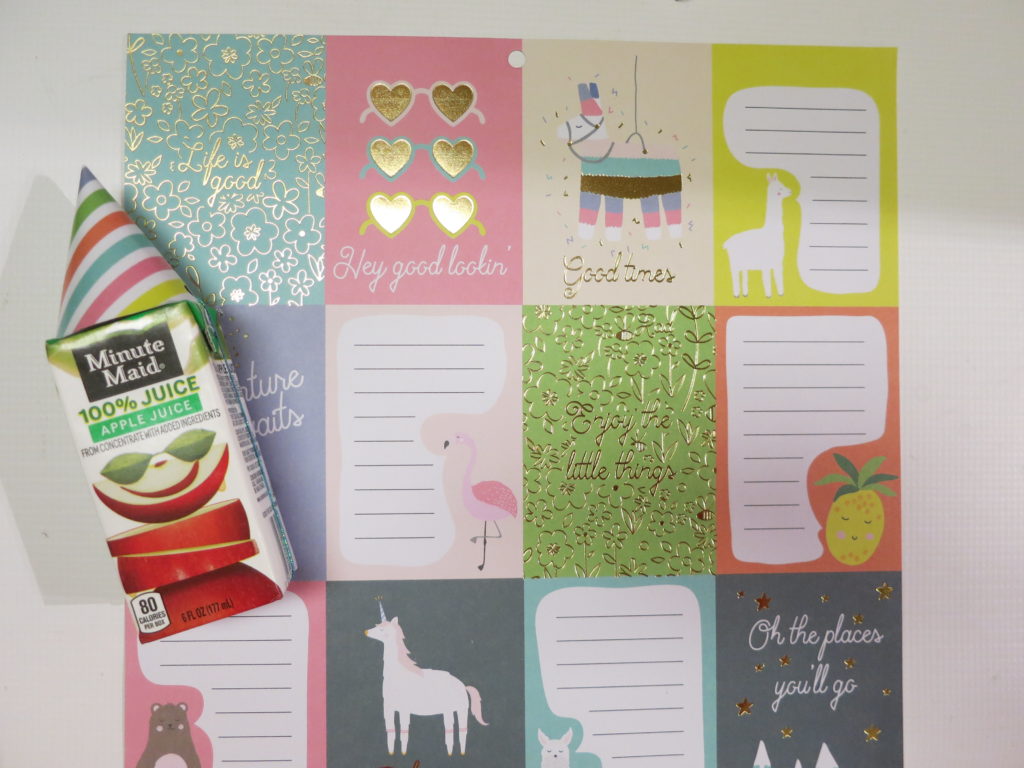
Wrap the hat cords around the juice boxes.
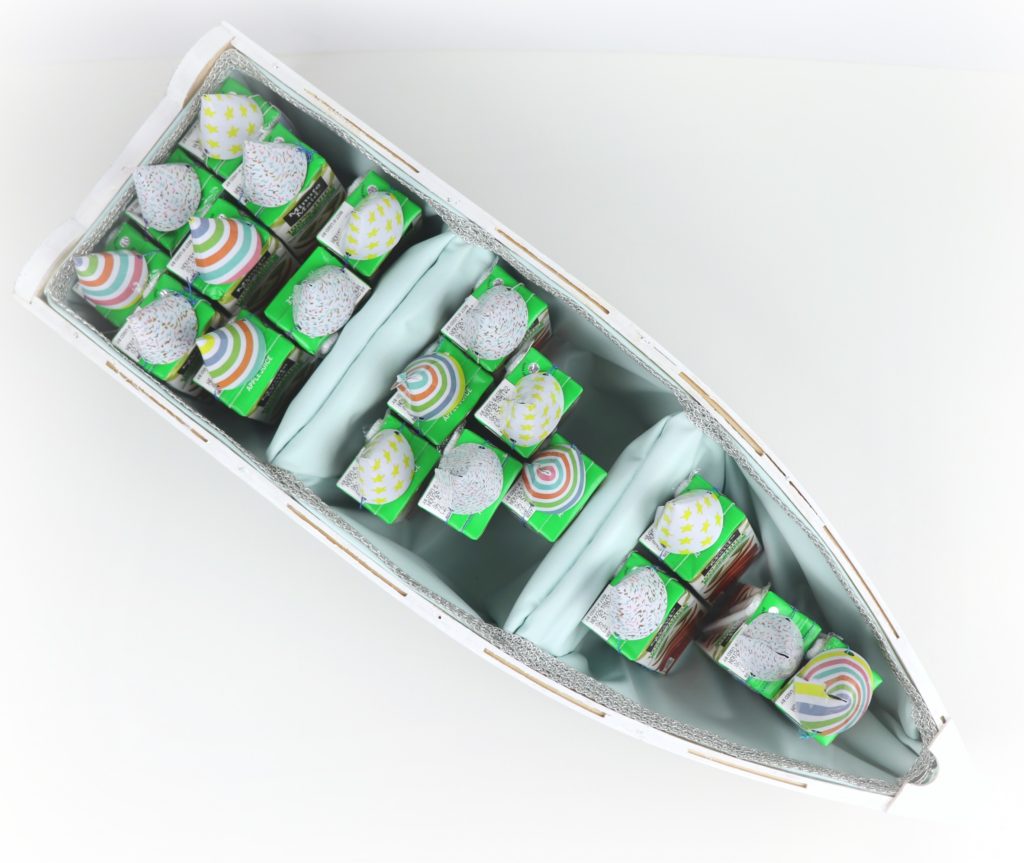
I placed the decorated juice boxes inside a boat shaped cooler I had made last year. The kids were delighted when they saw the “party boat”!
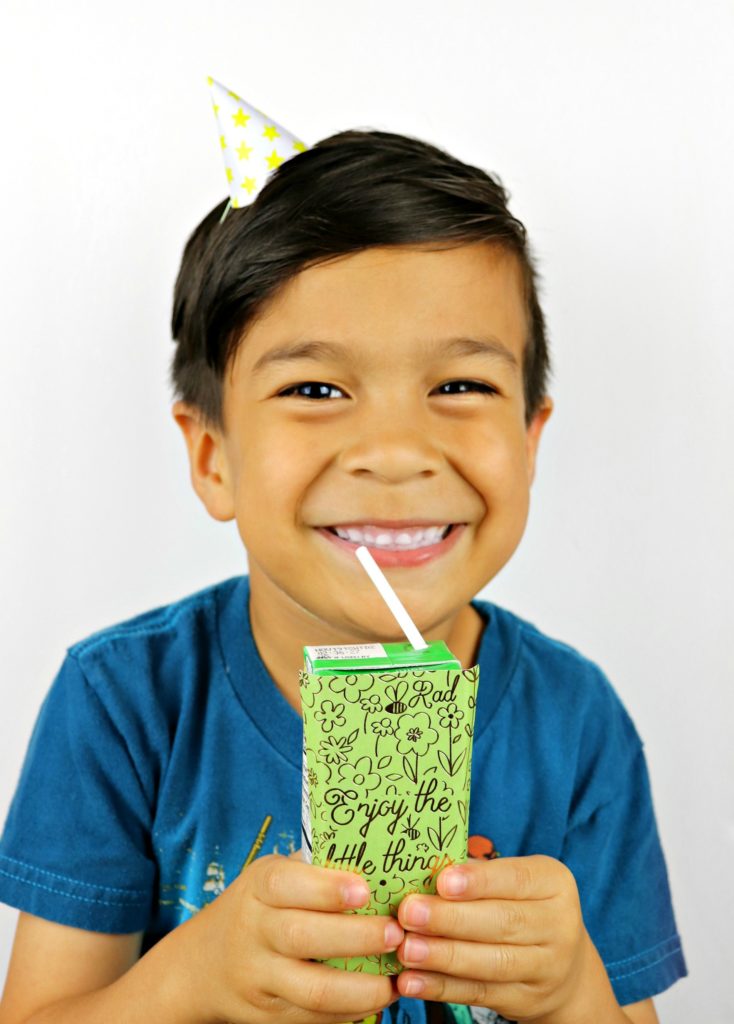
I loved how creative the kids got with their hats. Some made themselves look like unicorns, while others put the hats on their noses and pretended to be birds or other animals. Not a single hat went in the trash…they all proudly wore them home after school. Yay!
For more fun party ideas, click here.
Leave a Reply