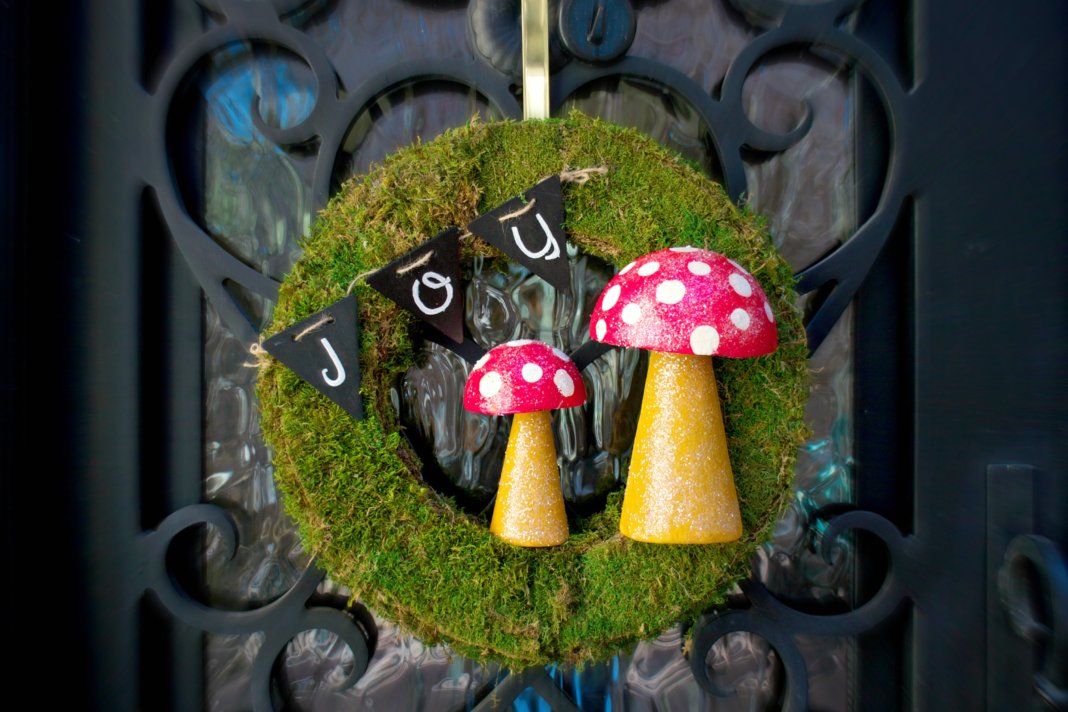
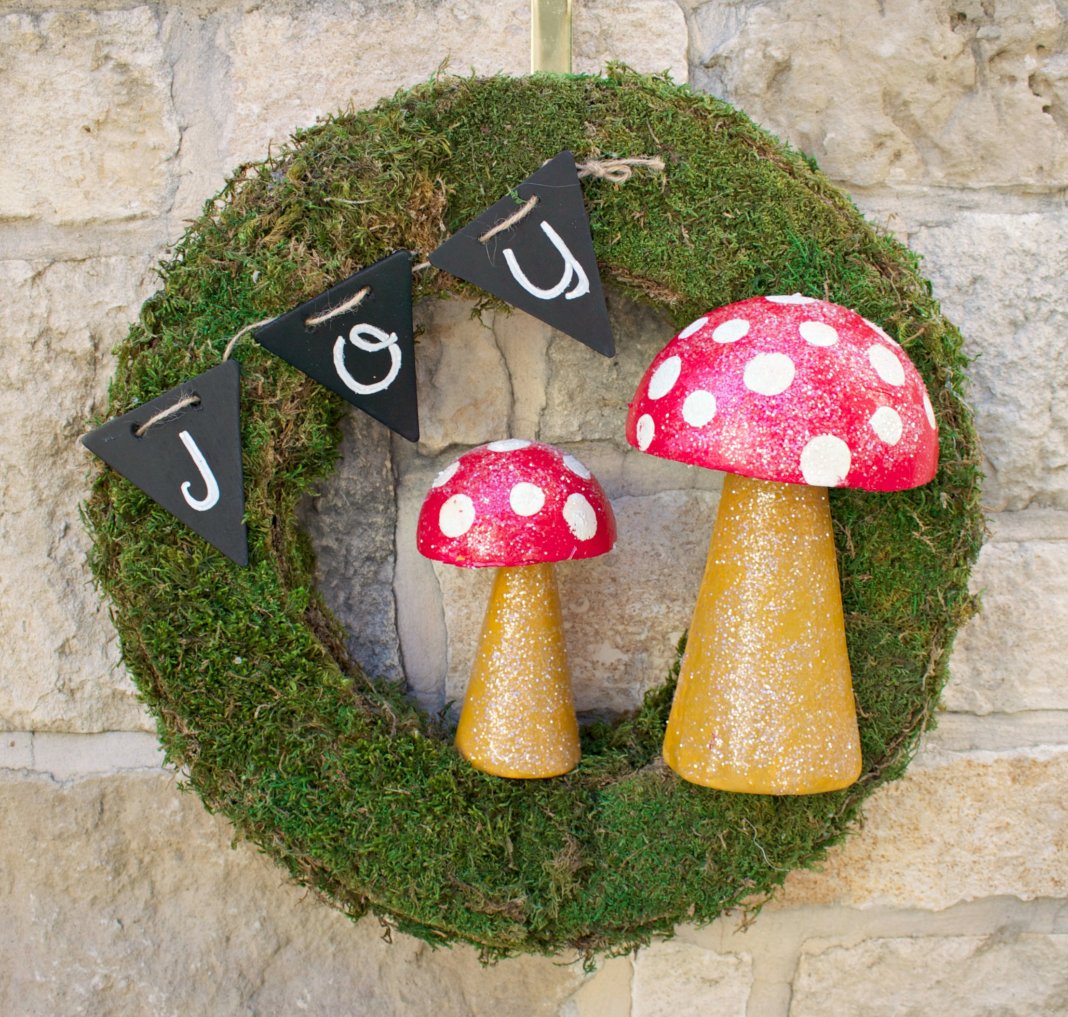
Make a mushroom wreath to add woodlands whimsy to your front door!
This is absolutely one of my favorite wreaths that I’ve ever made! I made this project a few years ago for the Darice blog, and now I’m excited to share it here. This mushroom wreath is simple to make and oh so cute!
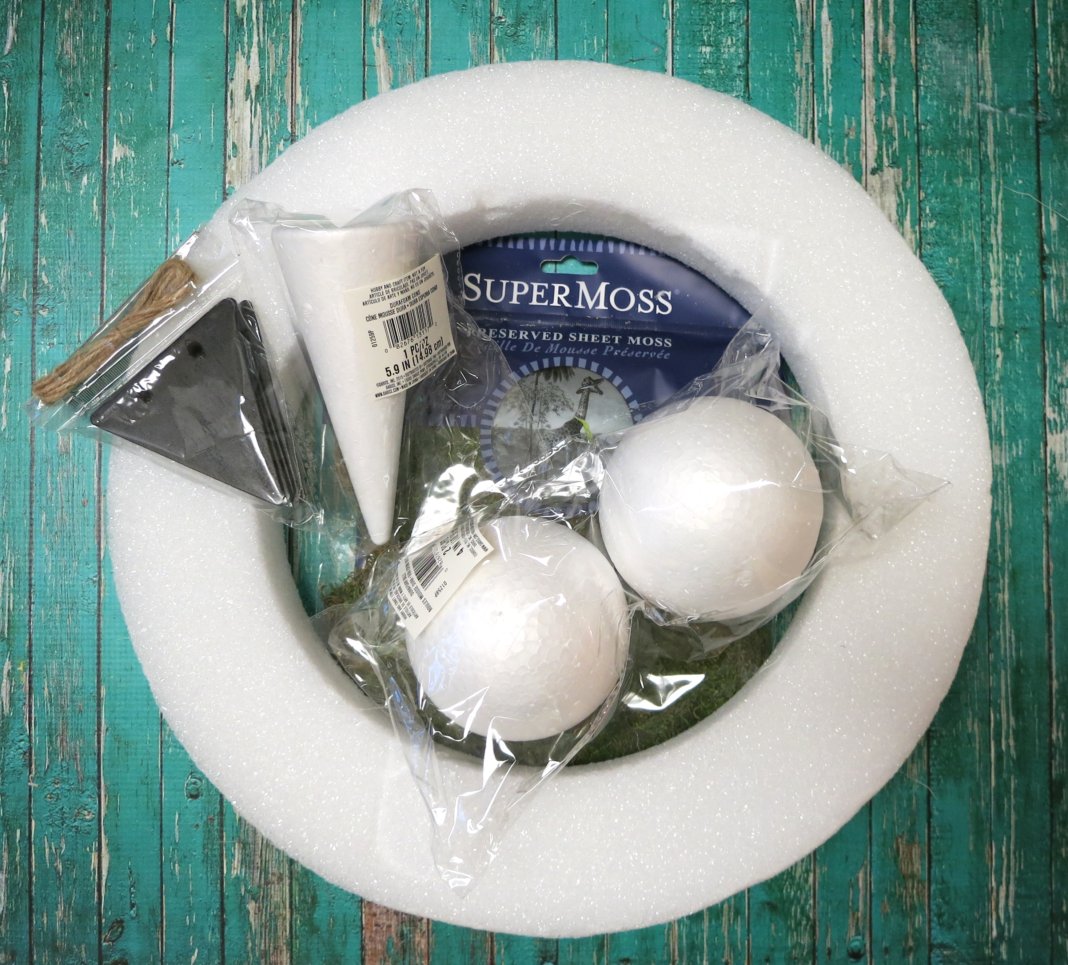
Supplies Used to make the Mushroom Wreath:
- Styrofoam Wreath Form – 18 inches
- Durafoam Cone – 9.85 inches
- Durafoam Cone – 5.9 inches
- Durofoam Ball – 6 inches
- Durafoam Ball – 4 inches
- SuperMoss Preserved Green Moss Sheets
- Chalkboard Banner Set: Small Triangle Pennant Shapes
- Hot glue gun
- Multisurface Craft Paint: Red, White, Muted Gold
- Mod Podge
- Glitter
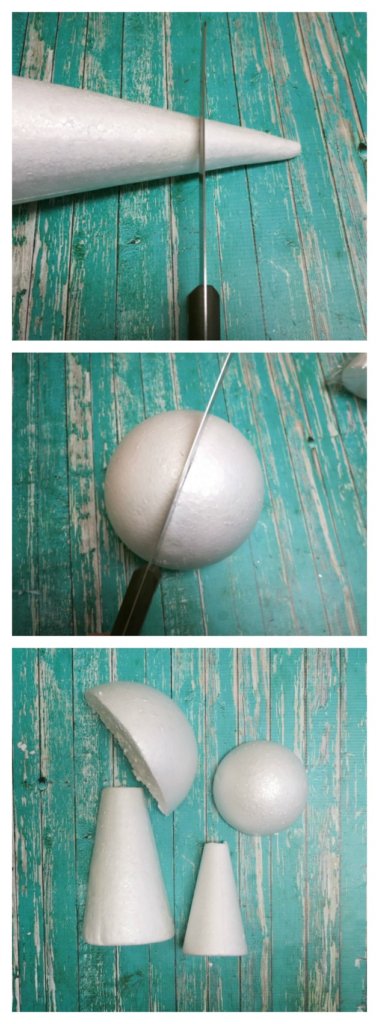
Use a serrated knife to cut the Durafoam items as follows:
- Cut two inches off the point of the larger cone, and one inch off the smaller come. Cut the large cone in half.
- Cut the large ball in half, then in half again. Cut the smaller ball in half.

Use craft paint on the foam surfaces. Paint the mushroom tops red, then use a foam pouncer to add white dots to the tops. Paint the cones with Antique Gold or a similar dark yellow color.
Paint the mushroom pieces with Mod Podge, and immediately sprinkle glitter over it.
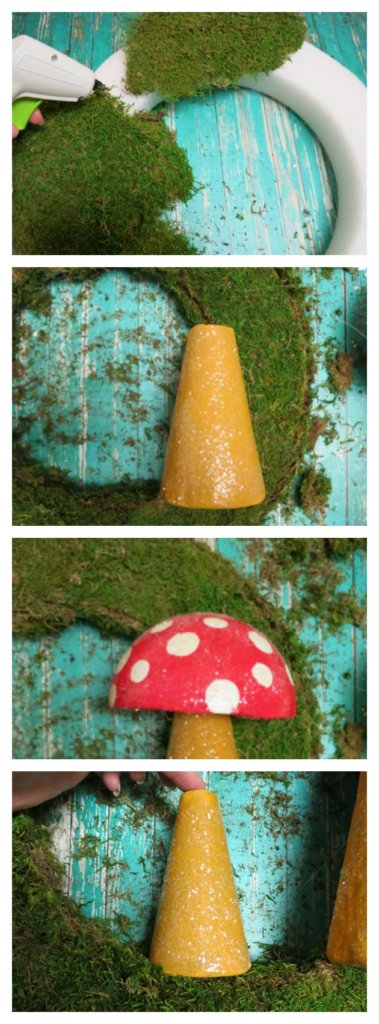
Use a hot glue gun to attach the moss pieces to the front and sides of the foam wreath form. Glue the largest pieces to the front of the wreath form, then trim off the excess. Glue the scrap pieces to the sides of the wreath.
Hot glue the large cone half to the lower right side of the mossy wreath. Hot glue the quarter ball mushroom top over the stem. Hot glue the smaller cone in the center of the wreath, and glue the half ball mushroom top onto it.
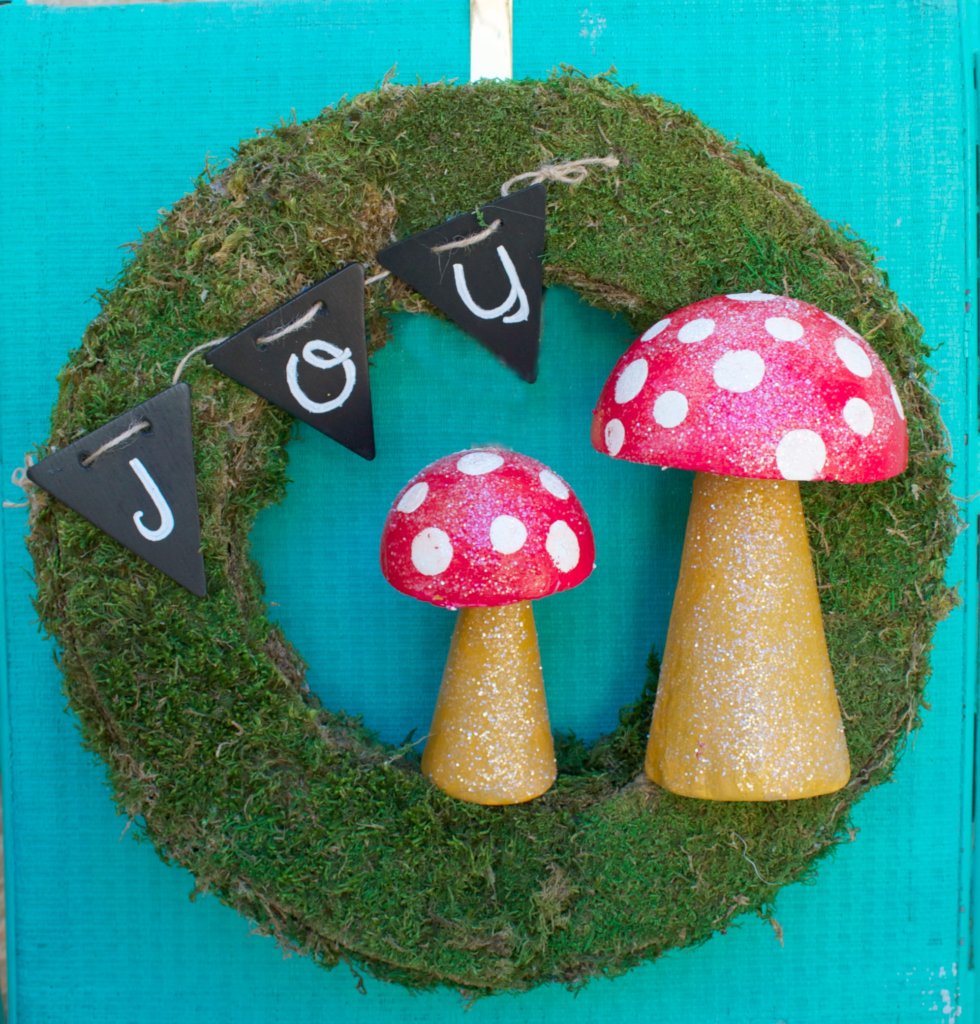
To finish off my mossy spring wreath, I strung three chalkboard pennants on twine and spelled the word “Joy” with a chalk marker. I used hot glue to attach the banner to the mushroom wreath. How cute is this? I hope you’ll give this project a try!
Leave a Reply