
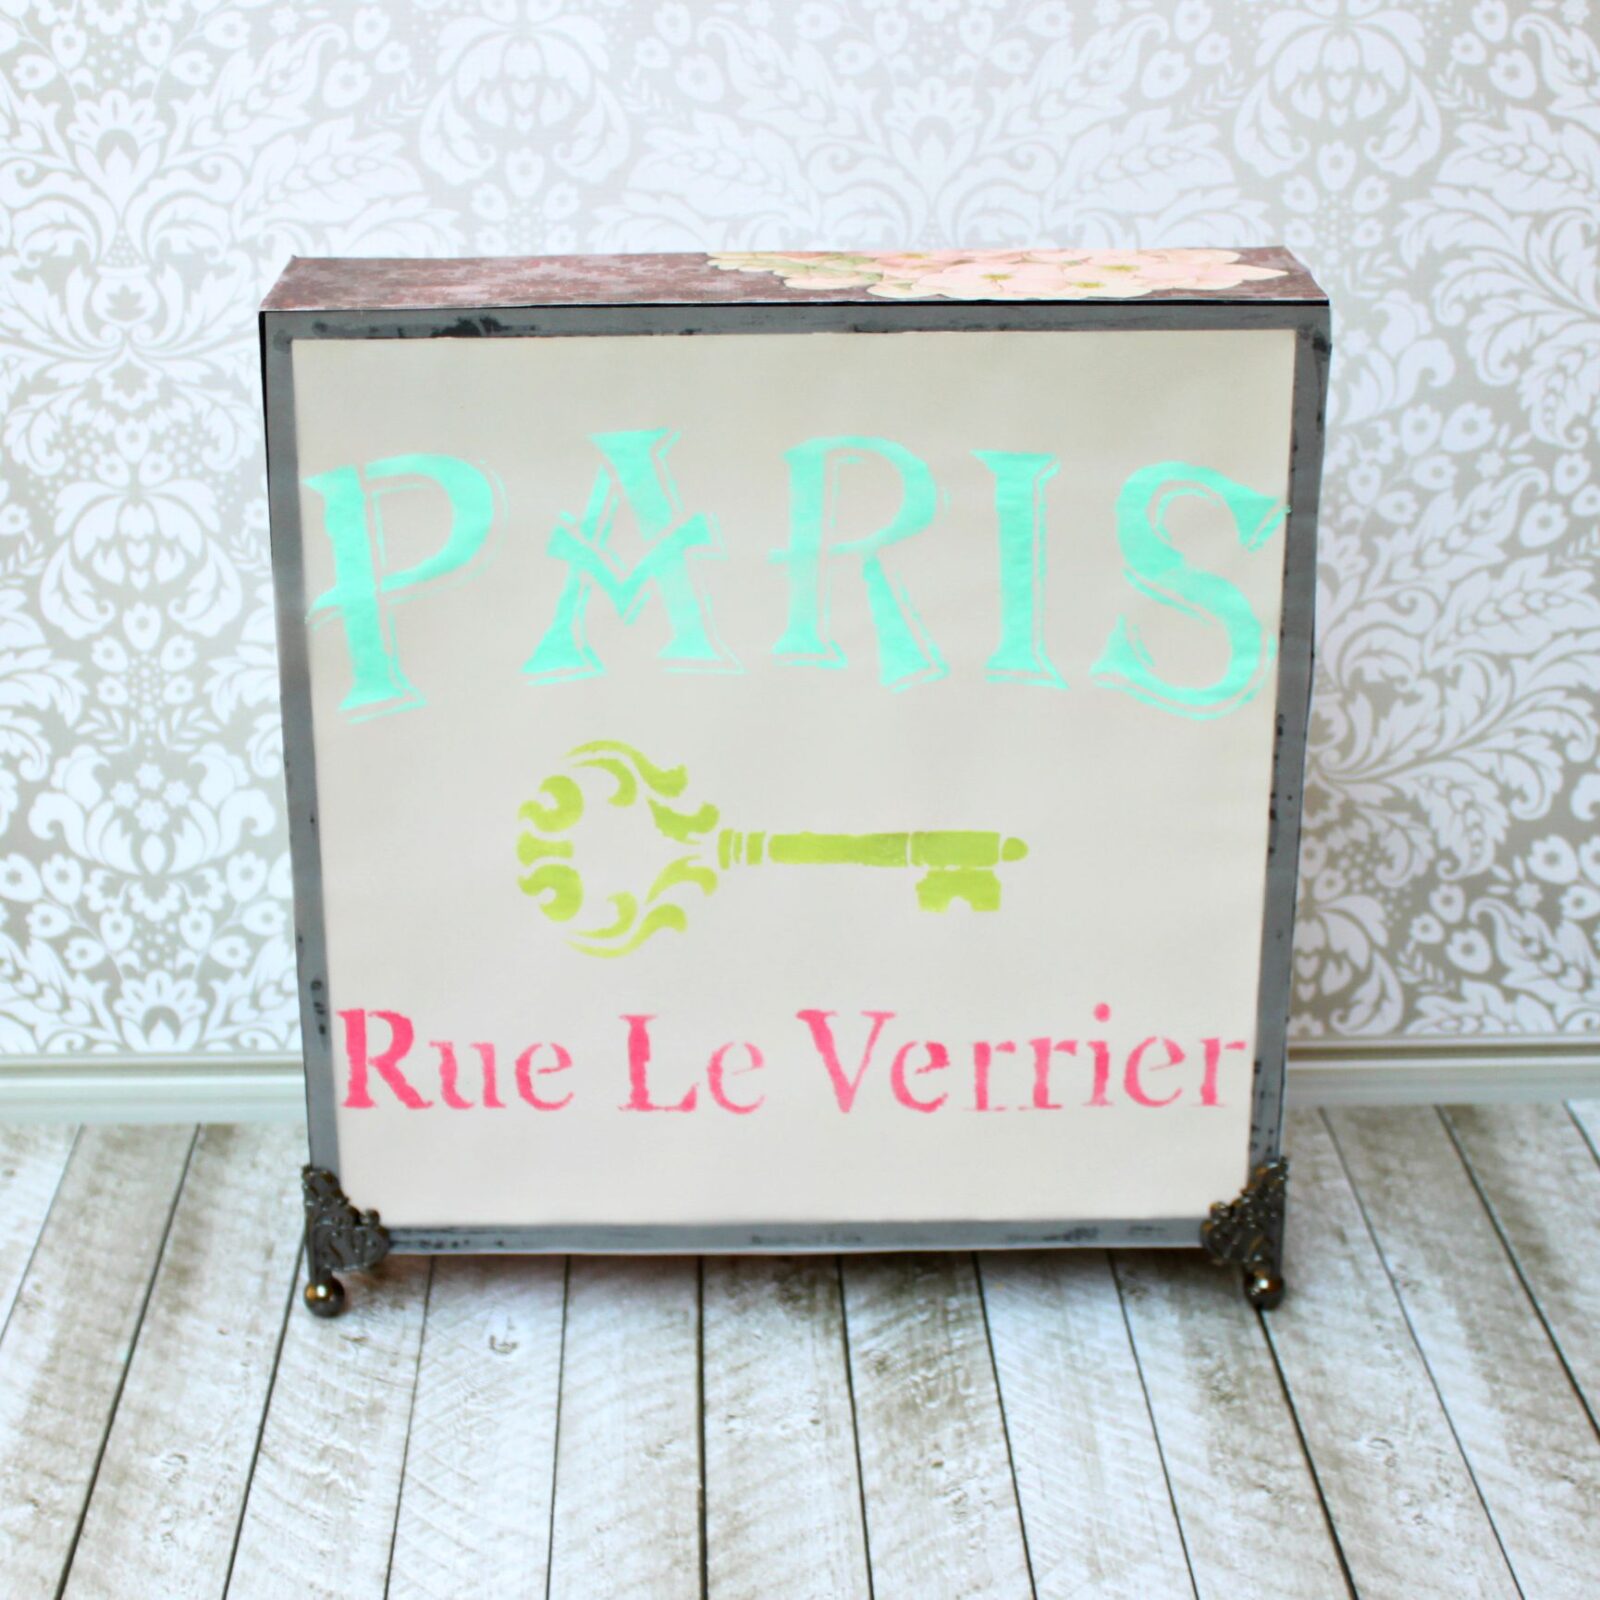
Learn how to transform an unfinished wood shadow box into a pretty wood box lamp with this tutorial.
Wood Box Lamp Supplies List
- Box: I used a 12 inch box by Walnut Hollow
- Americana Multi-Surface Paints: Cottonball, Black Tie, Pink Tropics, Inchworm, Waterfront
- DecoPage
- Stencils: Vintage Keys, Parisian Street
- Vellum Sheet
- Patterned Cardstock
- Battery operated string lights
- E-6000 Adhesive Glue
- Tim Holtz Foundations Box Feet
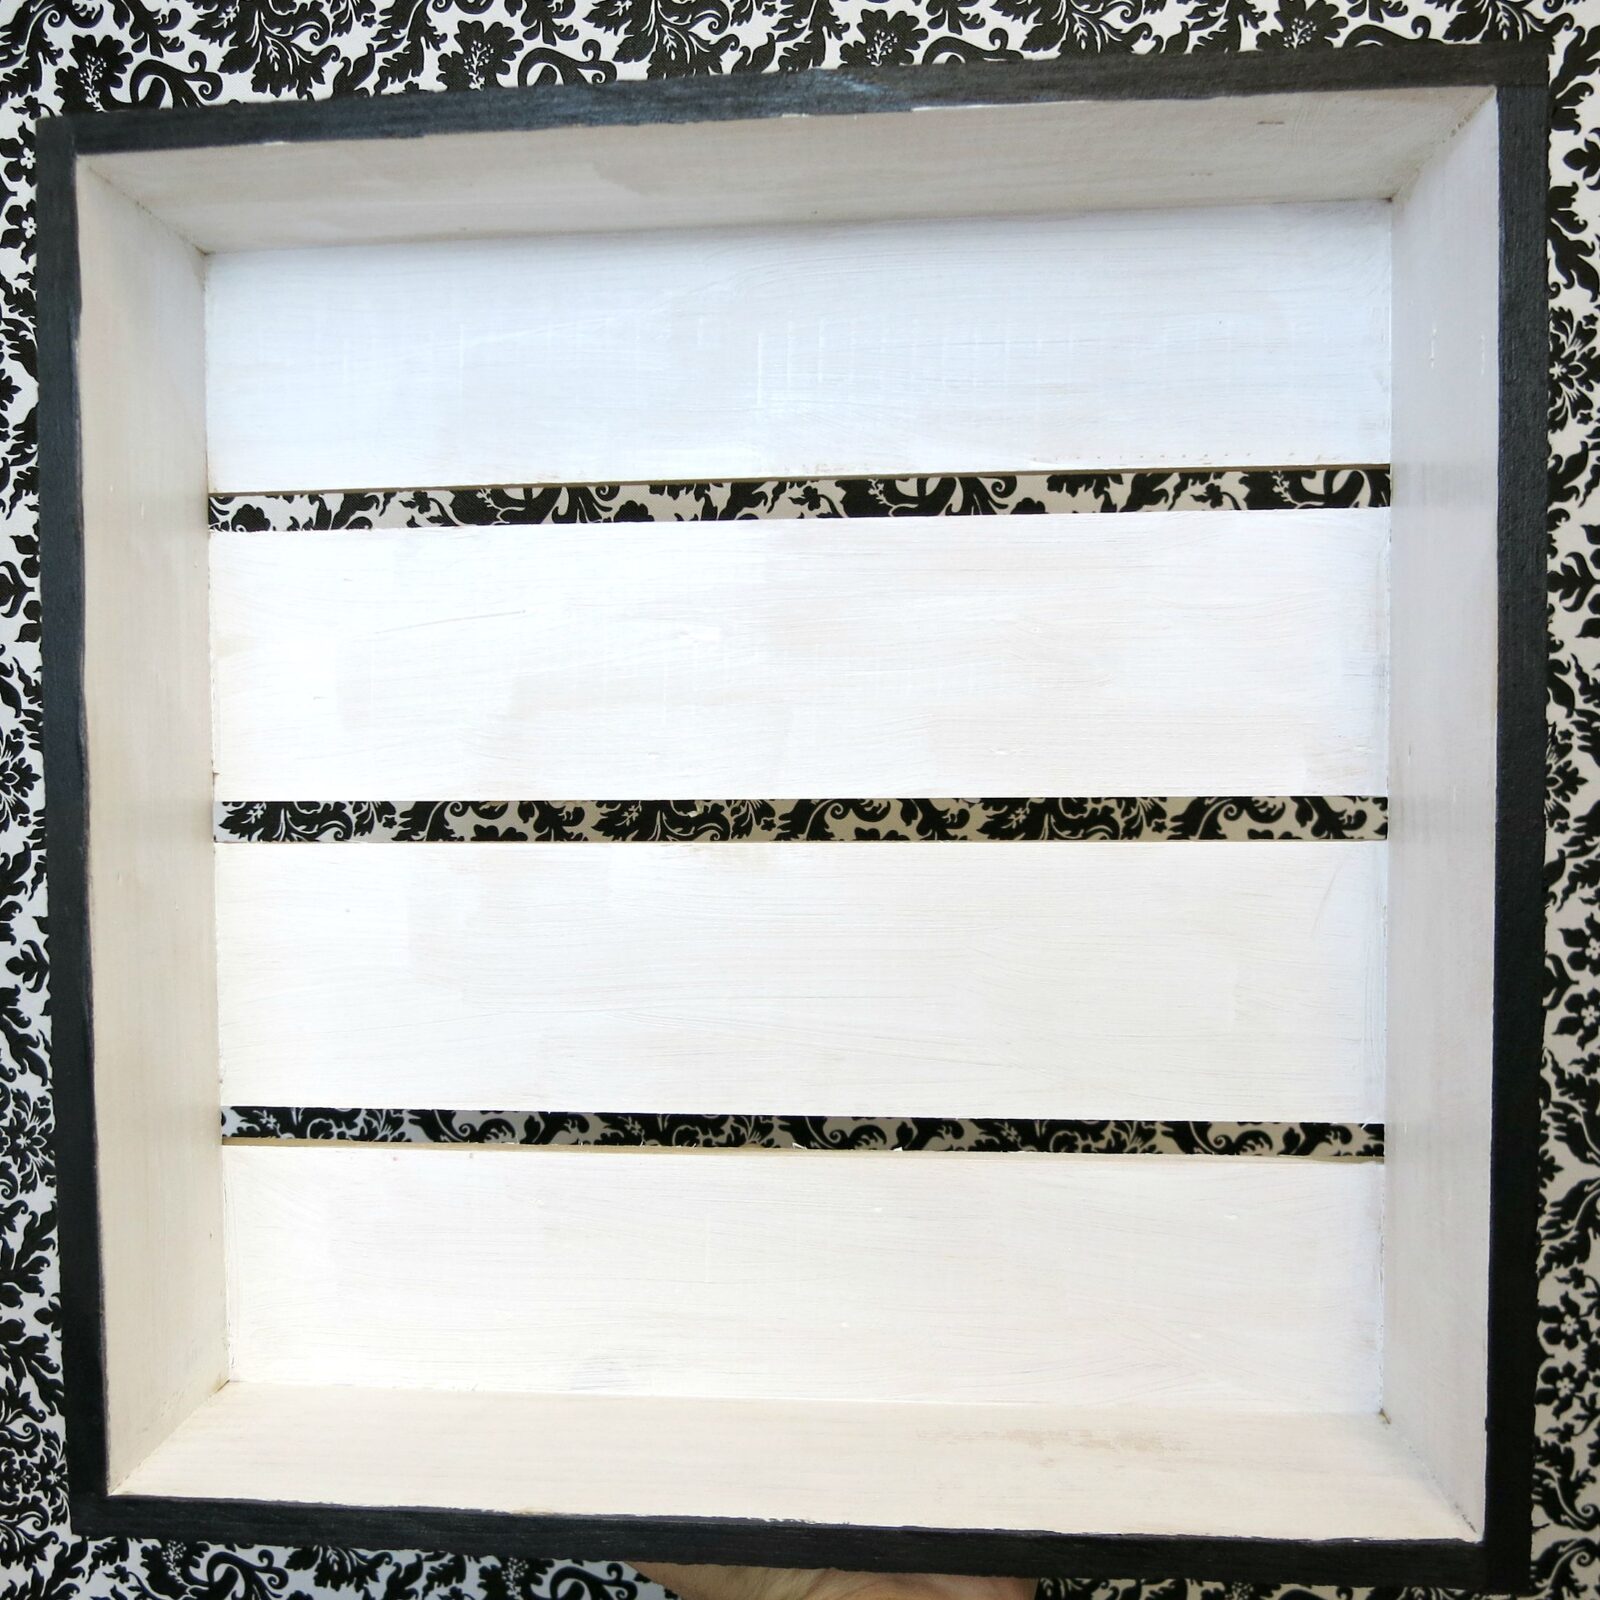
1. Paint the entire inside of the wood box with white paint. I used a Deco Art multi surface paint that’s labeled as Cottonball.
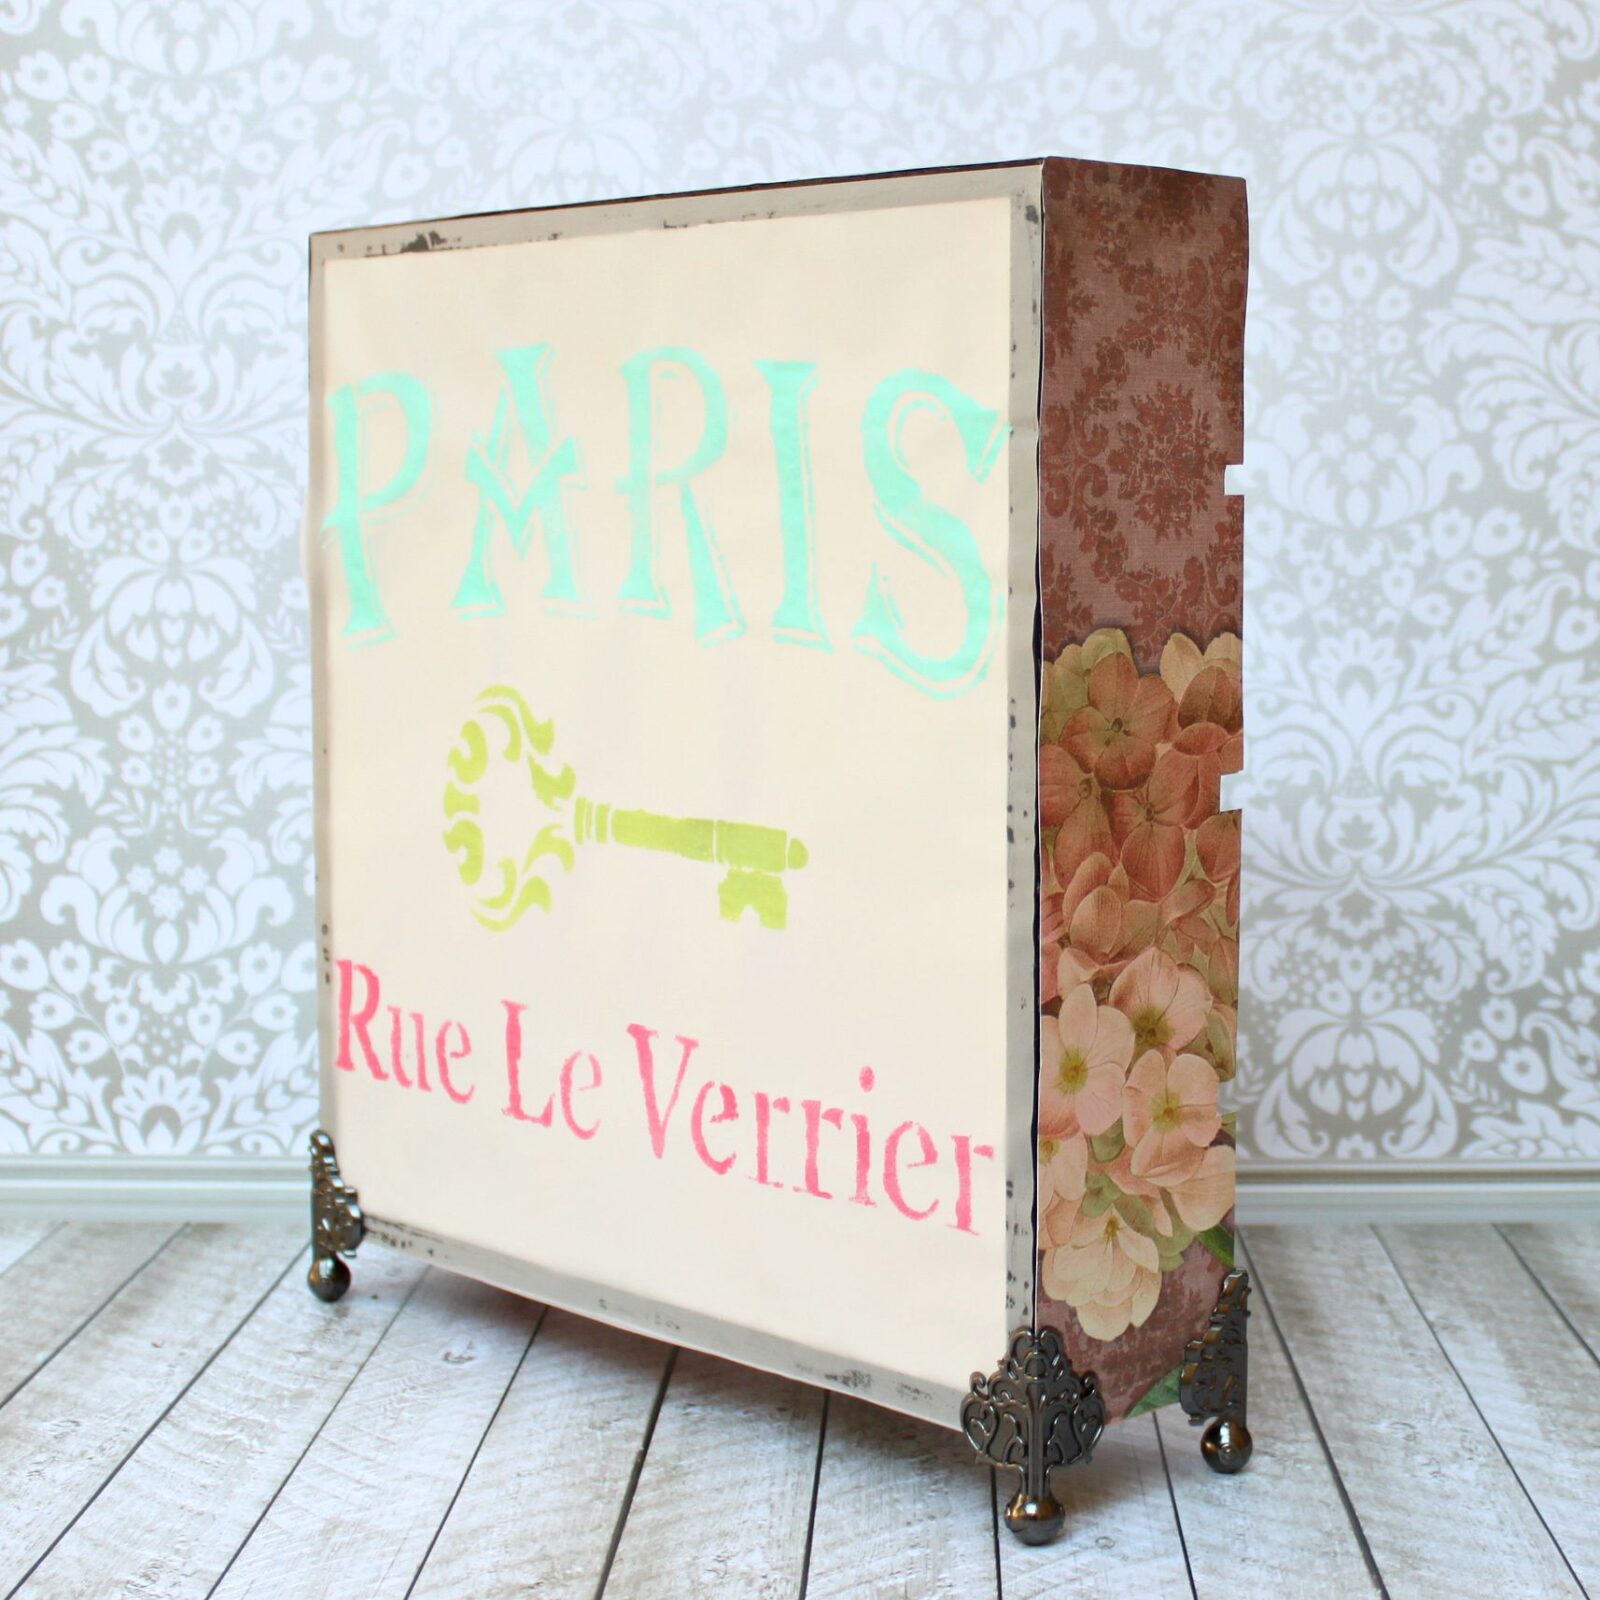
2. Paint the outside border of the wood box with black paint to make a frame like border. I used another Deco Art paint, an acrylic called “Black Tie.”
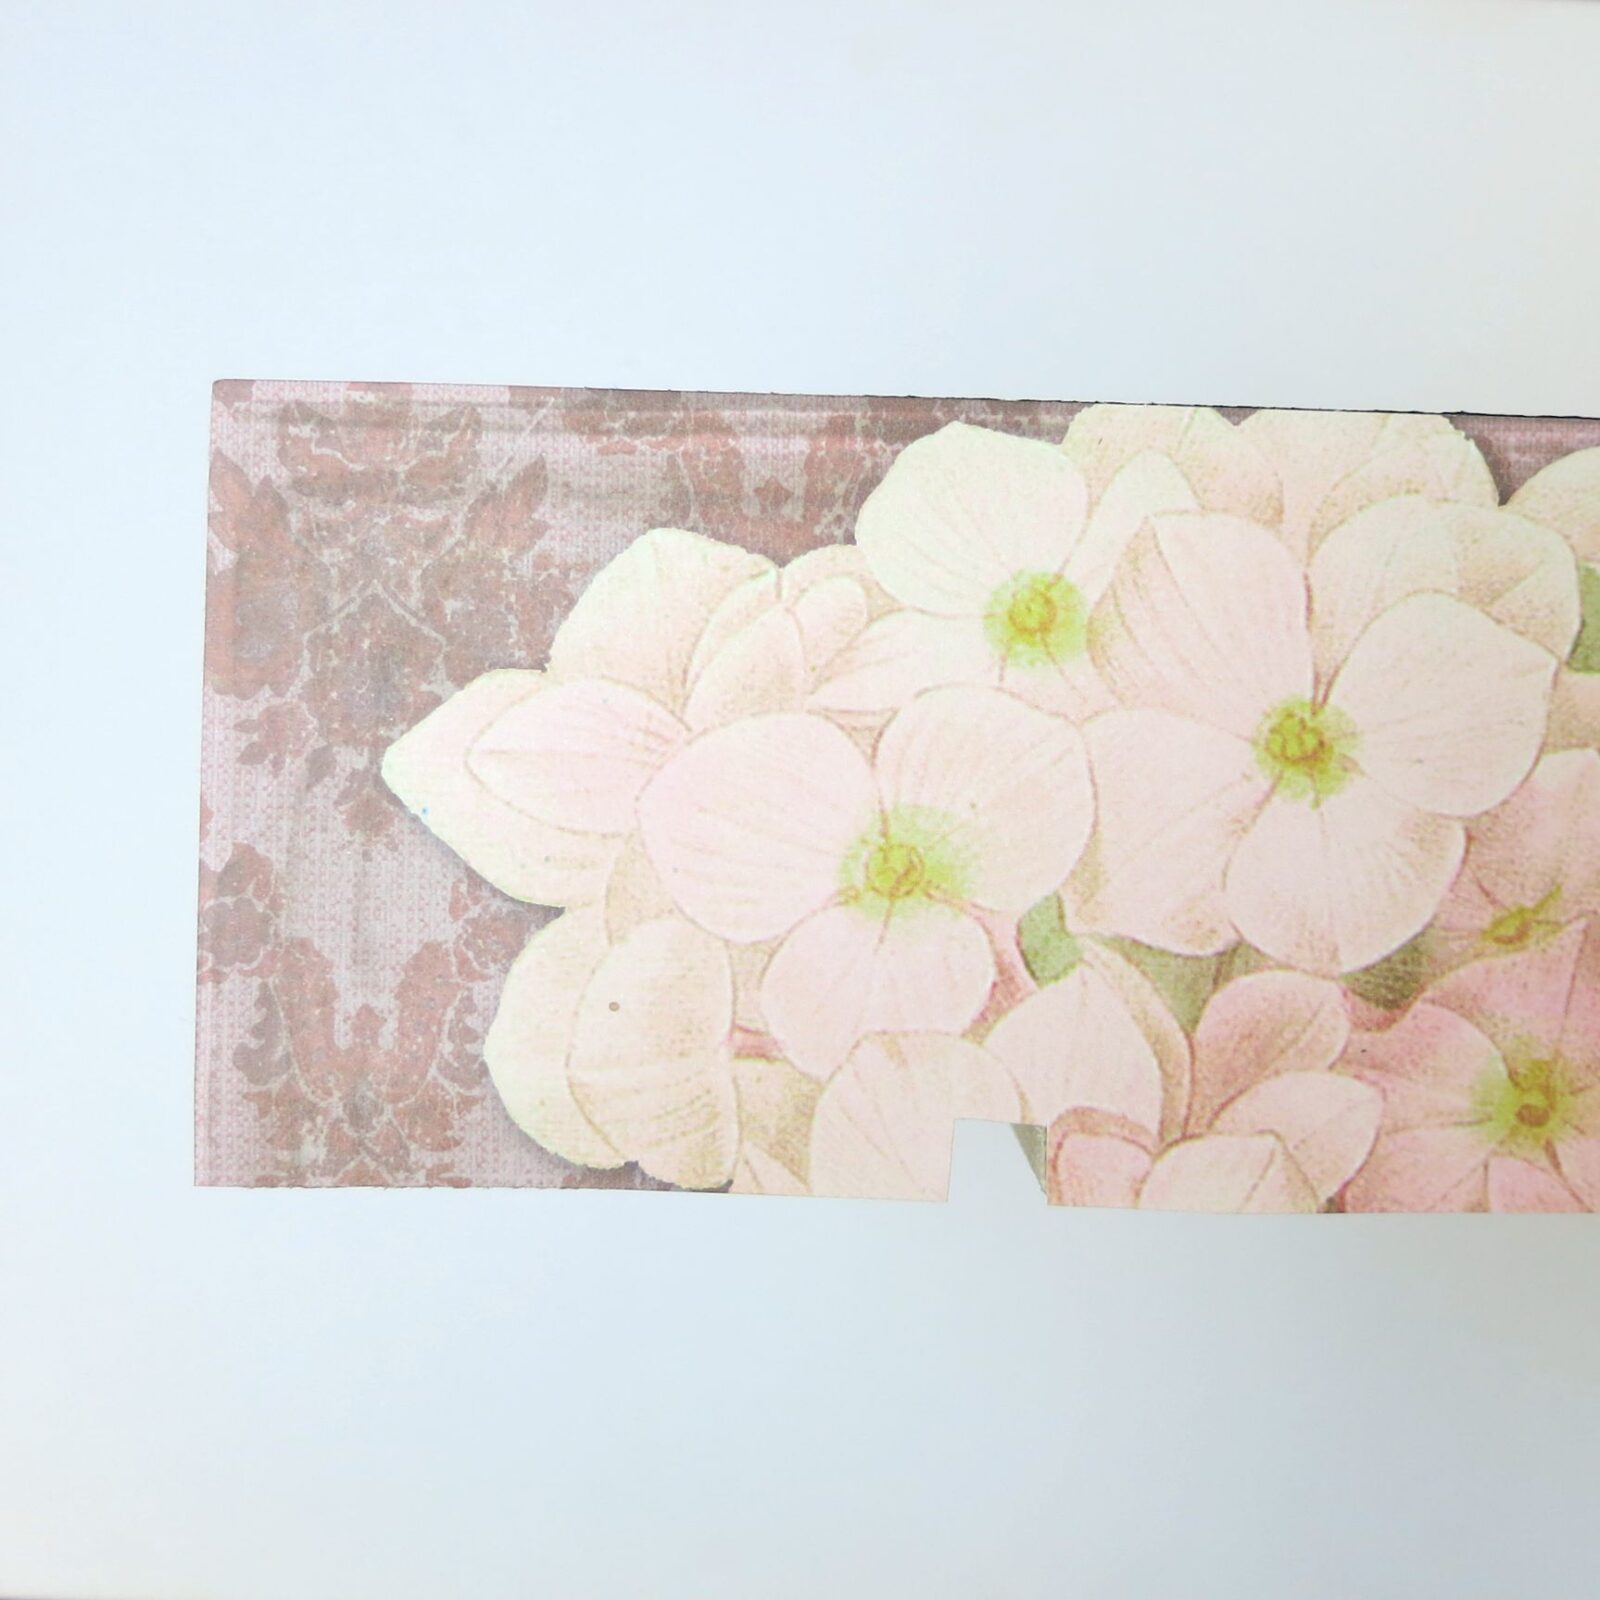
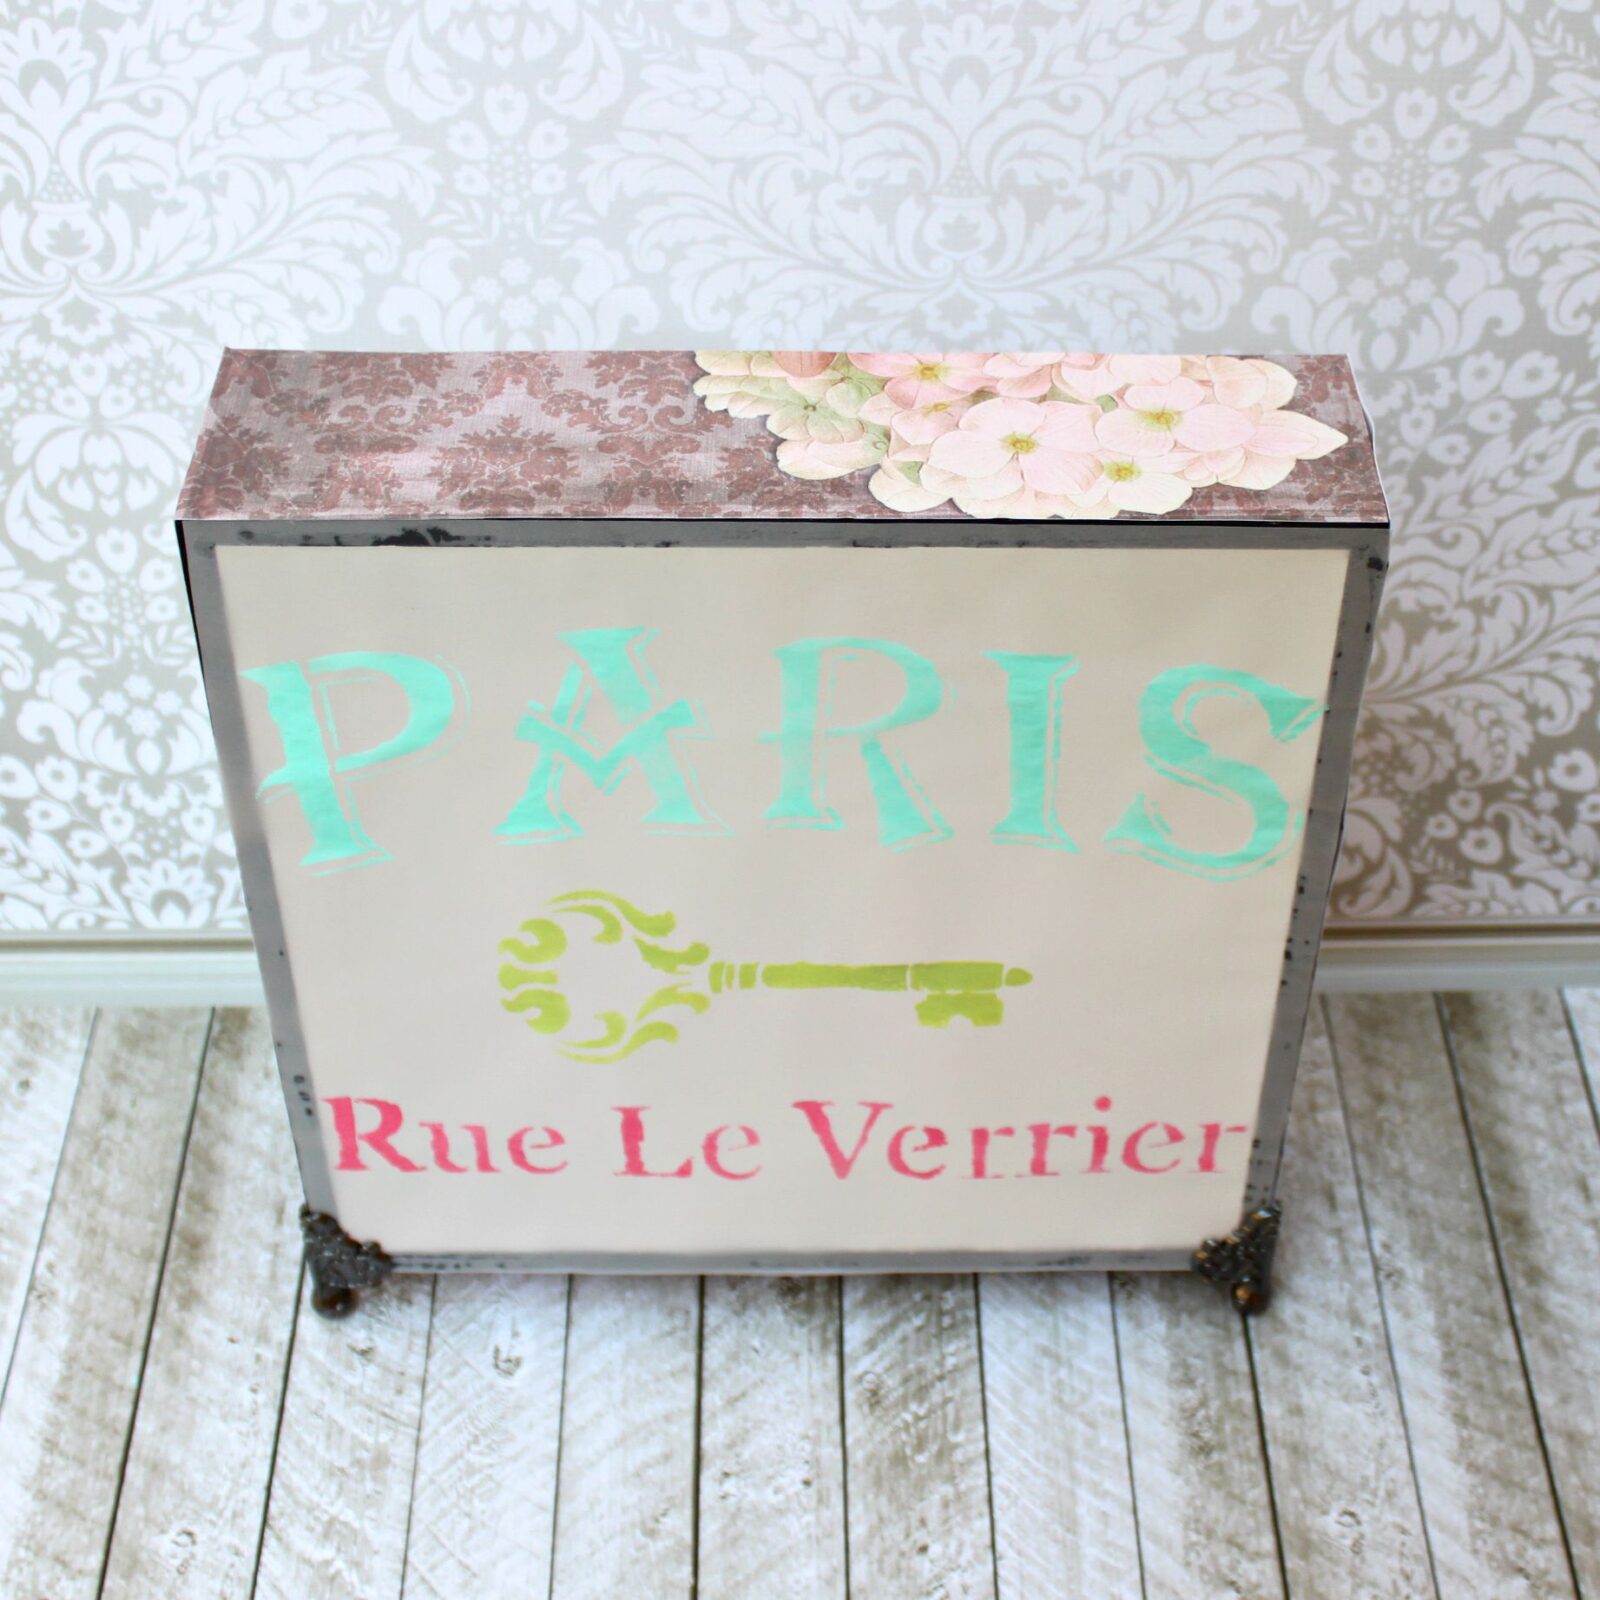
3. Trim patterned decorative cardstock paper to fit the sides of the box. I used a pretty floral pattern to create a Parisian flower market themed lamp. Use DecoPage (a decoupage adhesive by DecoArt) to glue the paper to the box.
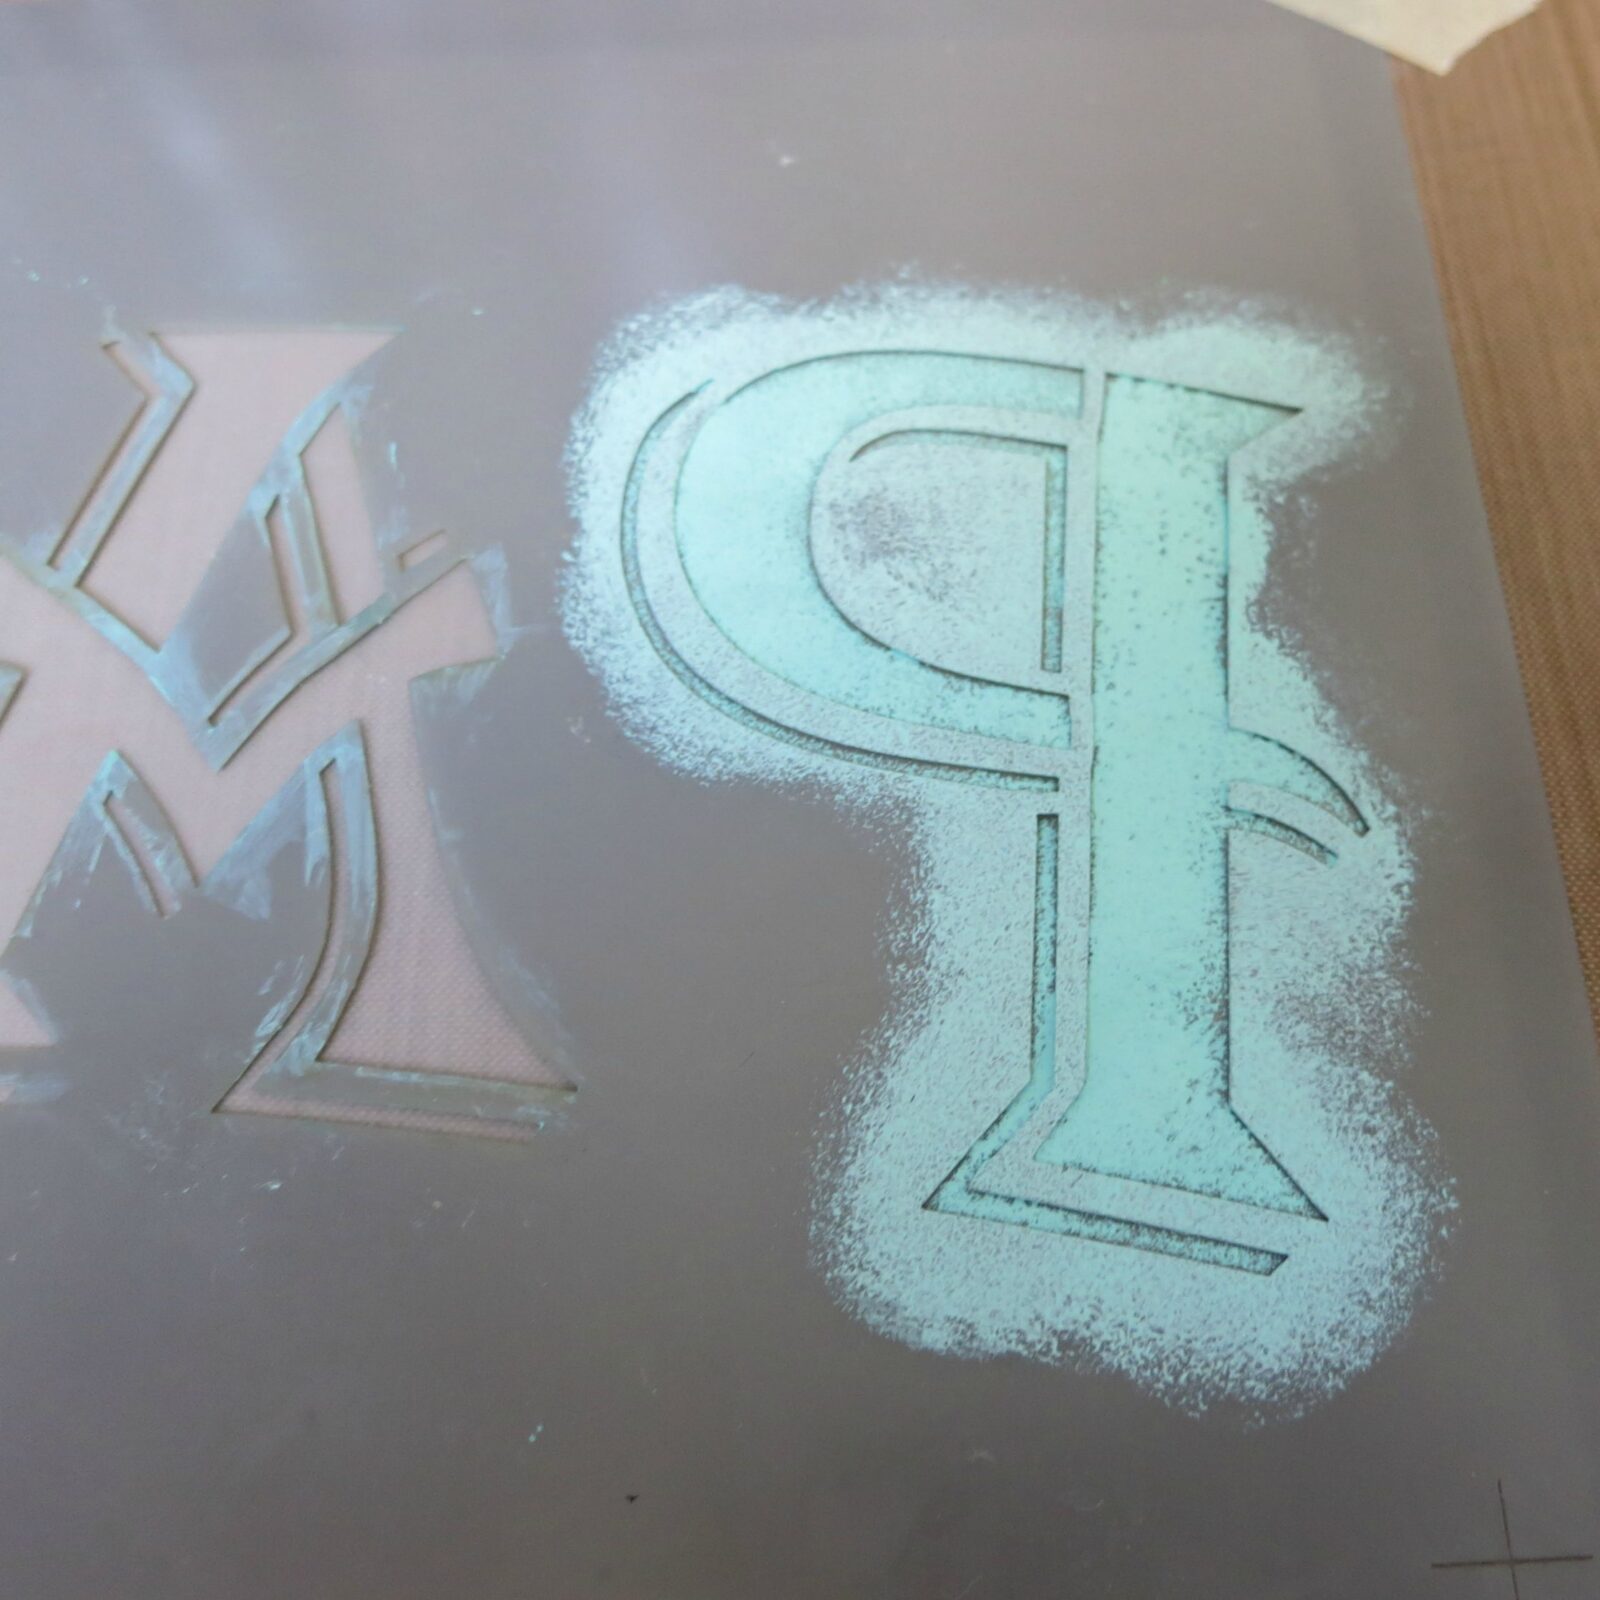
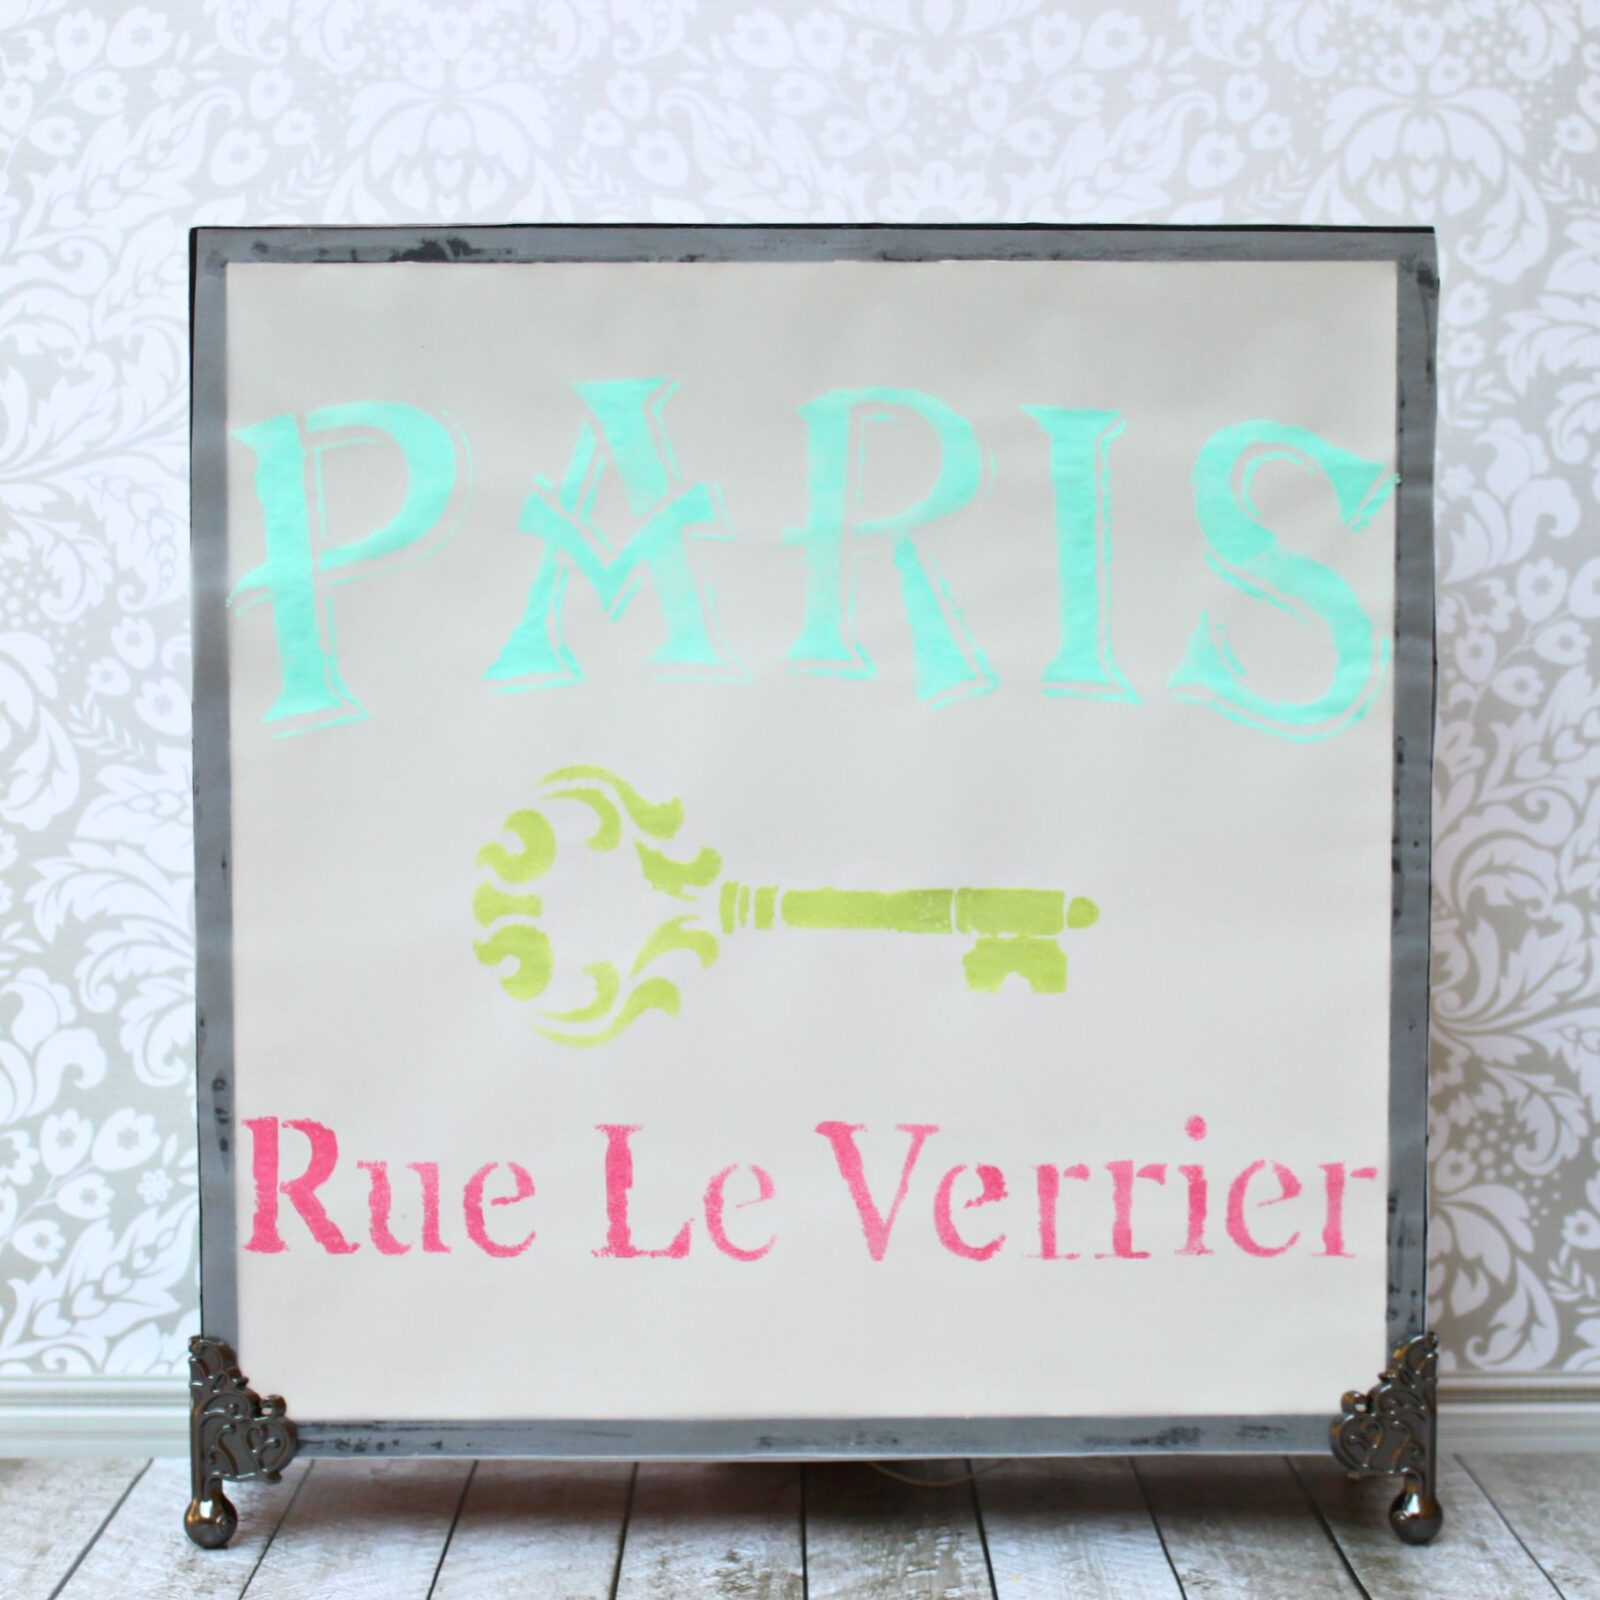
4. Trim a 12 x 12 piece of vellum paper to fit the front of the box. This transparent paper is perfect for creating a soft, glowy front on this wood box lamp project. Tape a stencil backwards to the vellum, and use a pouncer to paint the design. Be careful to blot off excess paint before pouncing on the vellum. Too much paint will “bleed” under the stencil. Set this aside to dry.
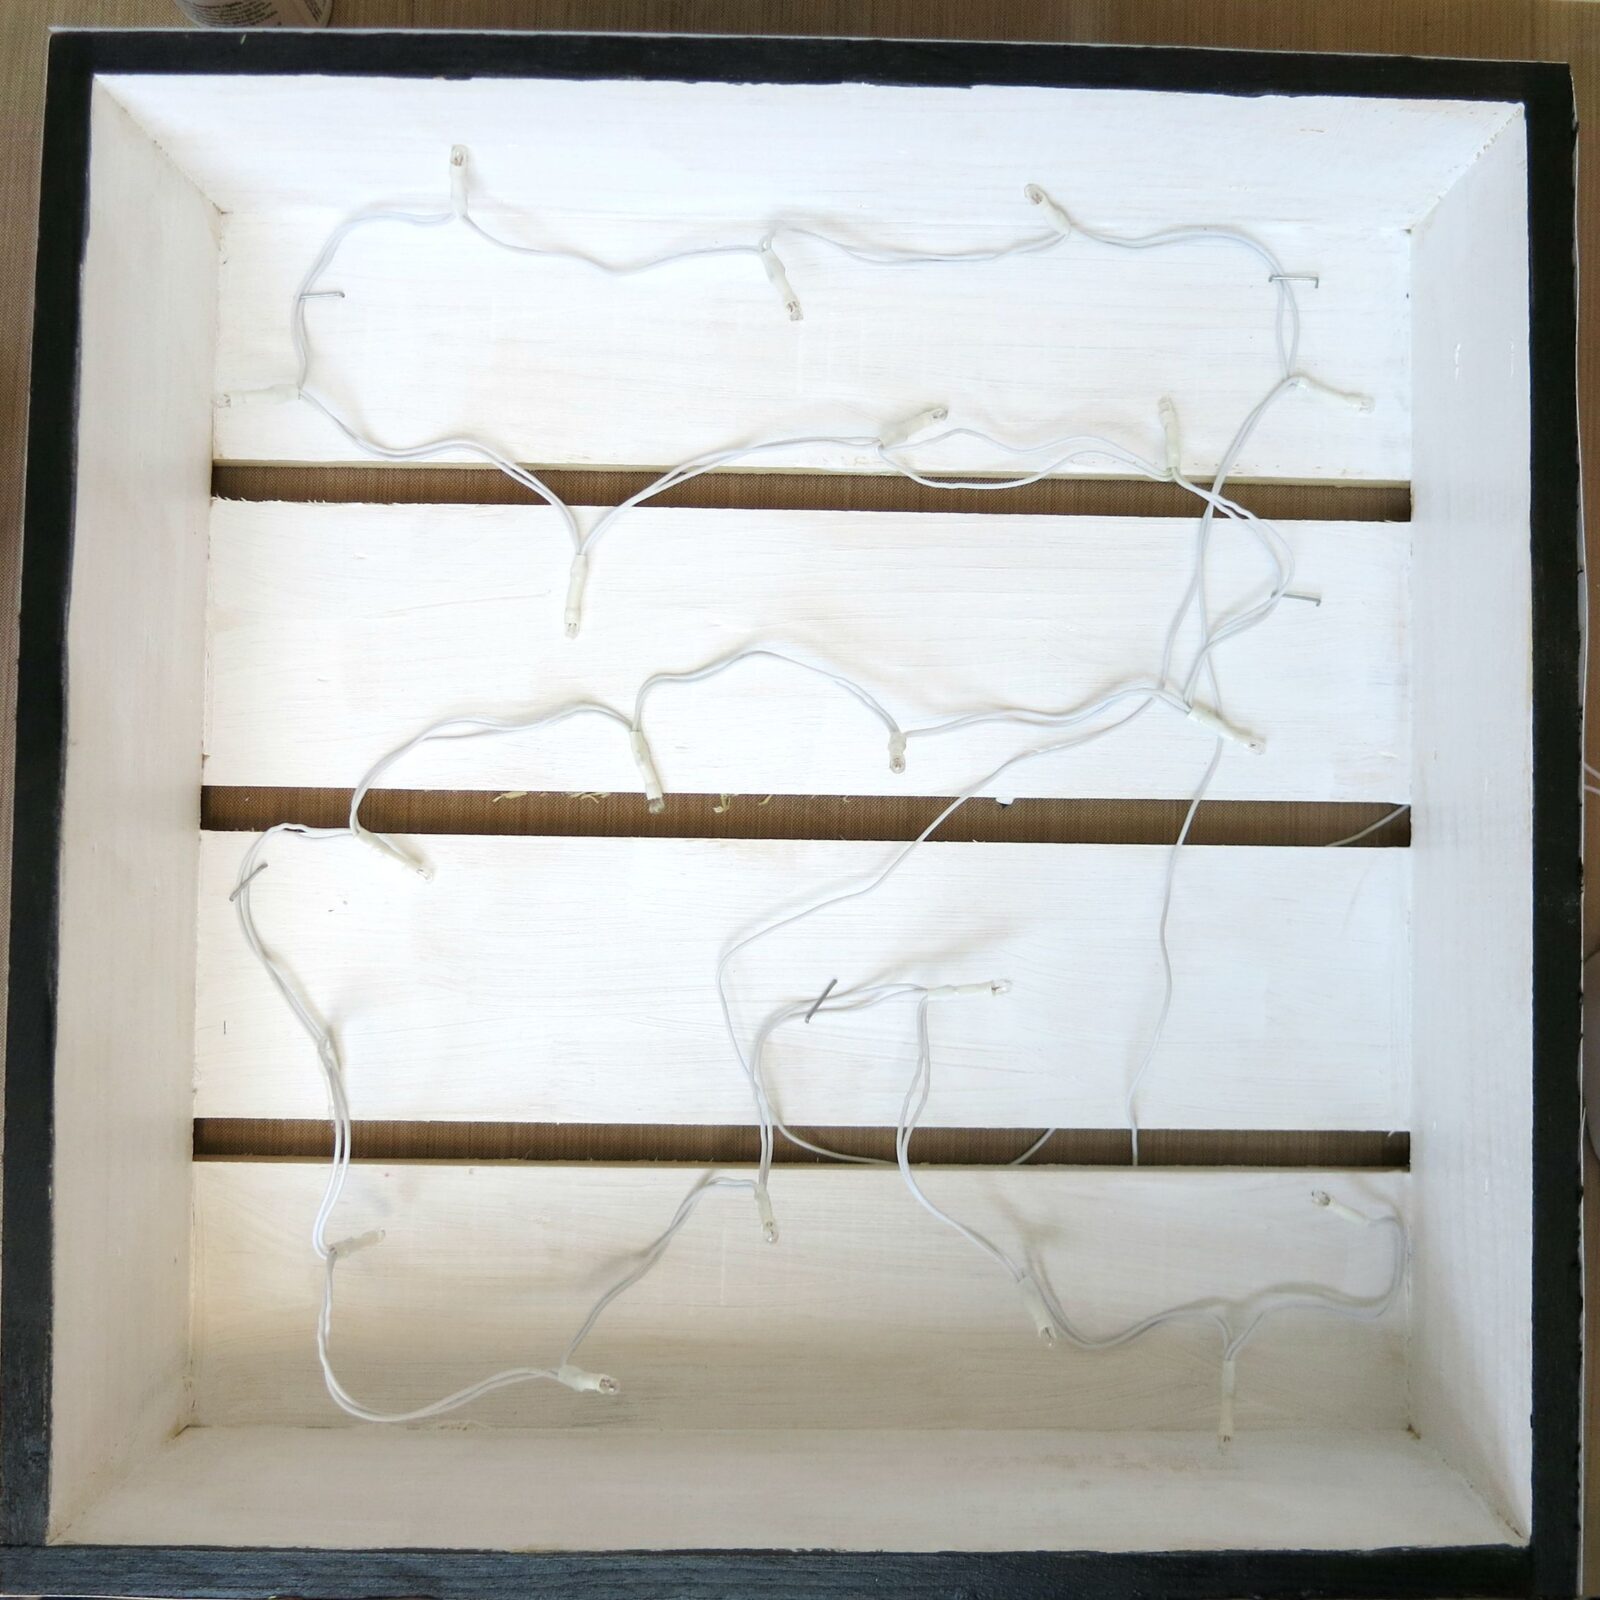
5. Add the string lights to the box. To do this, first set the battery pack behind the box, and then pull the string lights through the slats. Arrange the lights as desired and staple the strands in place.
6. Paint DecoPage on the painted black border of the box, and place the stenciled vellum on top.
 7. Glue the feet to the box with E-6000.
Now just flip the switch on the battery pack to “on” and enjoy your new wood box lamp that you made!
I originally published this project on the DecoArt website as a member of their team.
Leave a Reply