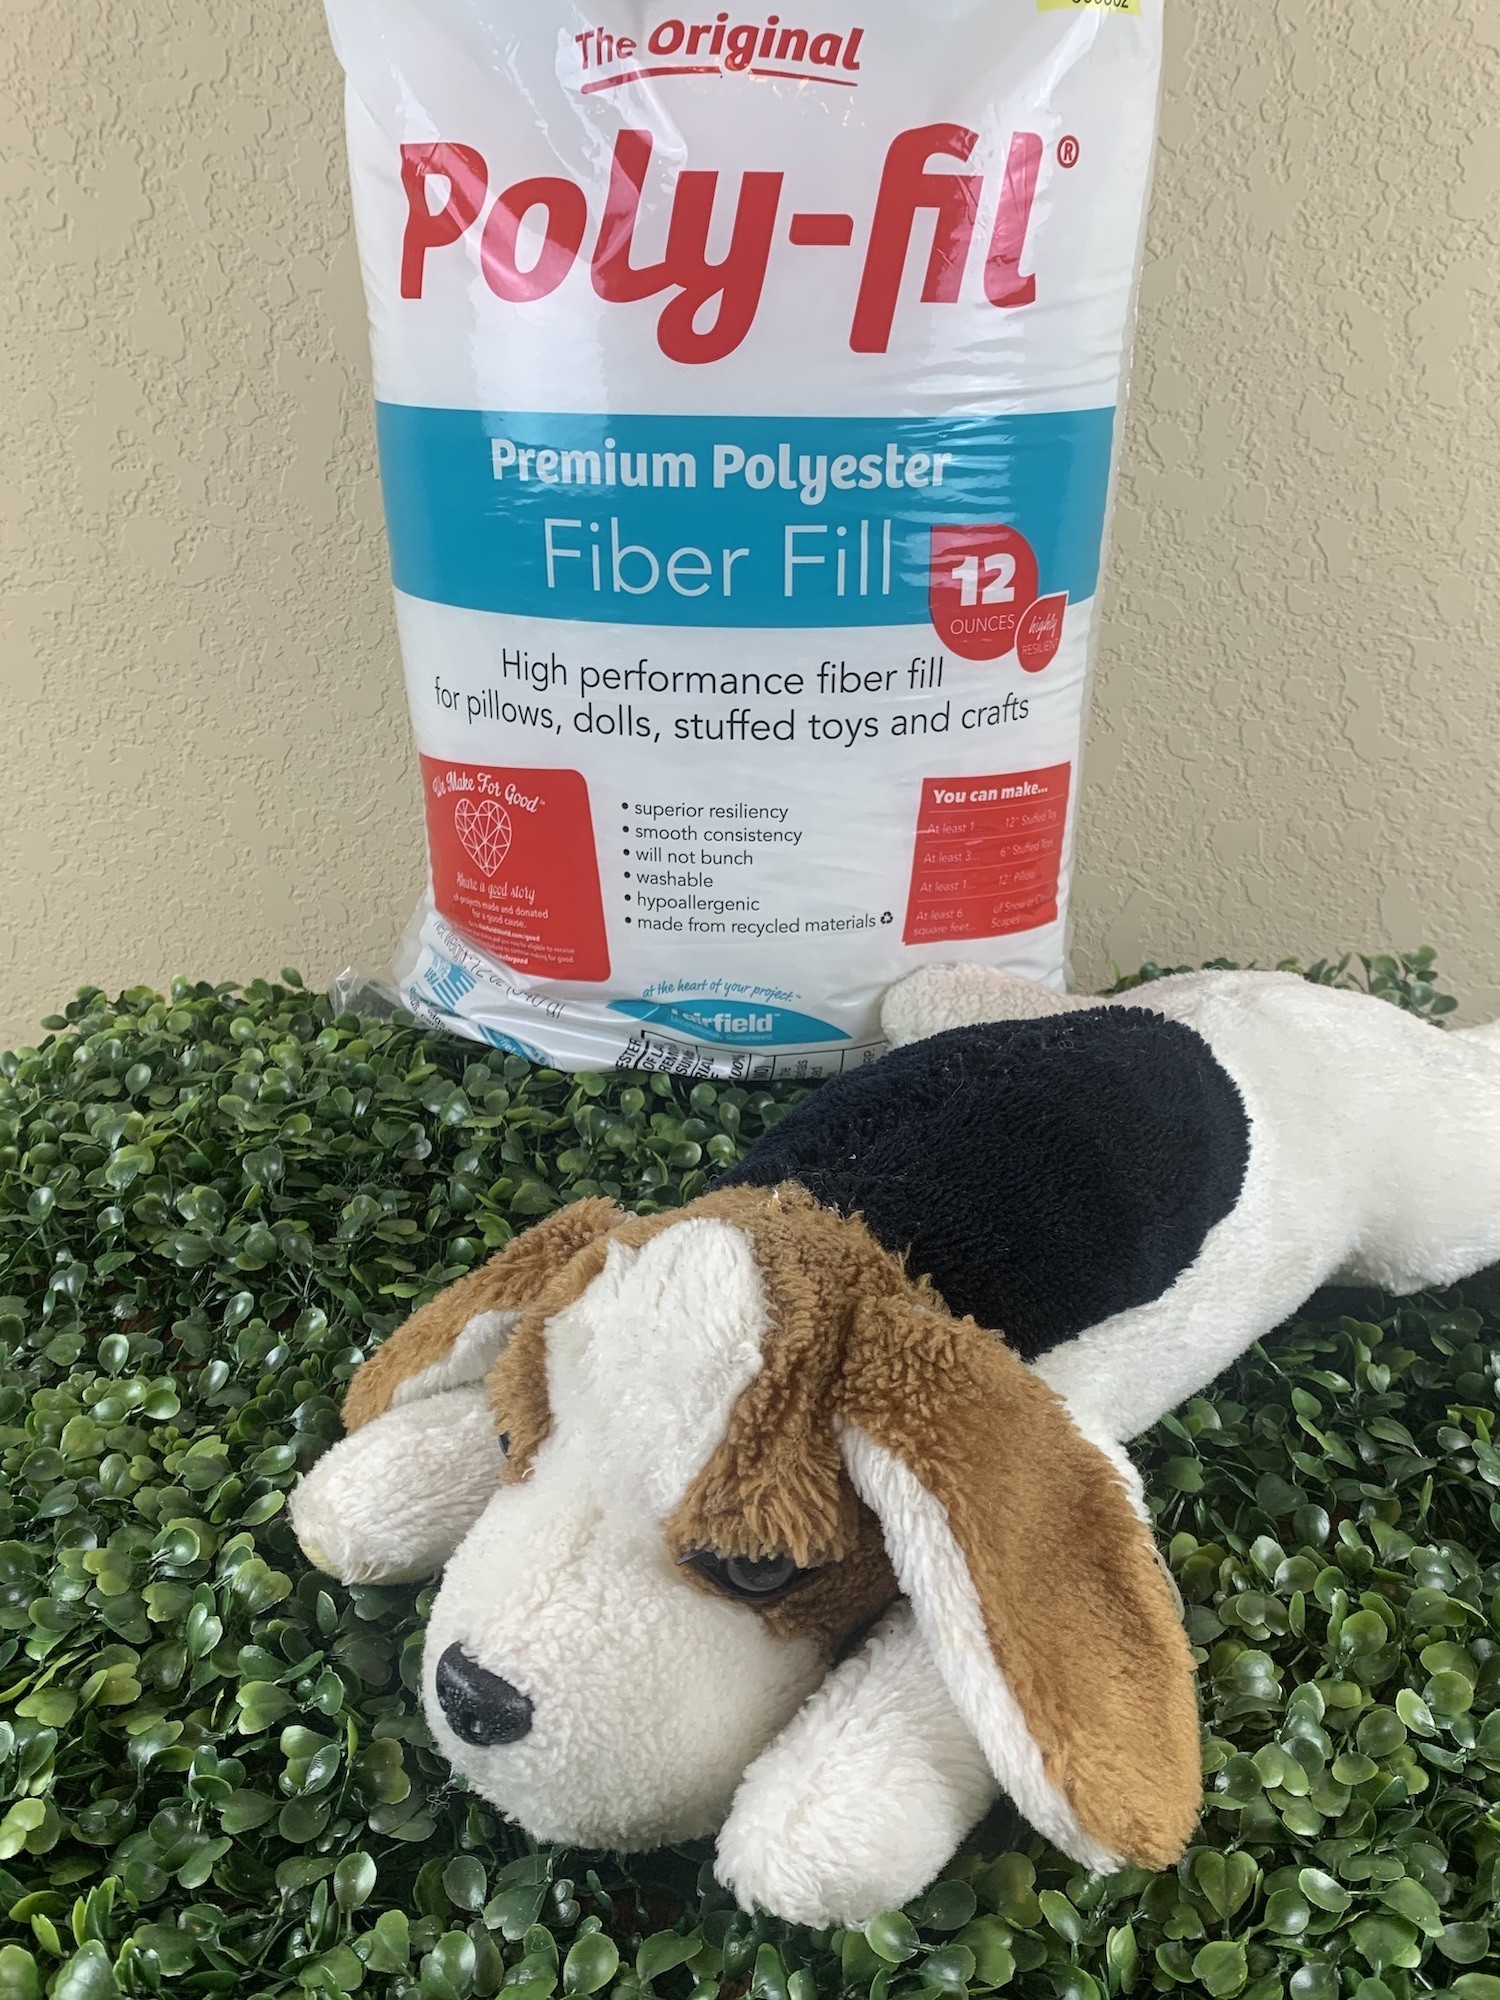
Fix a stuffed animal to give it new life!
Many of us have cherished stuffed animals from our childhoods. Learn how to give these much loved plushies a new life so they can be enjoyed all over again. This cute stuffed dog belonged to my husband, and now my daughter gets to love on it!
Remove Old Stuffing
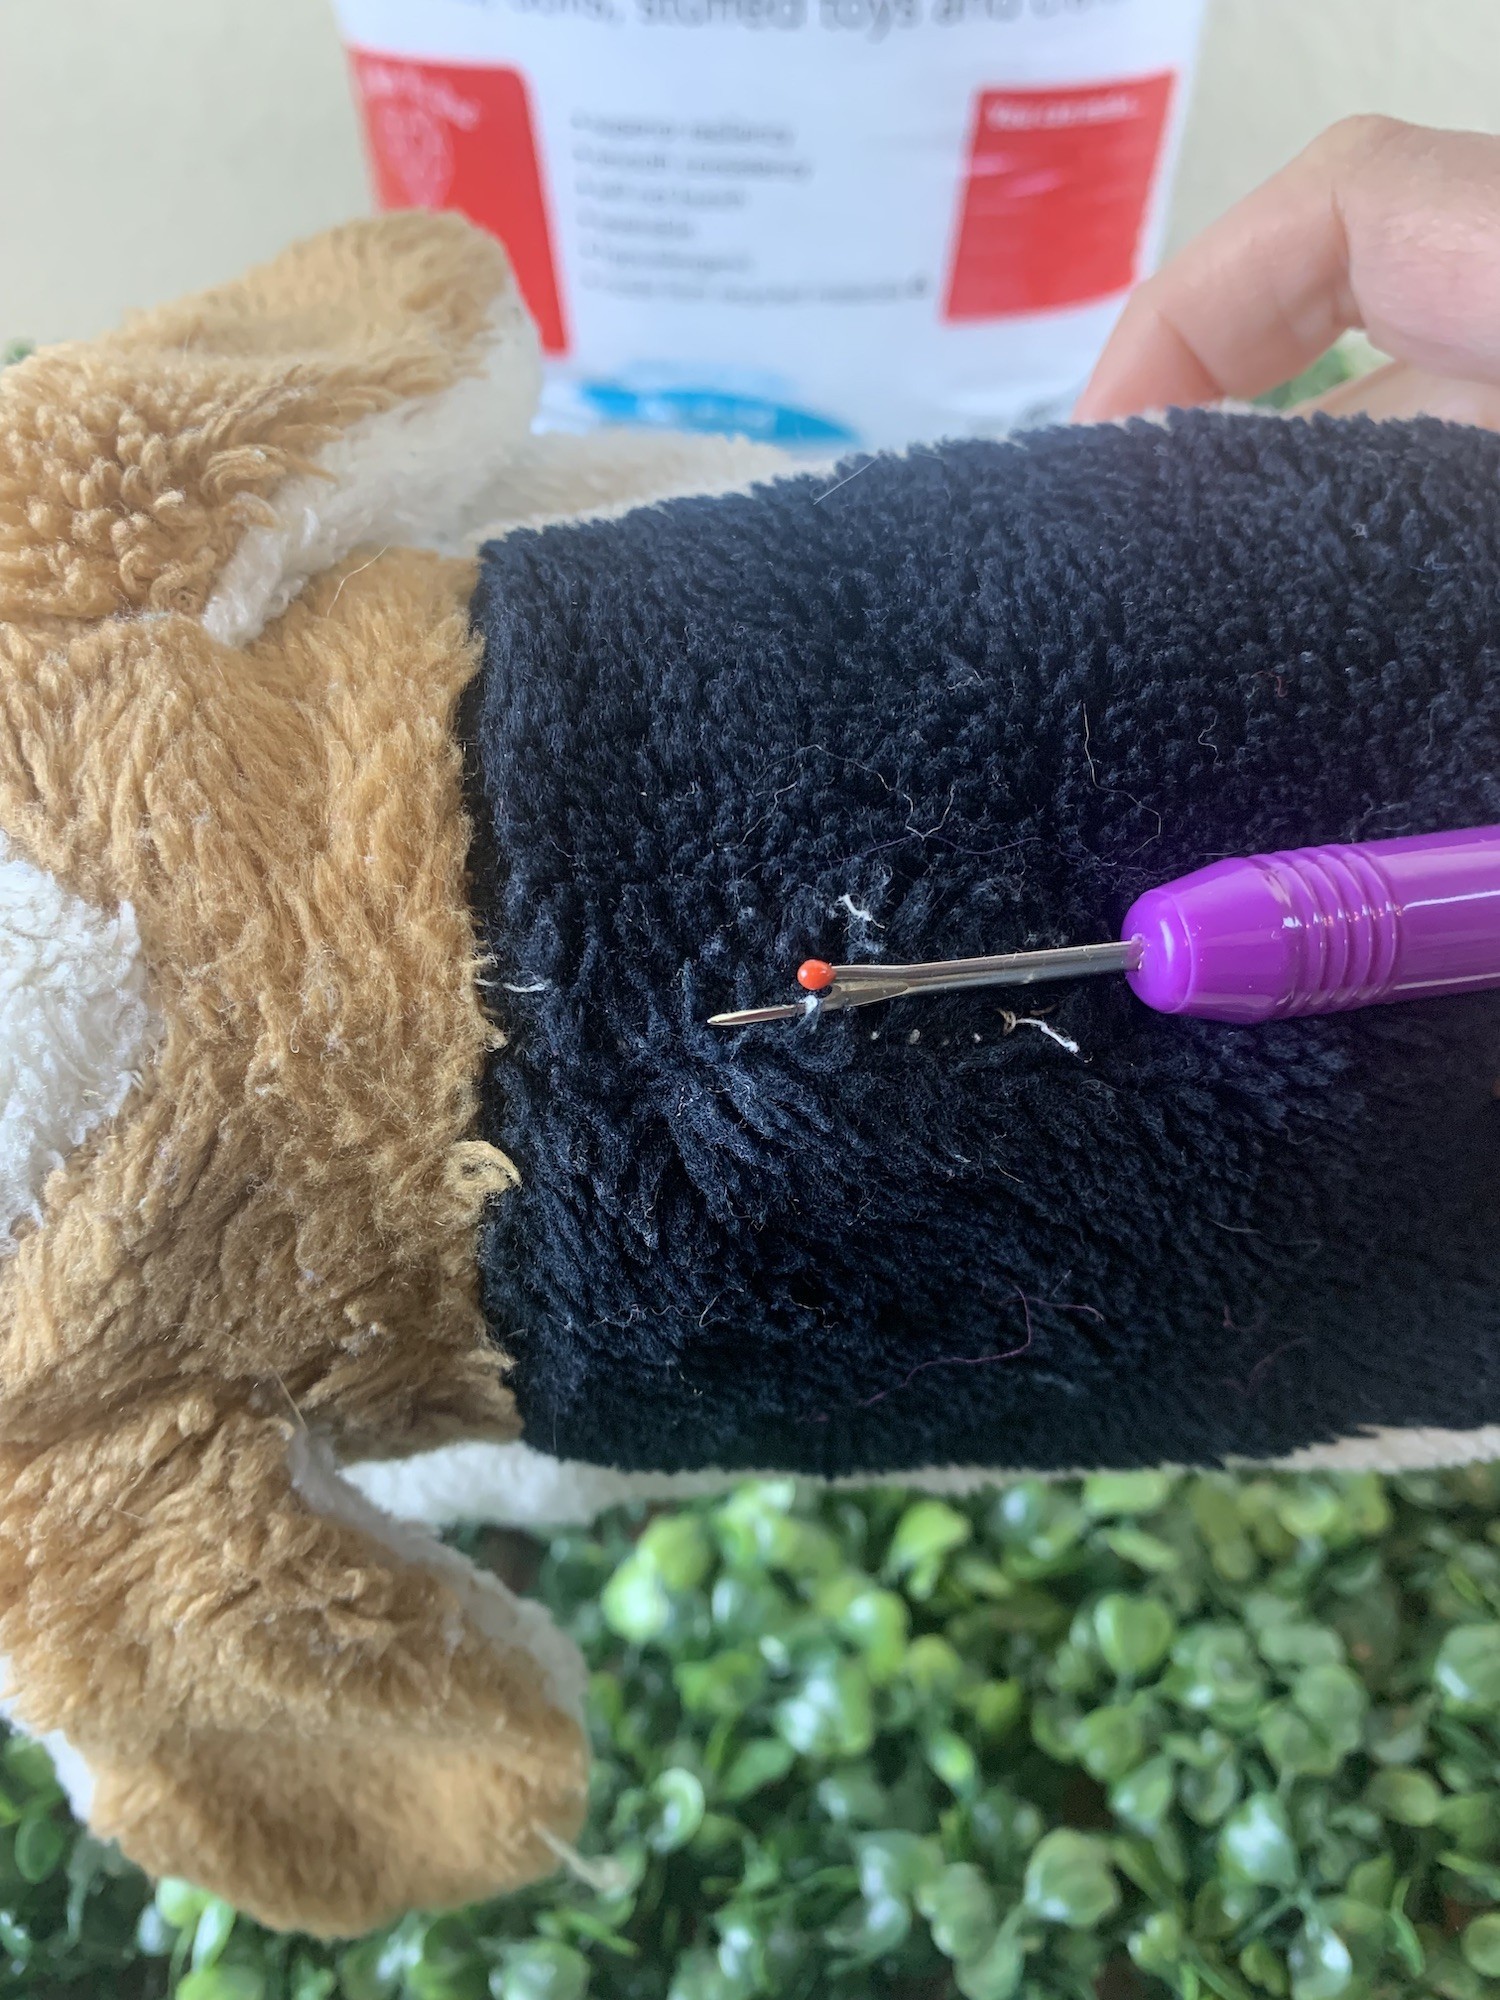
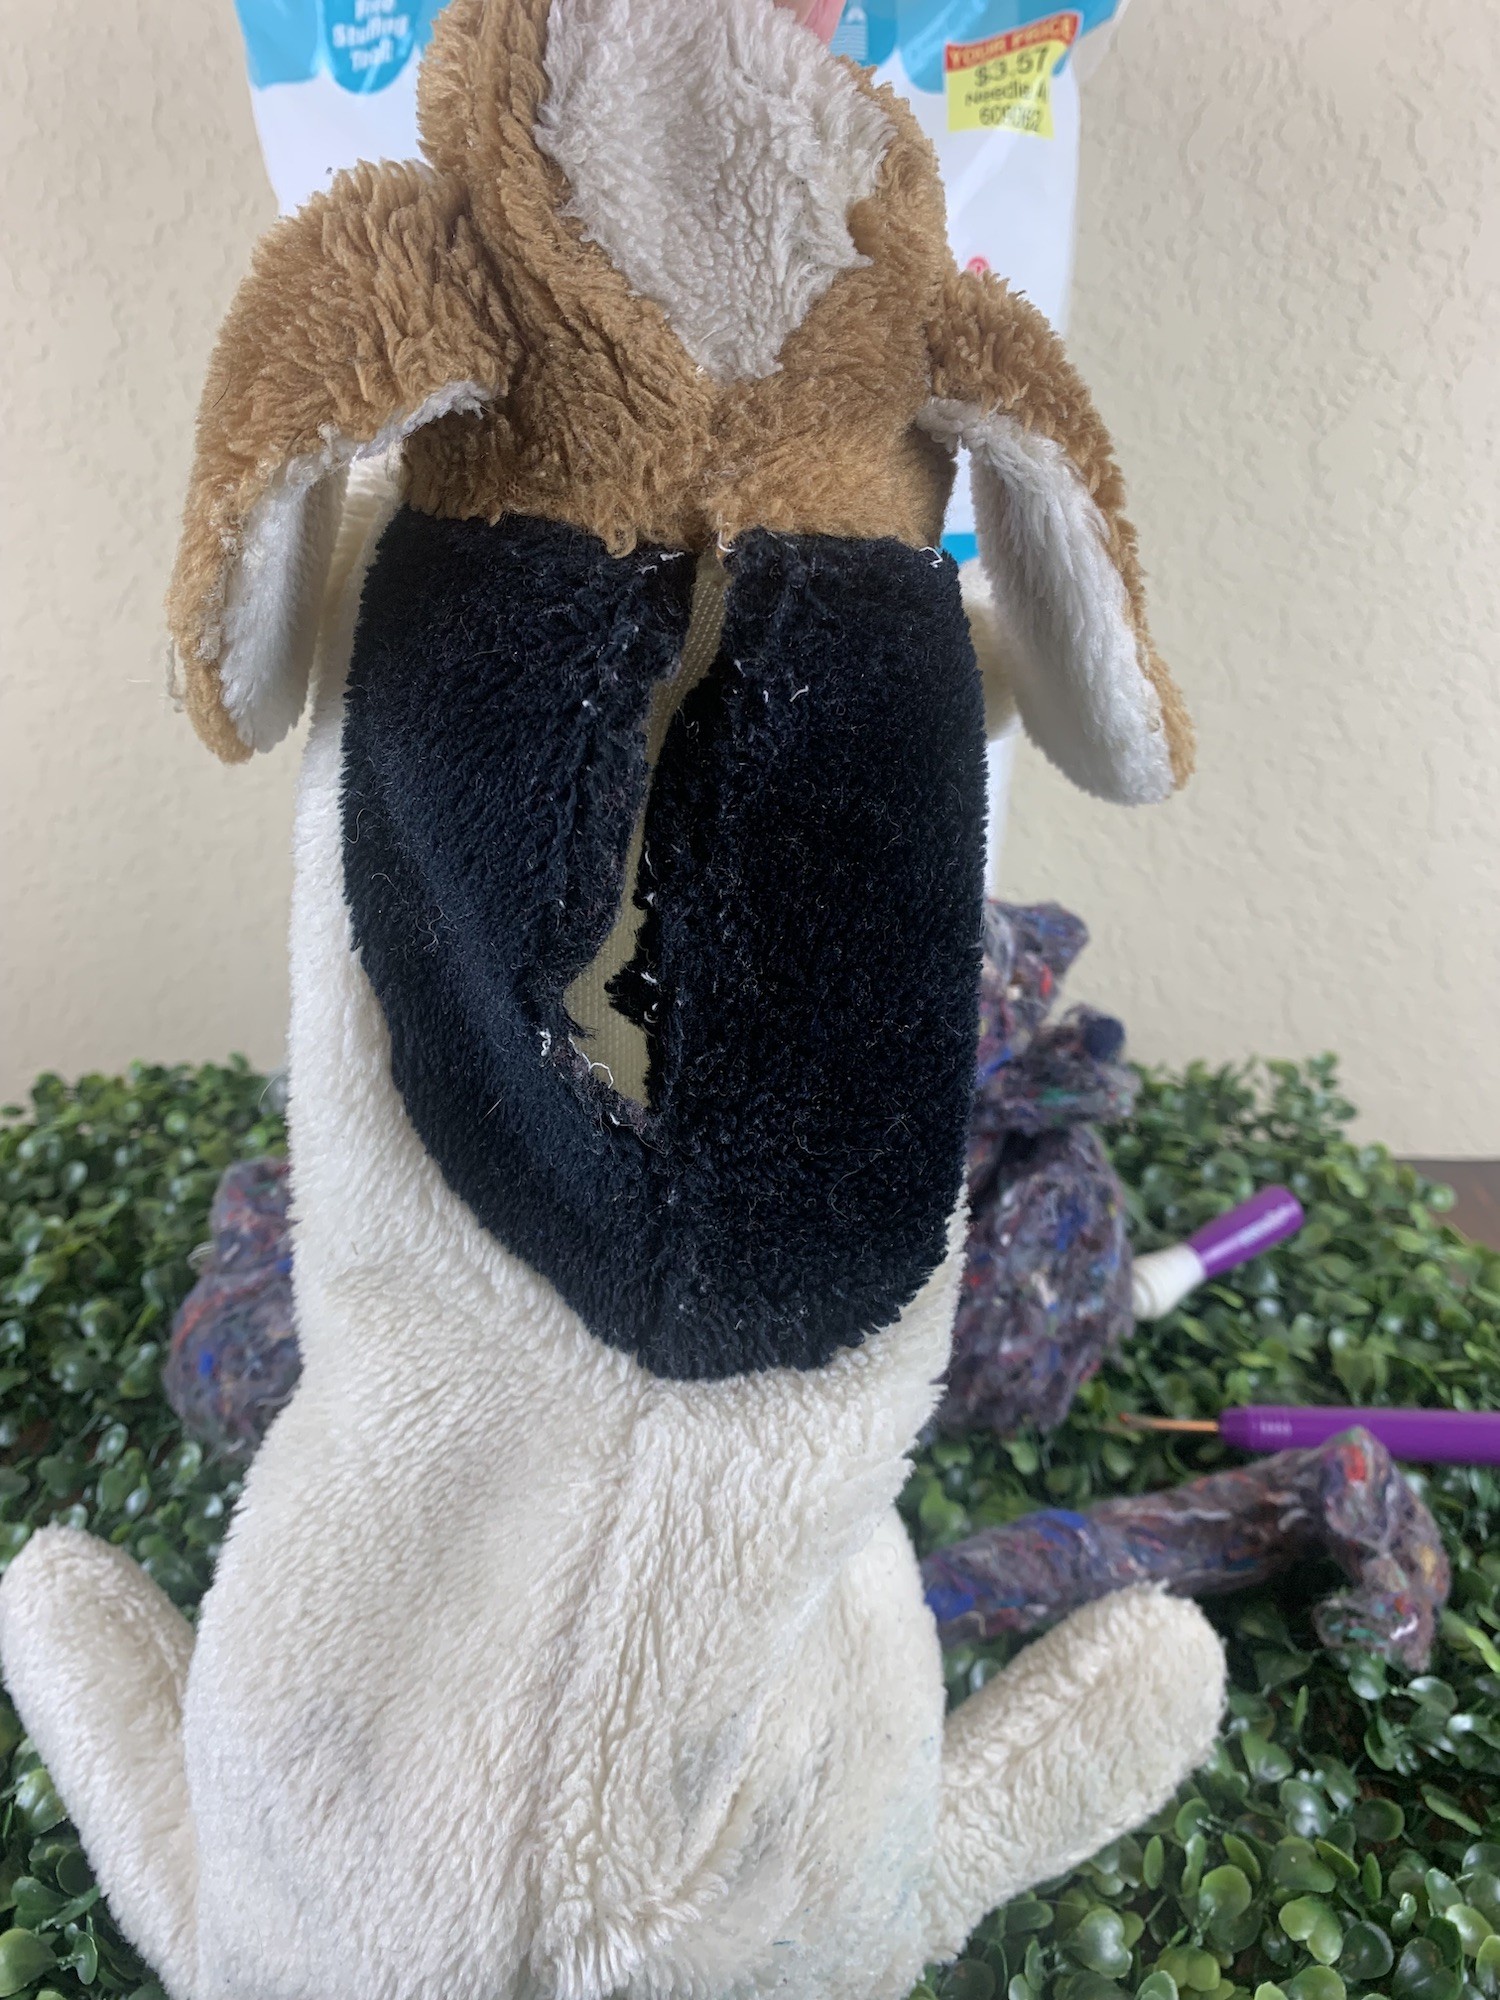
Examine the plush toy to find the seams. If the toy has already burst at a seam, your task will be even easier! I like to find a seam on the belly or back to start with. Use a seam ripper to carefully open up the stuffed toy. You’ll want to make an opening that is large enough to put your hand in, if possible. This will make it easier to access the limbs, tails, and other small parts of the plush toy.
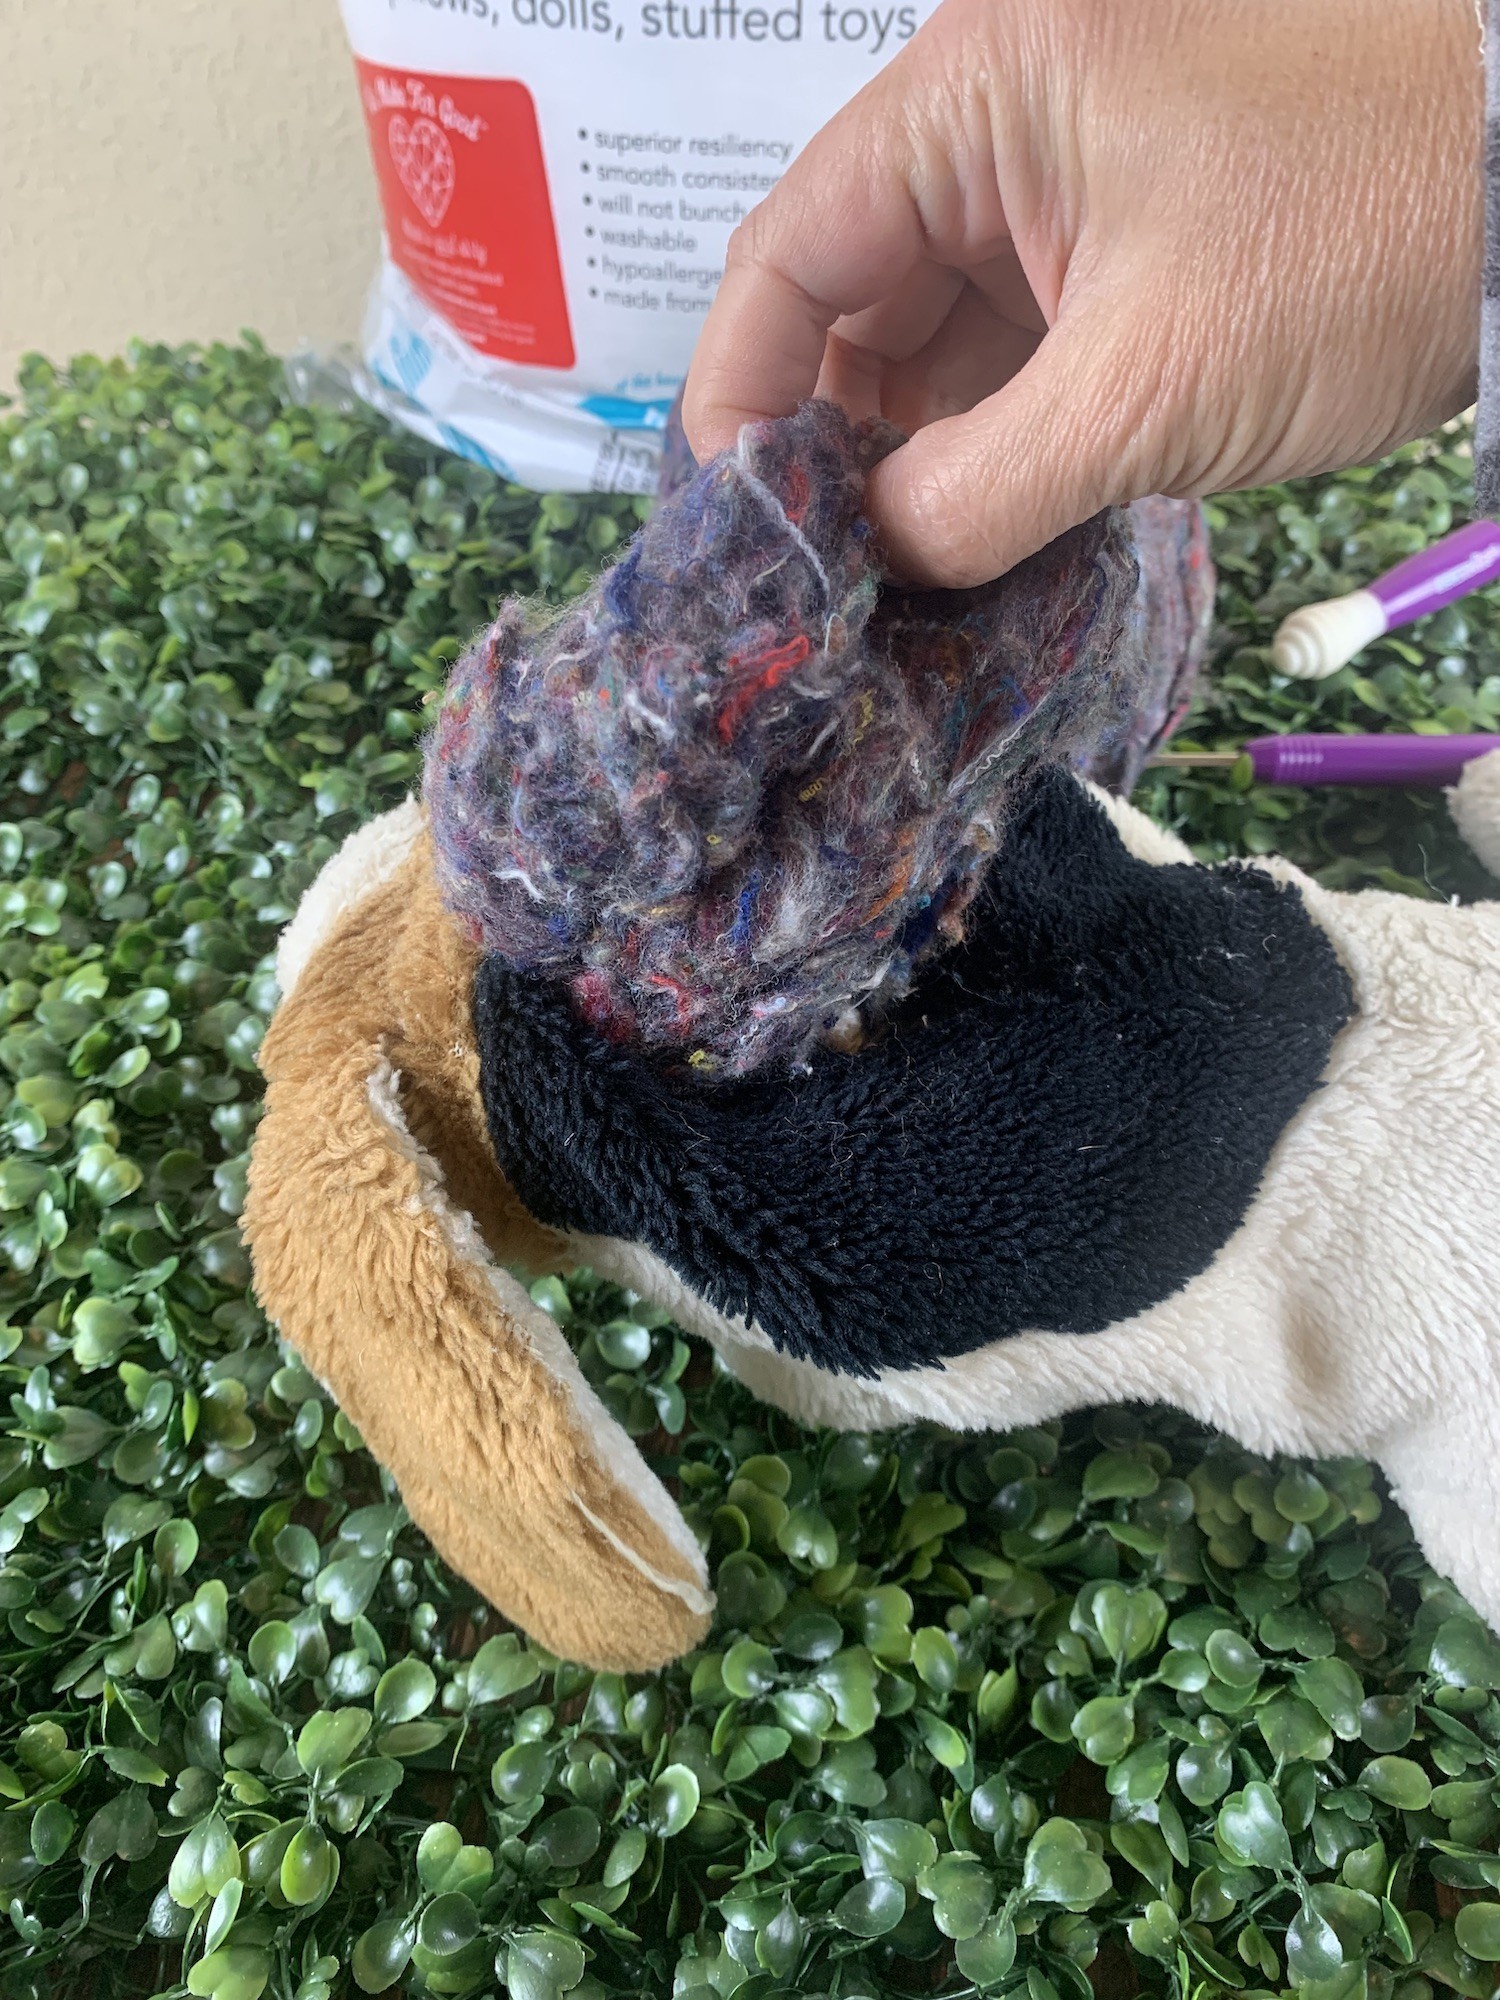
Once you’ve opened up the stuffed animal, remove all the old stuffing and discard it. Trust me, once you see it you probably won’t want to reuse it! The stuffing in this old puppy dog plush had a mild yet musty odor to it. Even if it smells ok, the fill is probably lumpy and has lost its softness. Take it all out and discard it.
Wash and Dry
Clean and refresh the stuffed animal’s coat with a nice bath! You can handwash the toy and line dry it, but if it isn’t too fragile you can use the washer and dryer! I placed the plushie in a mesh laundry bag and washed it on the delicate cycle. I also machine dried it using the delicate cycle. This vintage stuffed dog toy was much brighter and smelled so much better after it’s “bath”!
Repair as Needed
Now’s the time to make repairs if needed. If the toy has puncture marks or rips that are small, a few stitches should do the trick. Larger rips will need to be patched. You can try to find a plush fabric that matches the toy, or make a colorful patch to sew onto the toy. This will give it some character! Missing eyes, limbs, tails, etc. can also be added back at this time if needed.
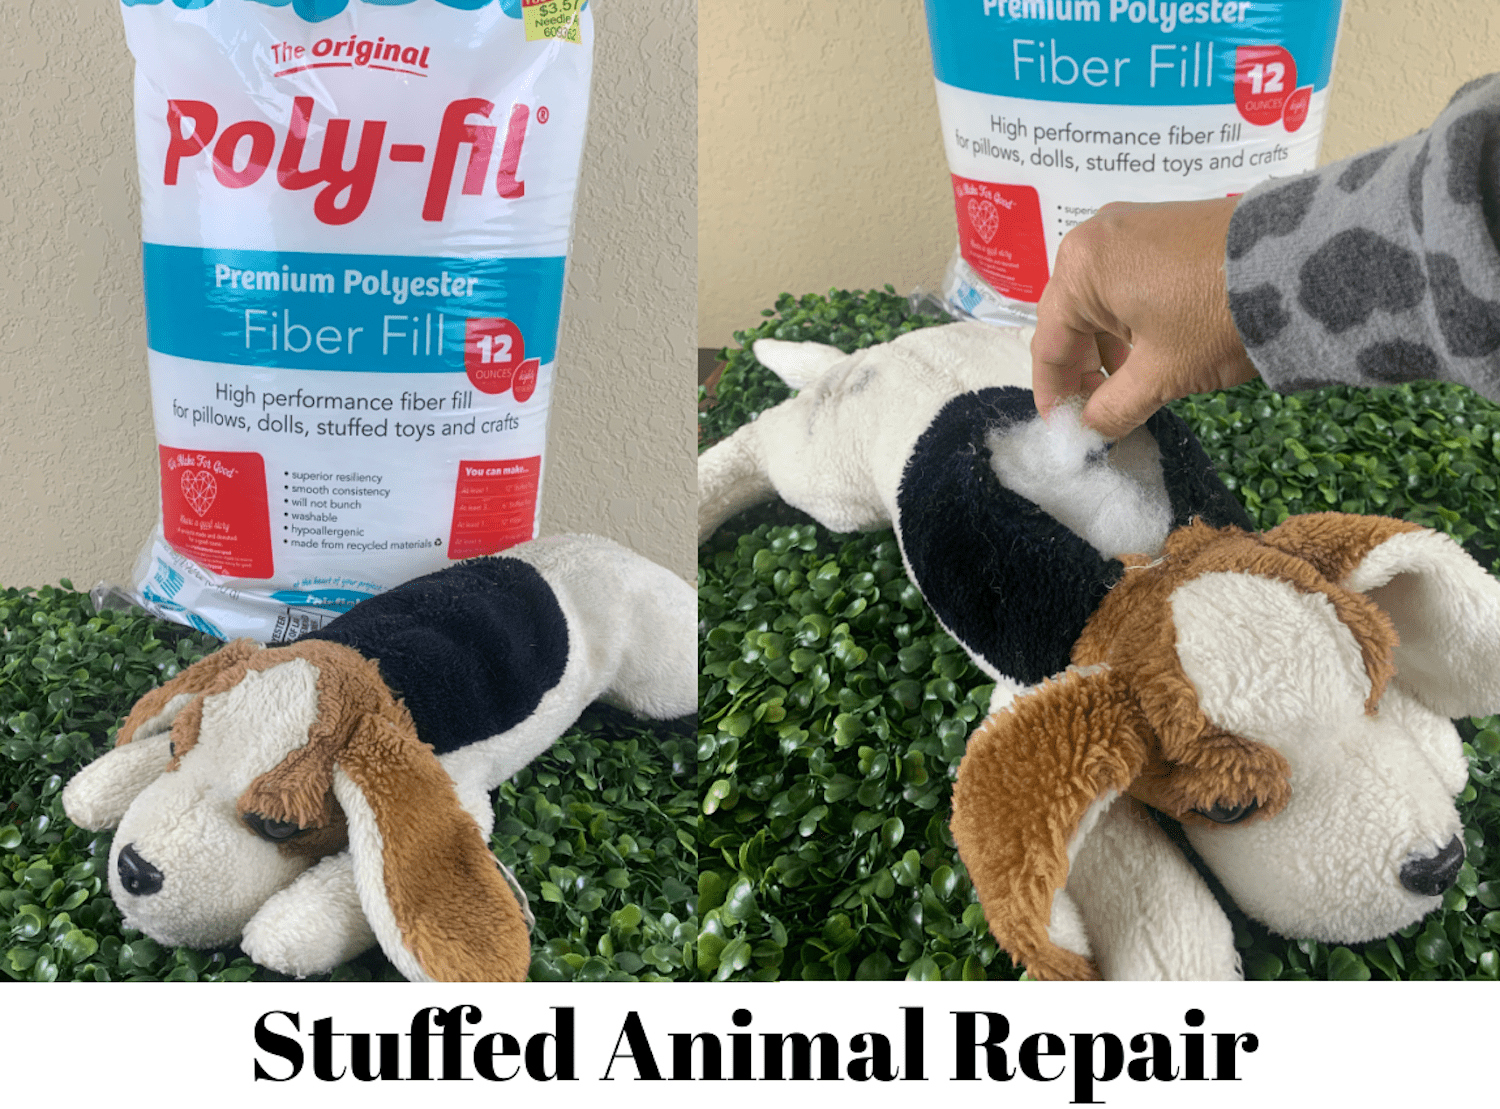
Fill with New Stuffing
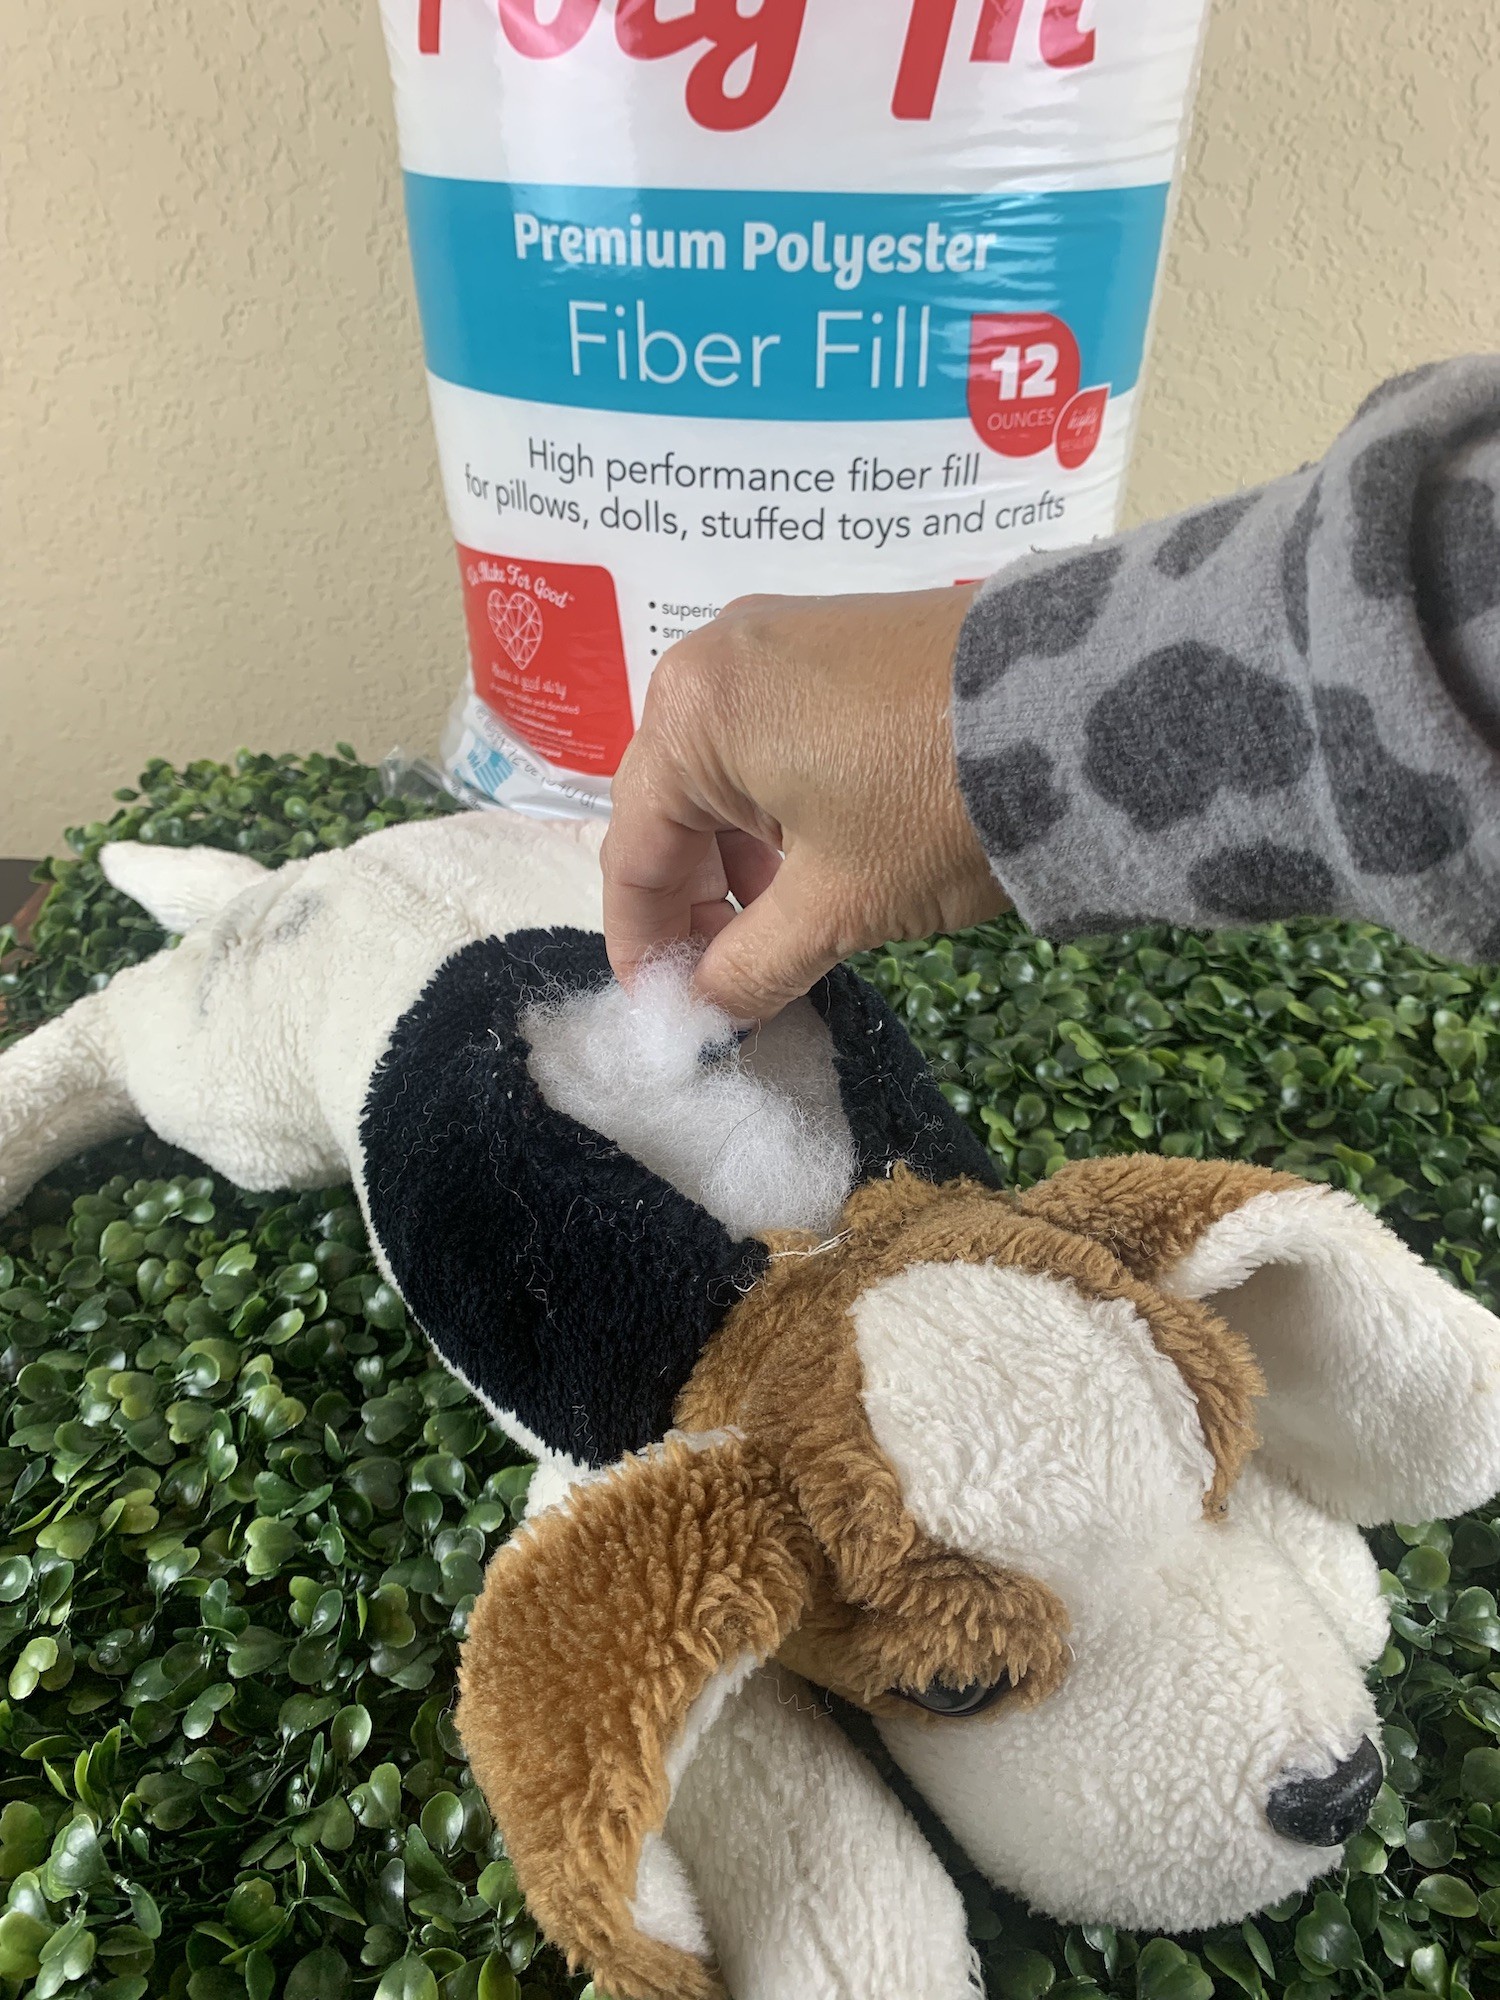
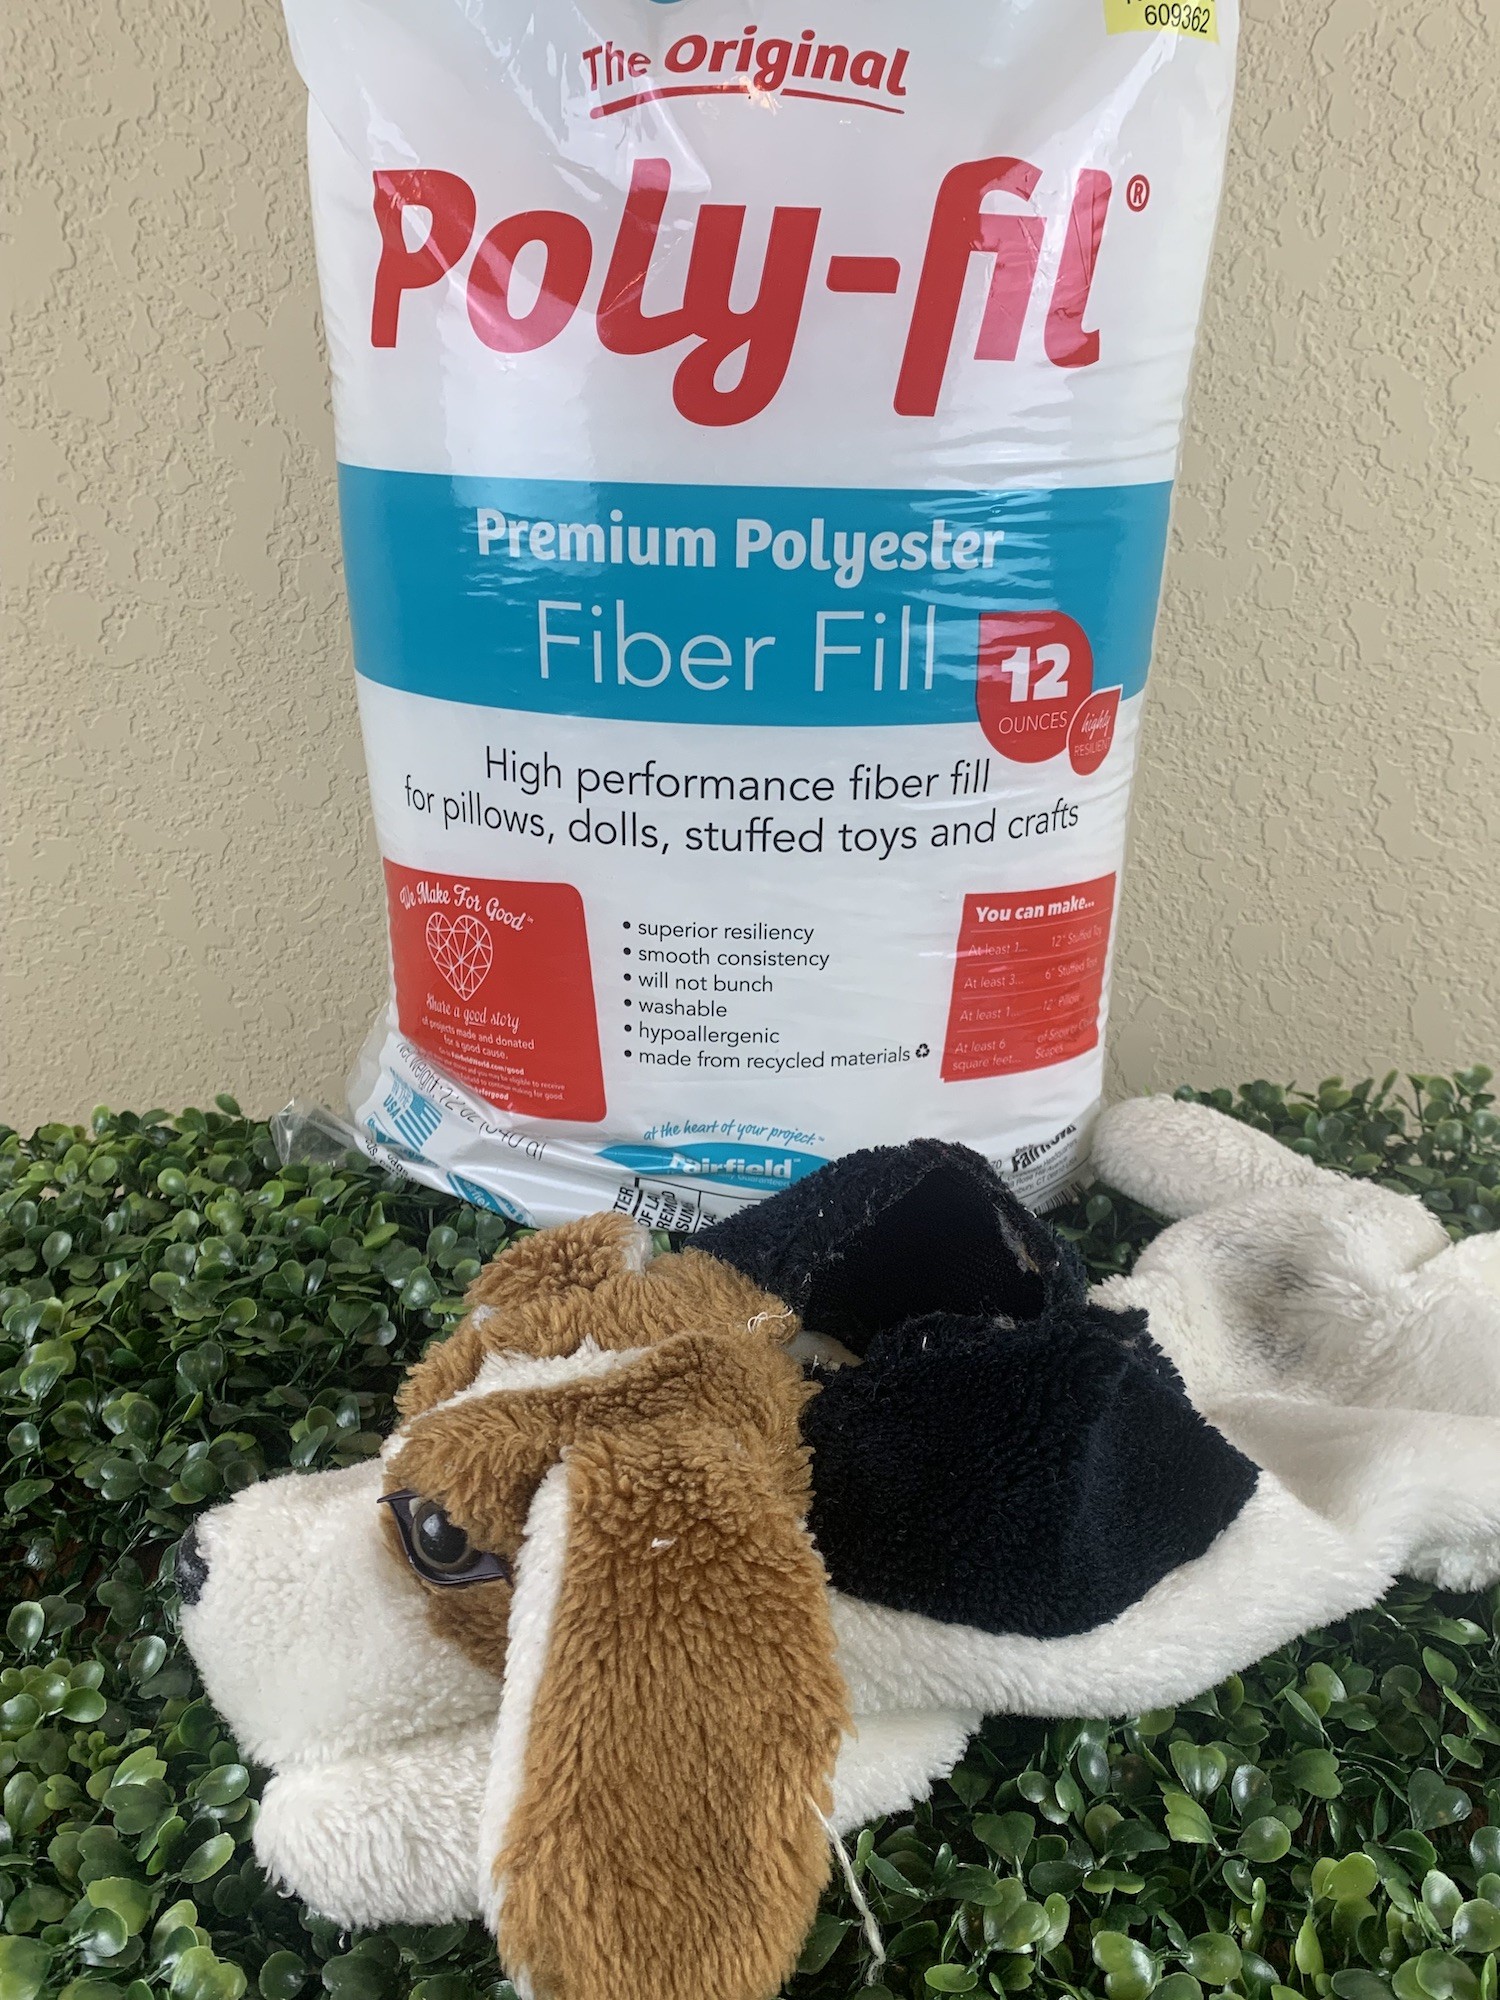
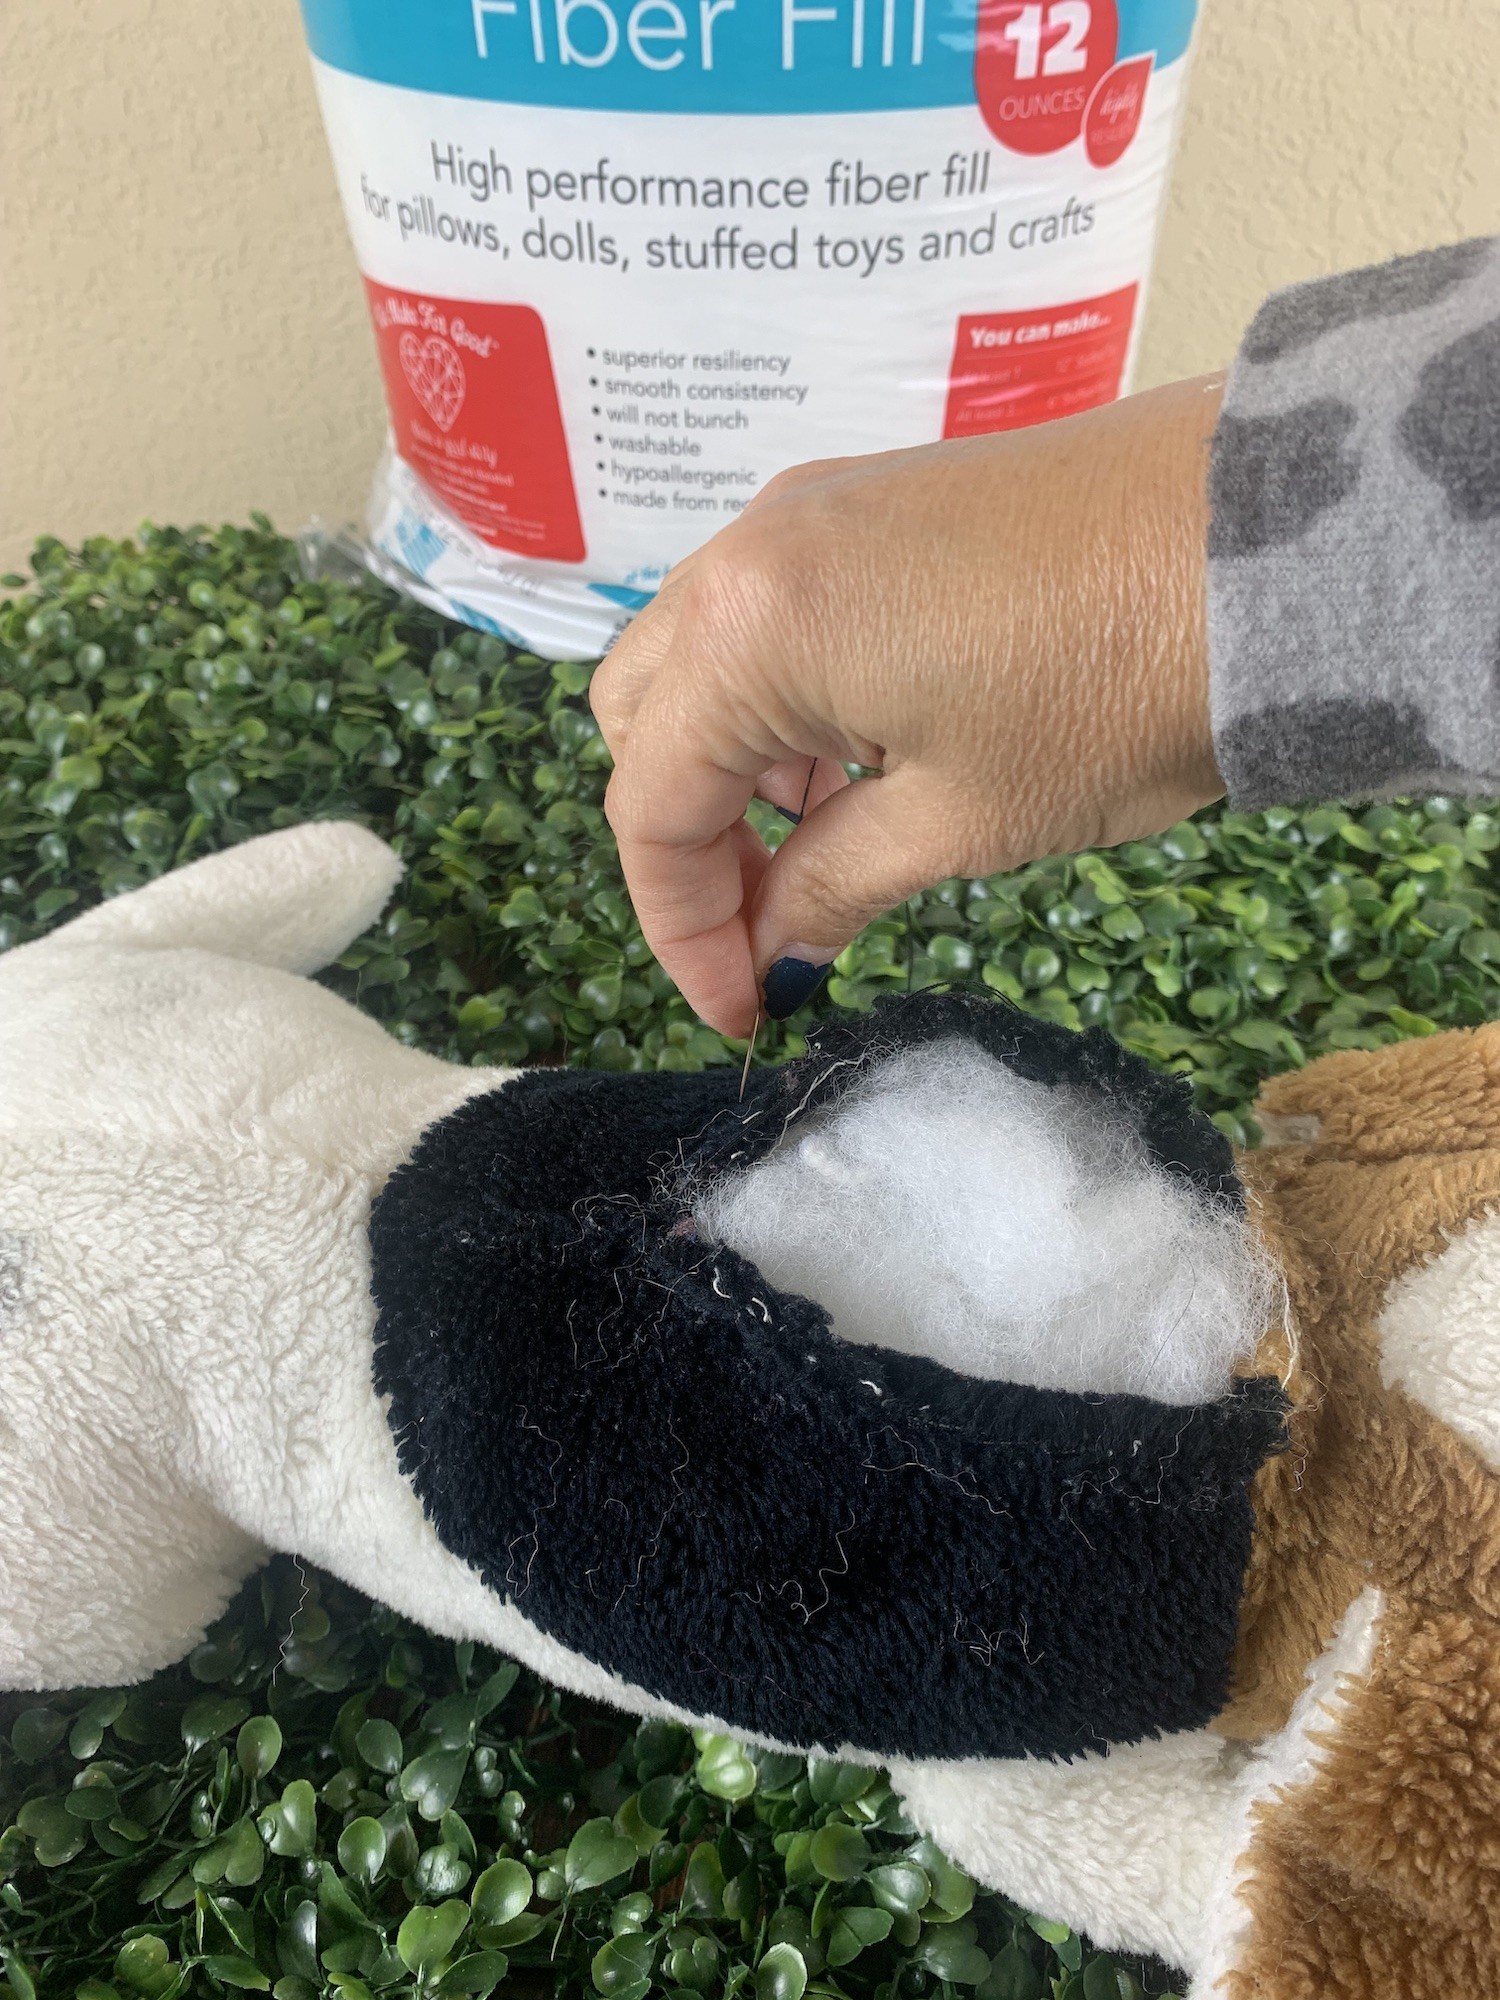
Grab a high quality fiber fill, like Fairfield World’s Poly-Fil Fiber Fill, to bring the newly washed and repaired stuffed toy back to life. Start by filling the limbs first. Once those are filled, add Poly-Fil to the head. Finally, stuff the body, making sure the Poly-Fil is even and fills all the little gaps and crannies. Once the plush is amply filled, use a ladder stitch to close the opening.
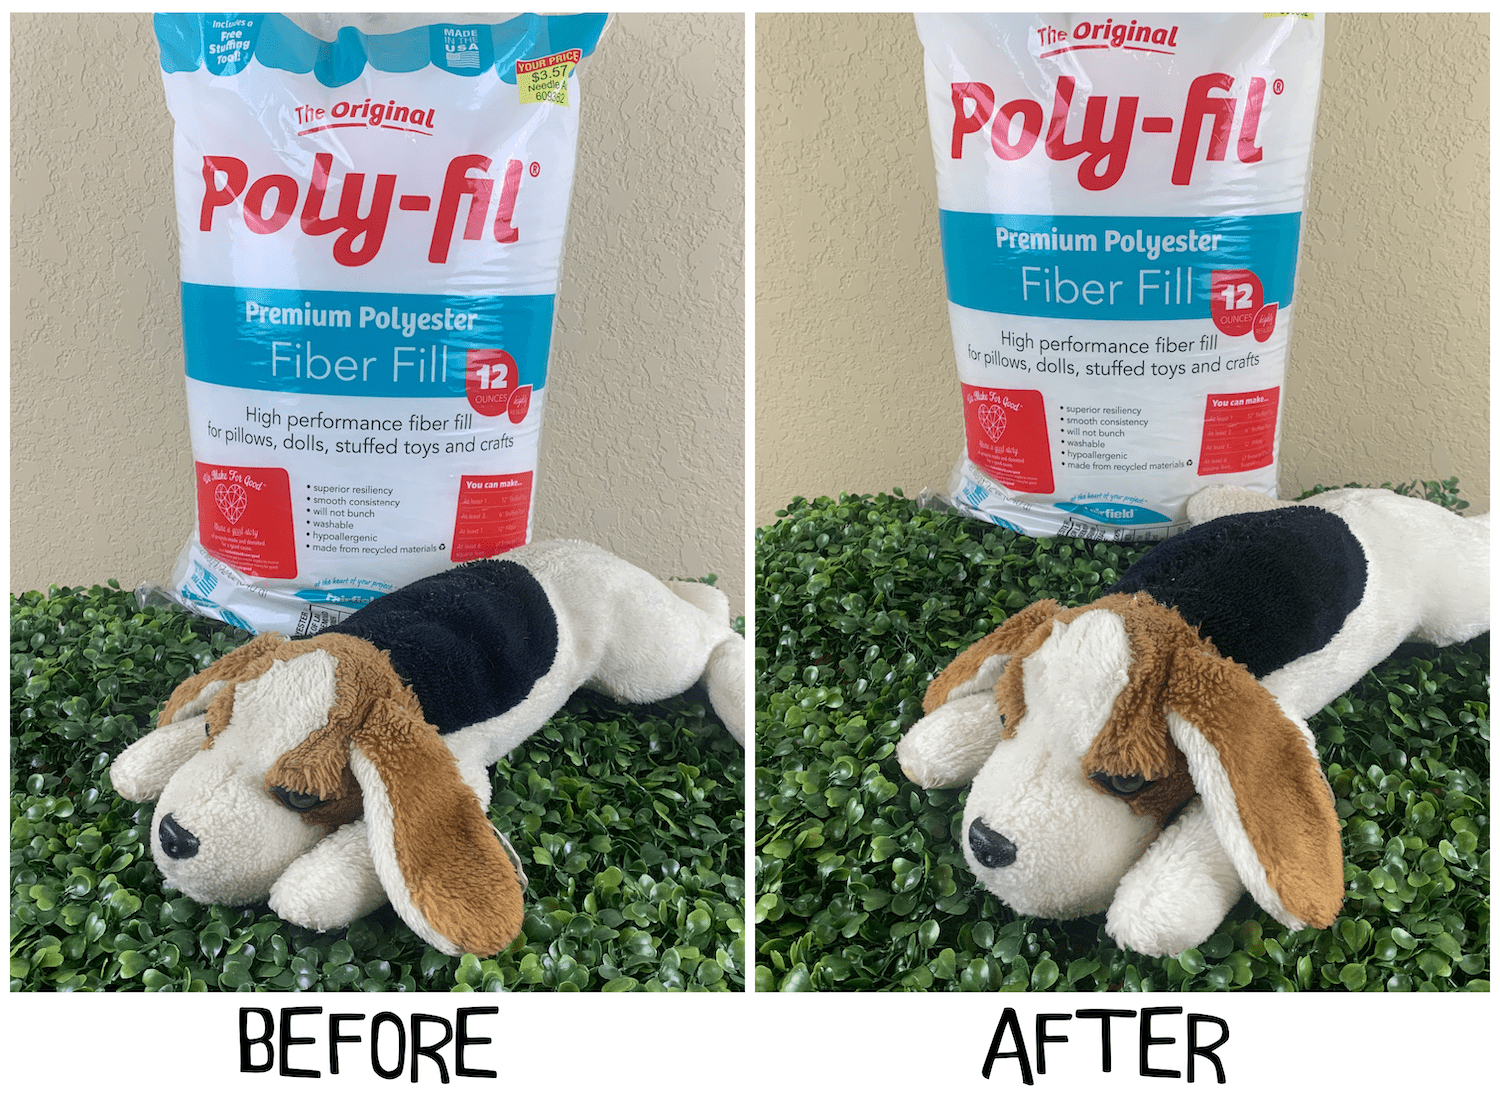
What was once a sad and saggy looking toy is now bright, fluffy, and smells great! Have fun bringing beloved plush toys back to life now that you know how to fix a stuffed animal.
Leave a Reply