This isn’t decoupage! These vintage butterfly images were transferred to the wood frame using a different method. Read on to learn more!
Back in April I shared some ideas for decorating plain wood frames, and promised to show two more techniques for ways to embellish wood projects. This method involves transferring images using gel medium, like I did here, but this time I am using vintage images rather than making my own.
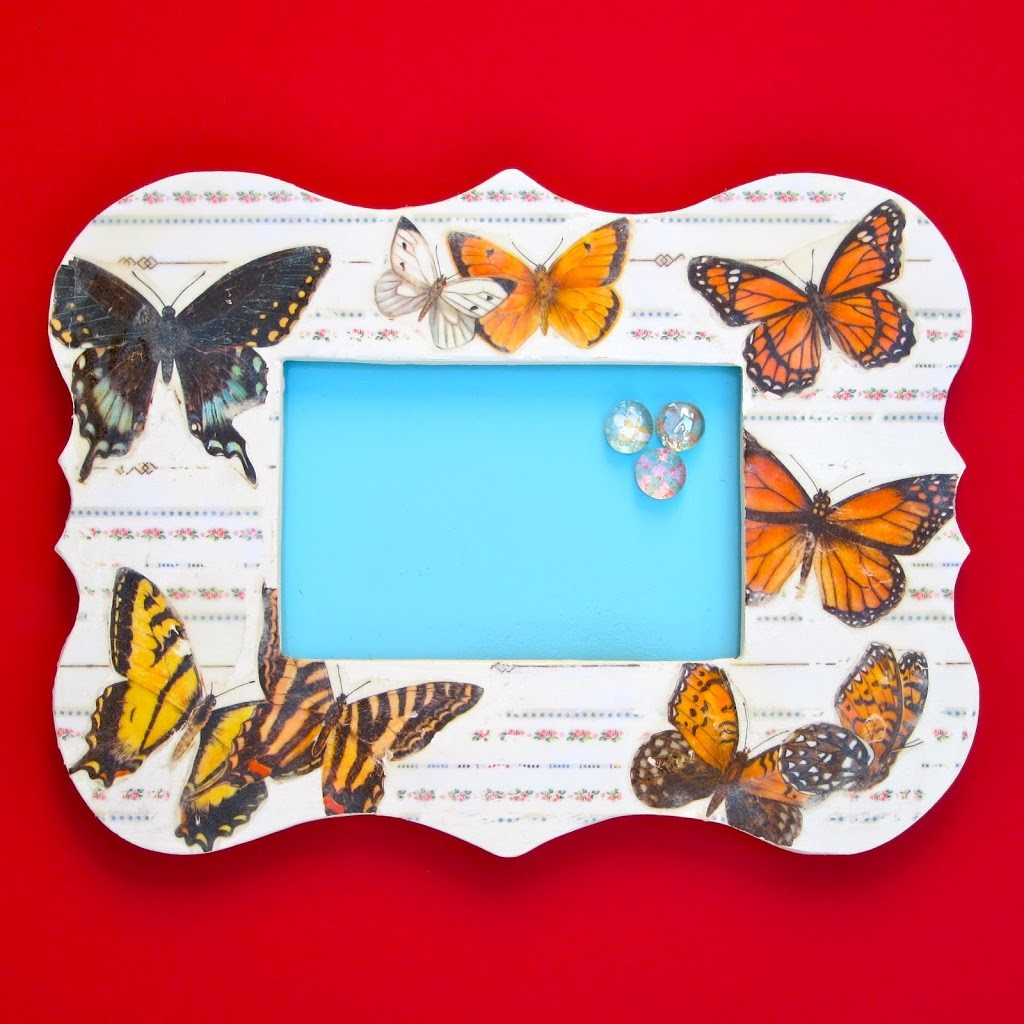
This is different from decoupage! With this process you are actually transferring the ink from the image to your surface, so it looks like it was painted on. I love the end result!
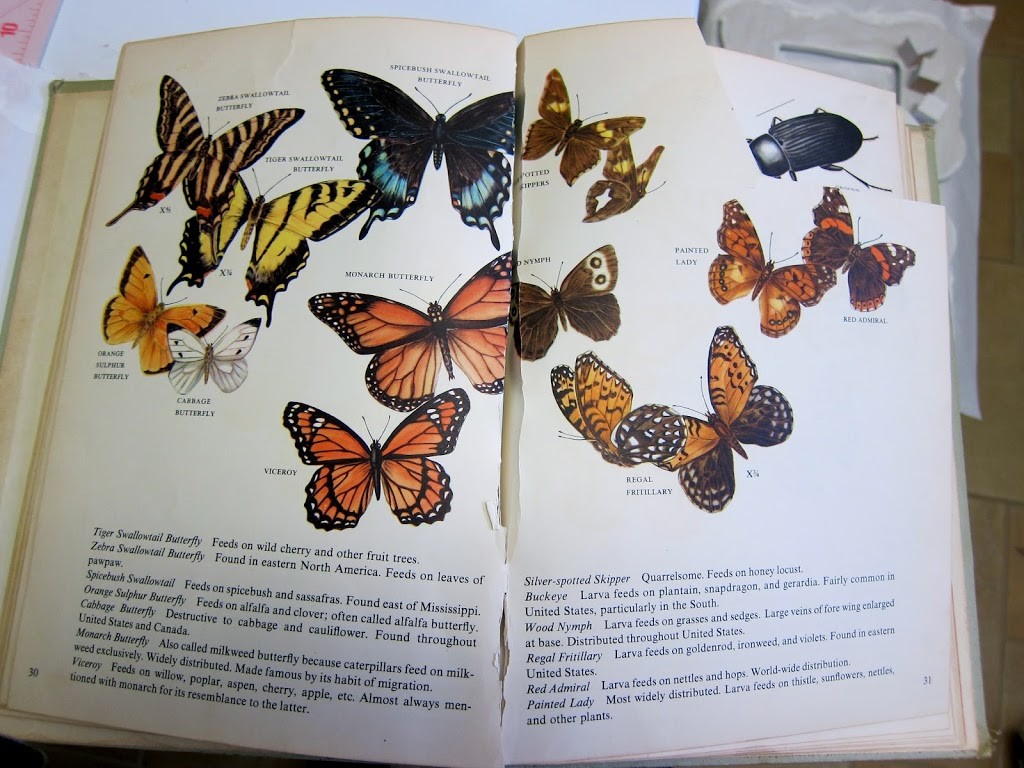
I started with some colorful butterflies from a 1950s insect book. The book was falling apart, but the images are still useable.
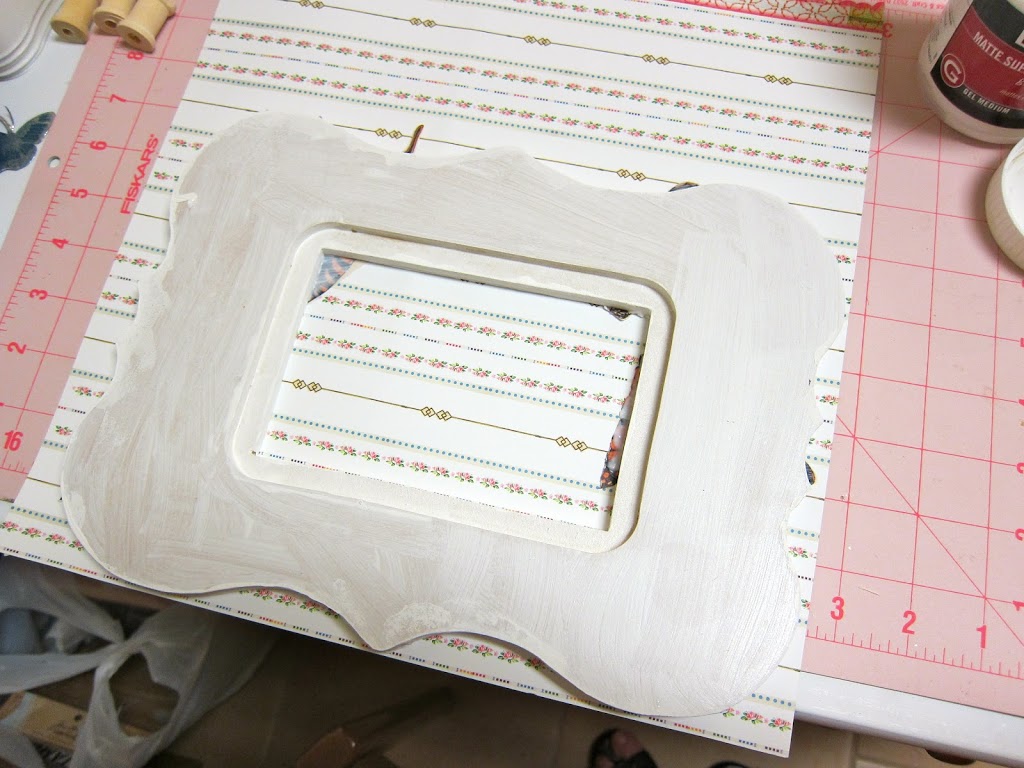
I painted my frame white.
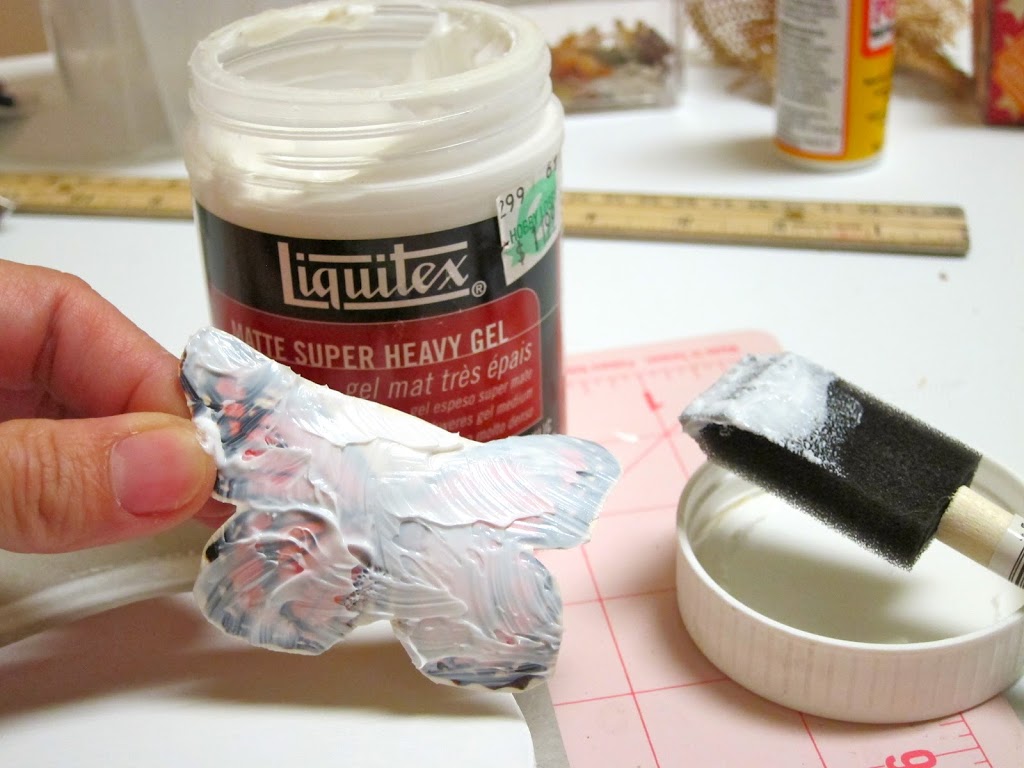
I placed a heavy coat of gel medium on the image and adhered it to the frame. For more detailed instructions please see this tutorial.
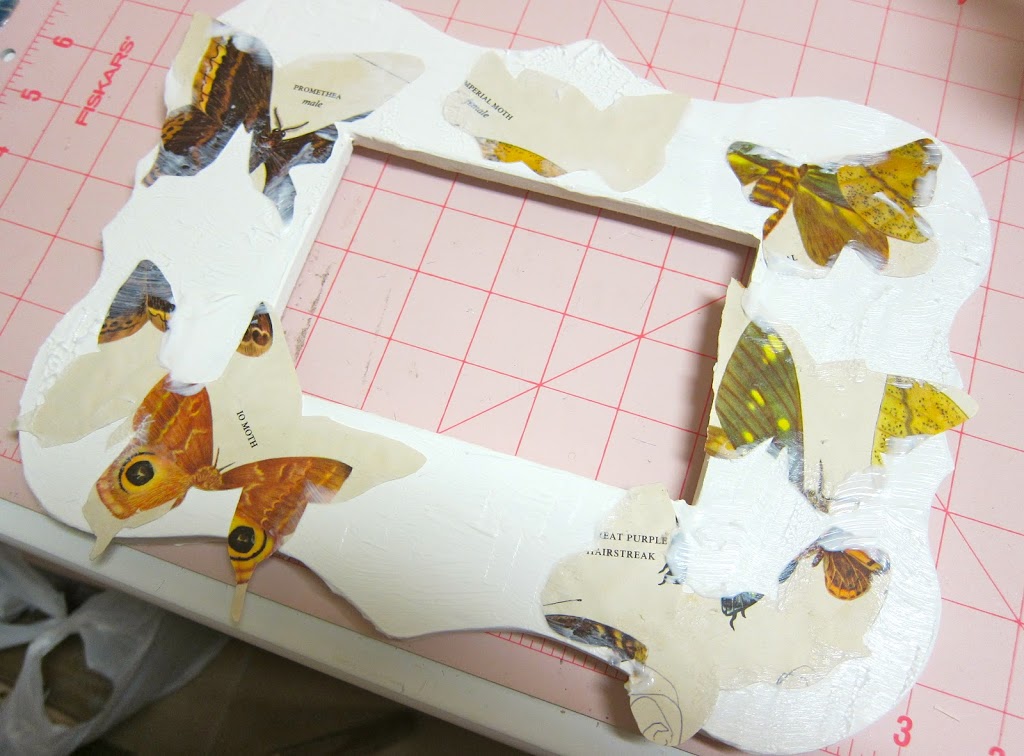
I took it one step further. If this is your first time trying this technique, I suggest practicing a few times before you try this. I wanted to see if I could layer graphics, so I painted more gel medium onto the white parts of the frame and stuck patterned paper on it.
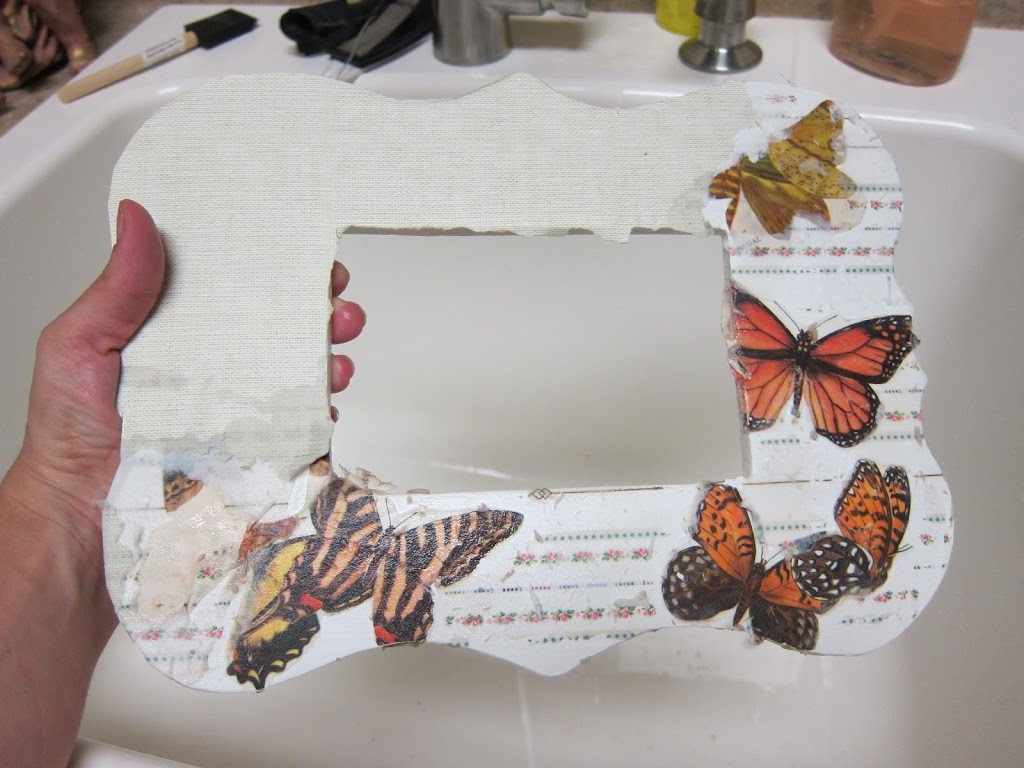
After it had dried I began wetting and peeling off the paper to reveal the images. Again, for more detailed instruction please visit this post.
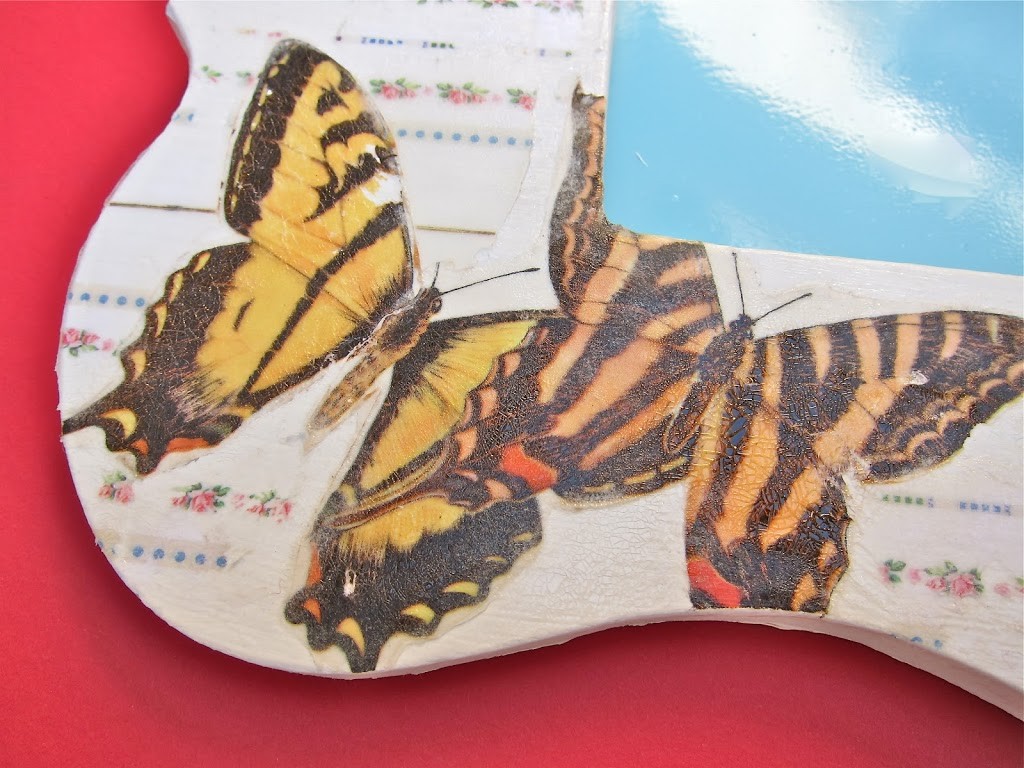
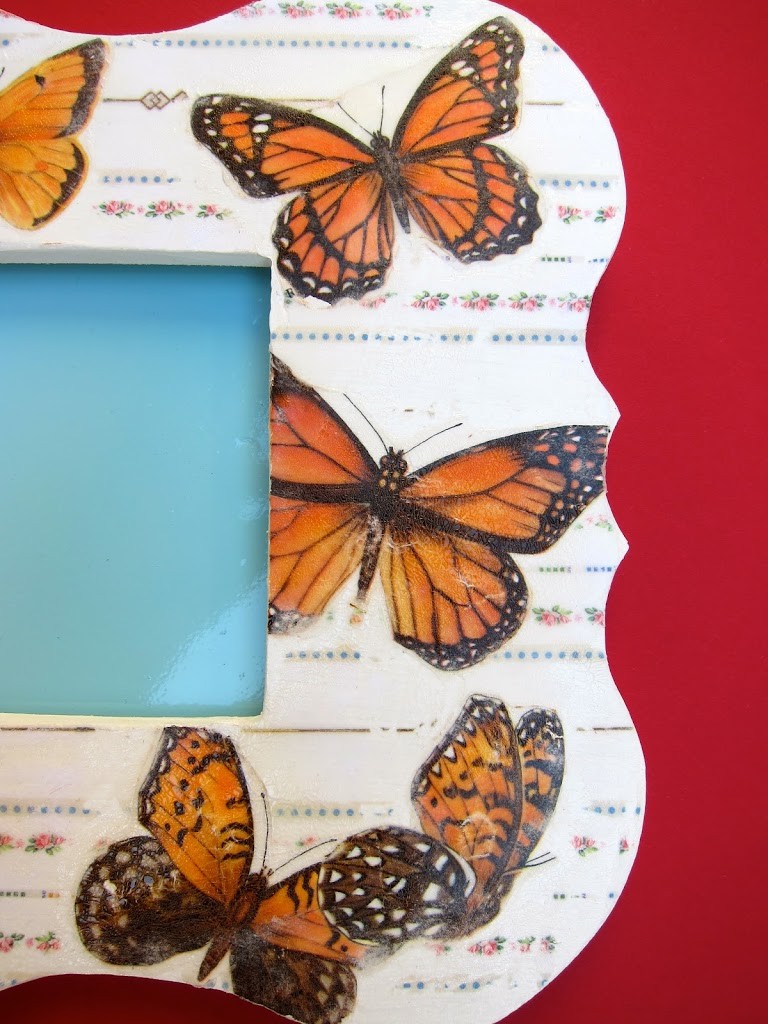
As a final step, I coated the entire frame with Rock Candy Distress Crackle Paint.
I hope you can see from these close up shots how the image transfer appears to be painted on, not layered on like decoupage. They also have a nice aged, worn look to them. I just love it!
Thank you for visiting my corner! I’d love for you to follow via Facebook to keep up with my latest projects!
Leave a Reply