I don’t knit or crochet, but I do love yarn. The wide variety of colors and textures make yarn such an appealing medium!
(This post first appeared at Crafts Unleashed, where I am on the Design Team.)
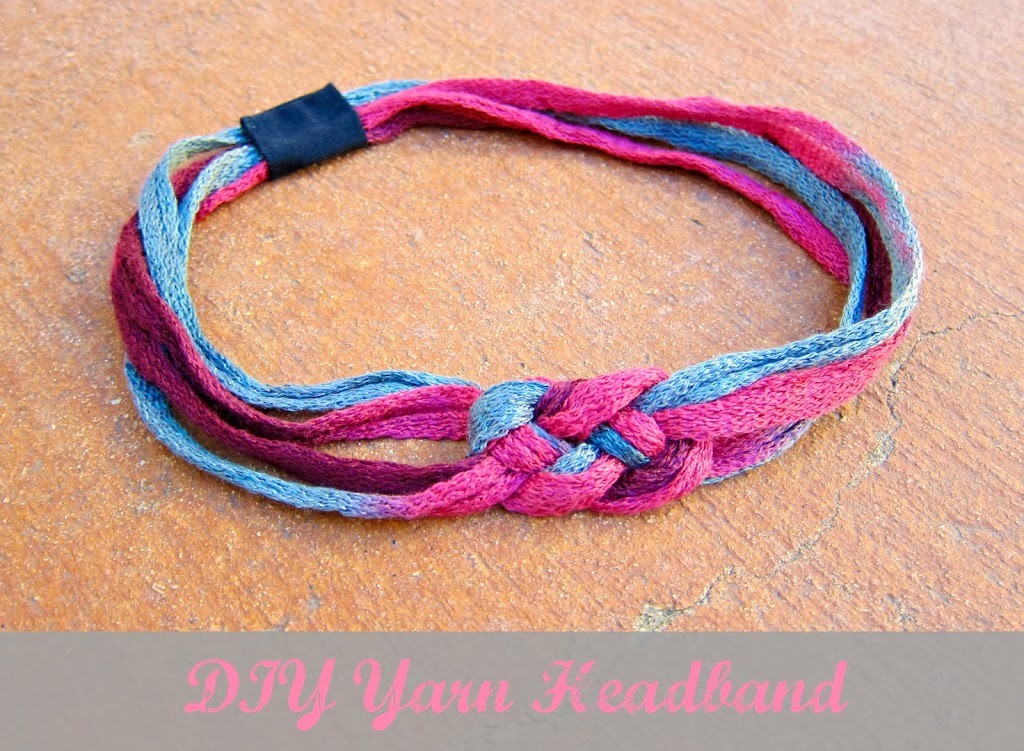
This headband is quite literally a five minute craft, not including drying time. The knot may look intricate, but it’s astonishingly simple to do. Here’s how:
- Yarn (I used Bernat’s Ruffle Yarn in Misty Merlot)
- Fabric
- Fabric Glue
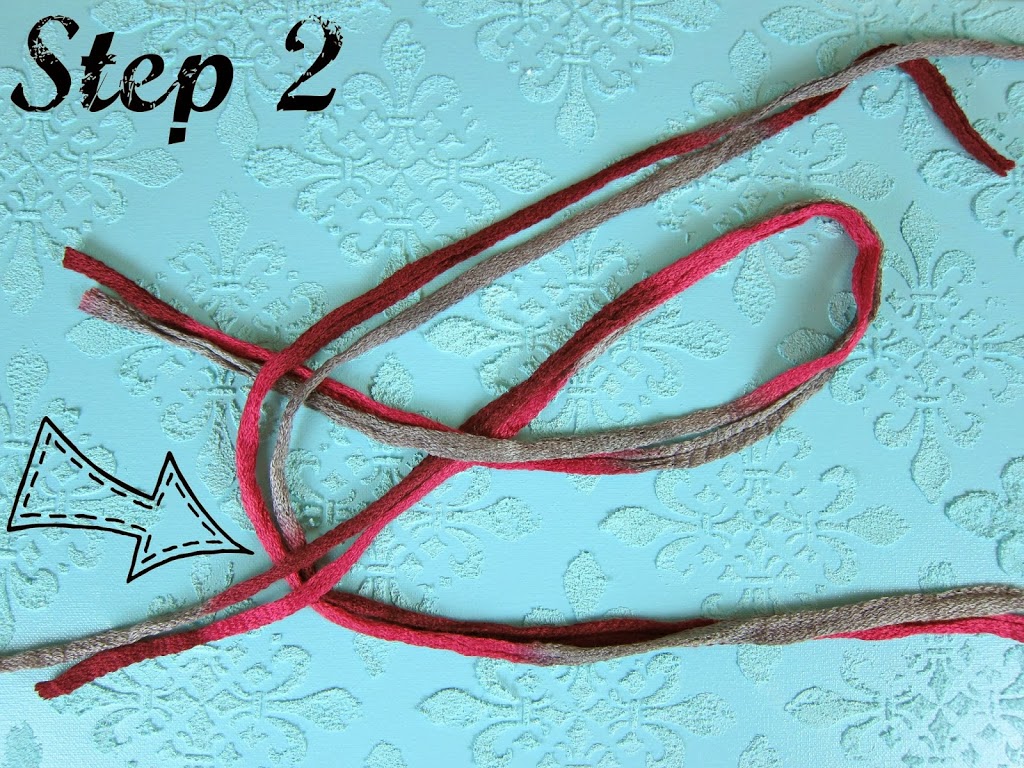
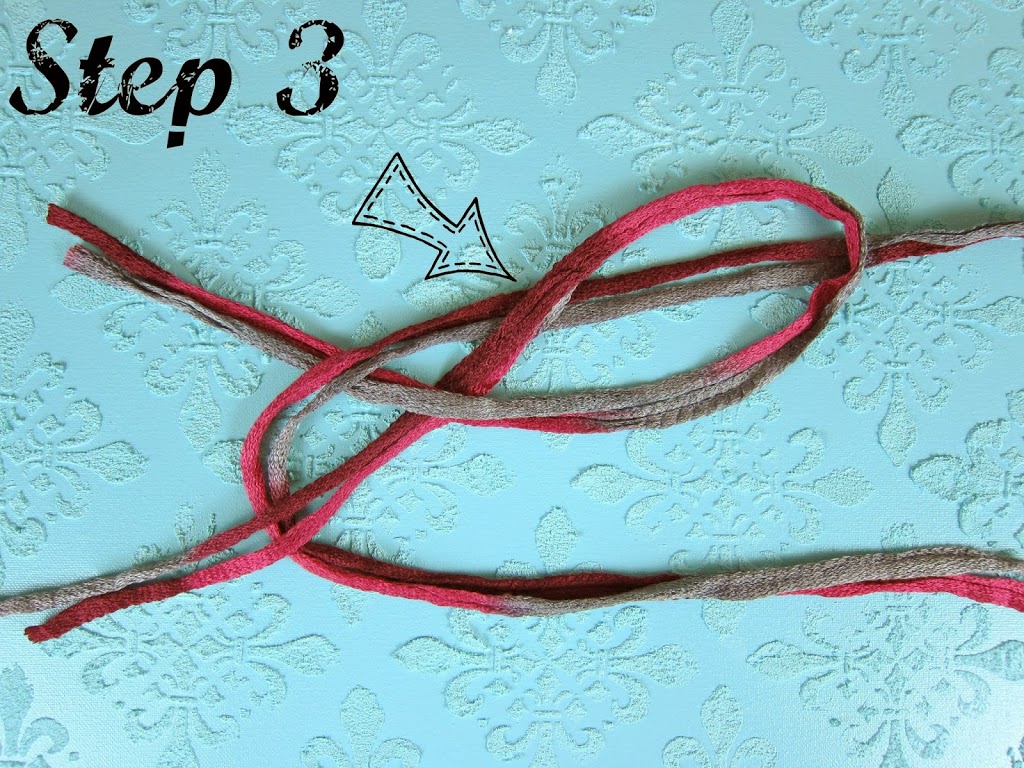
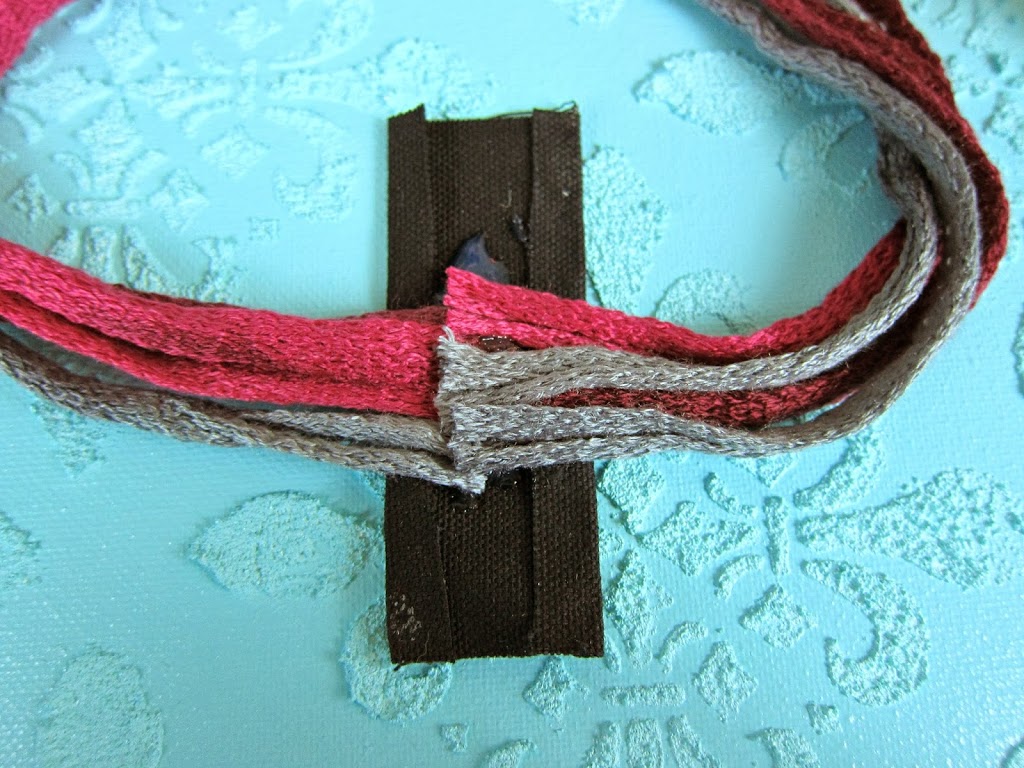
To start, cut 6 pieces of yarn, making each one 24 inches long. Divide the yarn strips into two groups of three. Then, you will loop it as pictured below.
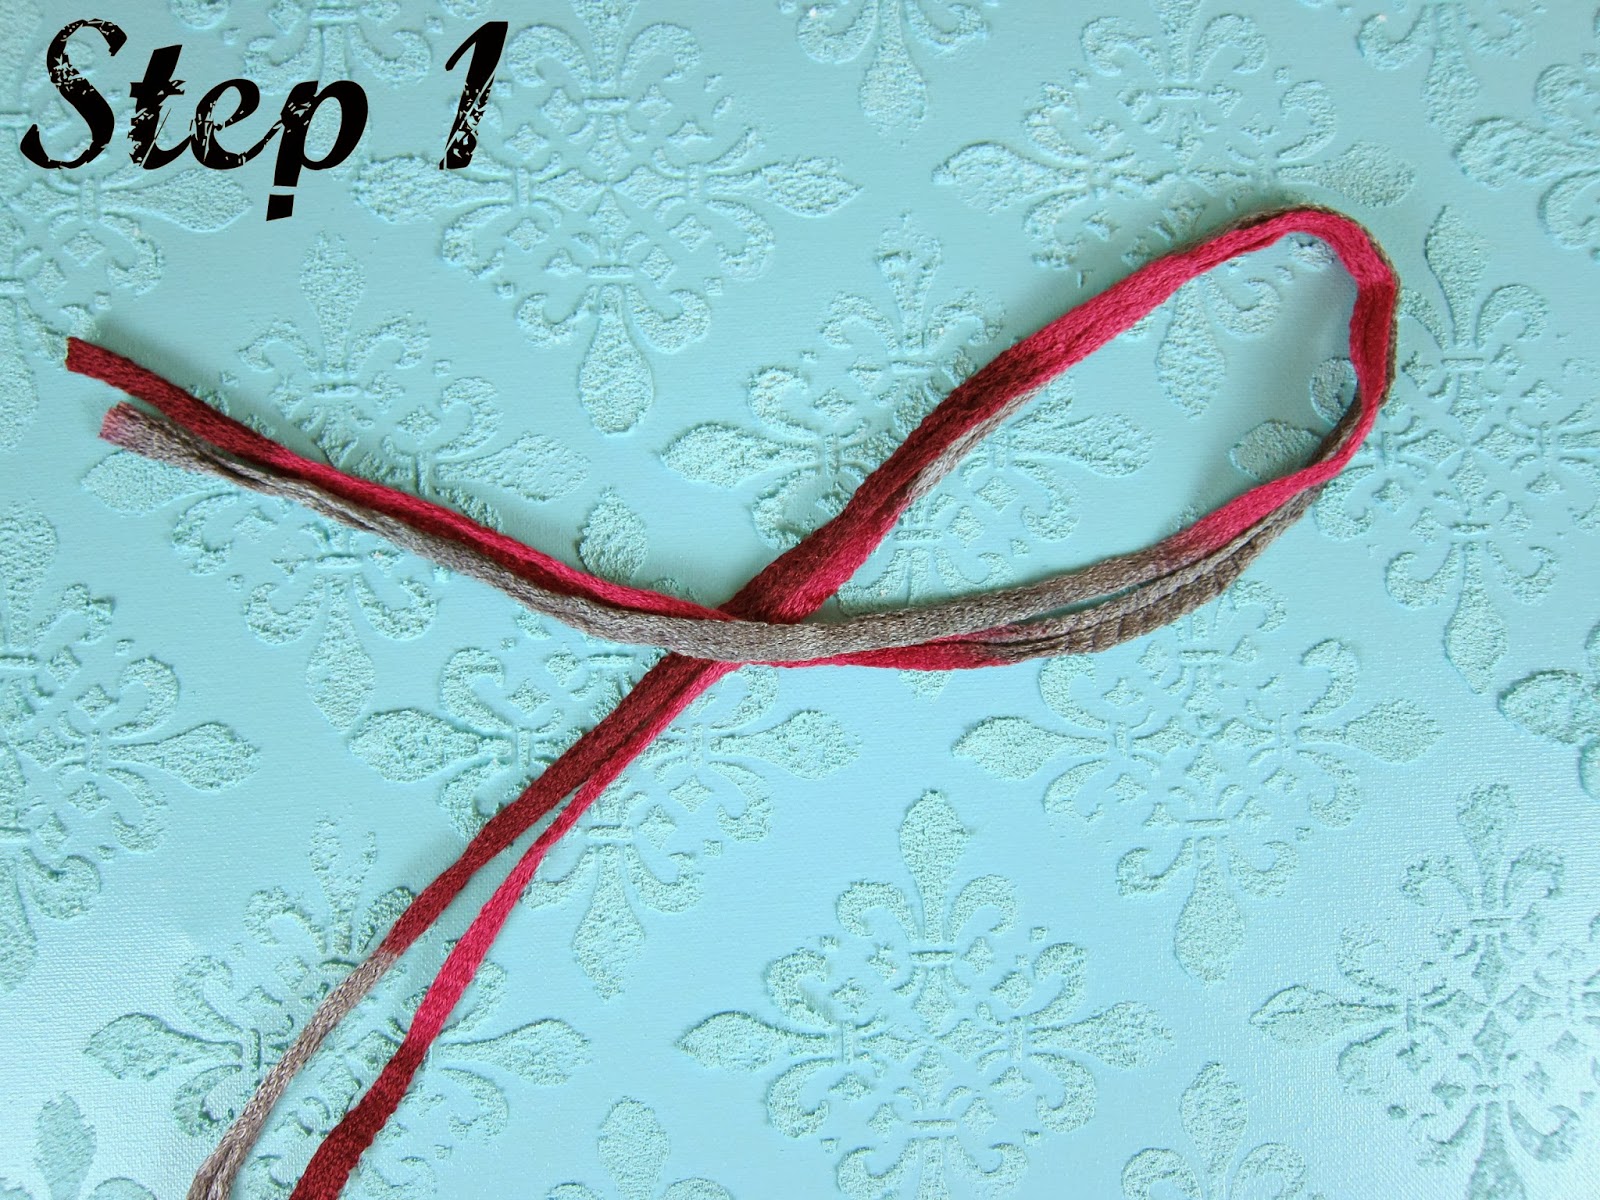
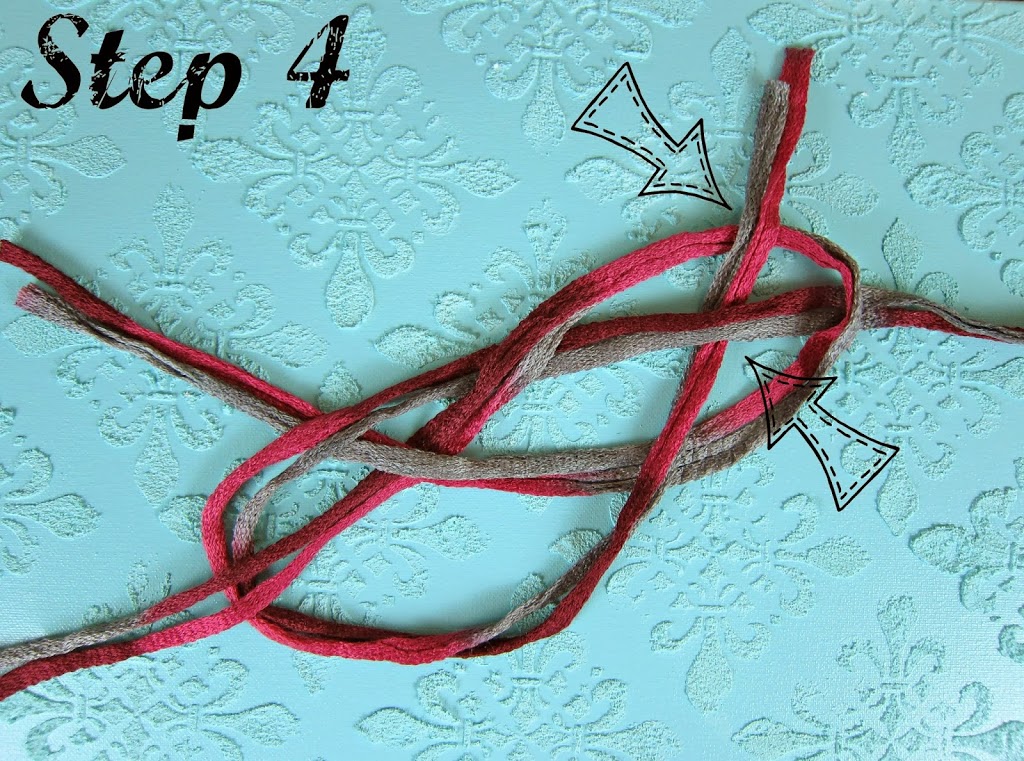
Pull both ends gently away from each other to make the “knot”.
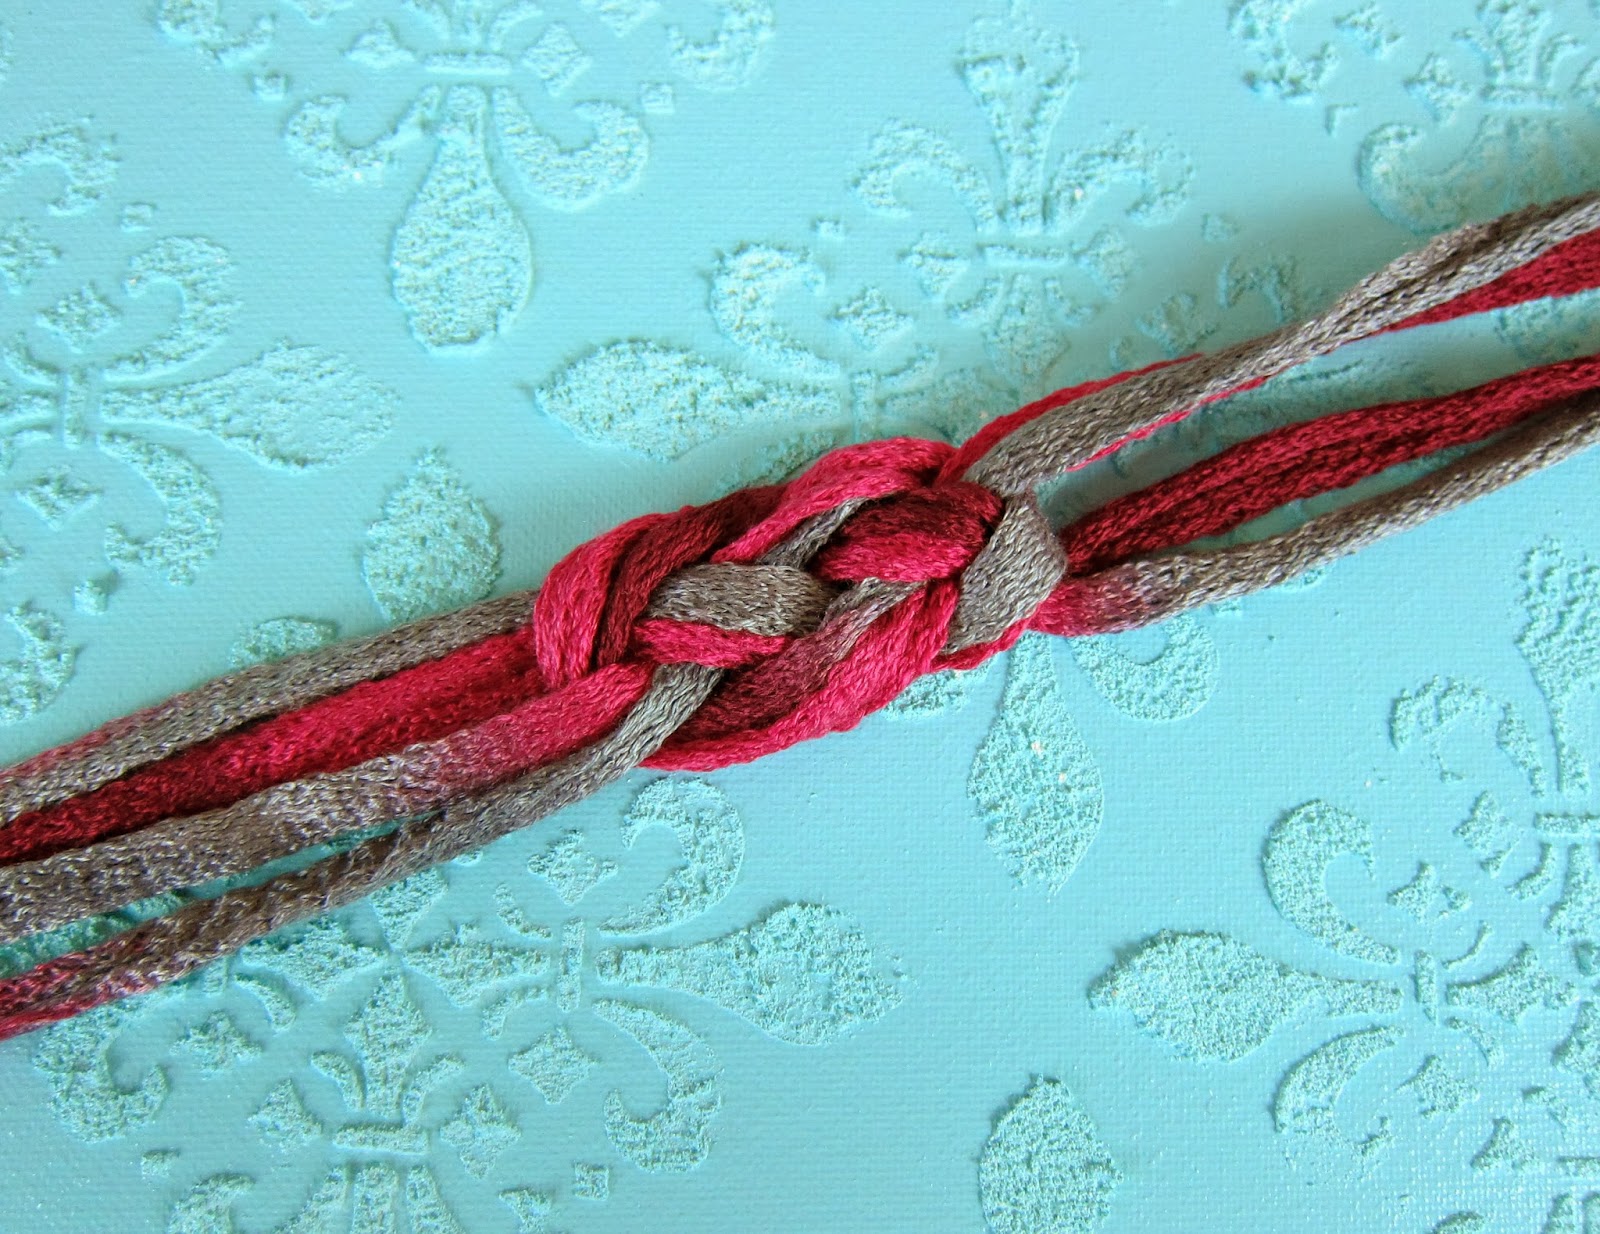
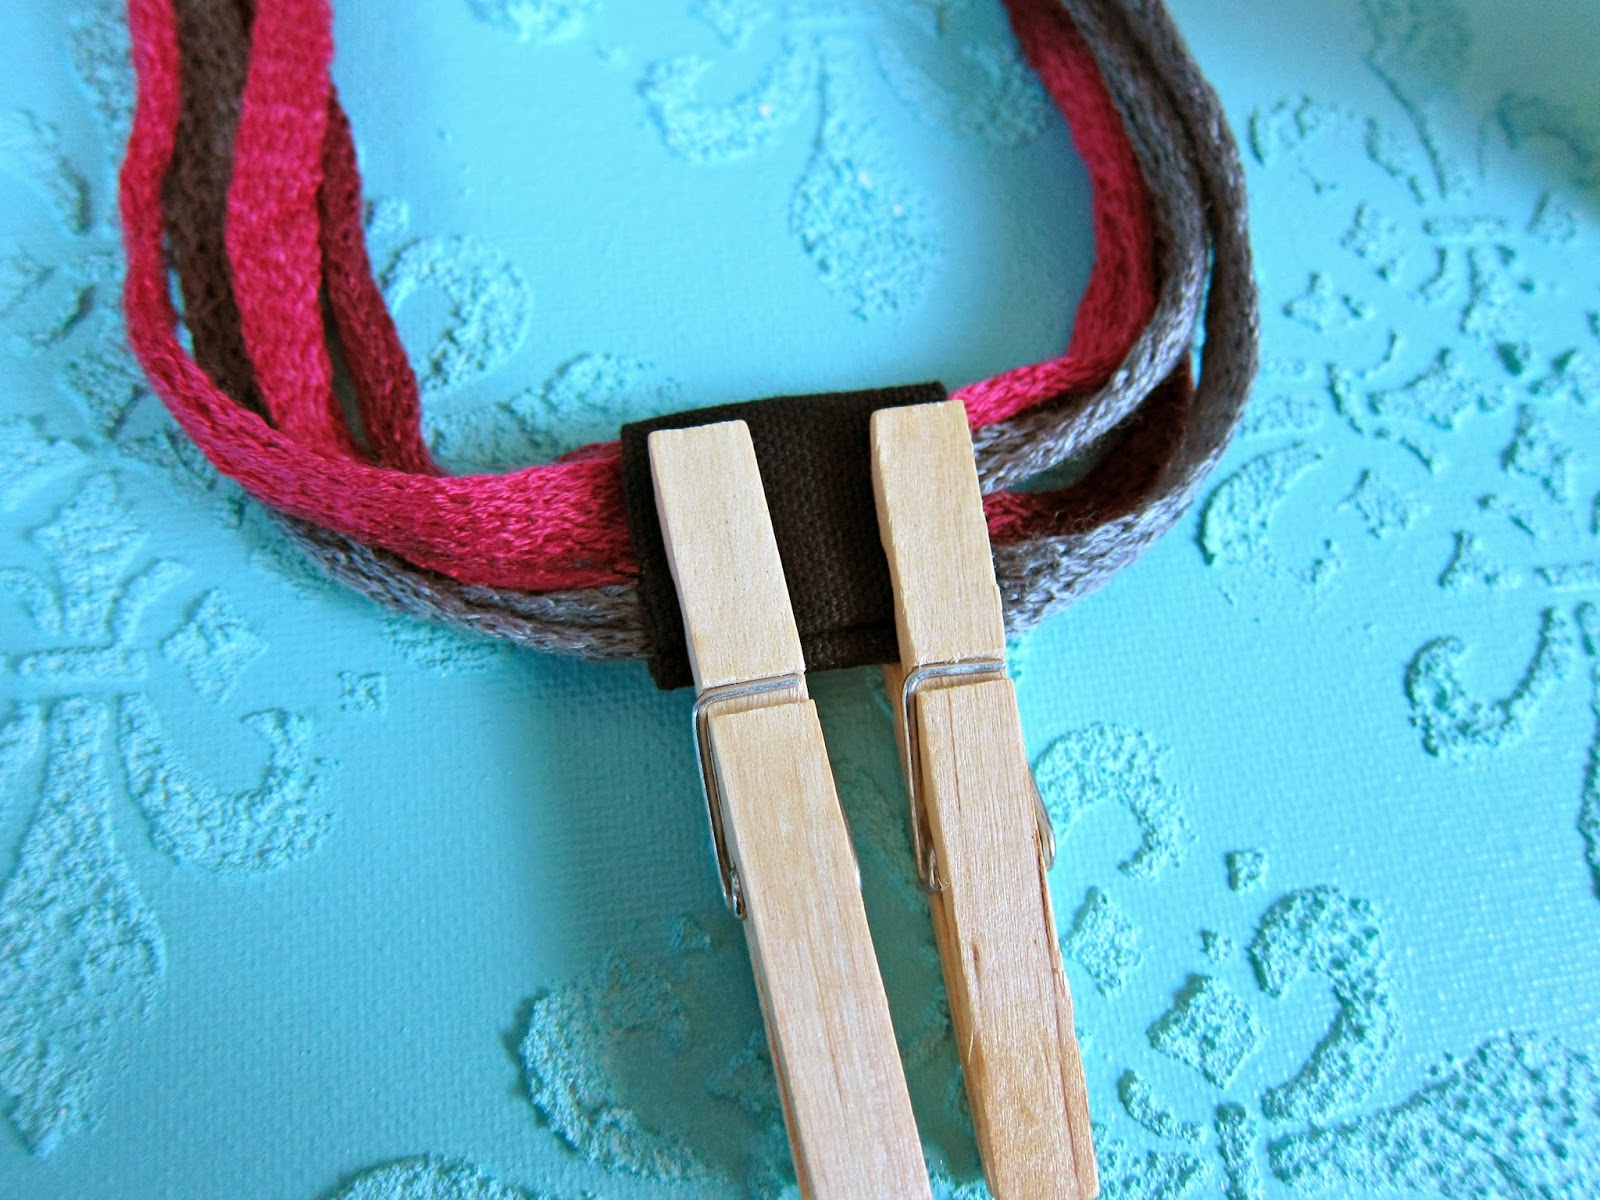
Measure the headband to your head, and cut off the excess. Use fabric glue to adhere the yarn to the fabric, fold the fabric over, and glue closed.
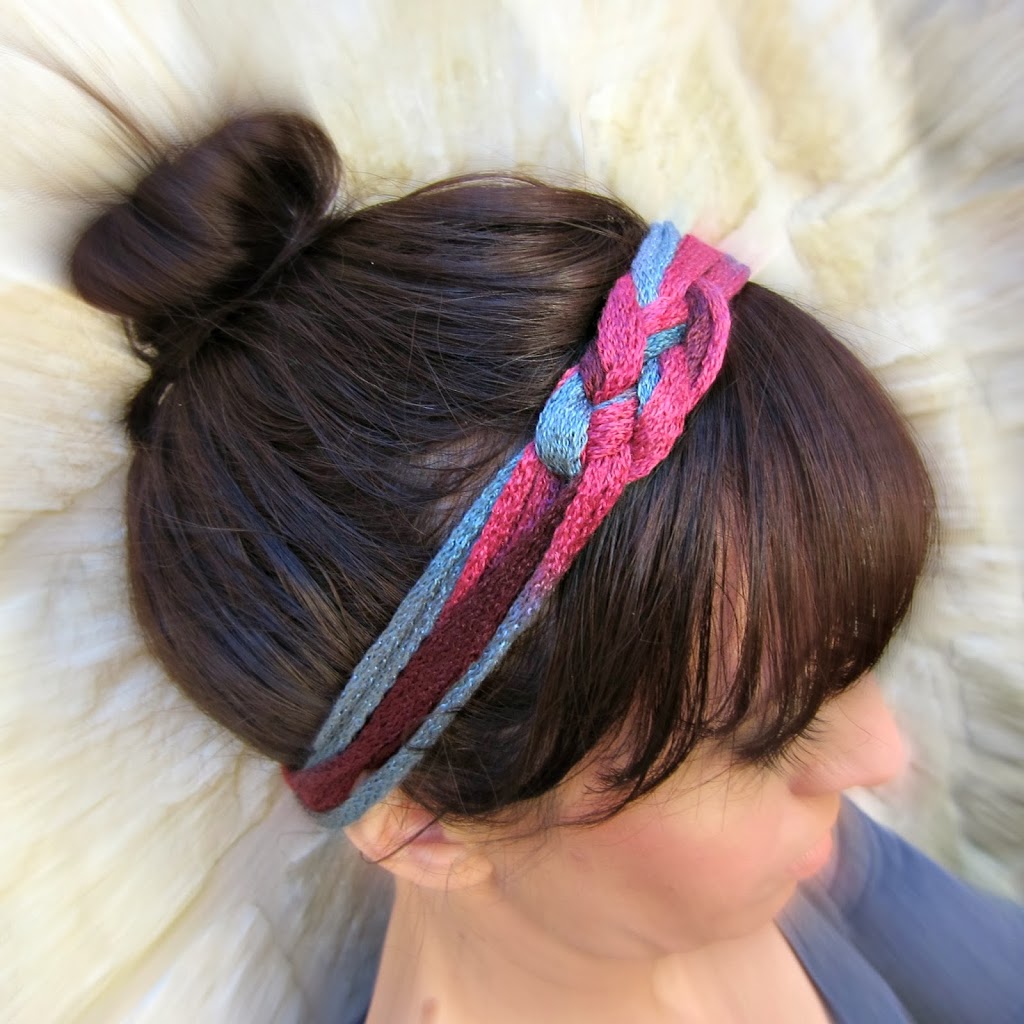
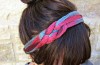
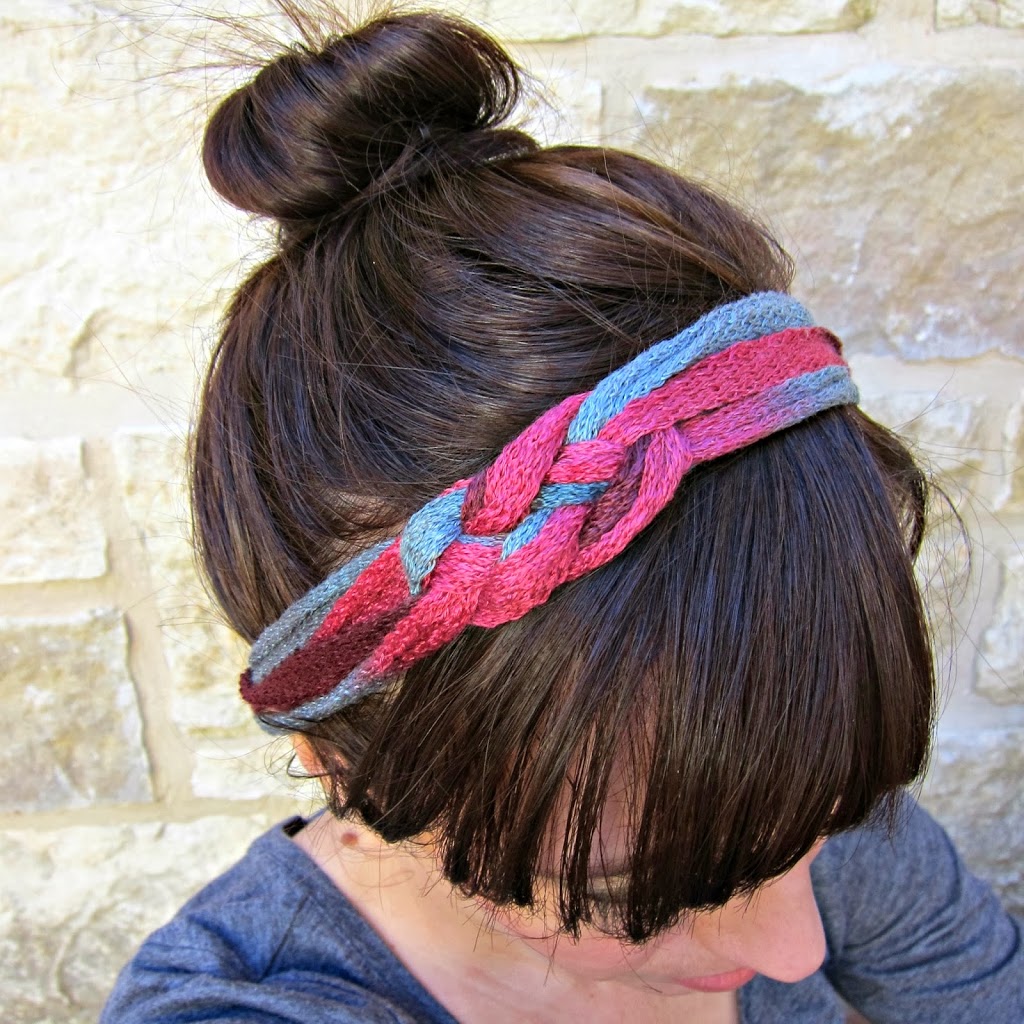
I like that this yarn headband is understated yet still pretty. They’re so quick to make that you could make several in multiple colors in no time!
Leave a Reply