Can’t go outside? Bring the outdoors in with this cloud lantern tutorial!
I made one of these cloud lanterns before, and being at home gave me the perfect excuse to makes some more with my kids. This is a great project for any crafting level, and it’s easy enough for beginners. You don’t need a ton of supplies, either, so it’s a great way to keep busy and bring something bright and cheery into your home.
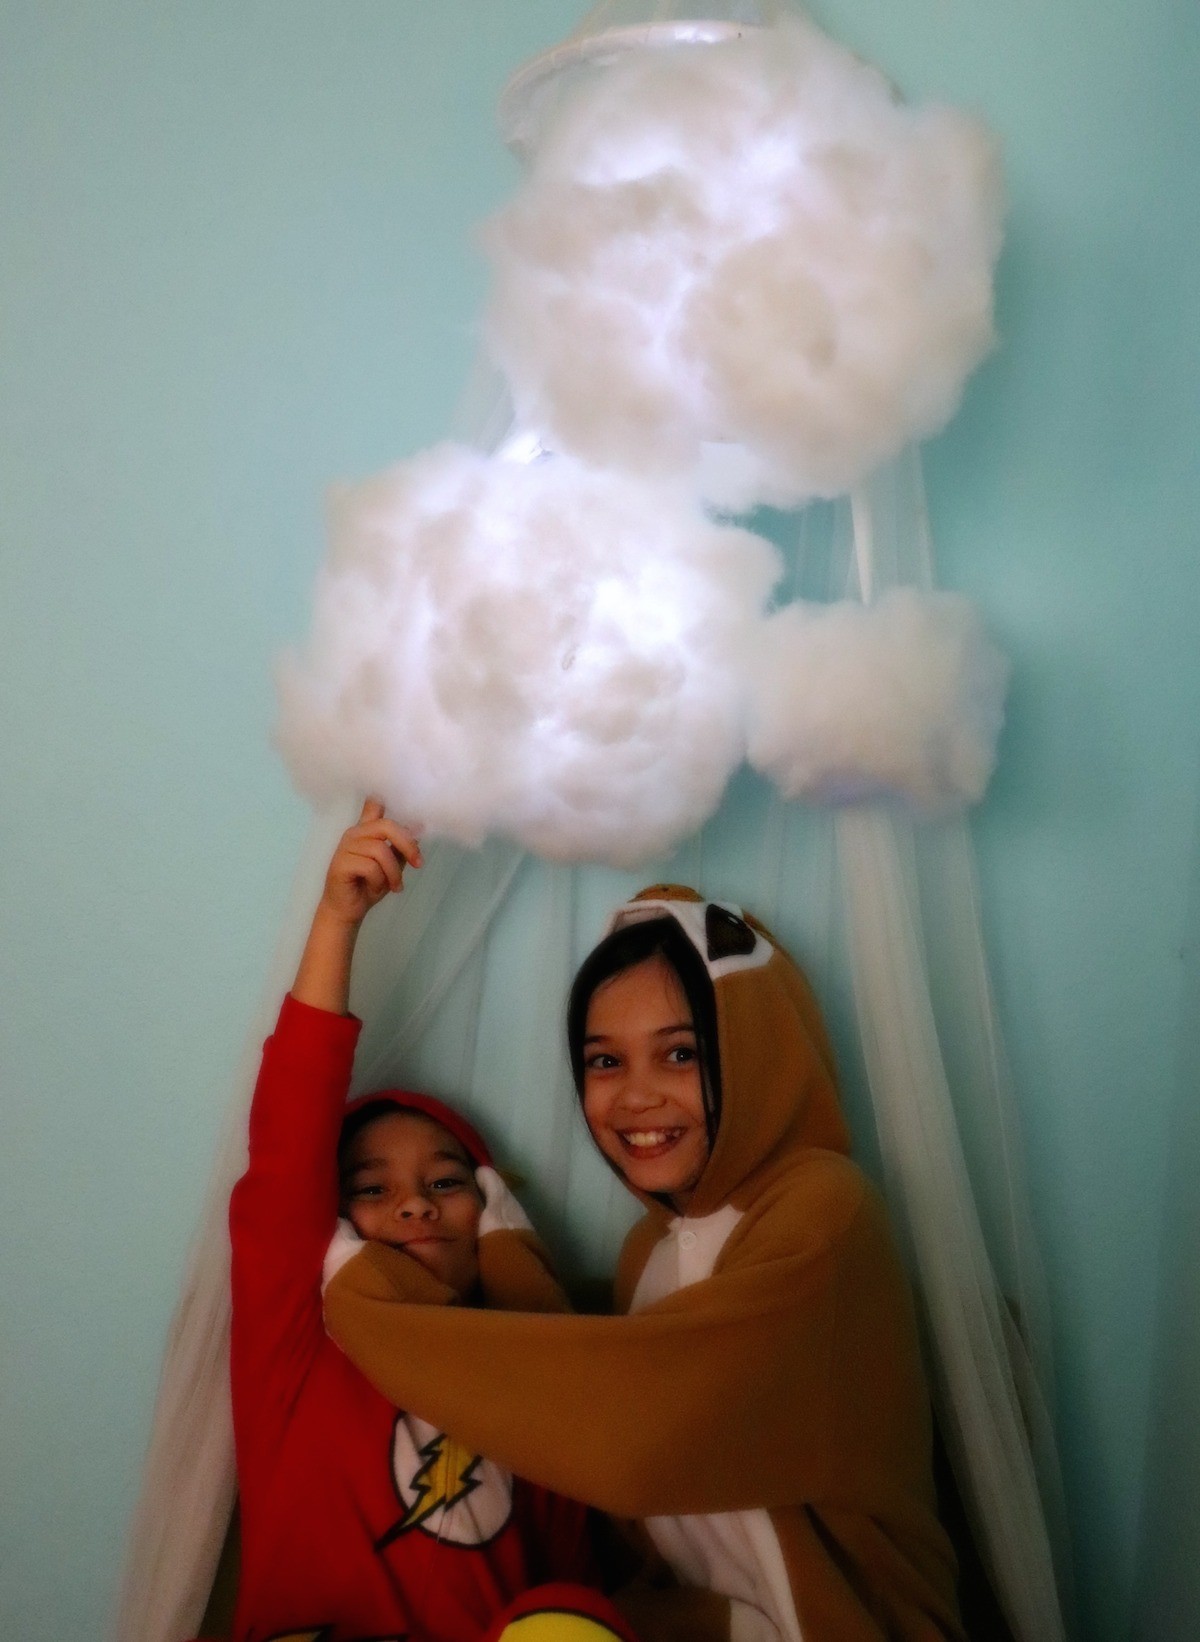
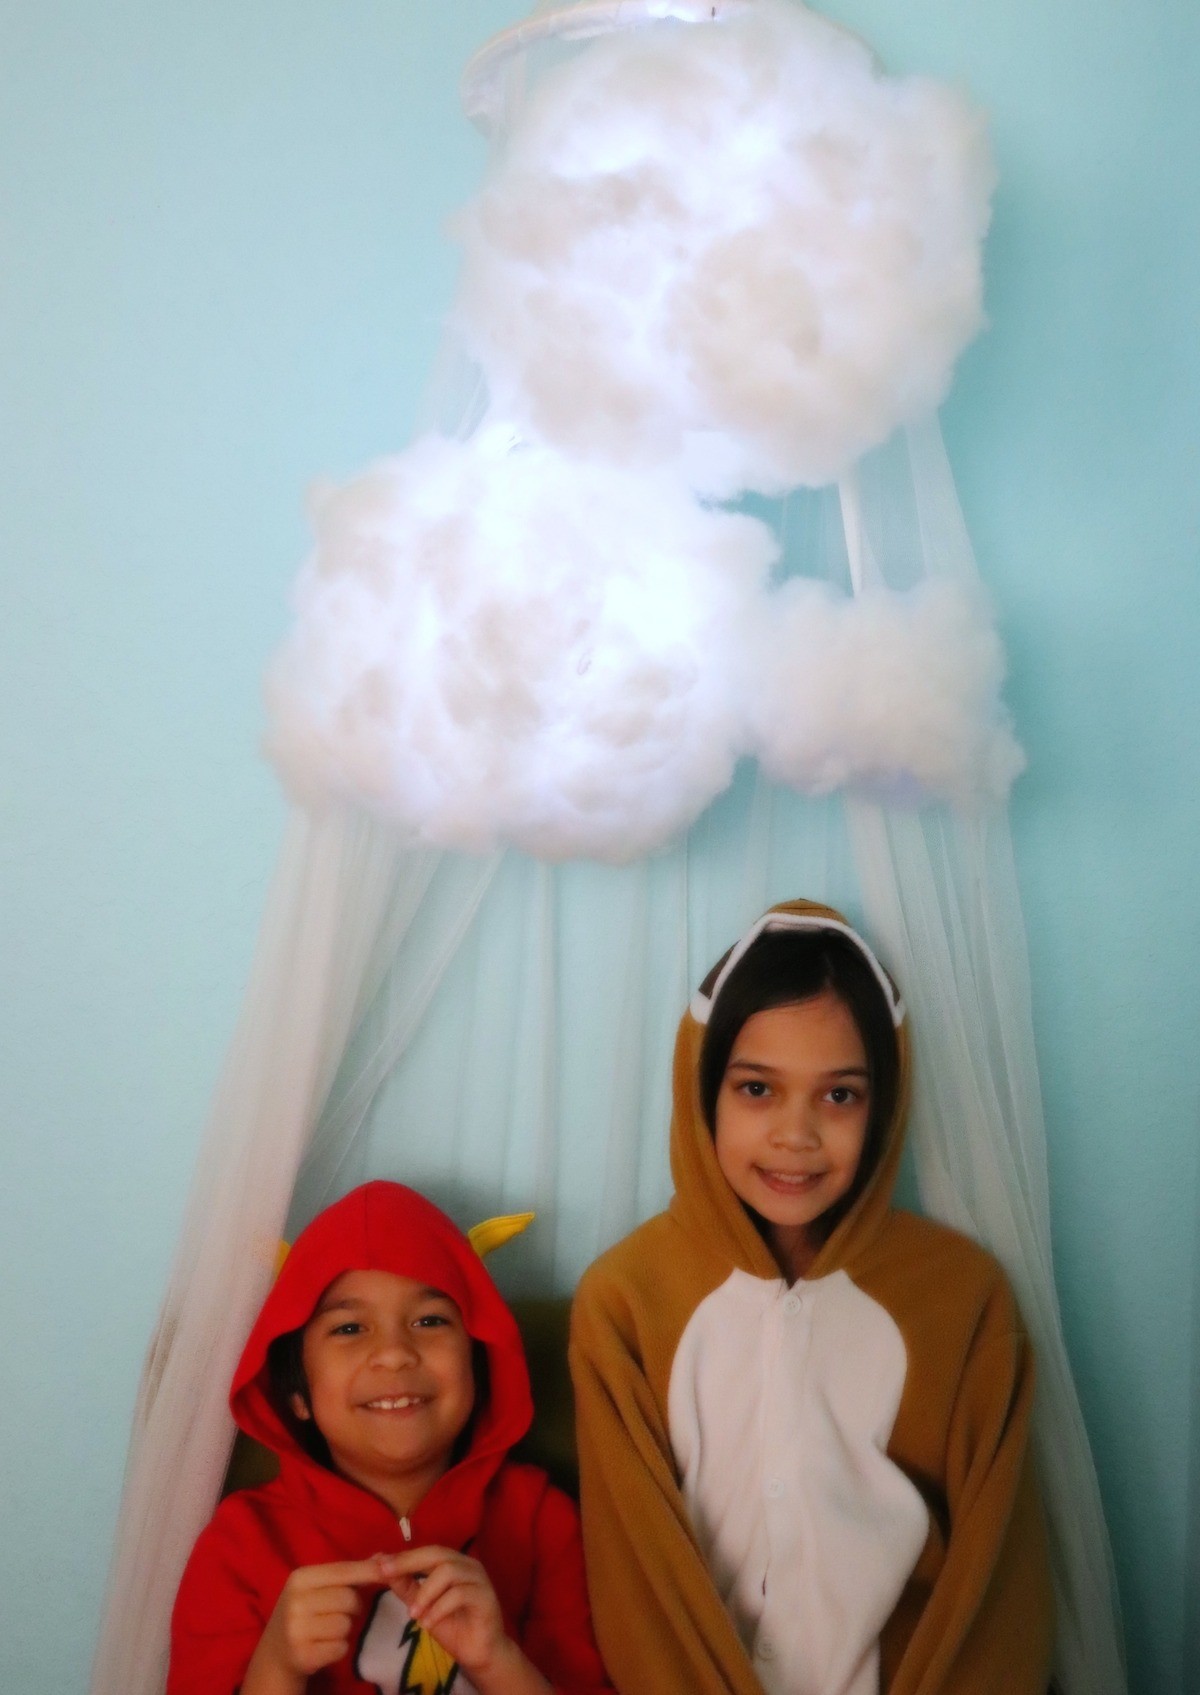
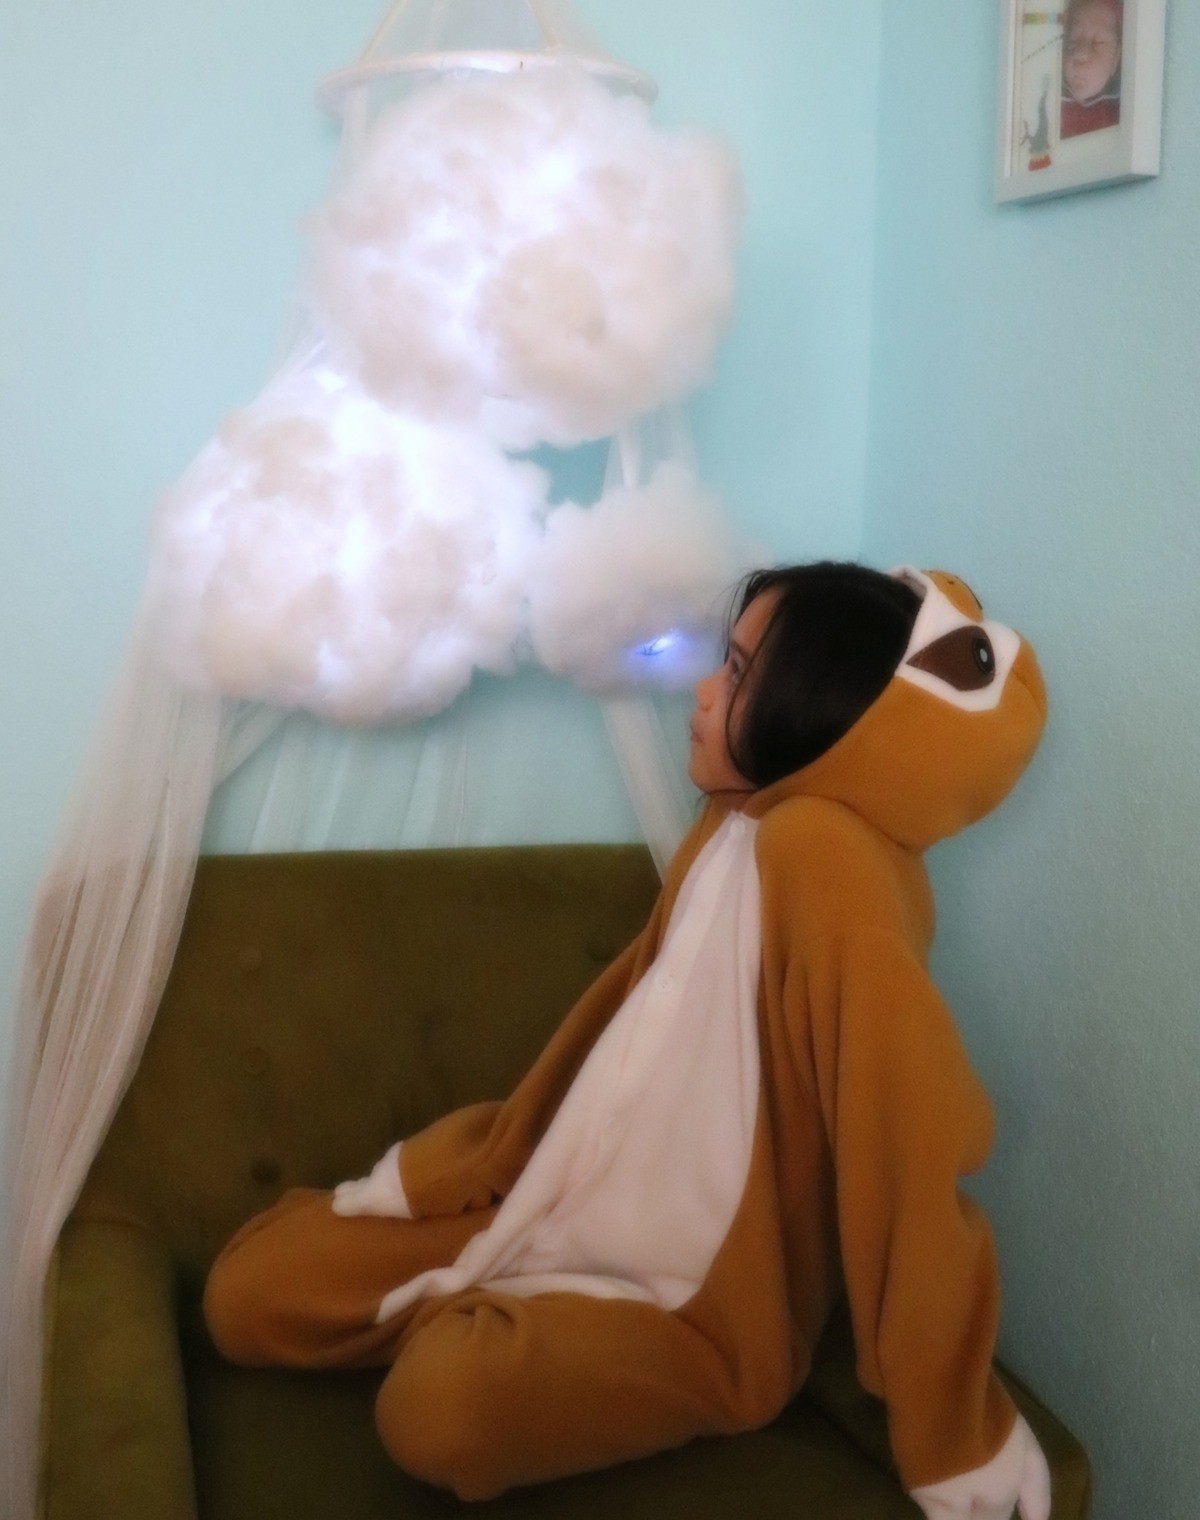
This cloud lantern tutorial would be great for creating nursery decor or to decorate a bedroom with. It would also be fun party decor. I liked using it to decorate a little reading nook with. Anyone who wants to pretend to be outside any time, day or night, can curl up in this chair under the clouds to relax!
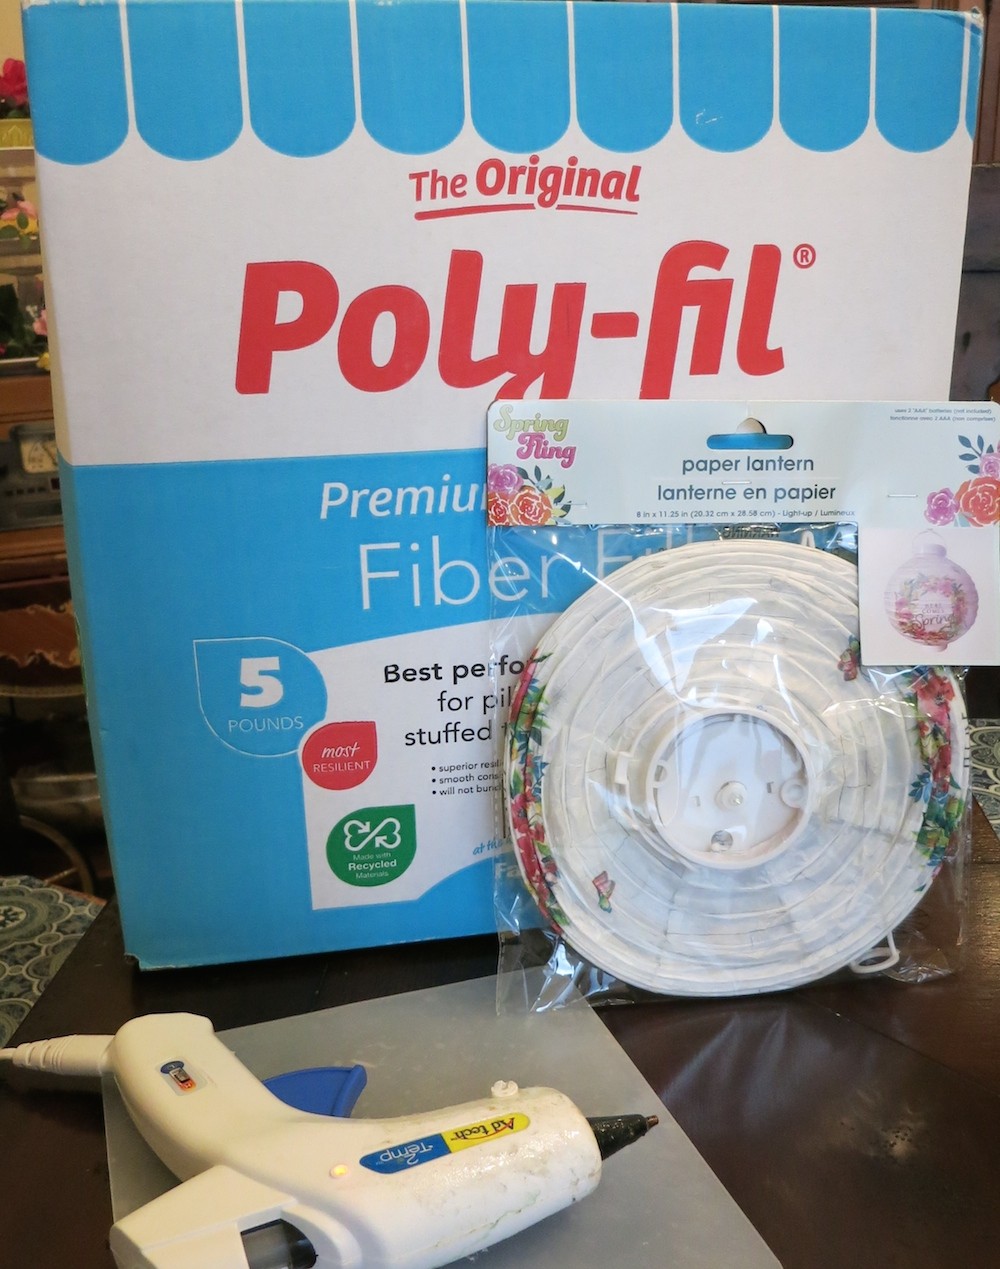
Supplies Used for this Cloud Lantern Tutorial
- Poly-Fil Fiber Fill
- Battery Operated Paper Lantern (found at Dollar Tree)
- Hot Glue Gun and Glue Sticks
Check out my short video for complete details on how to make these cloud lanterns. It’s really easy to make, but it helps to watch someone make it first, so you know how to fill in all the gaps and fluff the cloud up.
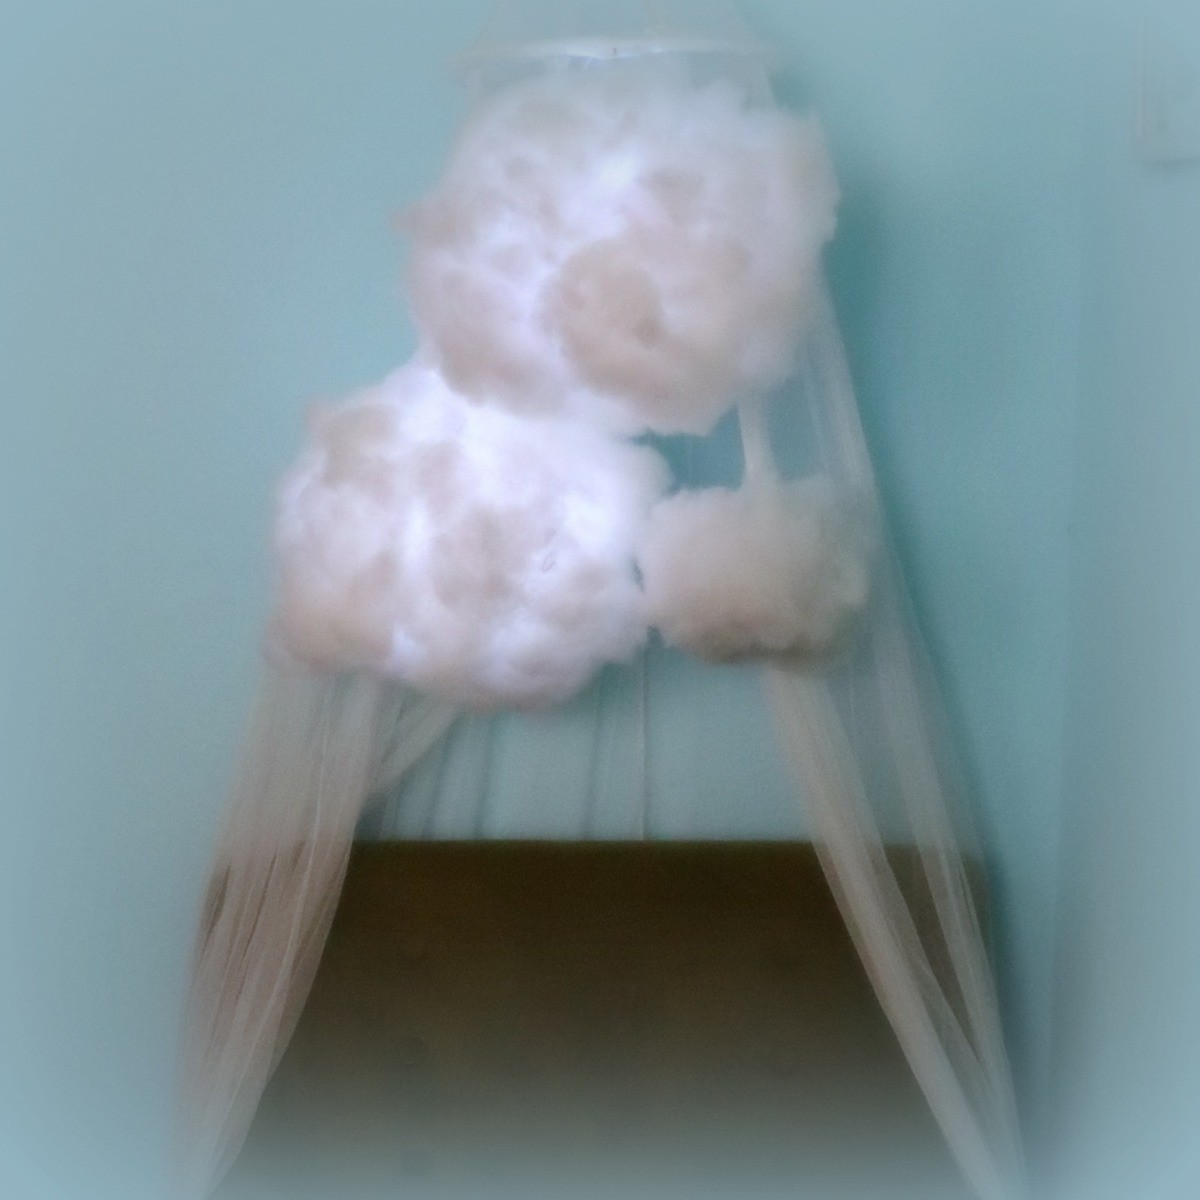
My daughter is ten years old and she watched me make one cloud lantern. Then I gave her a small lantern so she could make her own. When you use several different sized lanterns it helps create a cloudy sky look.
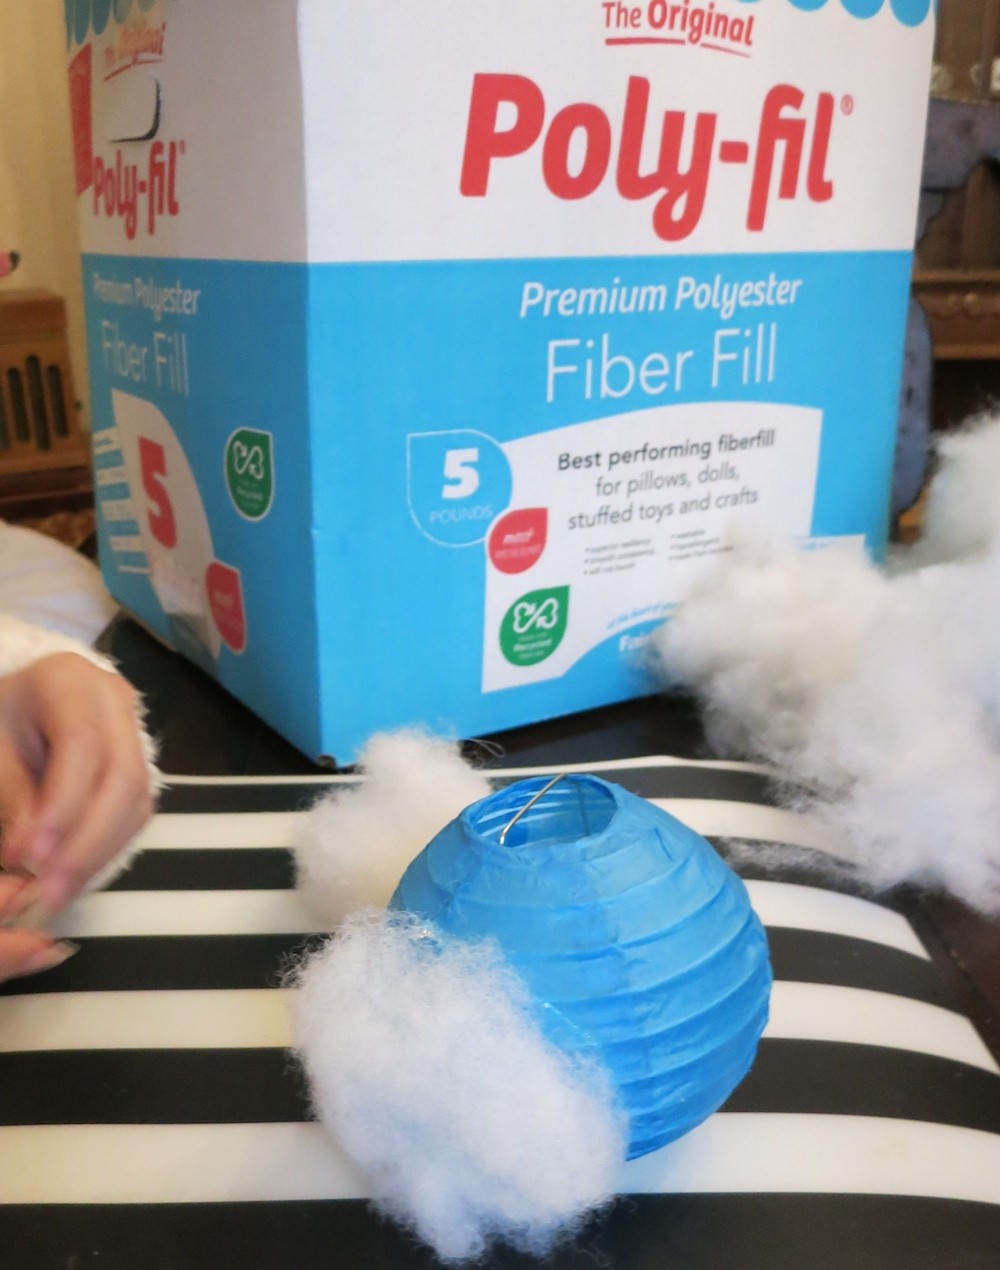
Basically the project is this simple: grab puffs of the fiber fill and hot glue them to the lantern. Alternate small and large puff of the Poly-Fill to give the cloud lantern texture and depth. You are going to use a LOT of hot glue for this project, so make sure you have plenty of sticks on hand for this project.
You can win your own Poly Fil prize pack this week with a giveaway from Fairfield World on Instagram. Click here to learn more!
Leave a Reply