This pom pom pillow tutorial is a fun project to make!
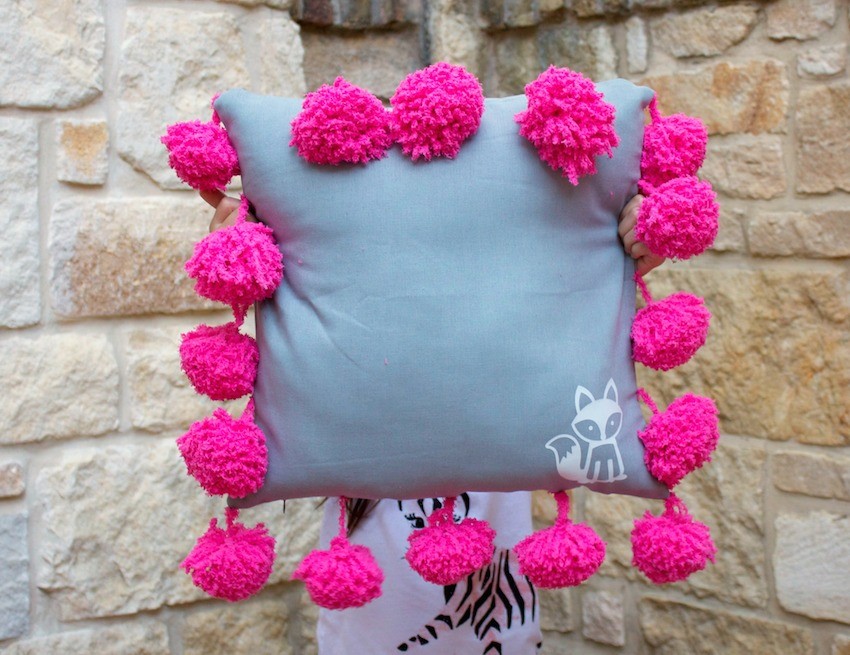
One of the first craft projects I remember making is pom poms. We used cardboard to wrap the yarn for our DIY pom poms. I remember using my handmade pom poms to decorate my shoes and hair. I decided to put a more “grown up” twist on this fun craft project and use my handmade pom poms to create home decor. This accent pillow is so fun and fluffy!
Supplies Used to Make this Project:
- Darice Soft & Sweet Baby Yarn: Bright Pink
- Darice Pom Pom Loom
- Darice Pillow Case with Zipper – Grey
- Poly-Fil
- Darice Iron On Transfers: Woodland Creatures 4 pack
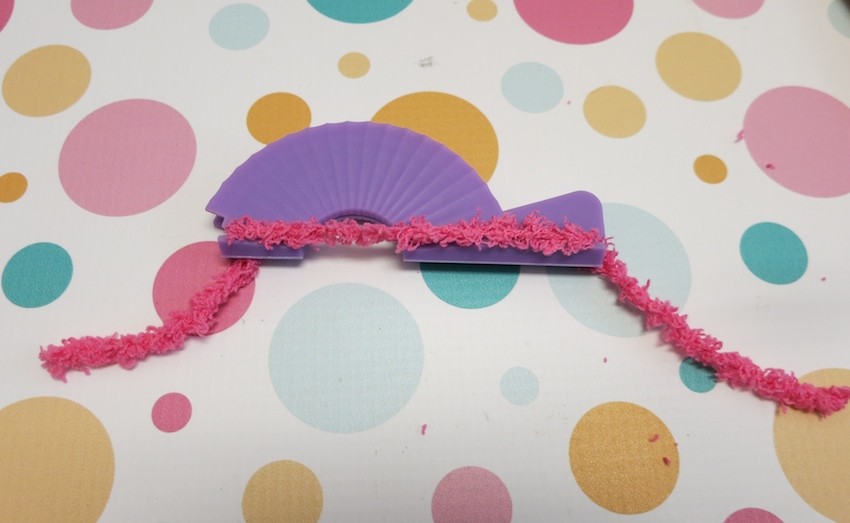
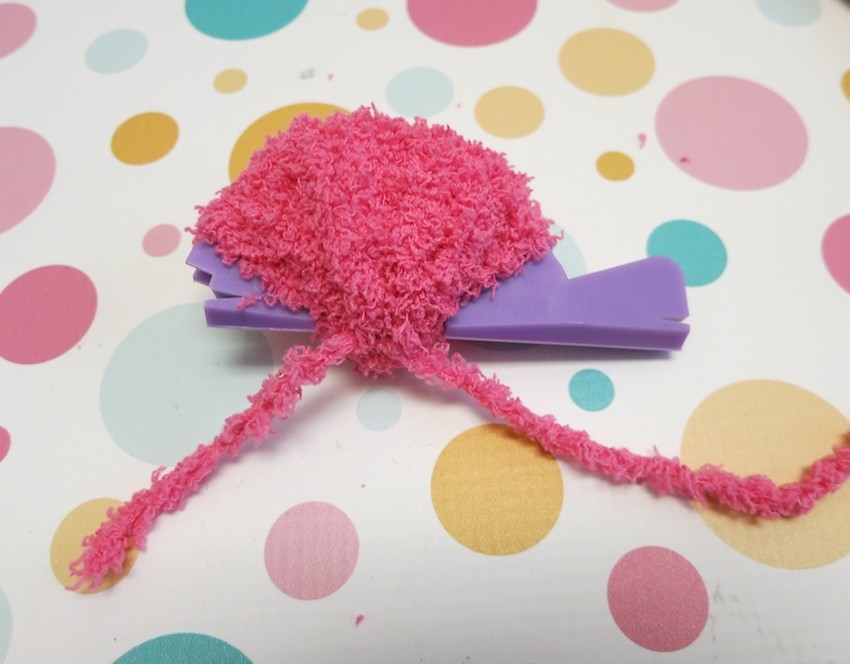
Cut a piece of yarn that is slightly longer than the edge of the 3″ pom pom maker. Pin each end of the yarn in the plastic slots as pictured.
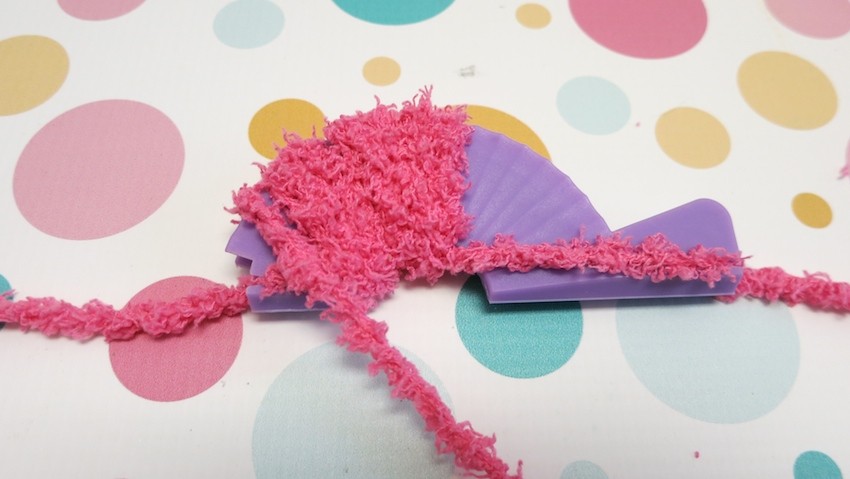
Hold a piece of yarn at the top center of the pom pom maker and begin wrapping the plastic. Continue wrapping until the the plastic is covered. The more you wrap it, the fuller the pom pom will be later.
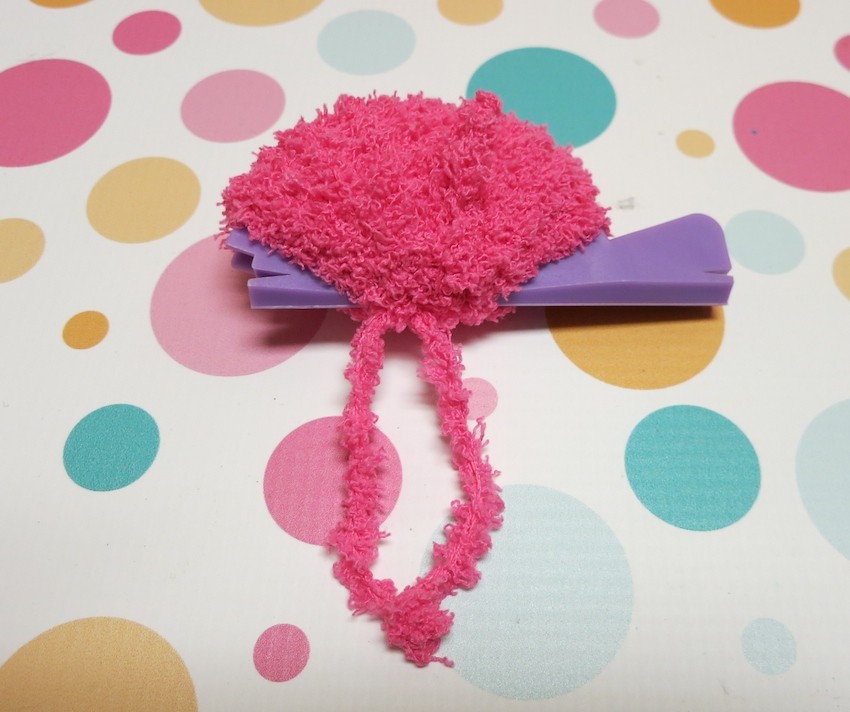
Cut the end of the yarn that you were wrapping. Detach the ends of the first piece of yarn you had added to the base of the pom pom maker, and tie a tight knot with it. Tie the ends together to make a loop.
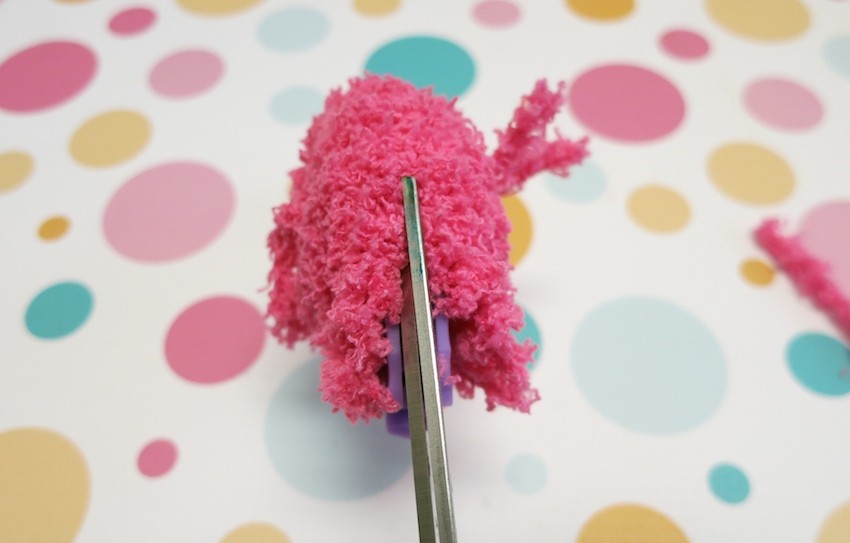
Starting at the edge of the yarn, cut along the slit provided by the pom pom maker. I made 16 pom poms for this pillow project.
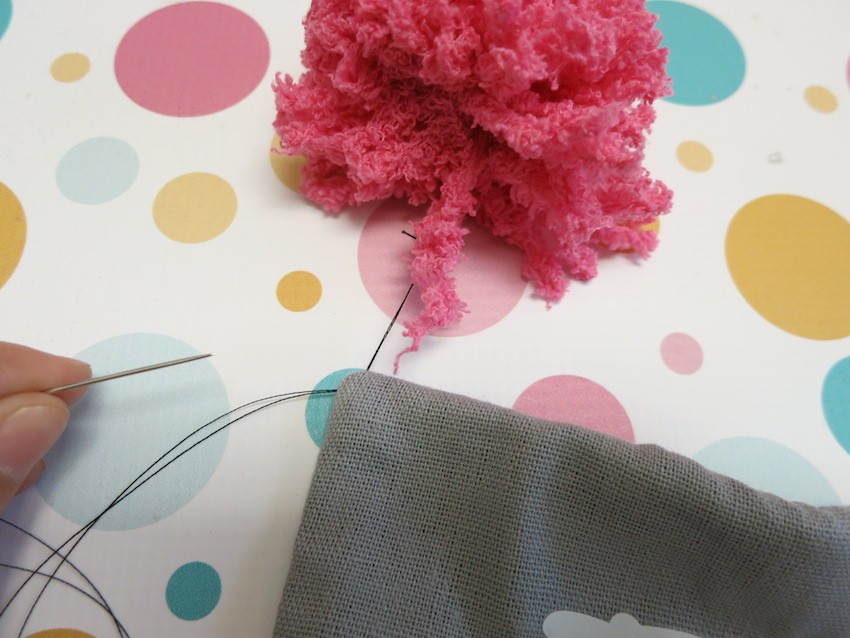 Stitch the one looped piece on each pom pom (from step three) to the edge of the pillow.
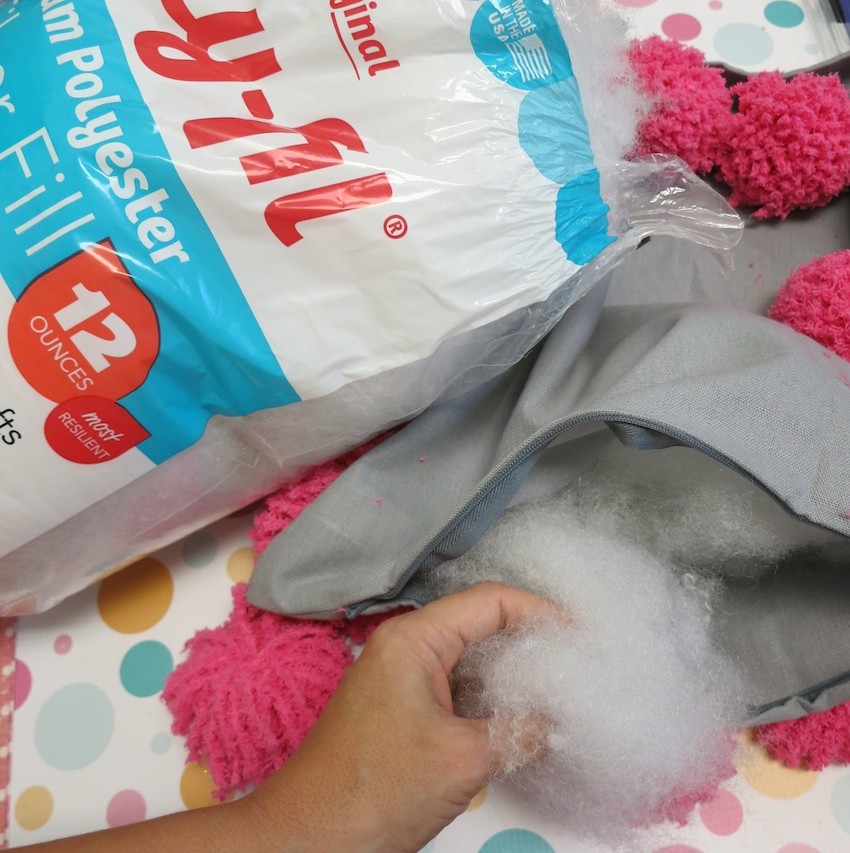
Unzip the pillow and stuff the pillow cover with Poly-Fil fiber fill.
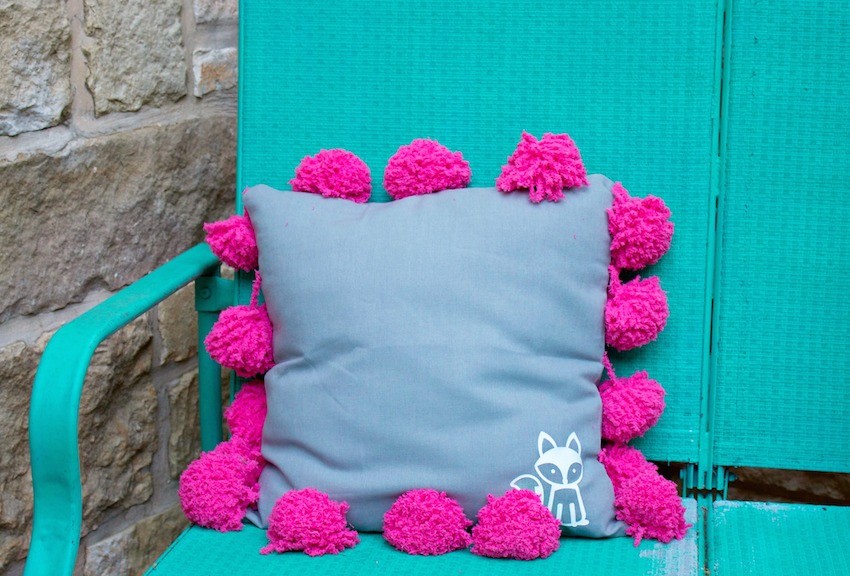
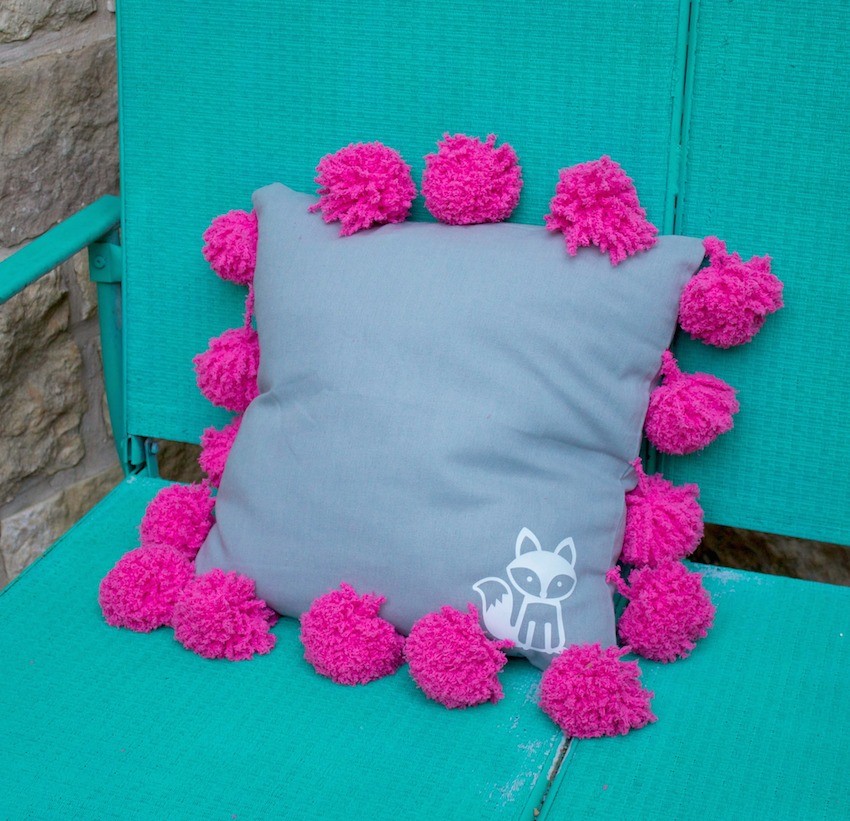
I ironed on a cute little fox to finish off my accent pillow. The fox looks so cute nestled next to the fun, fuzzy pom poms, don’t you think? Have fun crafting and creating with this pom pom pillow tutorial!
This post was originally published on the Darice blog where I am a contributor.
Leave a Reply