Cork Tree Decor DIY: Day 2 of 12 Days of Christmas Crafts
Welcome to day TWO of my 12 days of Christmas crafts series! These quick projects are perfect for crafters of all levels. I made these with families and kids in mind, because the holidays are such a great time for everyone to craft together. I hope you’ll enjoy these activities on your own or with friends and family.
The 12 projects all feature items given to me by Oriental Trading Company. Check out my Instagram feed and stories to get the scoop on their latest deals along with codes for free shipping.
Supplies Used to Make this Cork Tree Decor DIY:
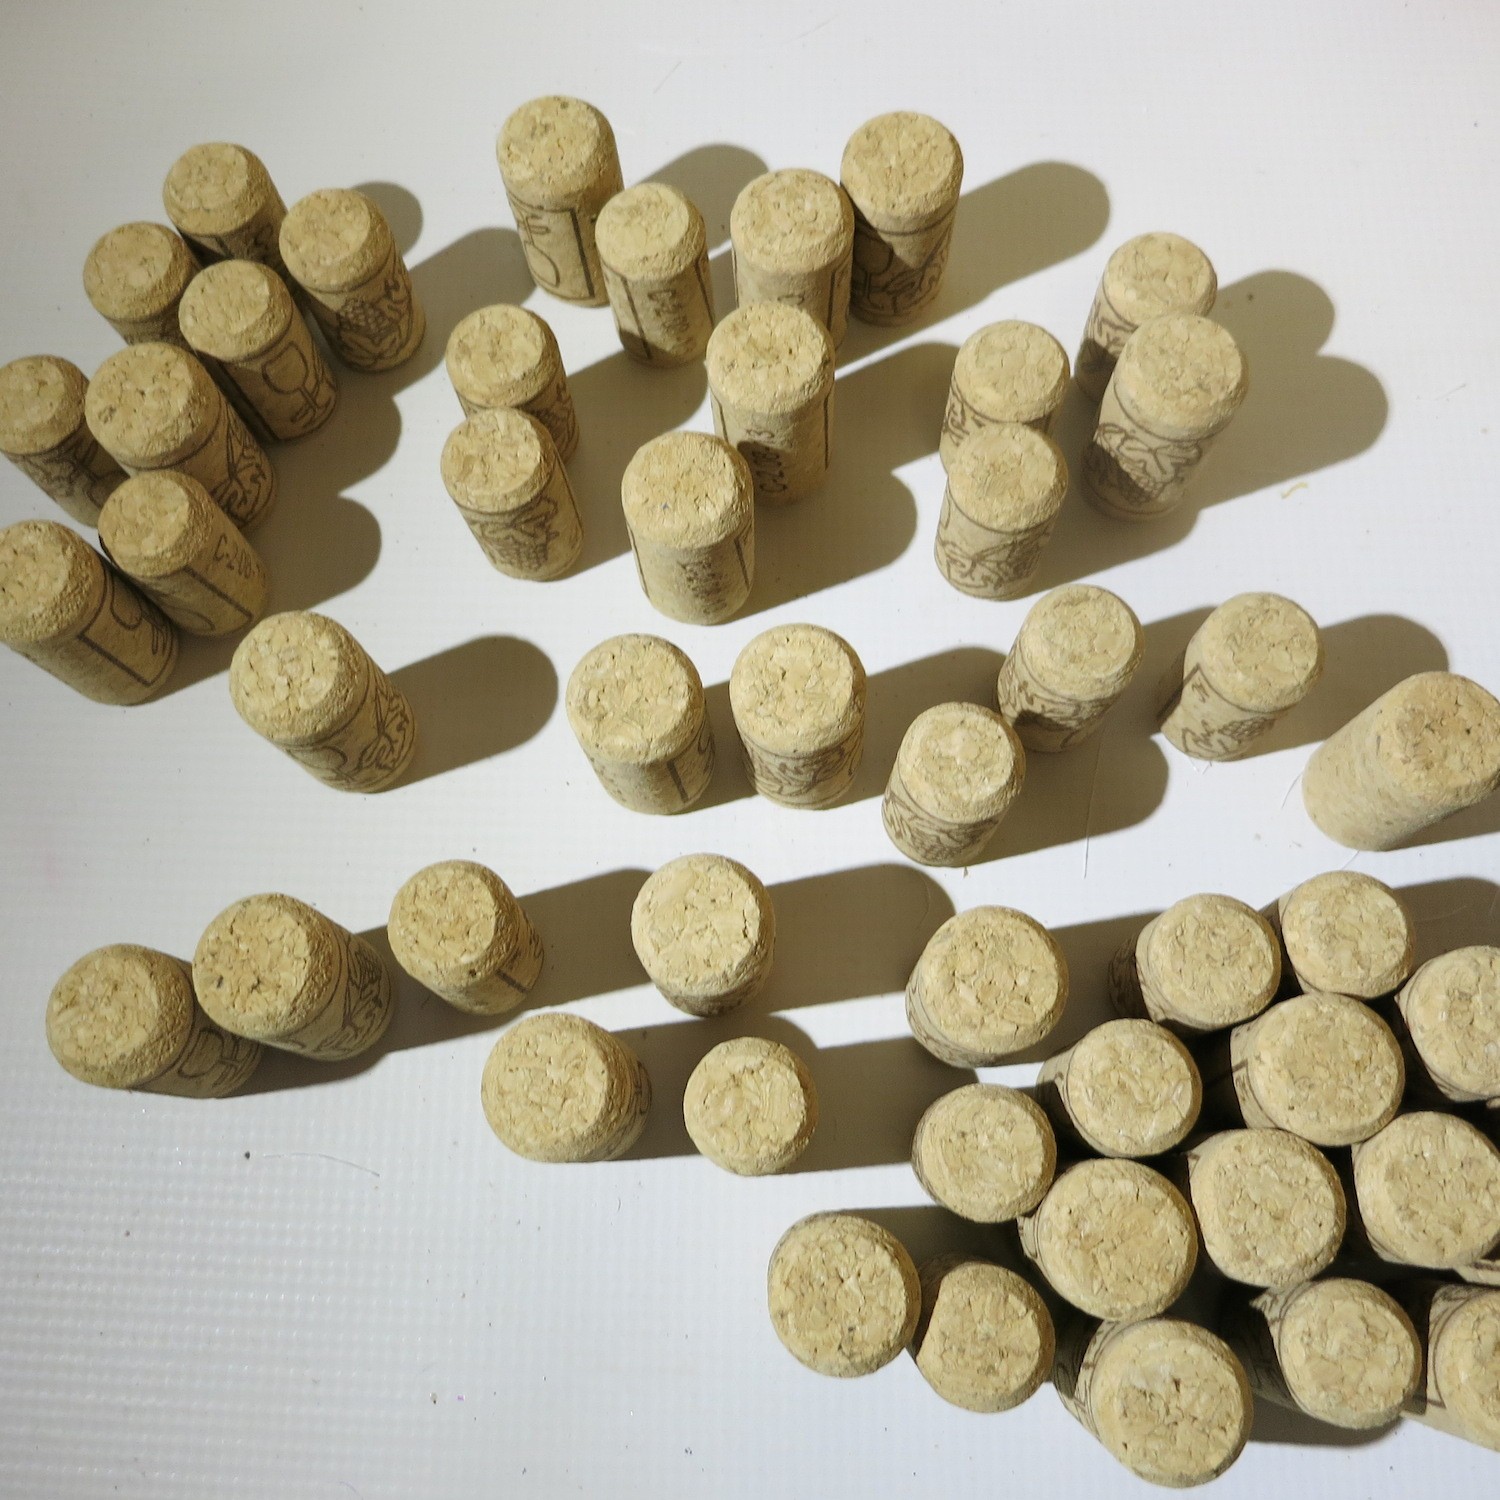
- Wine Corks (50)
- Hot glue gun
- Holiday Patterned Paper
- Circle Punch
- Xyron Sticker Maker

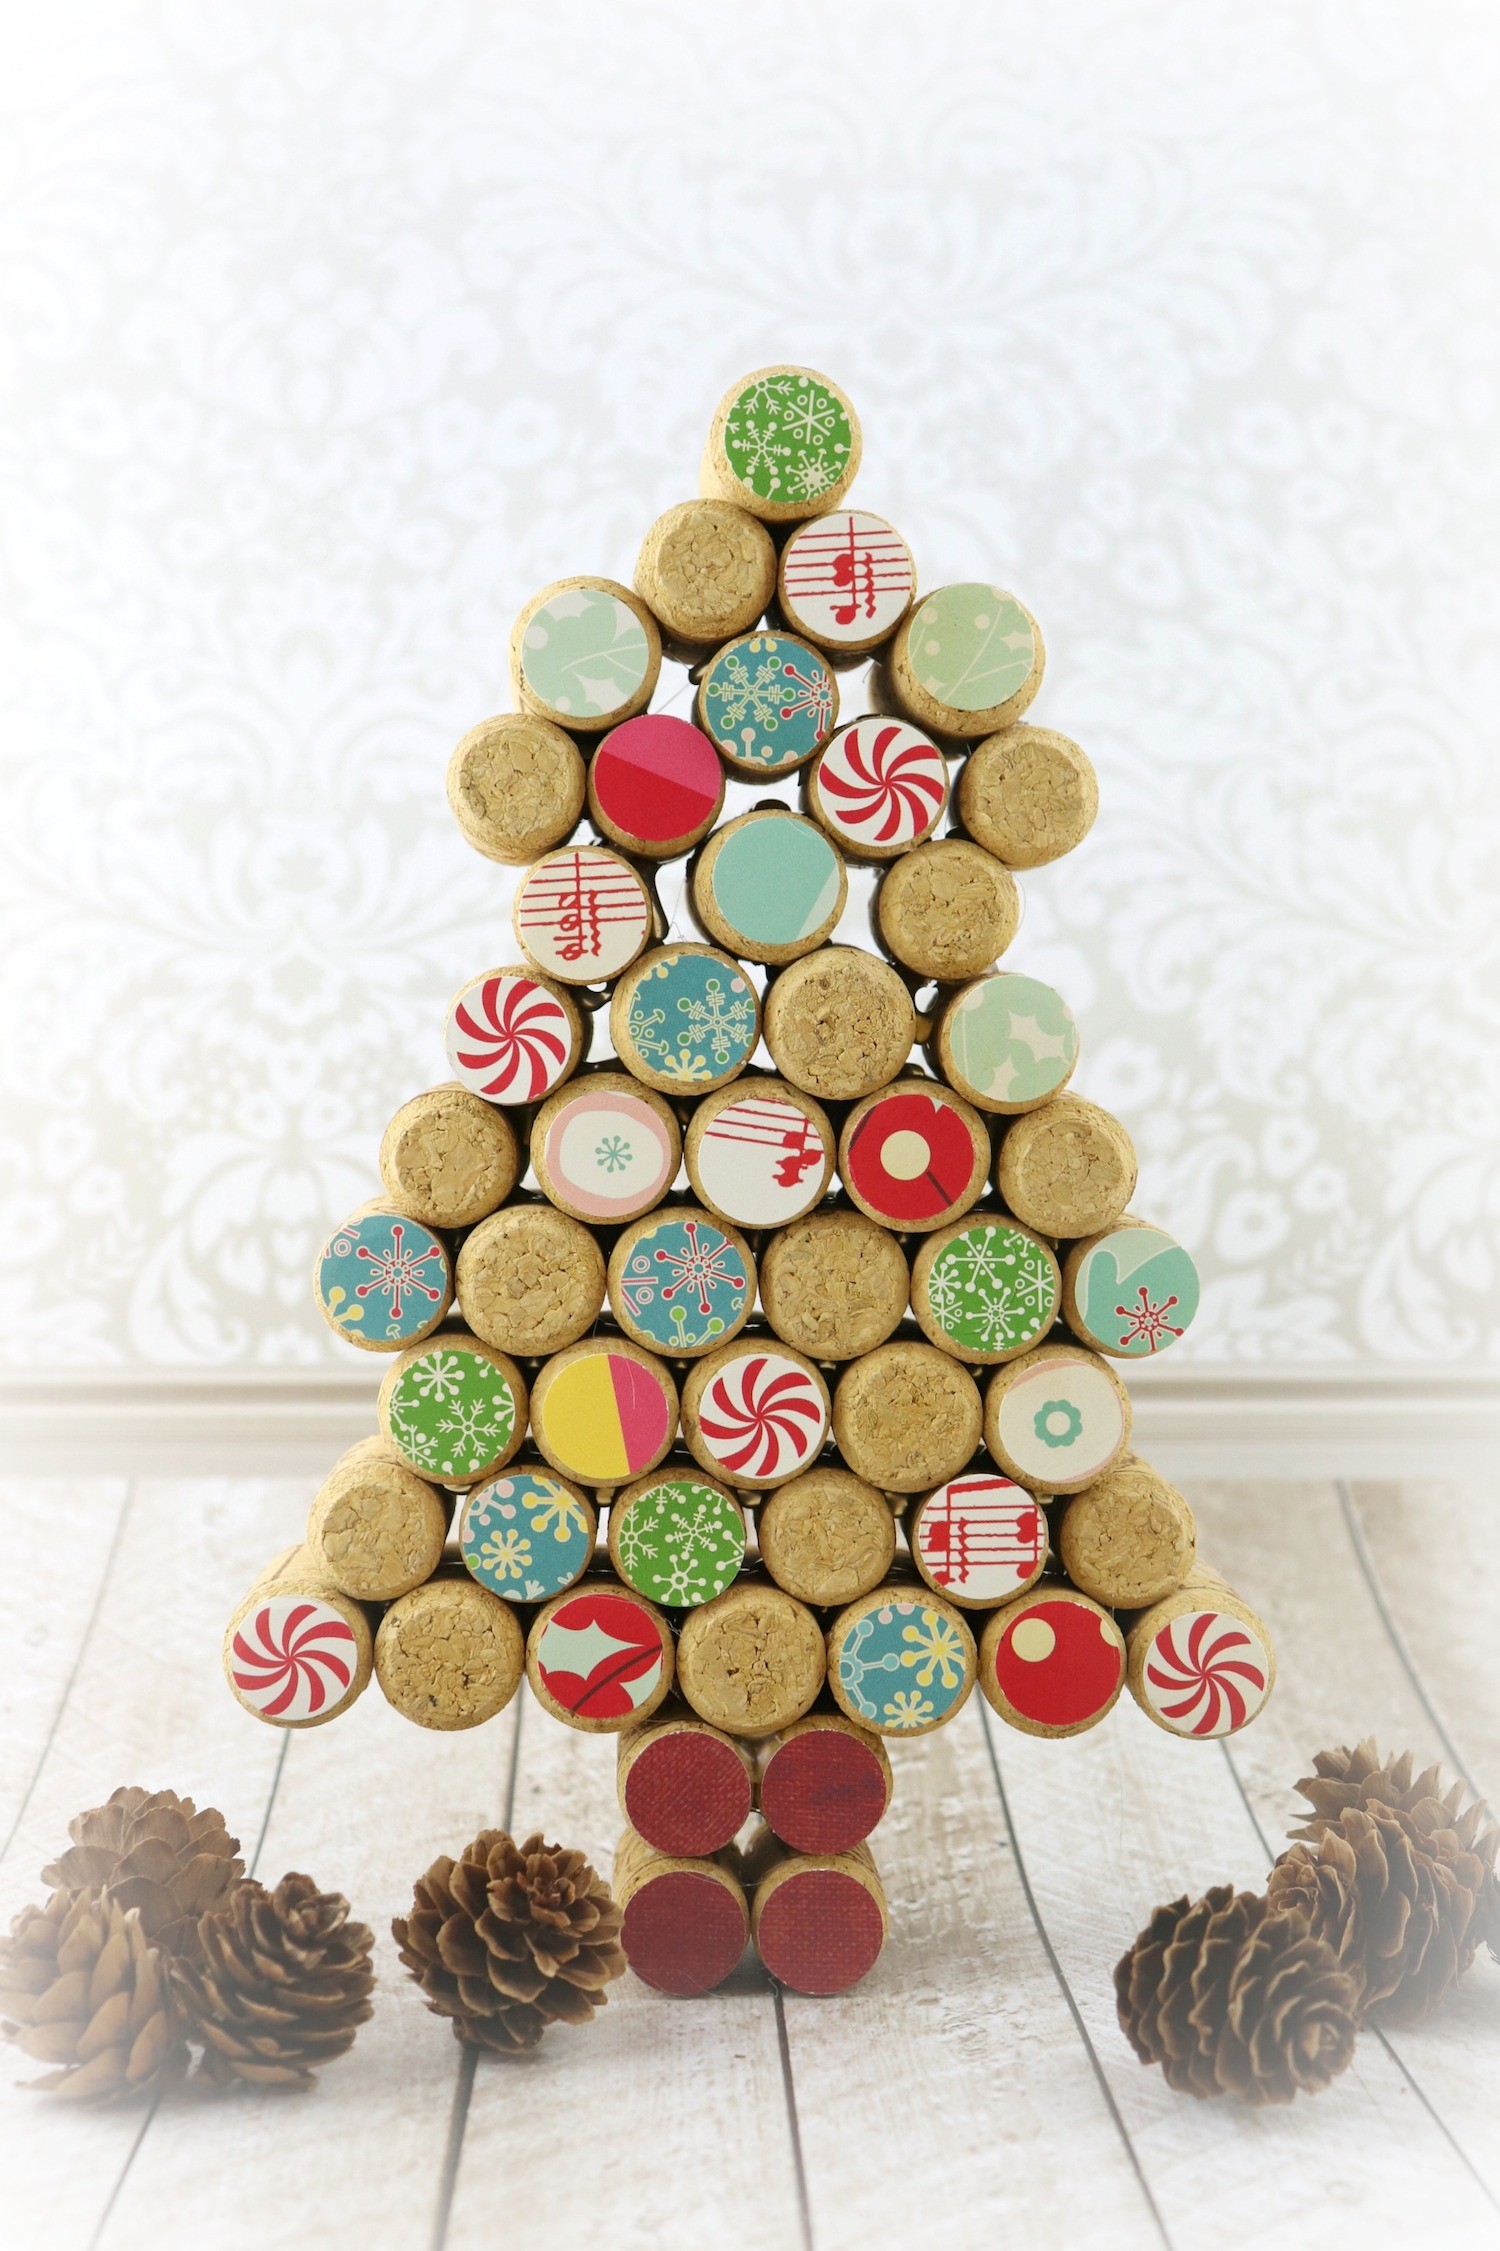
Arrange the 50 corks, using my photo as a guide. Glue starting with the bottom row, then add the row above it. Continue until the “tree” is complete.
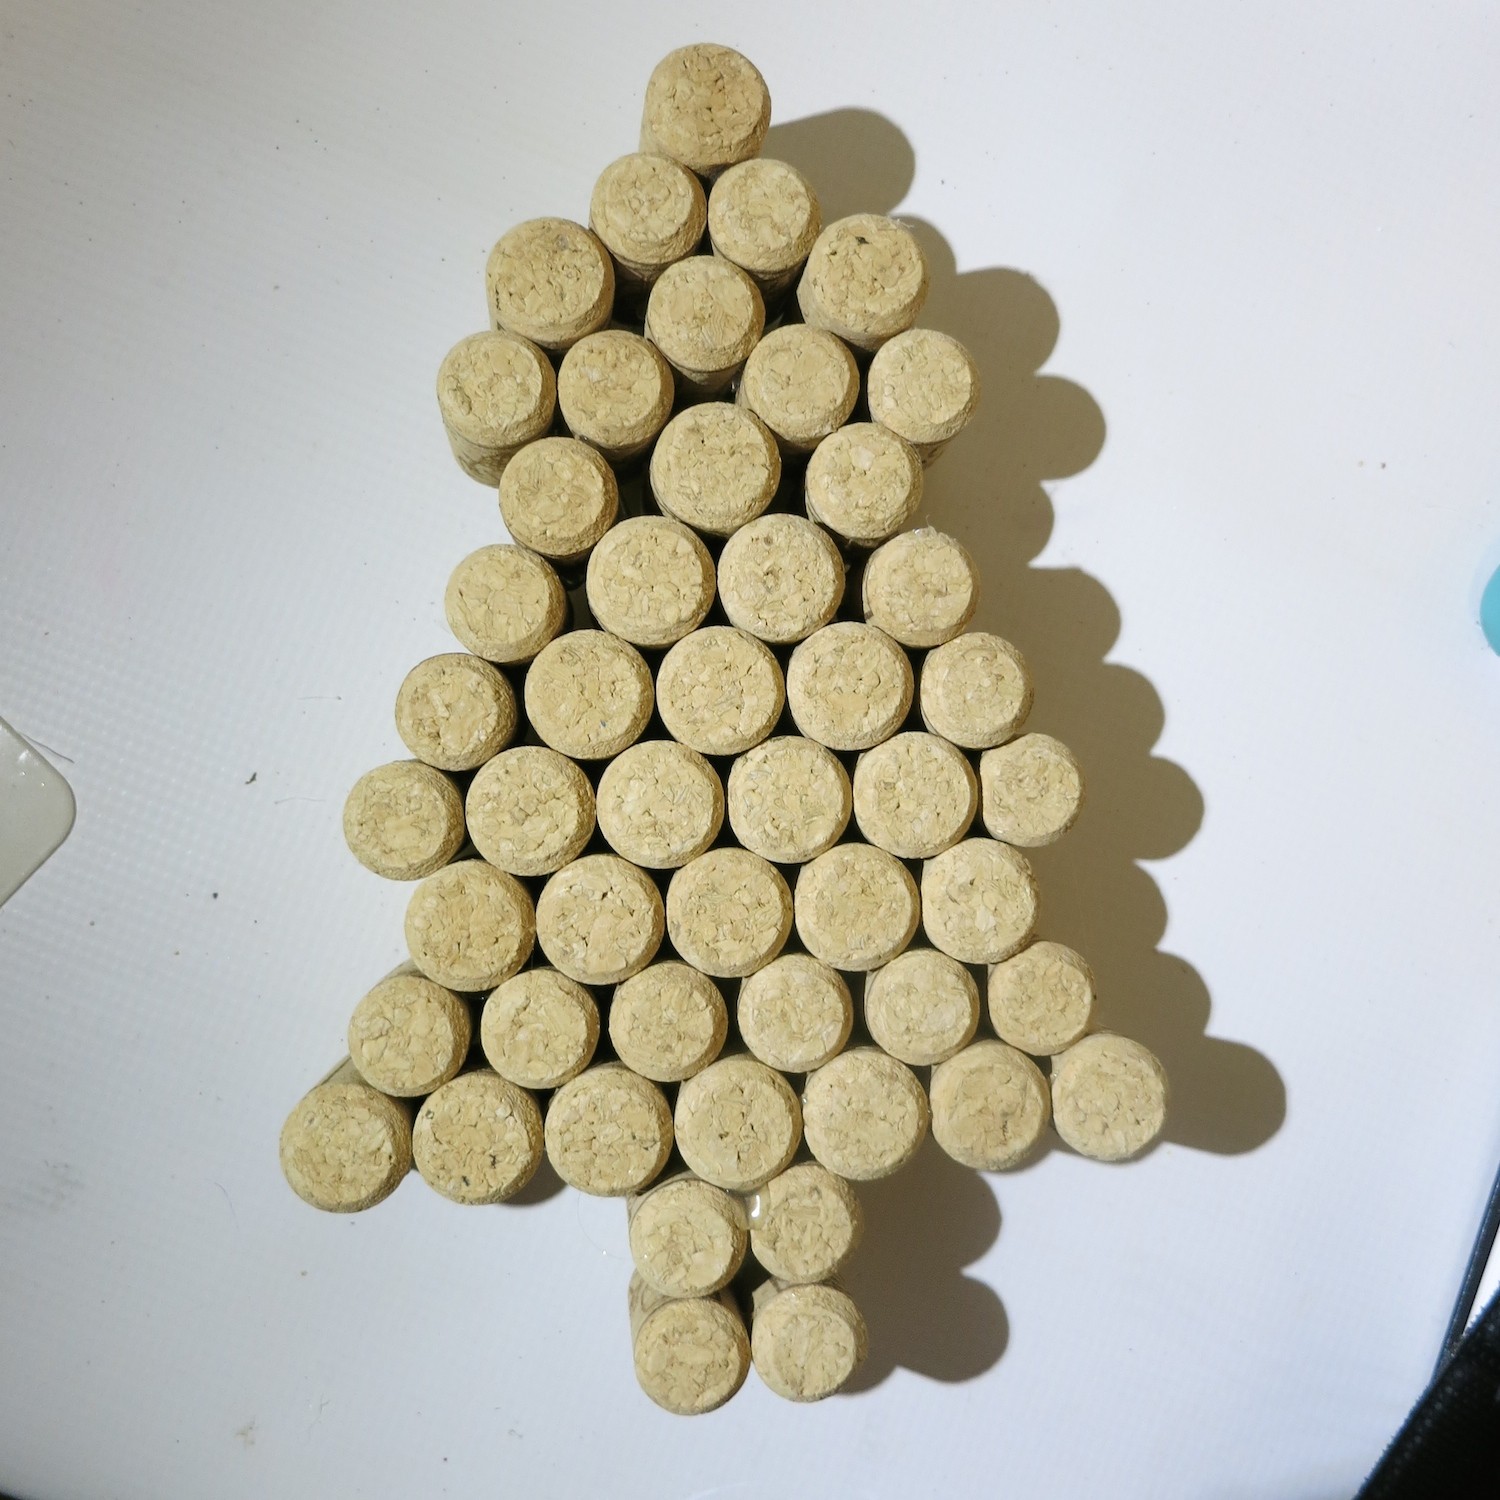
Add the four corks for the “trunk” of the tree last.
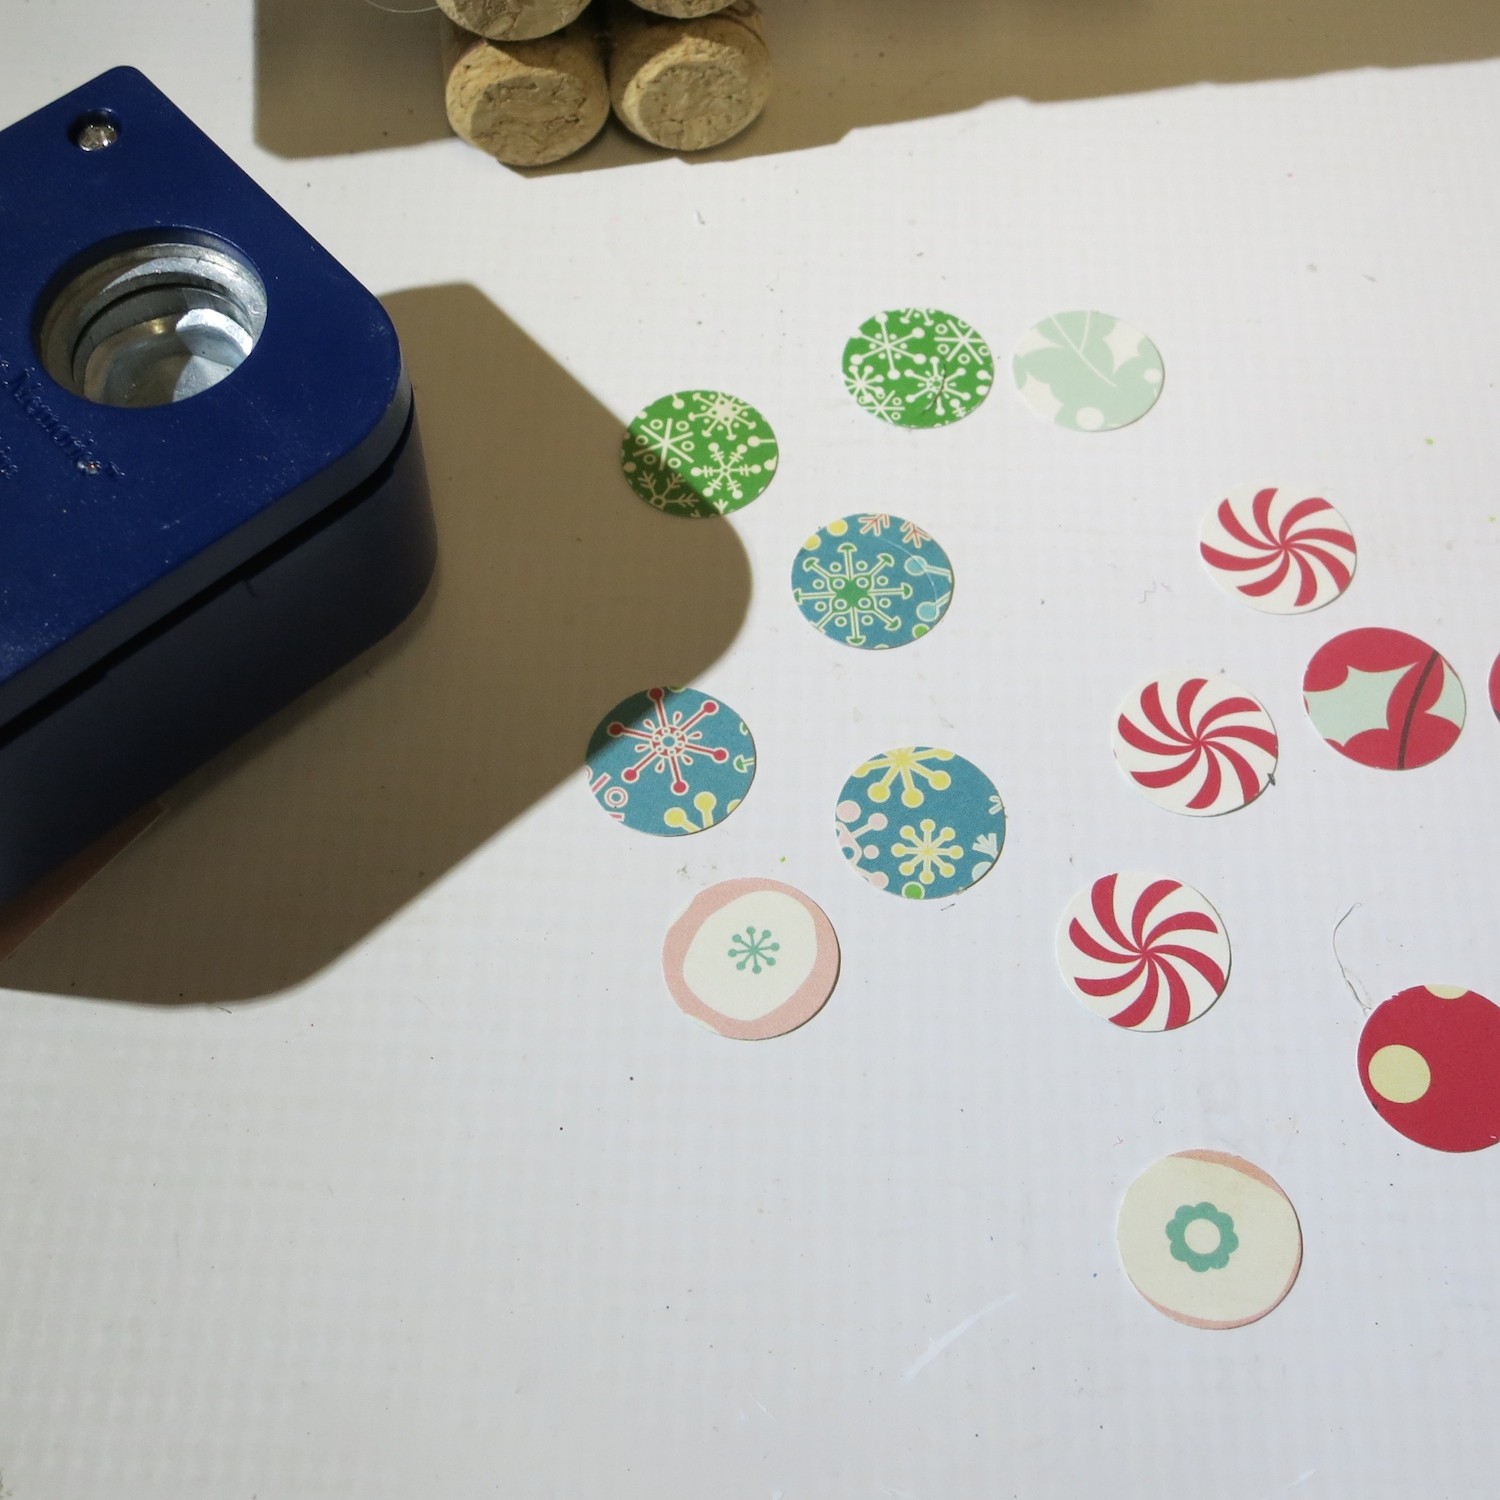
Use a 3/4″ circle paper punch to cut out a variety of patterned papers. Go for papers will small prints so that they will be visible. I used mini paper packs to get these small designs.
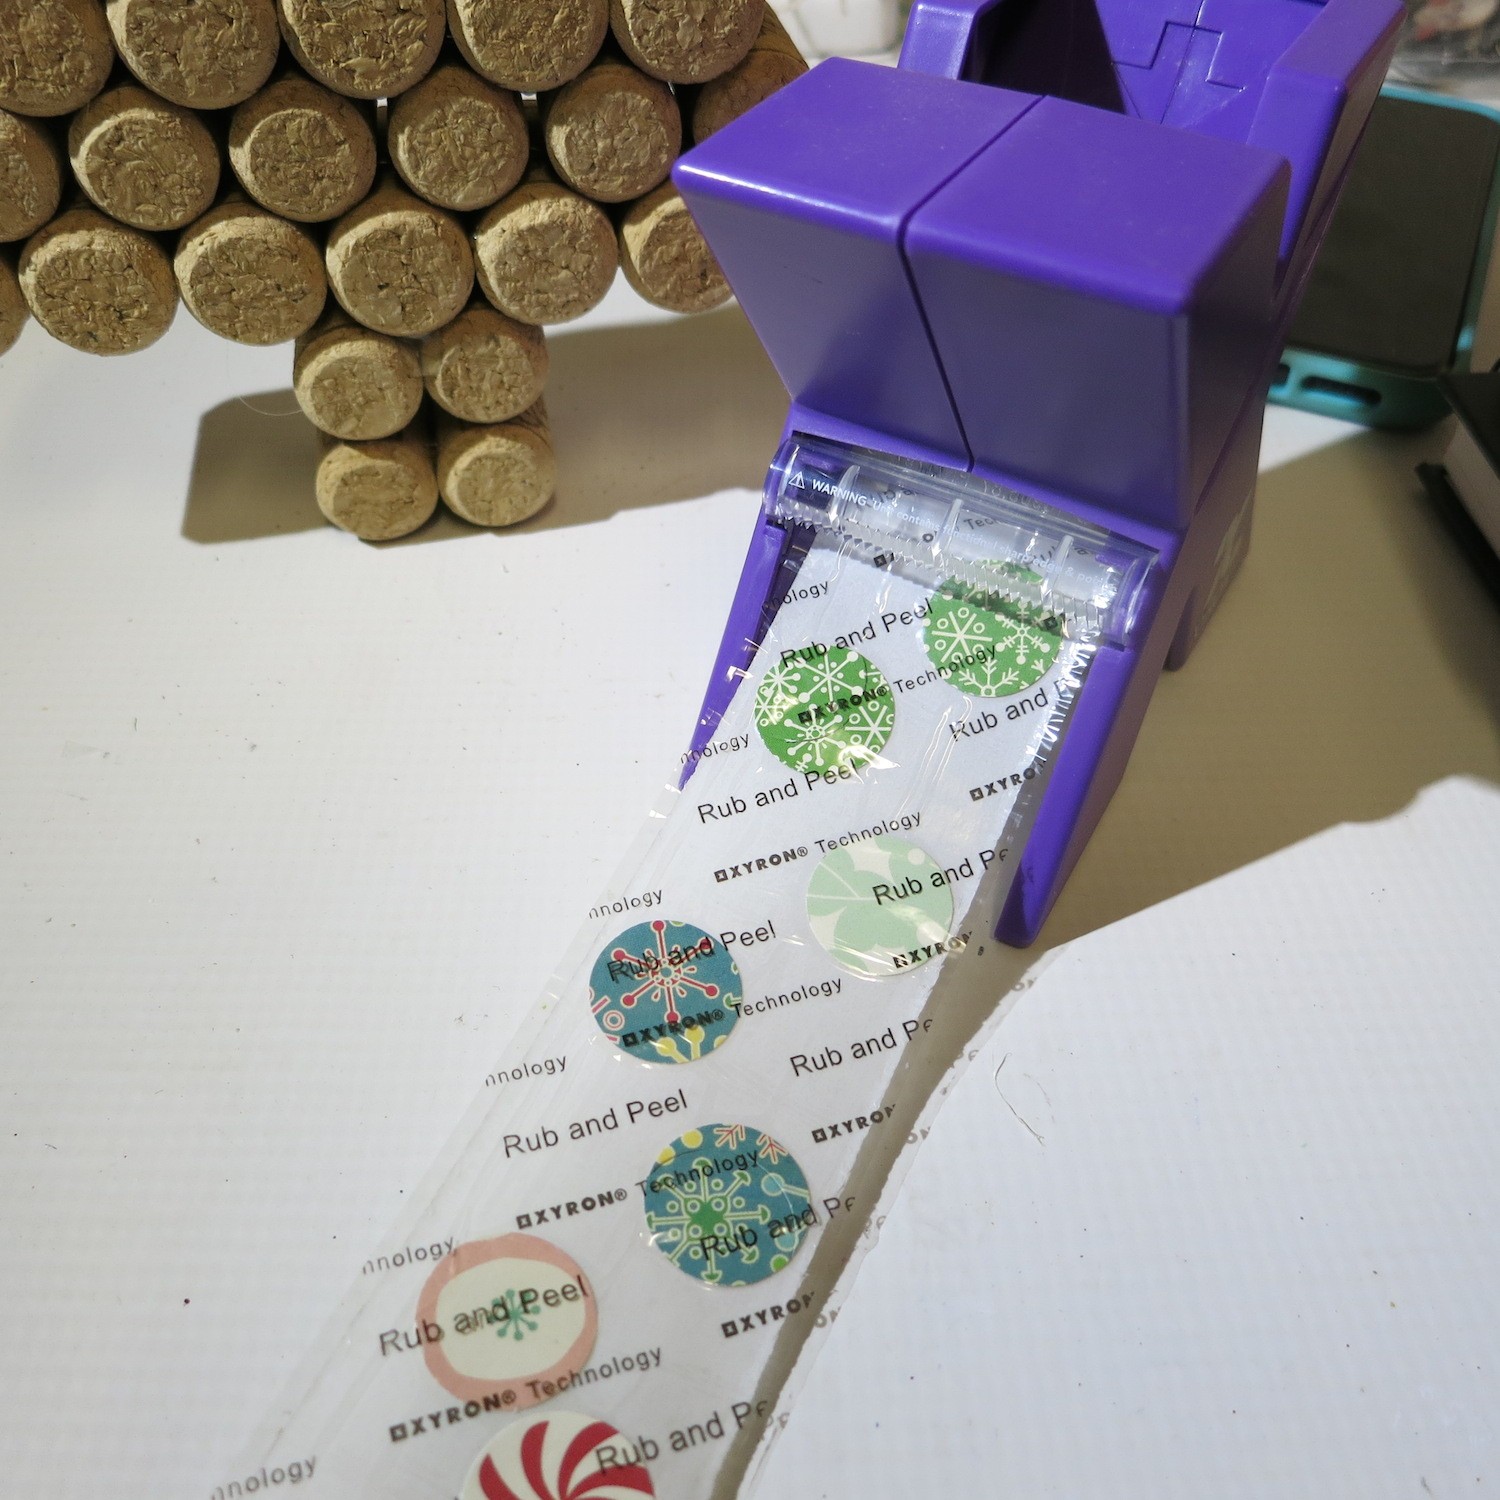
Roll the paper circles through the Xyron sticker maker to turn them into stickers.
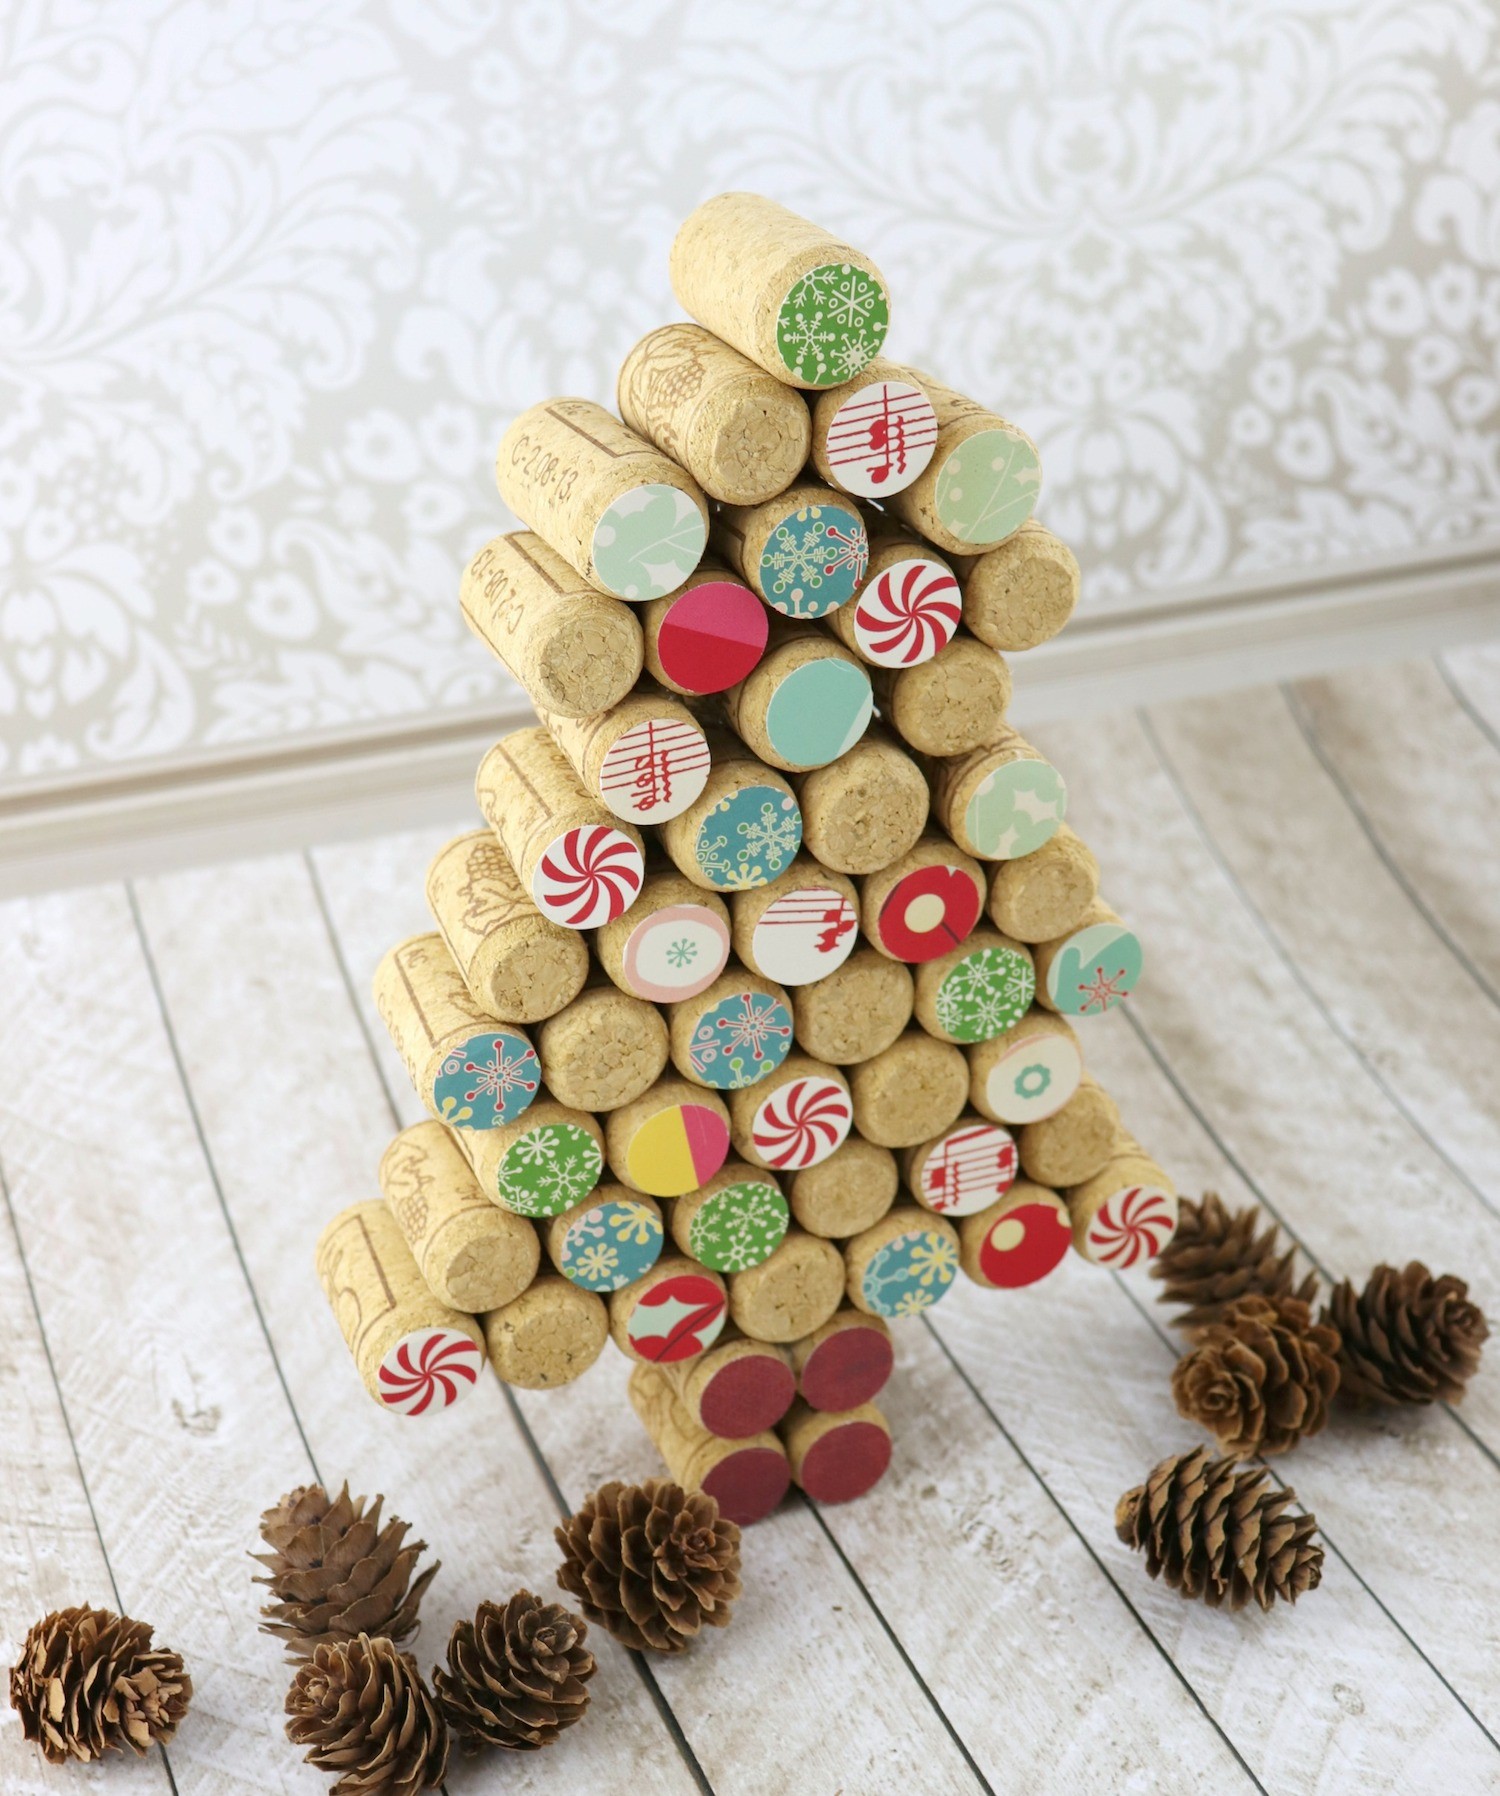
Peel and attach the circles to the corks. Randomly leave a few of the corks uncovered. I covered the bottom four “trunk” corks with a rust colored paper.
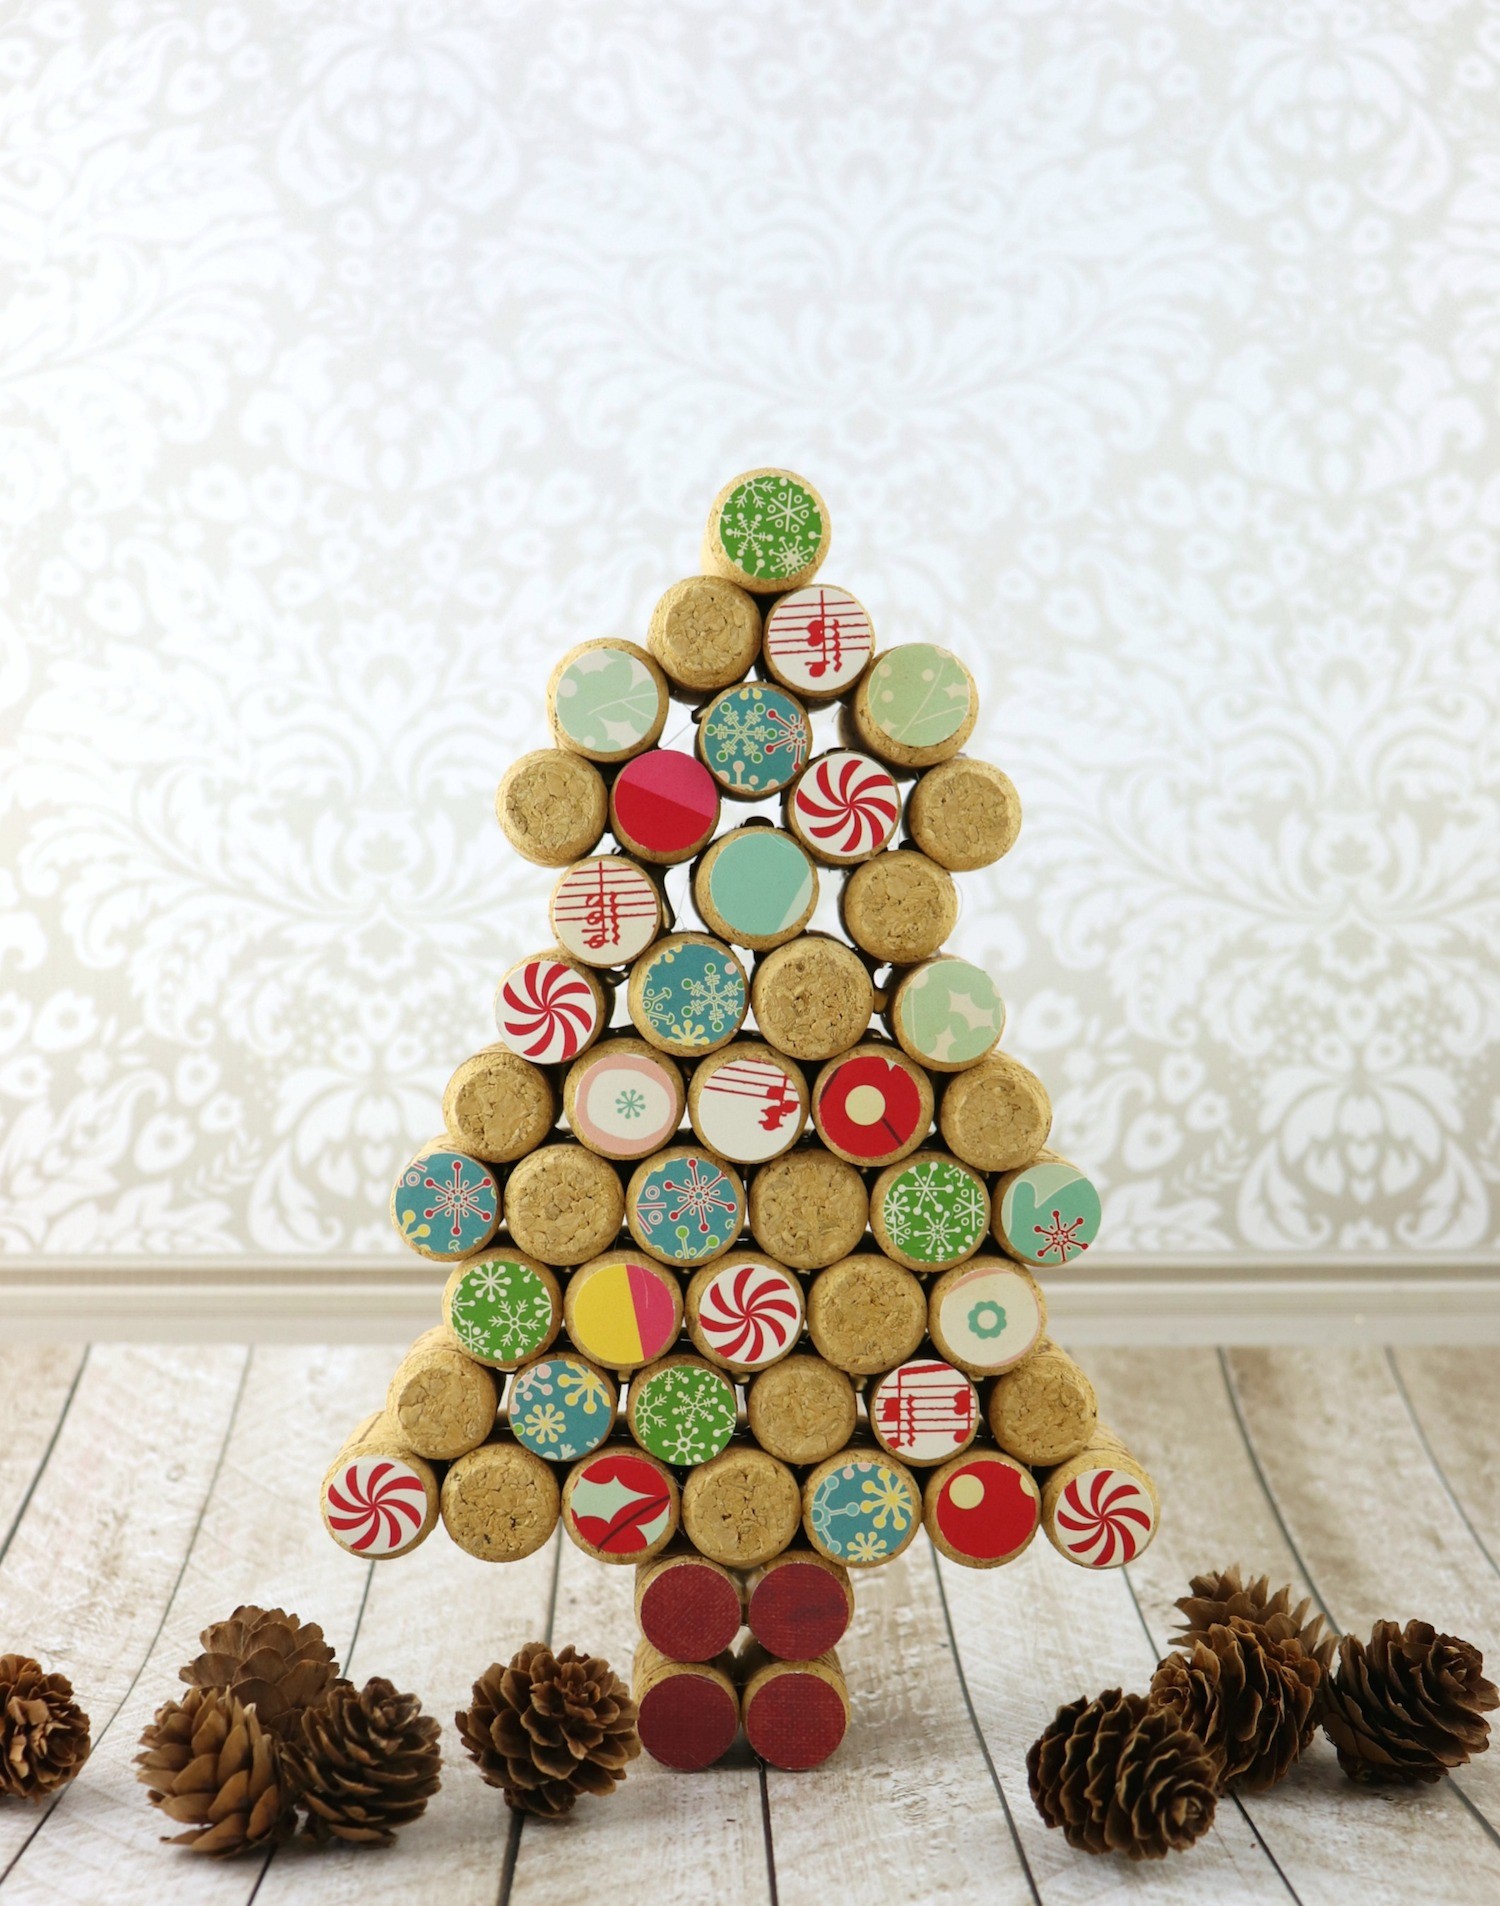
This piece stands about 12 inches tall. It makes a cute decorative piece and it’s so easy to make! I hope you’ll enjoy all twelve of my family friendly crafts! See the list below for all of the projects.
Leave a Reply