These gingerbread trees are so sweet and easy to make!

Gingerbread Trees Supplies
- Ginger Whimsy and Gingebread Collage Sheets from Ephemoire Designs
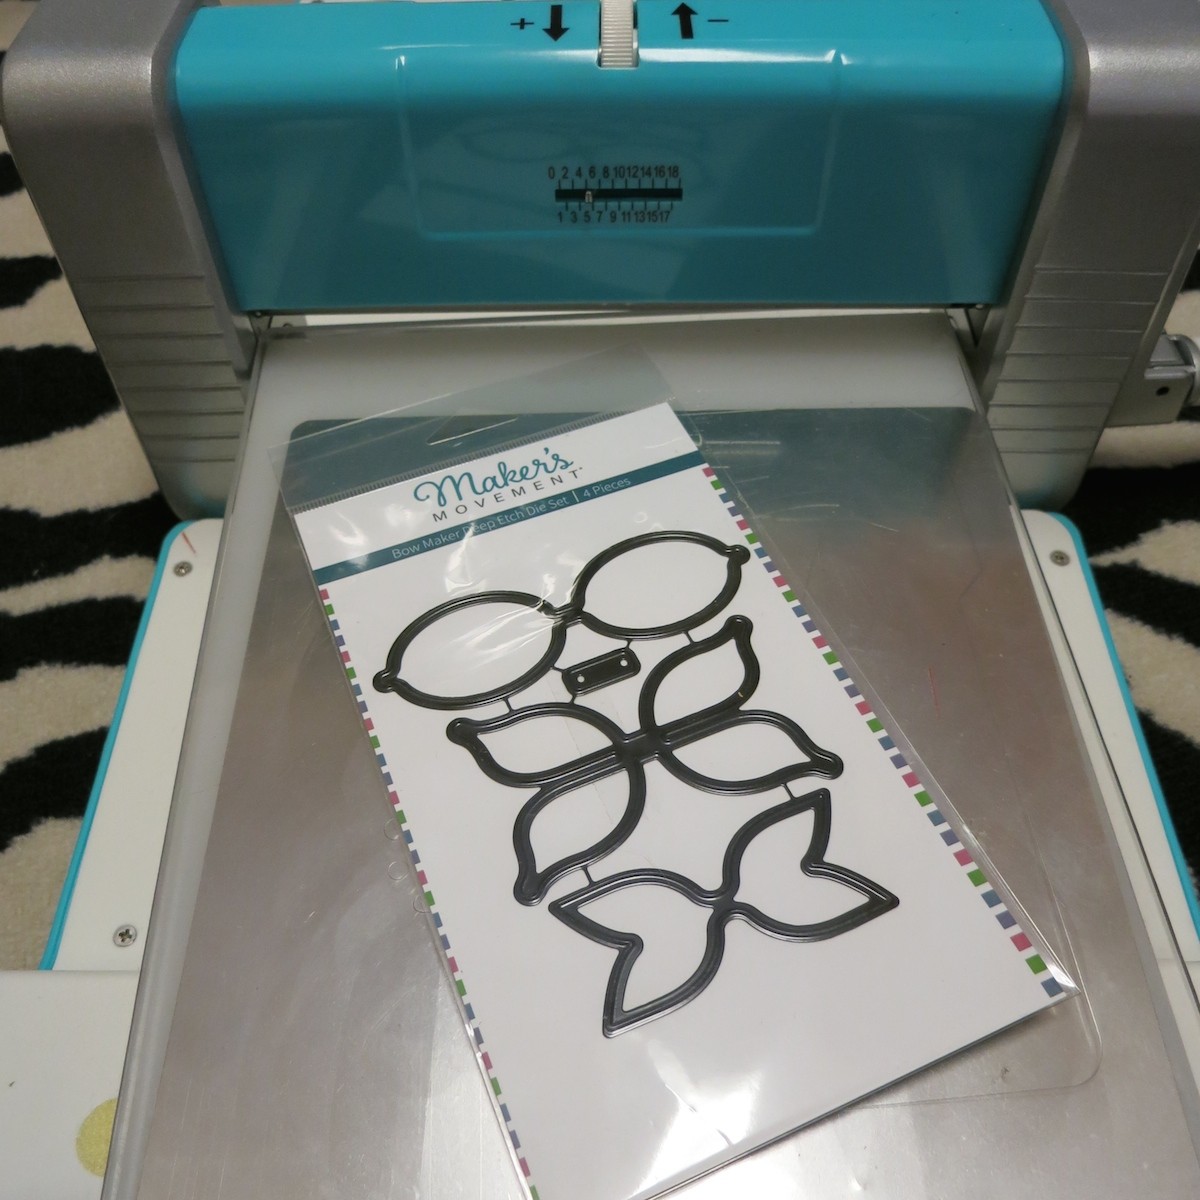
- Bow Maker Die Set from Maker’s Movement
- Vintage/Thrifted Tart Tin
- Old Wood Spools
- Dowel Rod
- Brown Milk Paint
- Mod Podge
- Fake Snow
Step for making the paper gingerbread trees:
- Paint the spools brown with the milk paint. Brush paint into the creases of the tin tarts and wipe away with a paper towel.
- Use glue dots or strong glue to attach the wood spools to the tart tins. Slip a dowel rod into the opening of the spool.
- Print the gingerbread papers using your home printer and regular printer paper. Roll the paper into a cone shape, and glue the seam down. Trim off the bottom to make it round. Place the cone on the dowel rod. I put a dot of glue at the top of the dowel rod first, to help keep the cone in place.
- Print the collage sheet onto 4×6 photo matte paper. This will make the images small enough to fit on the trees. Fussy cut the gingerbread collage images. You can ink the image edges if you want to (I didn’t) and then glue them onto the paper cones.
- Decorate the bottoms of the tree as desired. I dipped one of the cones in Mod Podge and then added fake snow. You’ll want to do this before you put the cone on the rod. For the other one, I cut a bunch of cute bows from the printed paper, assembled them, and glued them around the base of the tree.

I love how shabby and sweet these trees look! I made them quickly, but you could take your time and embellish them with inks and other additions if you want. Have fun crafting and creating for the holidays!
Leave a Reply