This DIY sun vinyl sign changes colors when sunlight hits it. This is perfect for outside projects like fairy gardens! This is a sponsored post with StyleTech Craft but all ideas and opinions are my own.
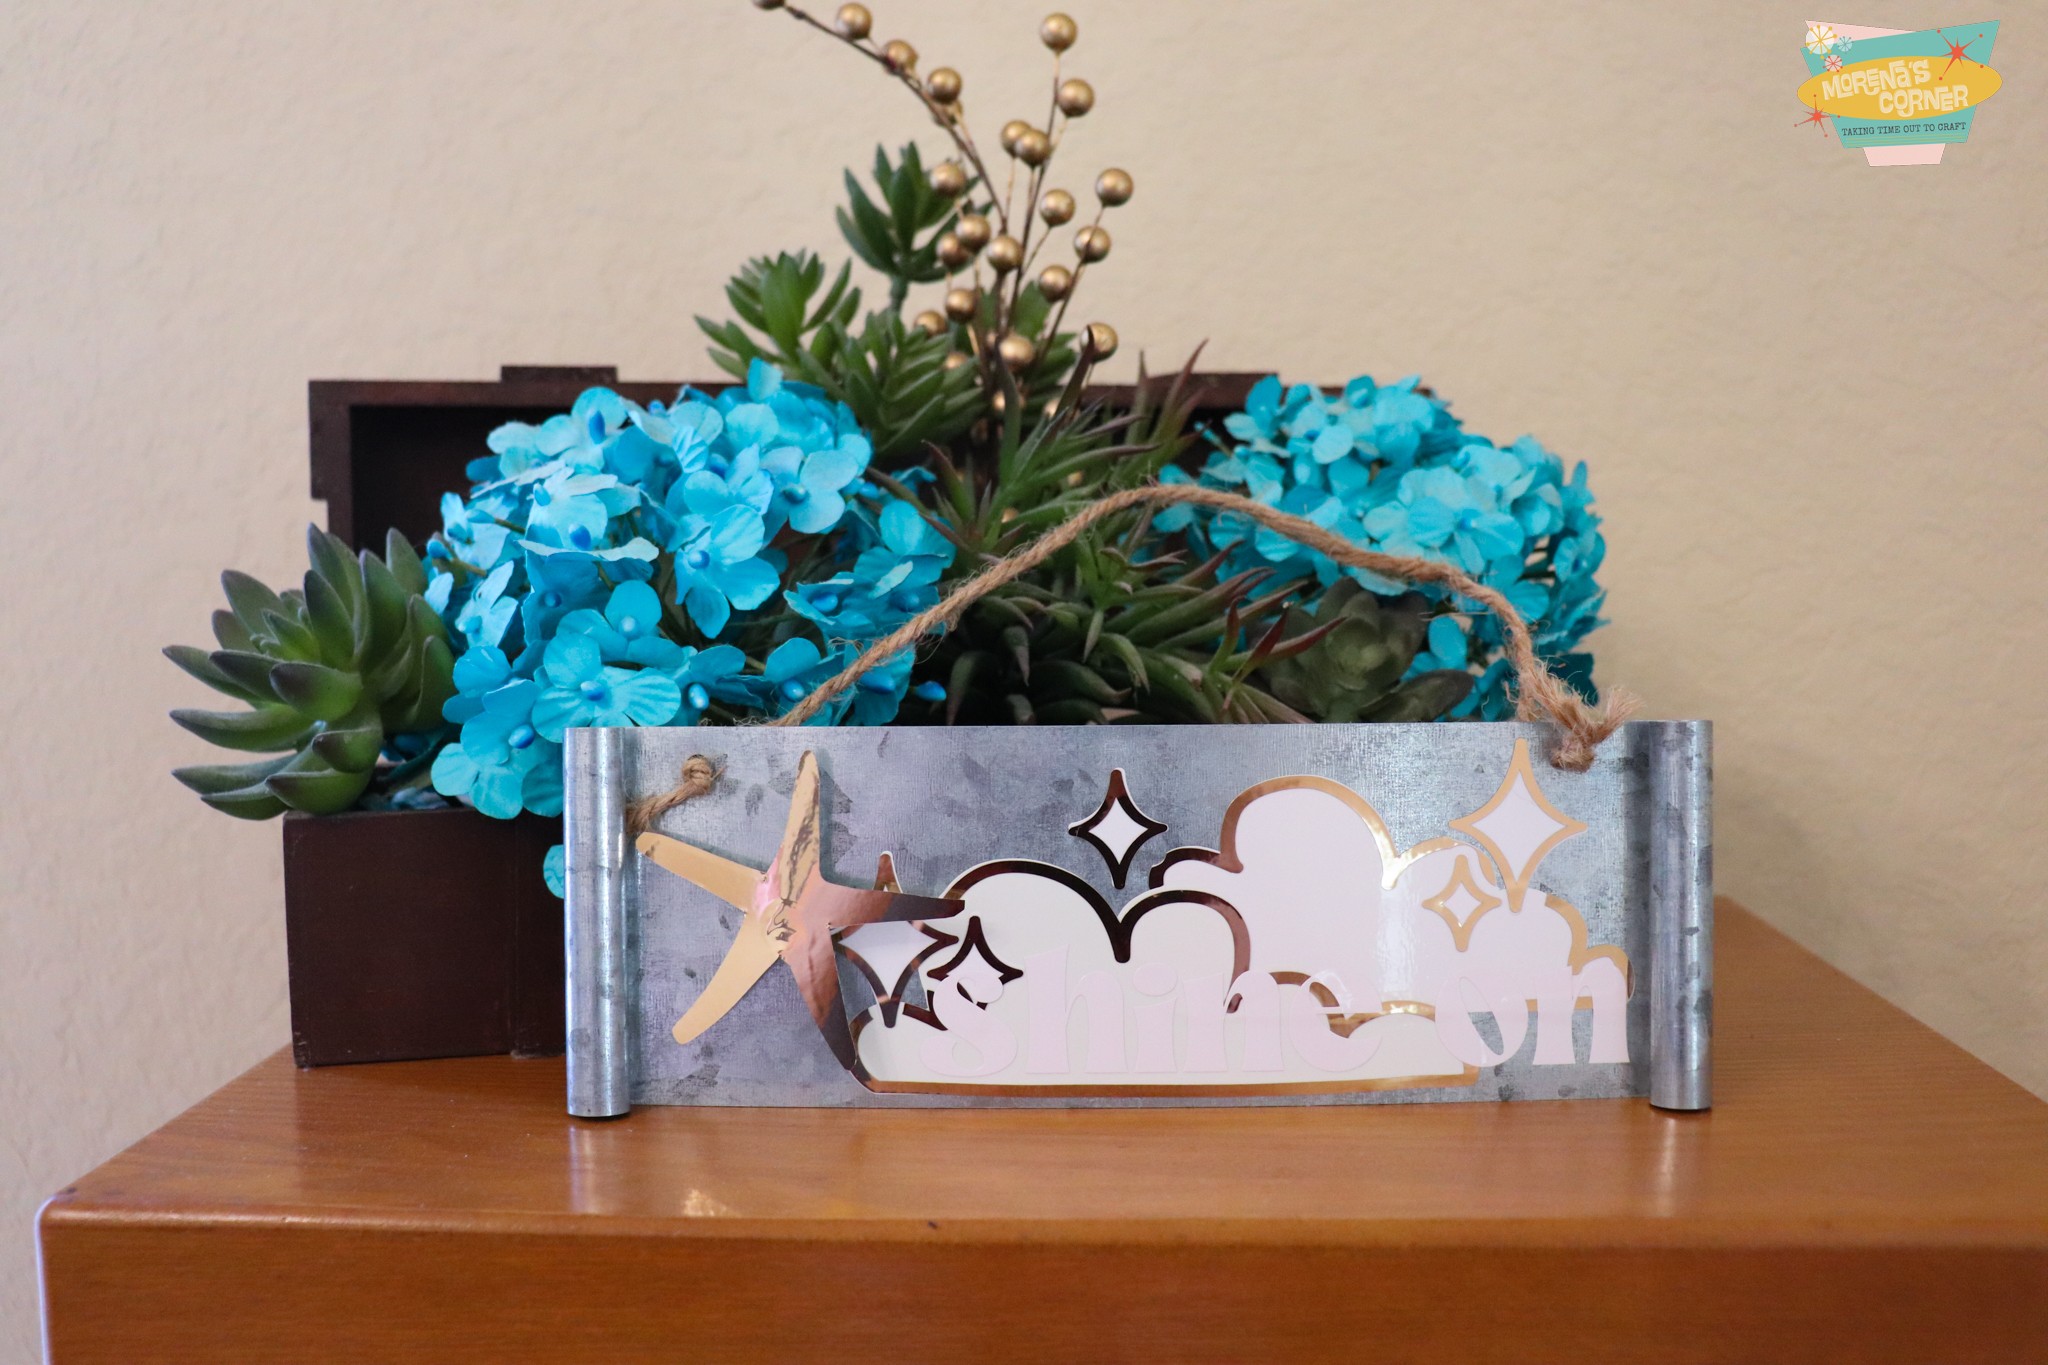
You might remember my project last summer when I used sun change vinyl to add designs to a hat and jewelry. That hat has been so much fun to wear out and about, and I’ve been eager to use sun change vinyl again. I found a galvanized metal sign at the dollar store that was the perfect background for me to create a sign for my fairy garden using sun change vinyl.
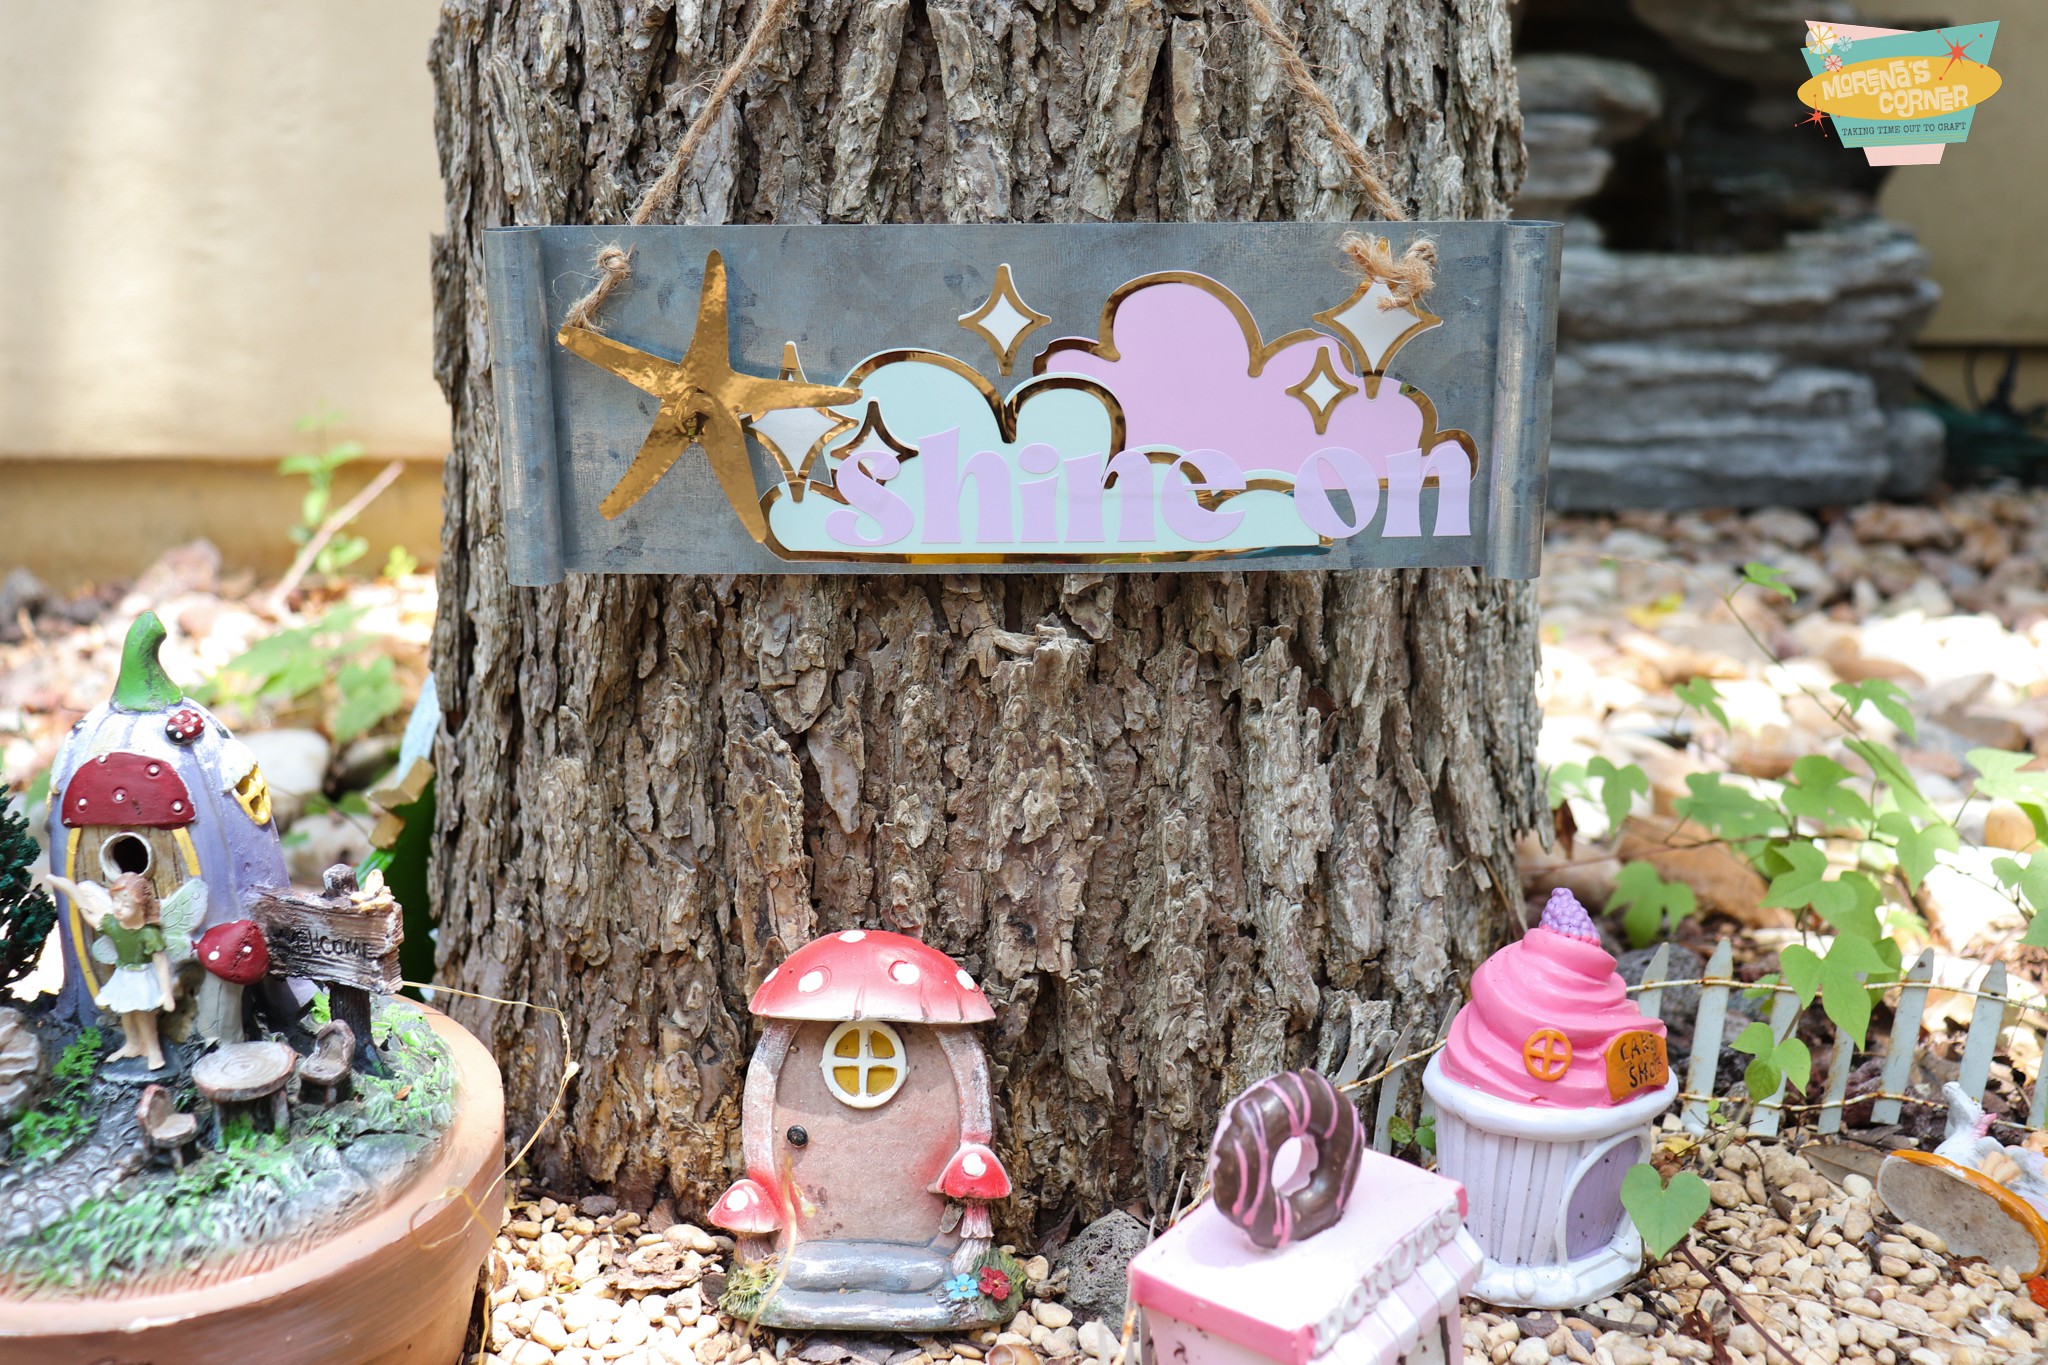
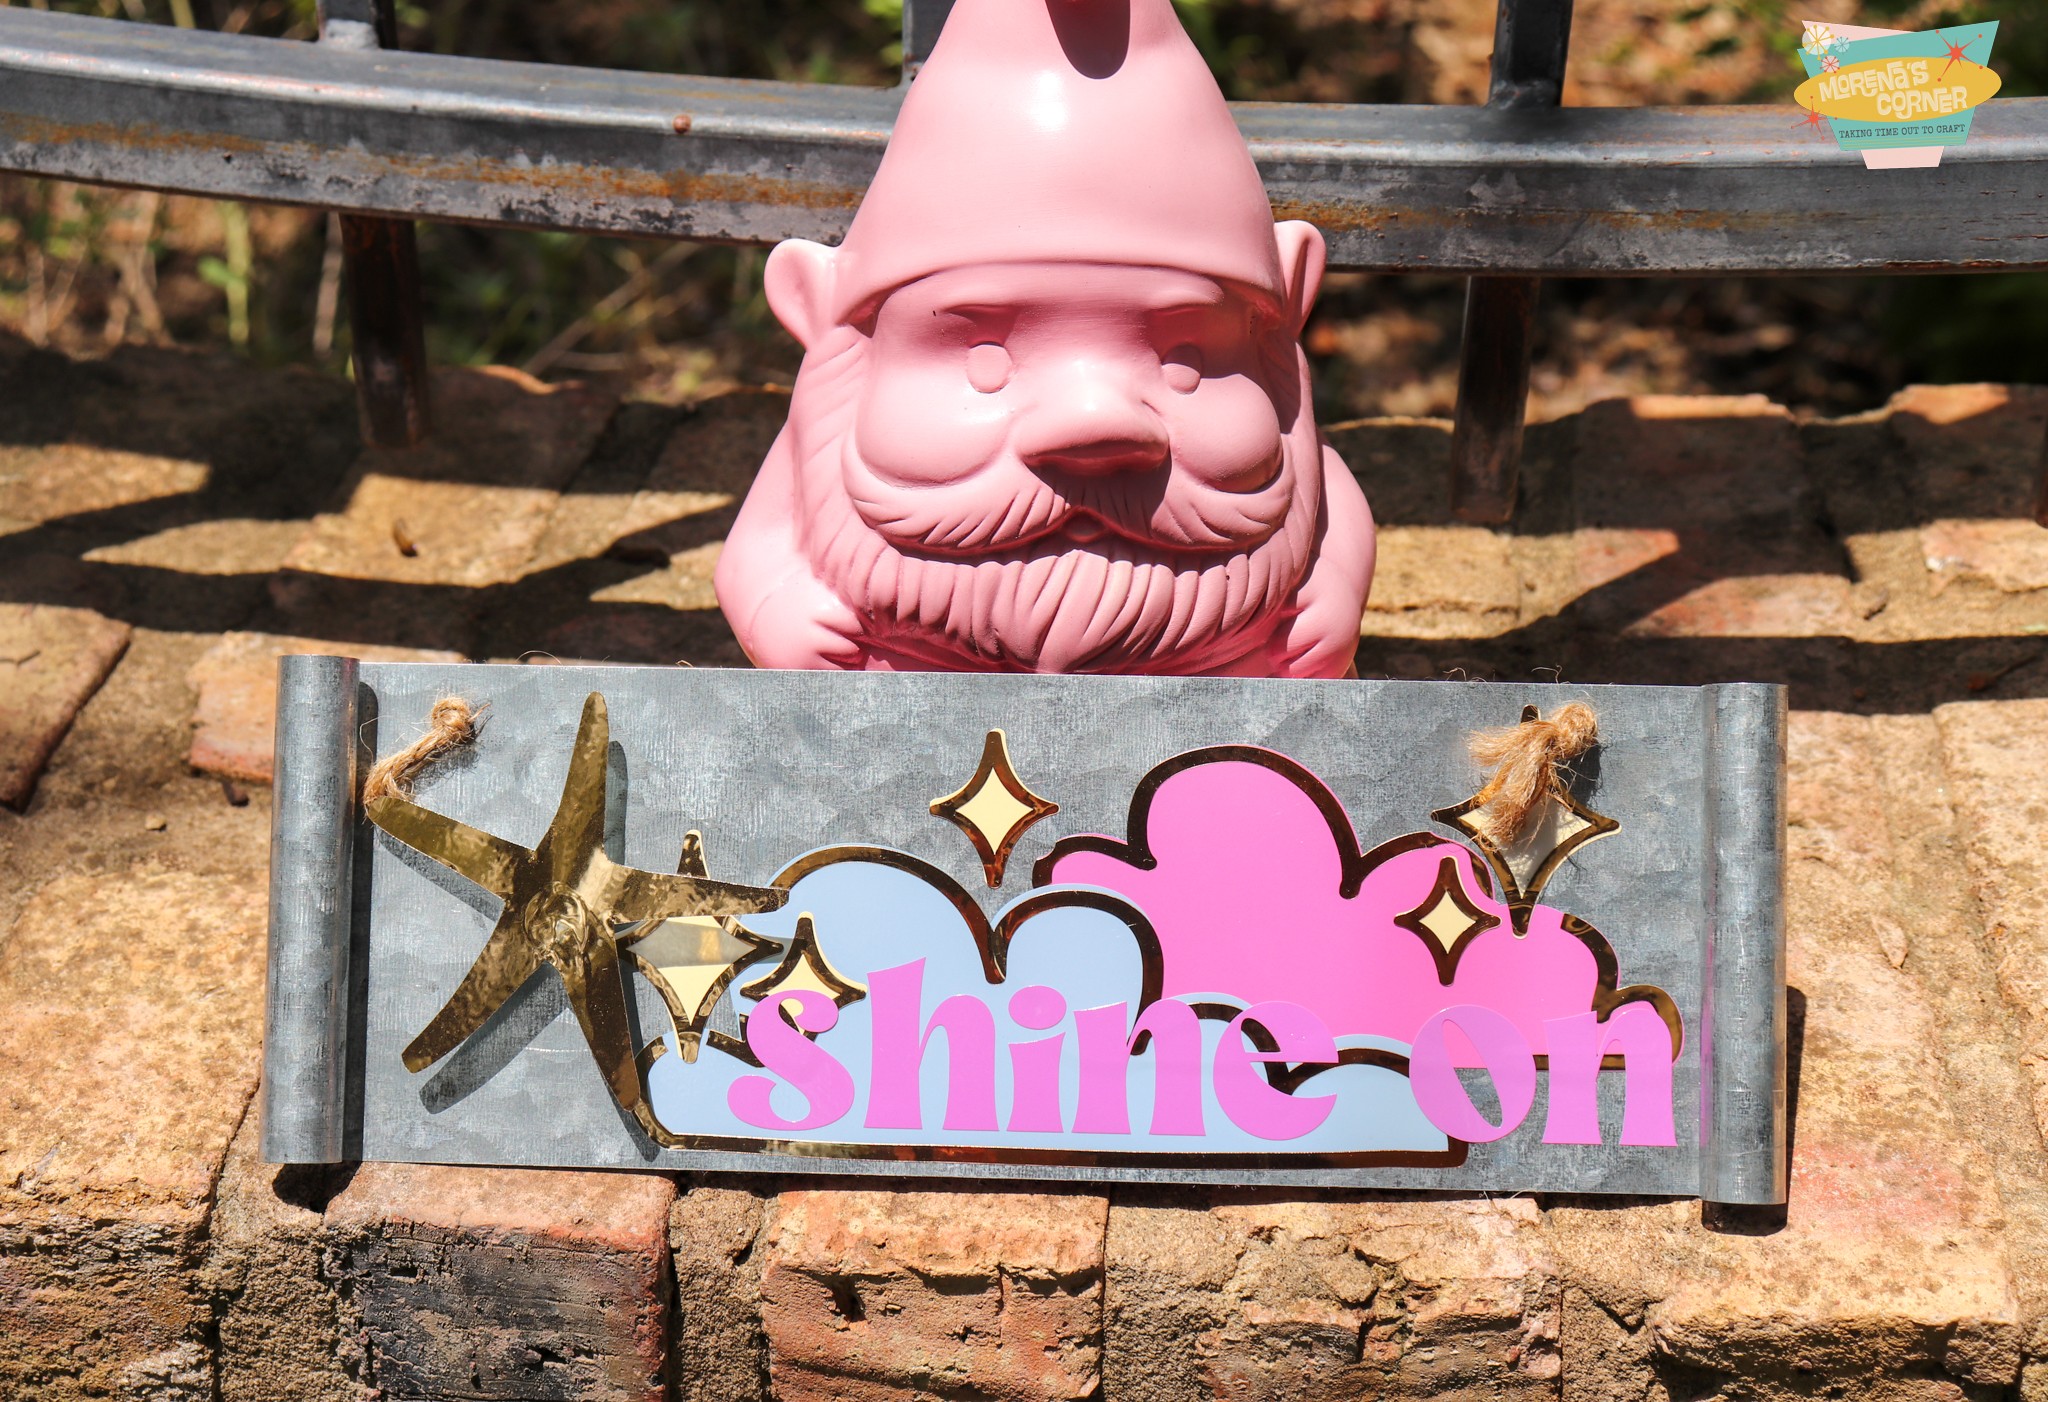
This vinyl is kind of magical…like my fairy garden…which makes this sign perfect for this little corner of my garden. It’s so sunny and hot under this tree in the summer that nothing grows well, and I decided to use the space to create a whimsical fairy garden. As you can see from the pictures, the vinyl changes color depending on how intense the sunlight is. When there’s no sun (top photo) the vinyl is white. When there is some sun (photo above) the color has a pastel hue. When there is full sun (photo below) the color is very vivid!
DIY Sun Vinyl Sign Supplies Used
- Sun Vinyl by StyleTech Craft: yellow, blue, pink, purple
- Gold Chrome Vinyl by StyleTech Craft
- Shine On Cut File from Silhouette
- Transfer Tape
- Galvanized Metal Hanging Sign (Dollar Tree)
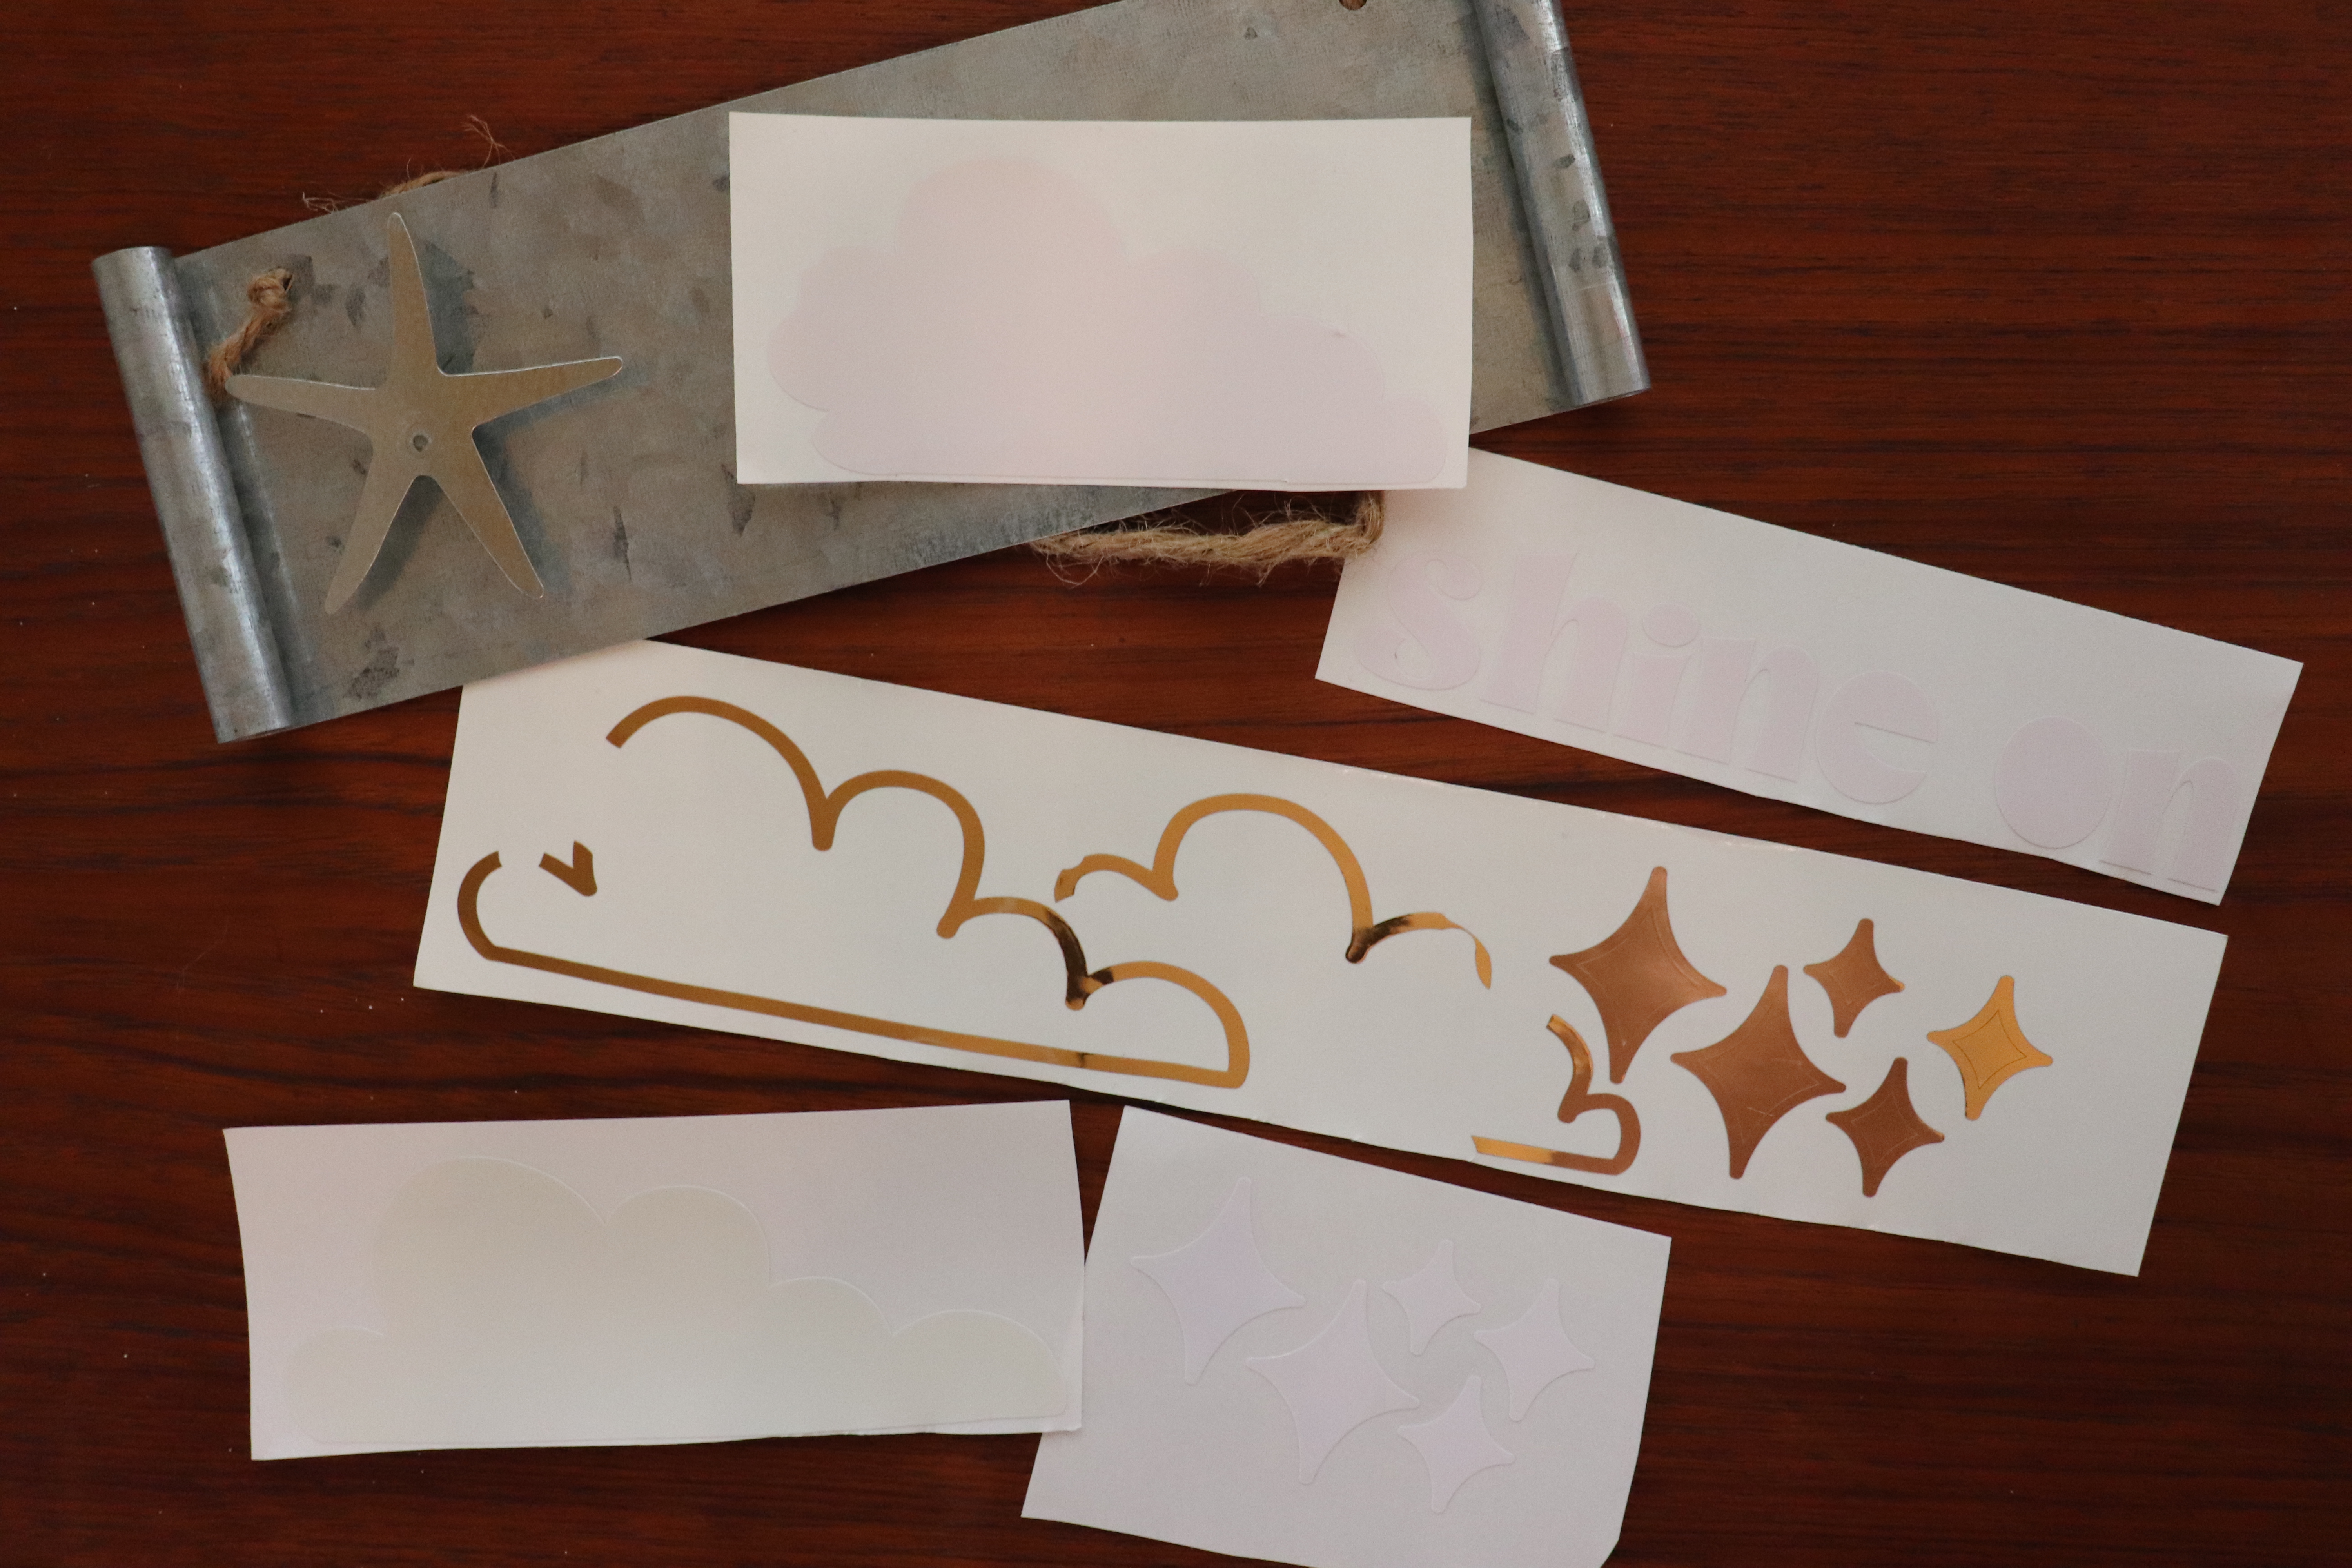
Open the design in Silhouette Studio and separate the pieces by color. I cut all the outlines with Gold Chrome vinyl, which has an unbelievable shine. It looks like gold leaf! I used the yellow Sun Change vinyl for the stars, and purple Sun Change vinyl for the lettering. The clouds were cut from the pink and blue sun change vinyl.
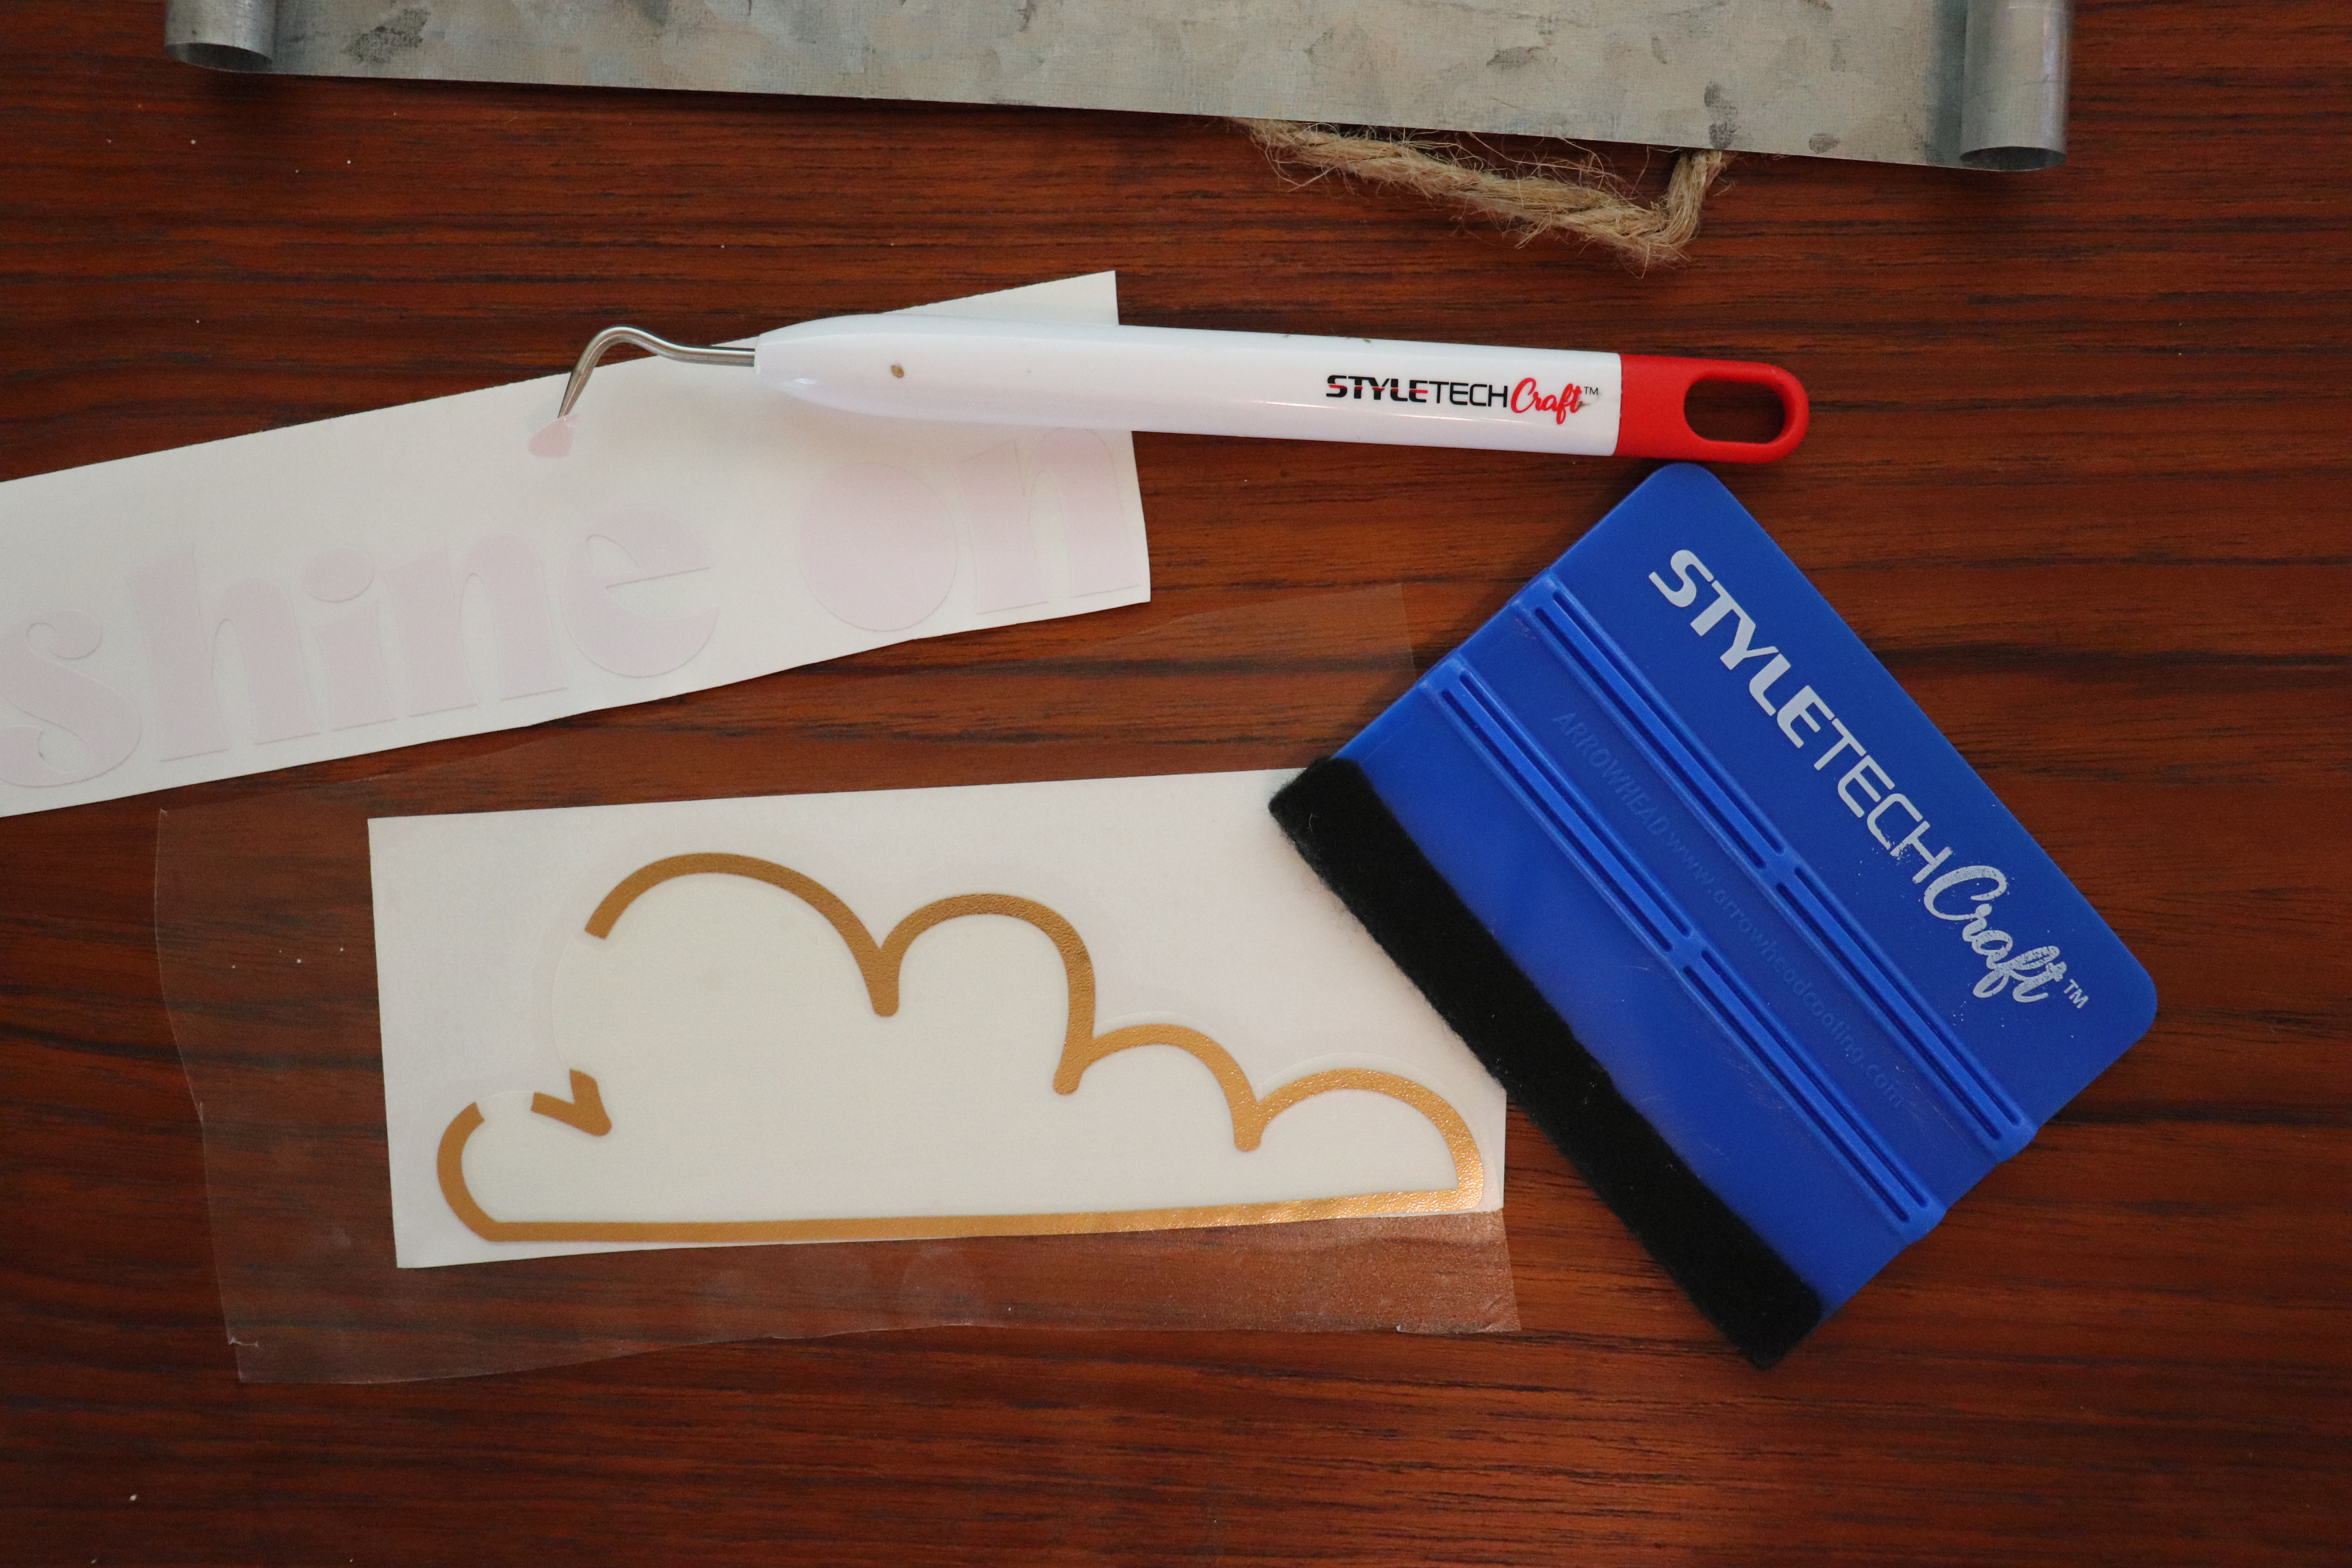
After weeding the vinyl cuts I used transfer tape to first add the gold outlines to the cut pieces. Then I layered the different elements onto the sign.
This is such a fun addition to my fairy garden. I can’t wait to make more sun change/color changing signs to add to my outdoor spaces! Have fun crafting & creating this summer!

Leave a Reply