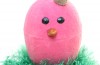
I’m still flocking all the things! I showed you how I made flocked bunnies and custom flocked cards. Today I’m going to show you how to make adorable flocked chicks in a nest! I used styrofoam eggs to make this project affordable and light. With all the different colors of flocking powder available, you can make one in almost any color. I love how the simple addition of flocking powder makes the styrofoam look and feel plush and fluffy.
Supplies Used to make a Flocked Chick from Styrofoam:
- Large Styrofoam Egg
- Styrofoam Ring
- Chalky Finish Paint (choose a color that matches the flocking)
- Martha Stewart Flocking Powder
- Mod Podge or glue
- Green Yarn
- Metal Sheet (for the beak)
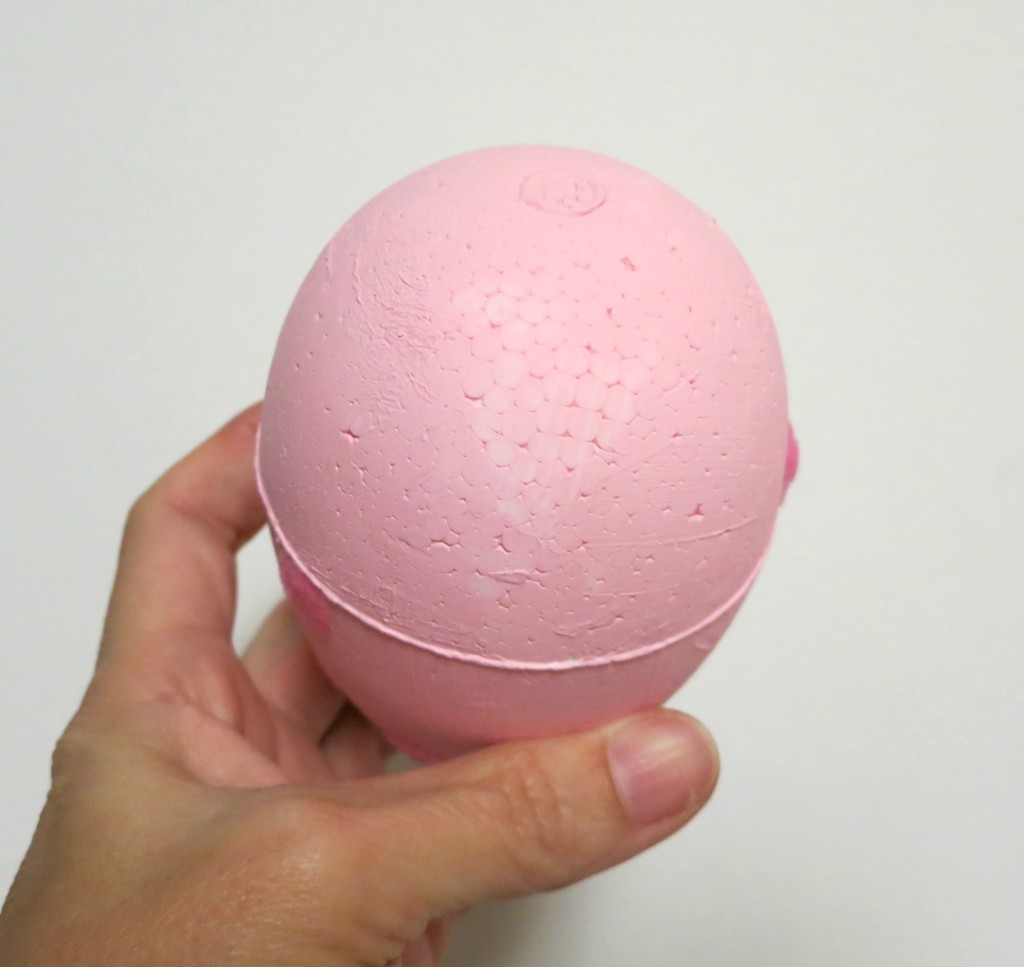 Step one: Paint the egg with Chalky Finish Paint. Choose a color that matches the flocking powder you are using. This will keep you from having white spots of styrofoam peeking through the finish.
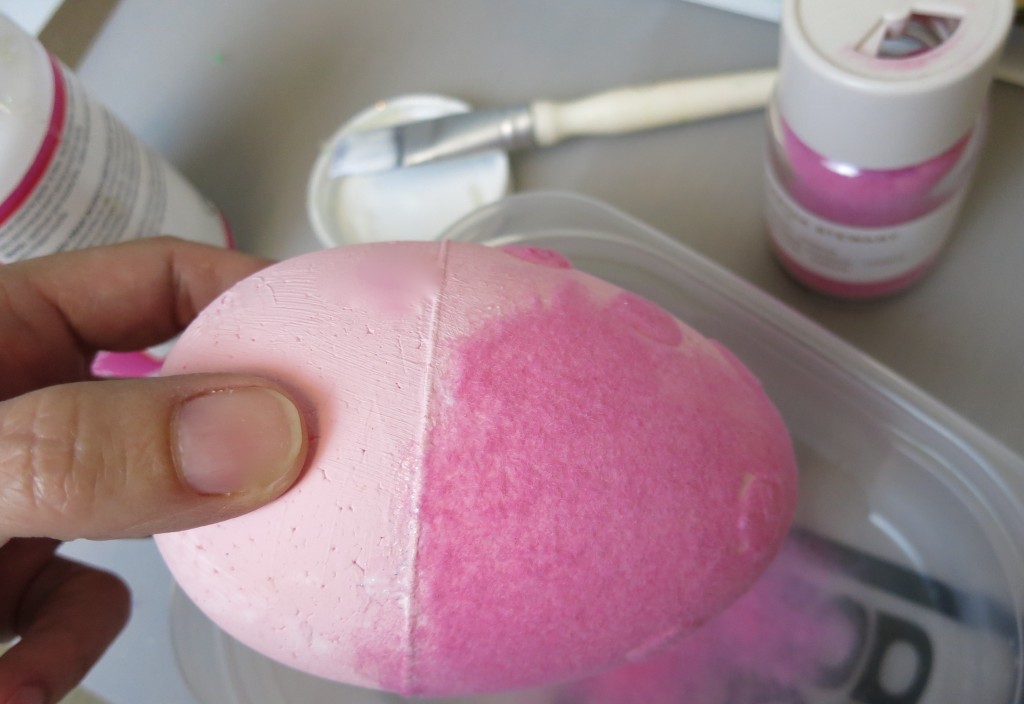 Step two: Paint a section of the painted egg with Mod Podge. Sprinkle the flocking powder on the wet glue. Repeat this until the entire surface has been covered. I covered my egg twice to give it a thick flocked appearance.
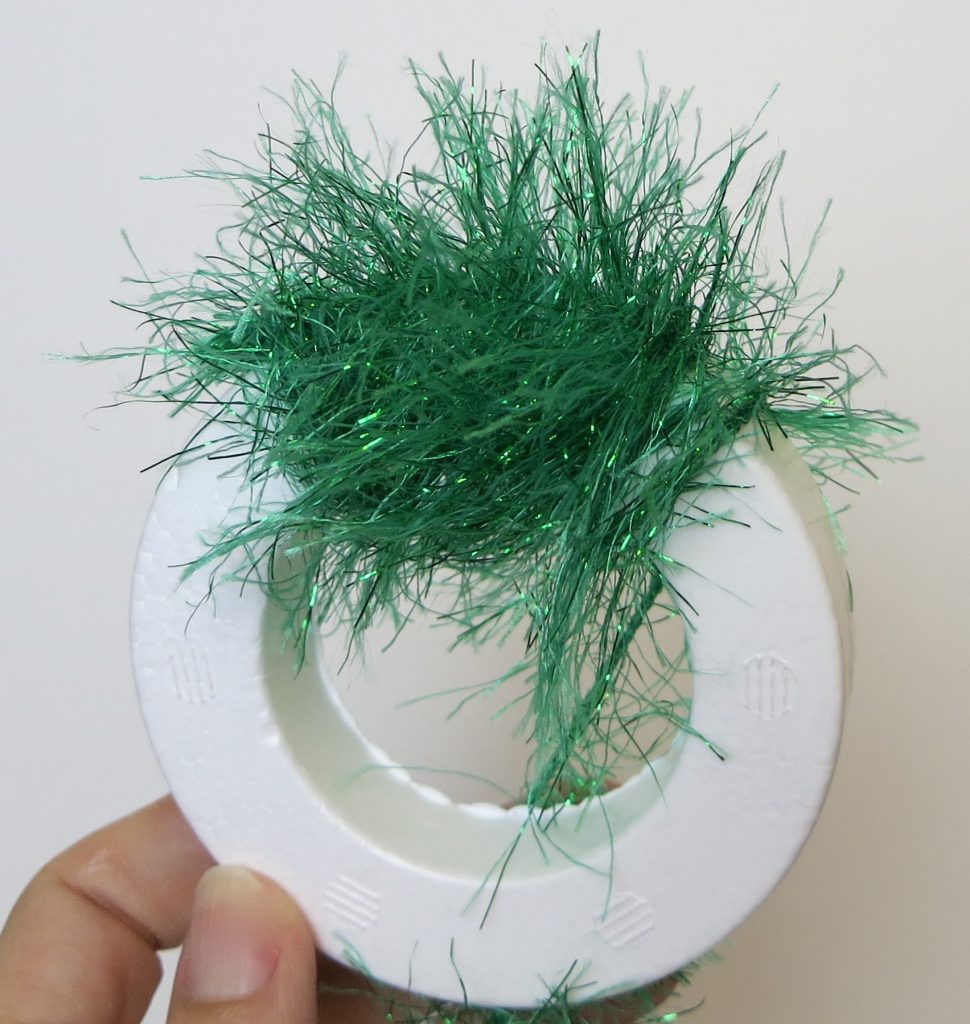 Step three: Wrap the styrofoam ring with green yarn to make a grassy “nest” for the chick to sit in.
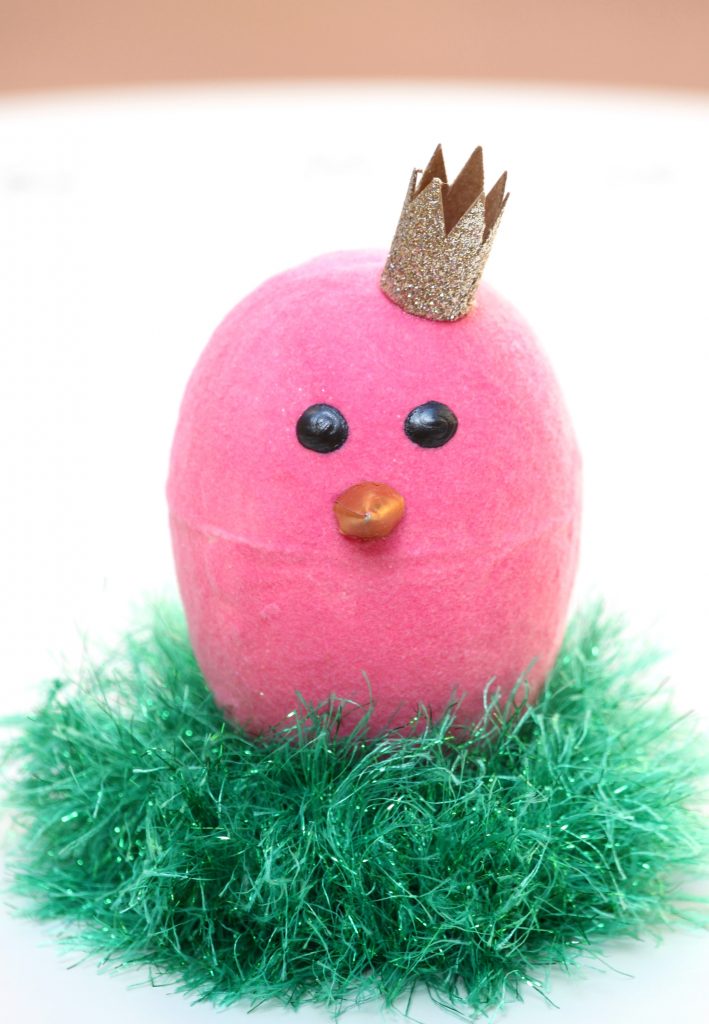
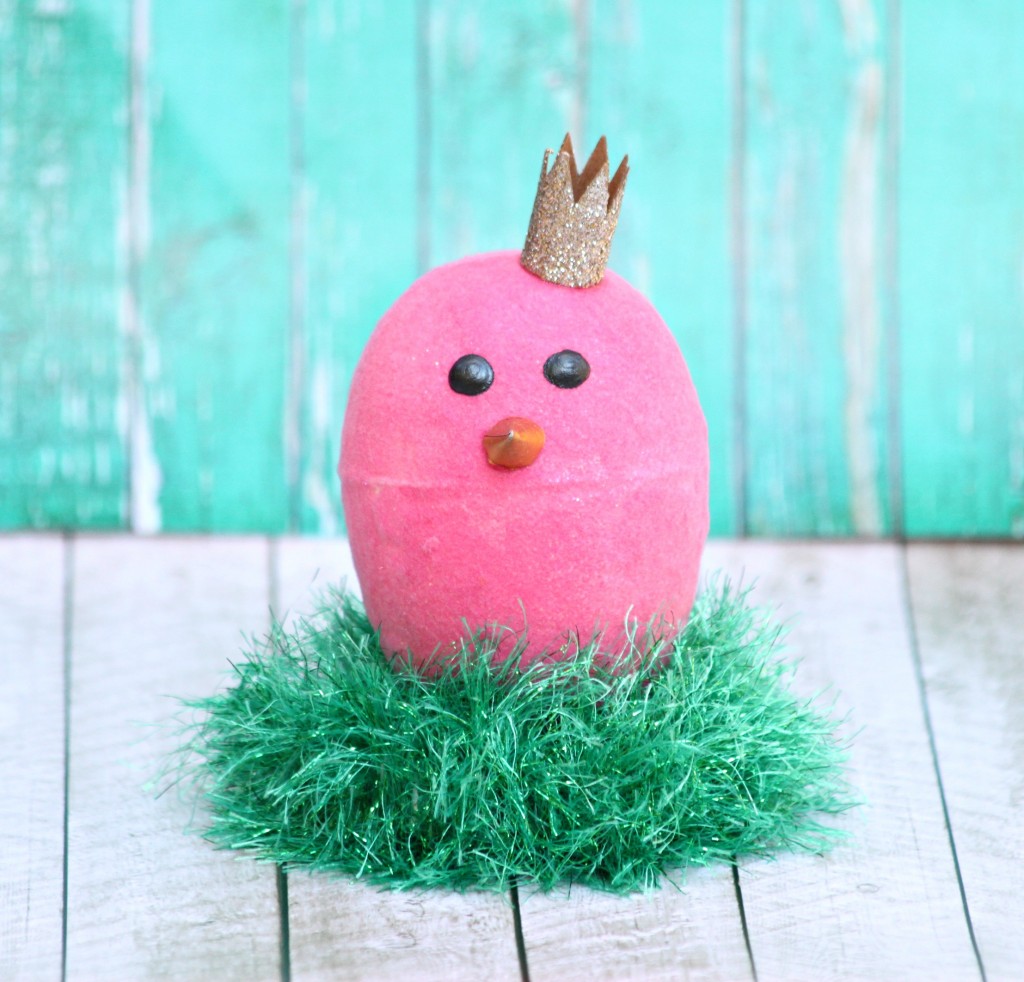
Now you can have fun embellishing your flocked chick! I made a tiny glittered crown out of card stock. I used glossy paint to make the eyes, and made a cone out of a bit of metal sheet to create a beak. I used a bit of glue to add all these items to the chick. Once everything is dry, simply place the chick in the “grass”. Have fun crafting and creating for spring!

Check out my faux sugar easter eggs HERE.
This post was first published at Blitsy when I was on their design team.
Leave a Reply