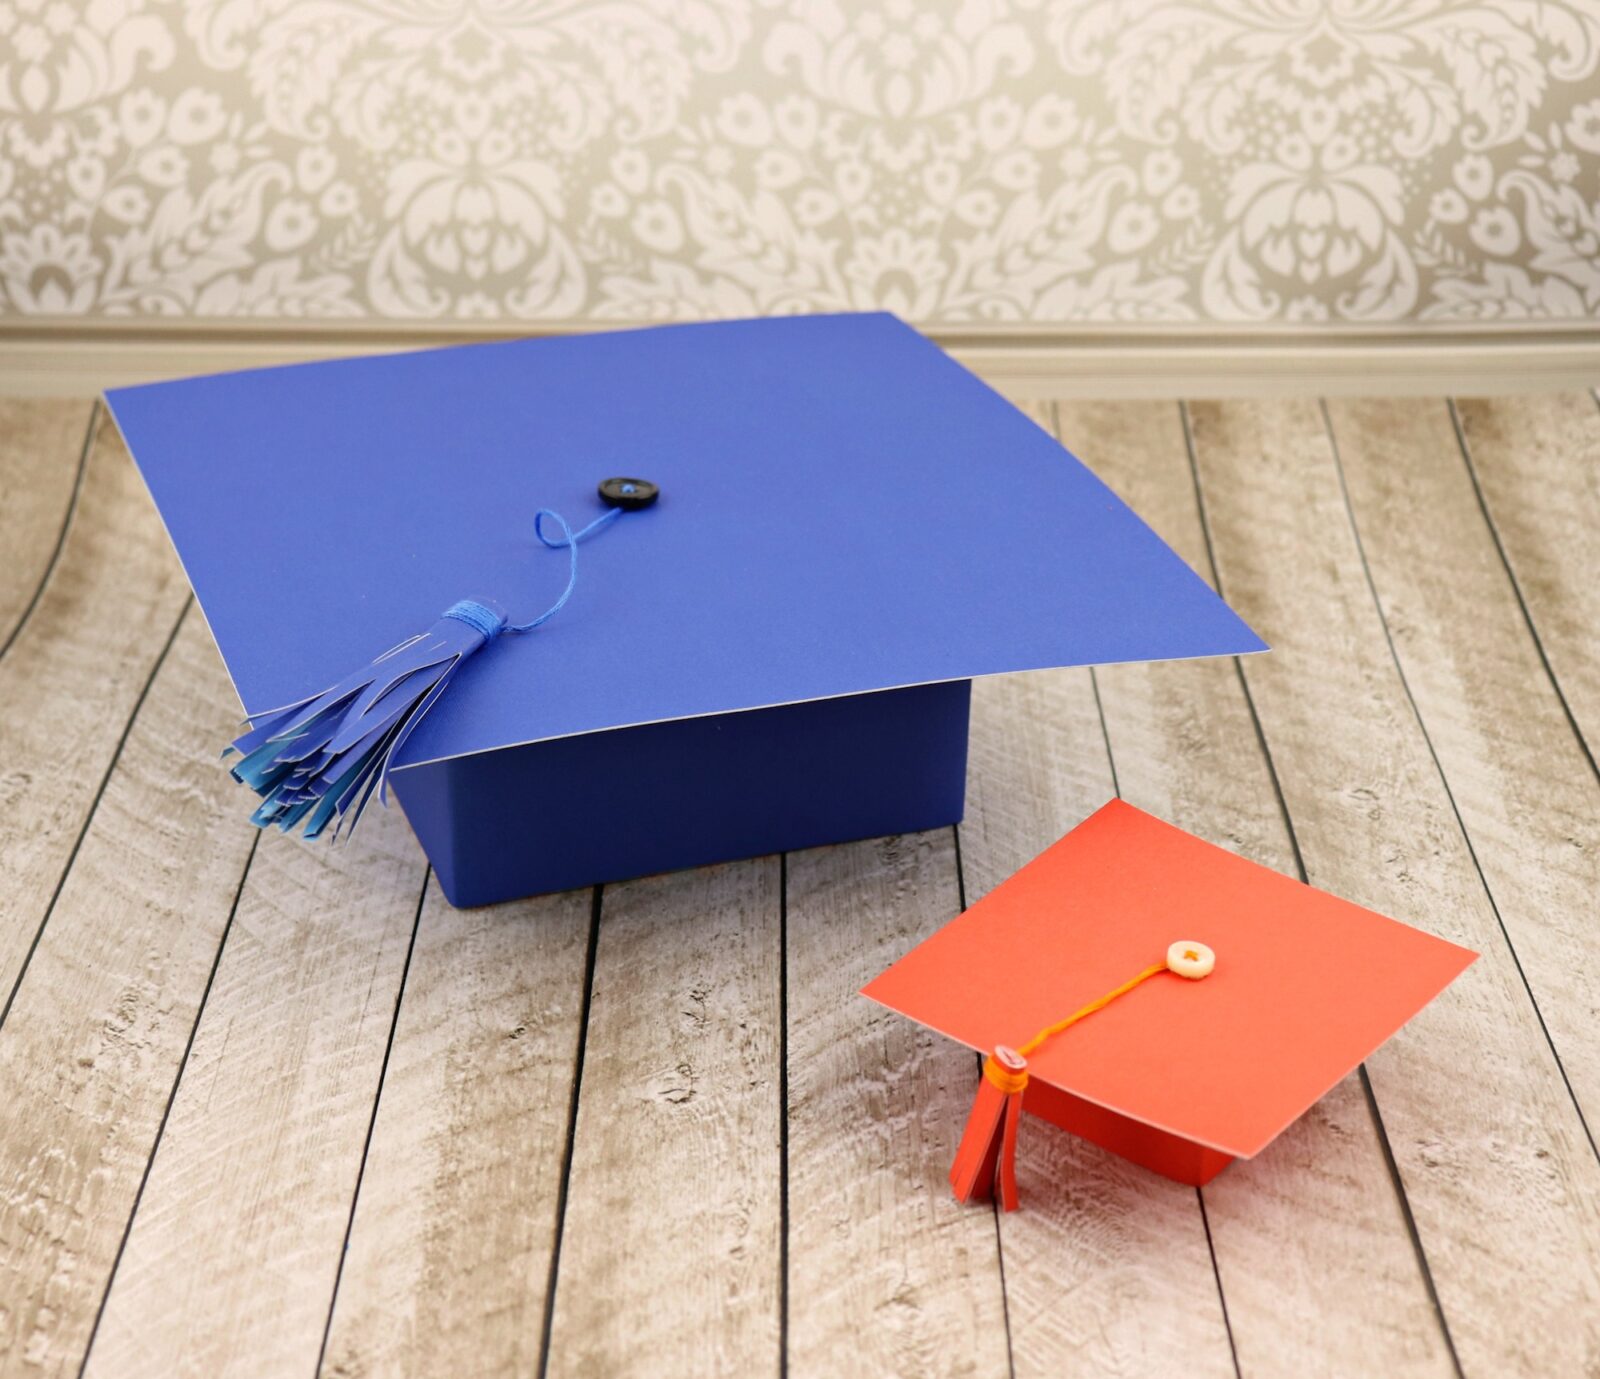
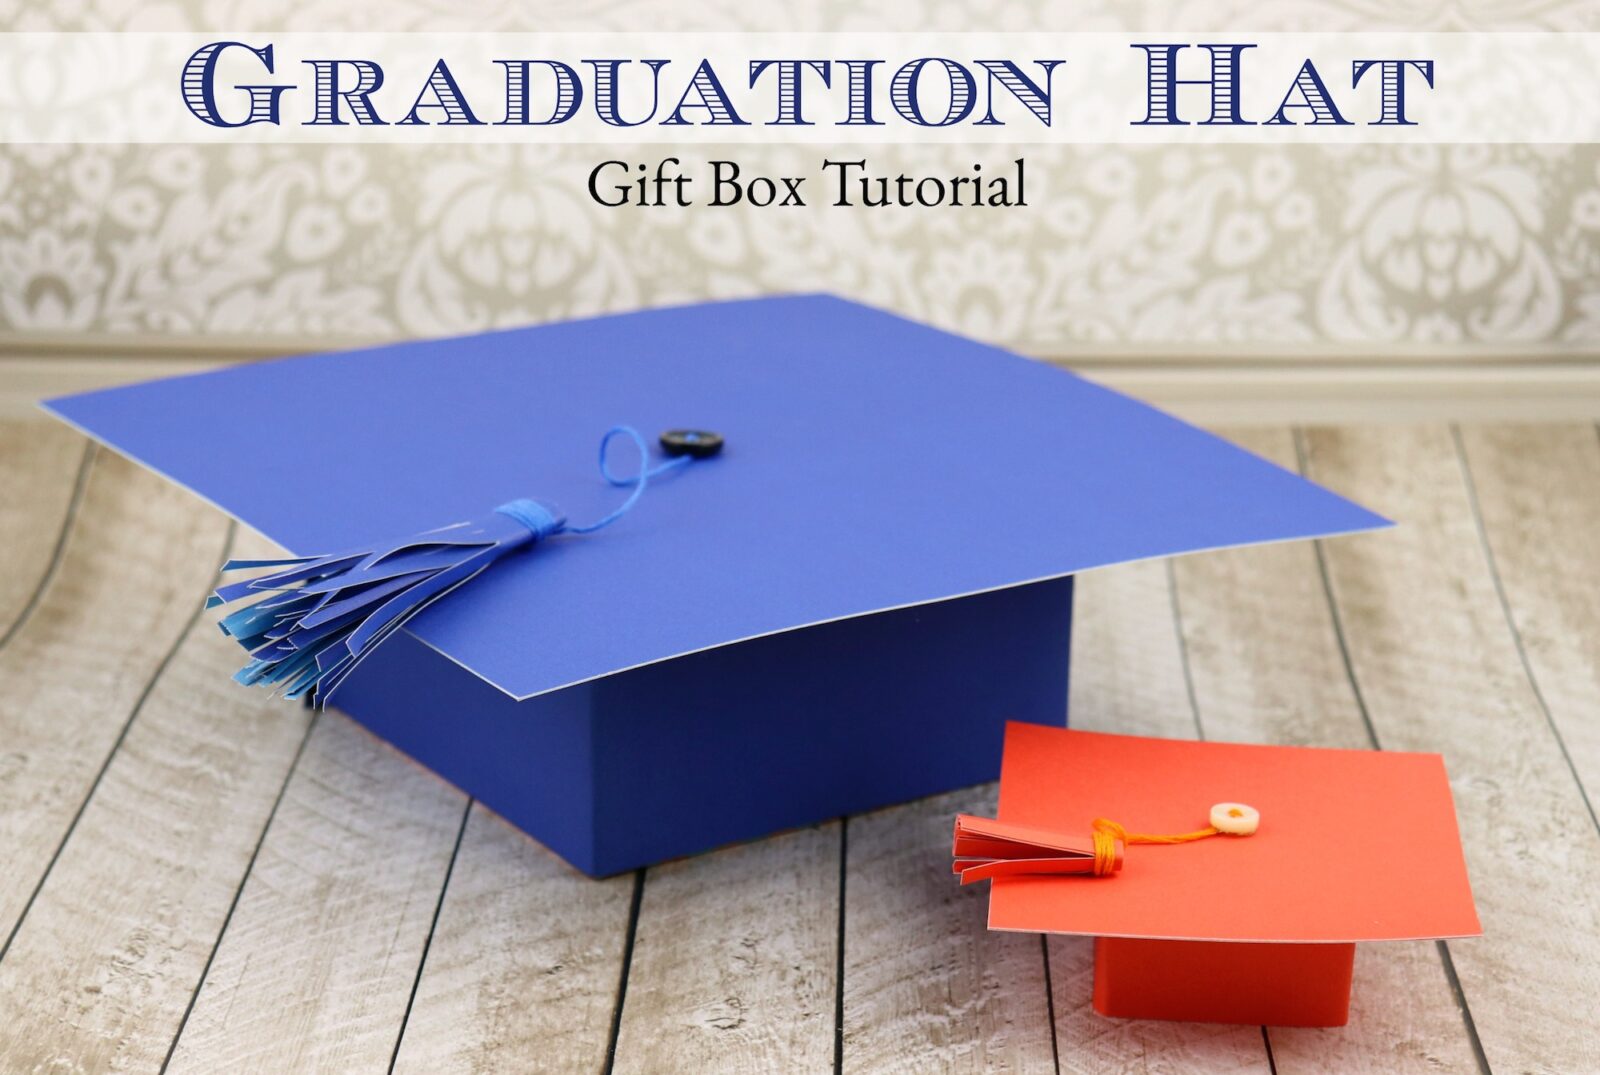
Make graduation hat gift boxes to use for gift giving or for party favors. This is a sponsored post.

These adorable graduation hat gift boxes are perfect for parties or for gift giving. Quickly and easily transform plain gift boxes using cardstock paper and Xyron‘s Creative Station.
Supplies Used to make Graduation Hat Gift Boxes: (affiliate links included)
- Square gift or favor boxes
- Cardstock
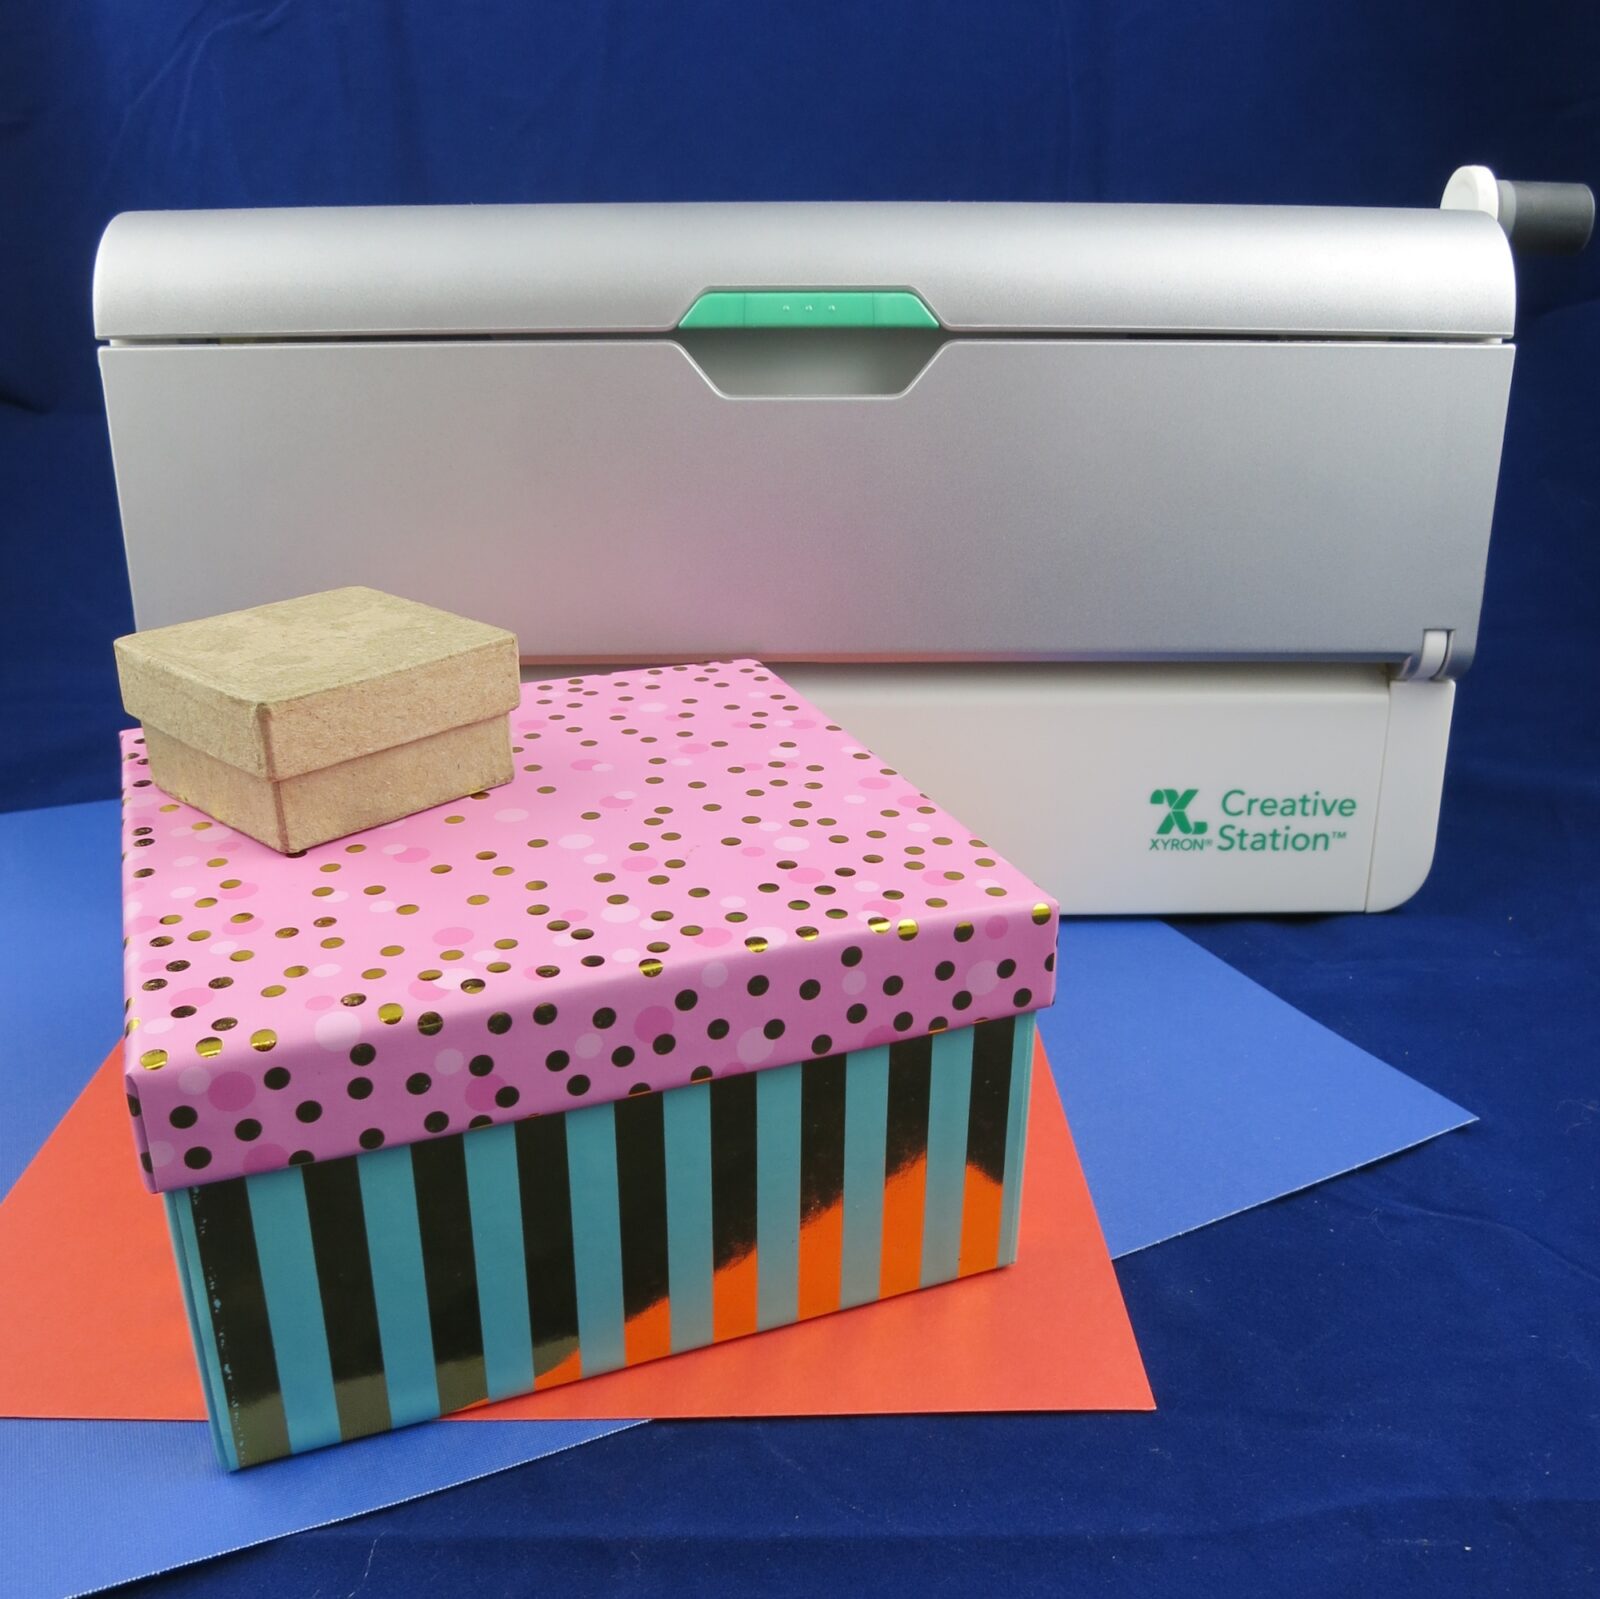
- Xyron Creative Station with Permanent Adhesive Refill
- Teresa Collins Mega Runner
- Button
- Embroidery Floss
- Scissors
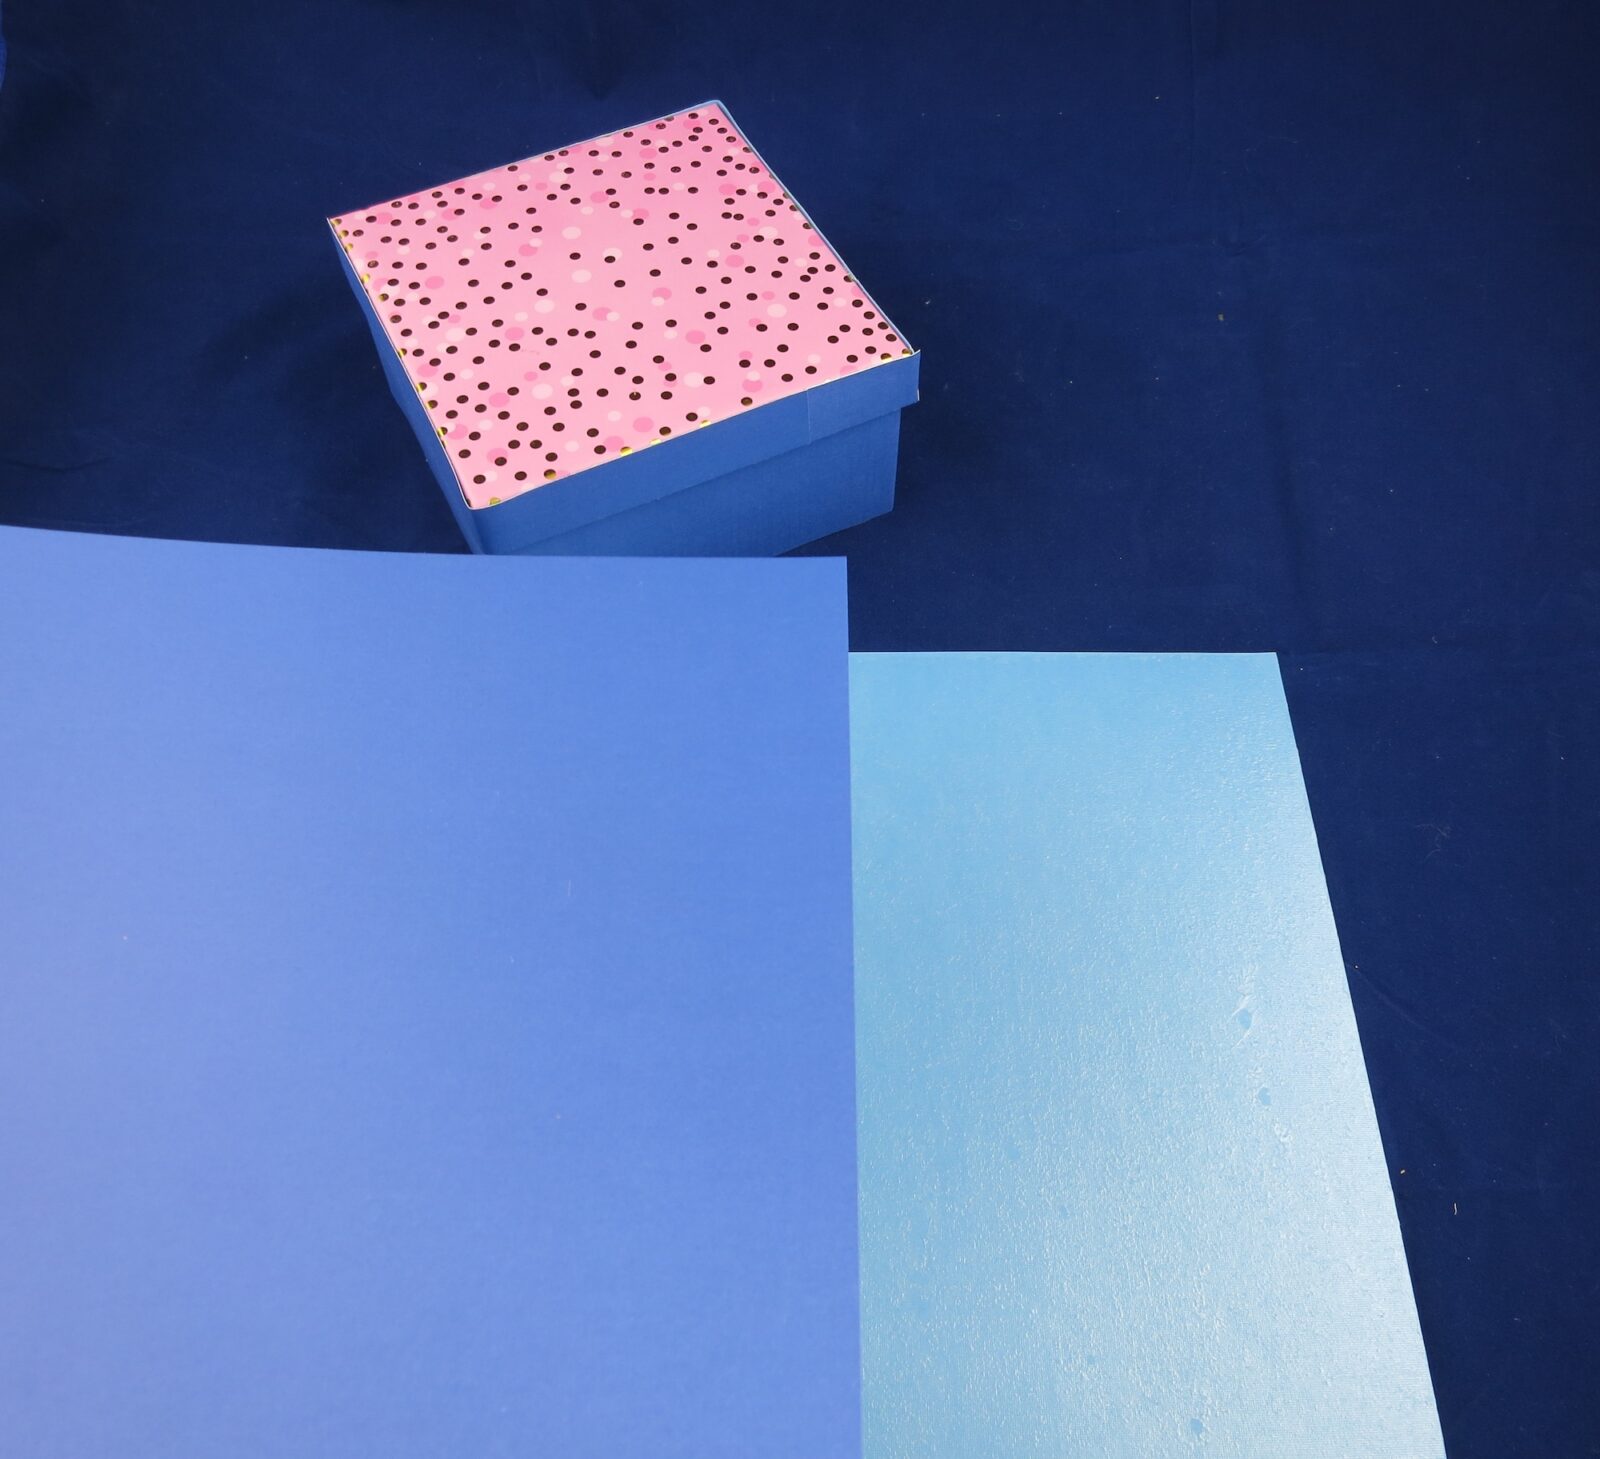
Choose solid cardstock colors that match the school’s colors. Measure the side of the box and the box top, and cut strips of cardstock to cover those areas.
Measure the top of the box, and cut two squares that are larger than the top. For the small box I cut a square that was one inch wider than the box top all around. For the larger box my cardstock topper was two inches larger on all four sides.
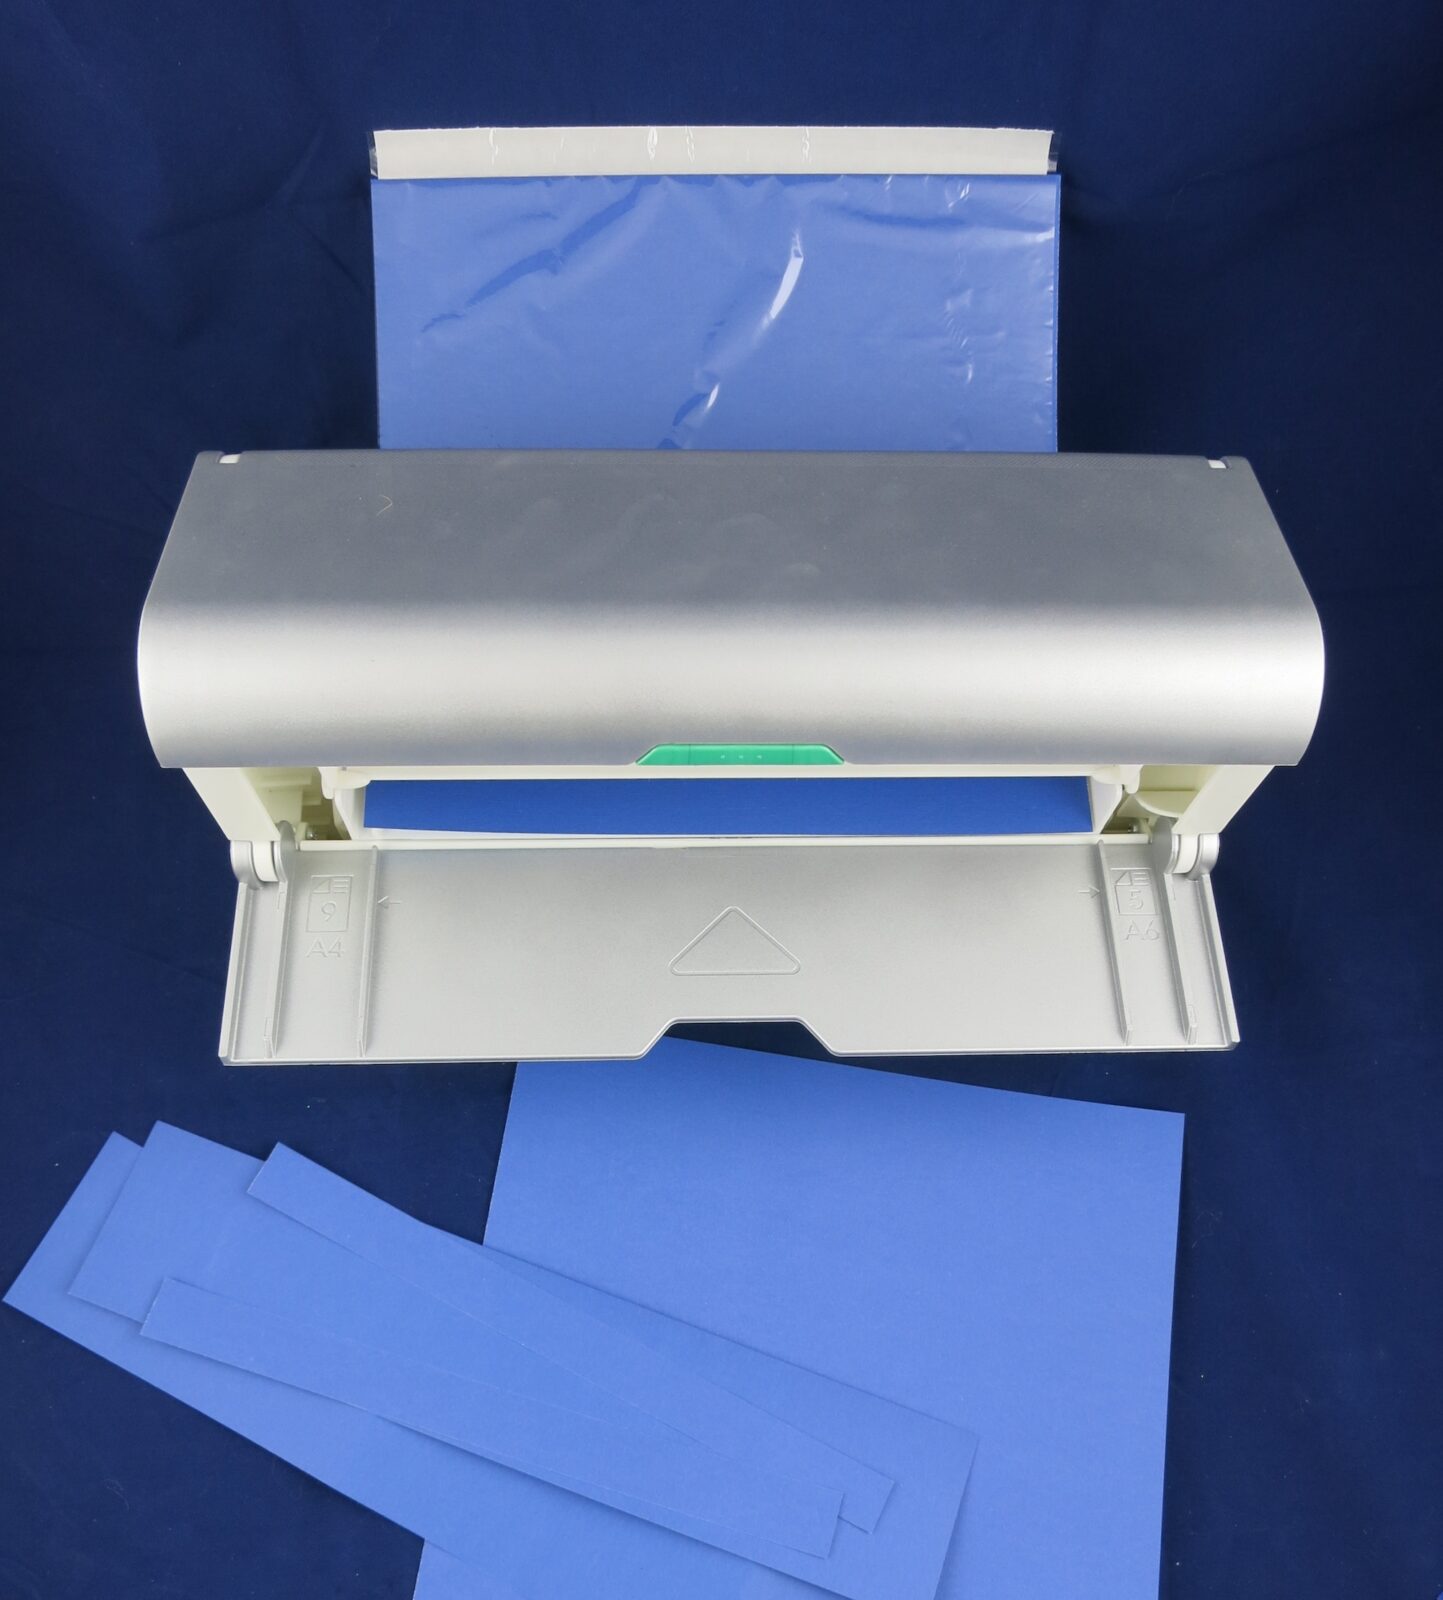
Roll the cut cardstock pieces through the Xyron Creative Station to add permanent adhesive to them. I like to use my full size Creative Station for big projects like this because you can fit 9” pieces in the machine.
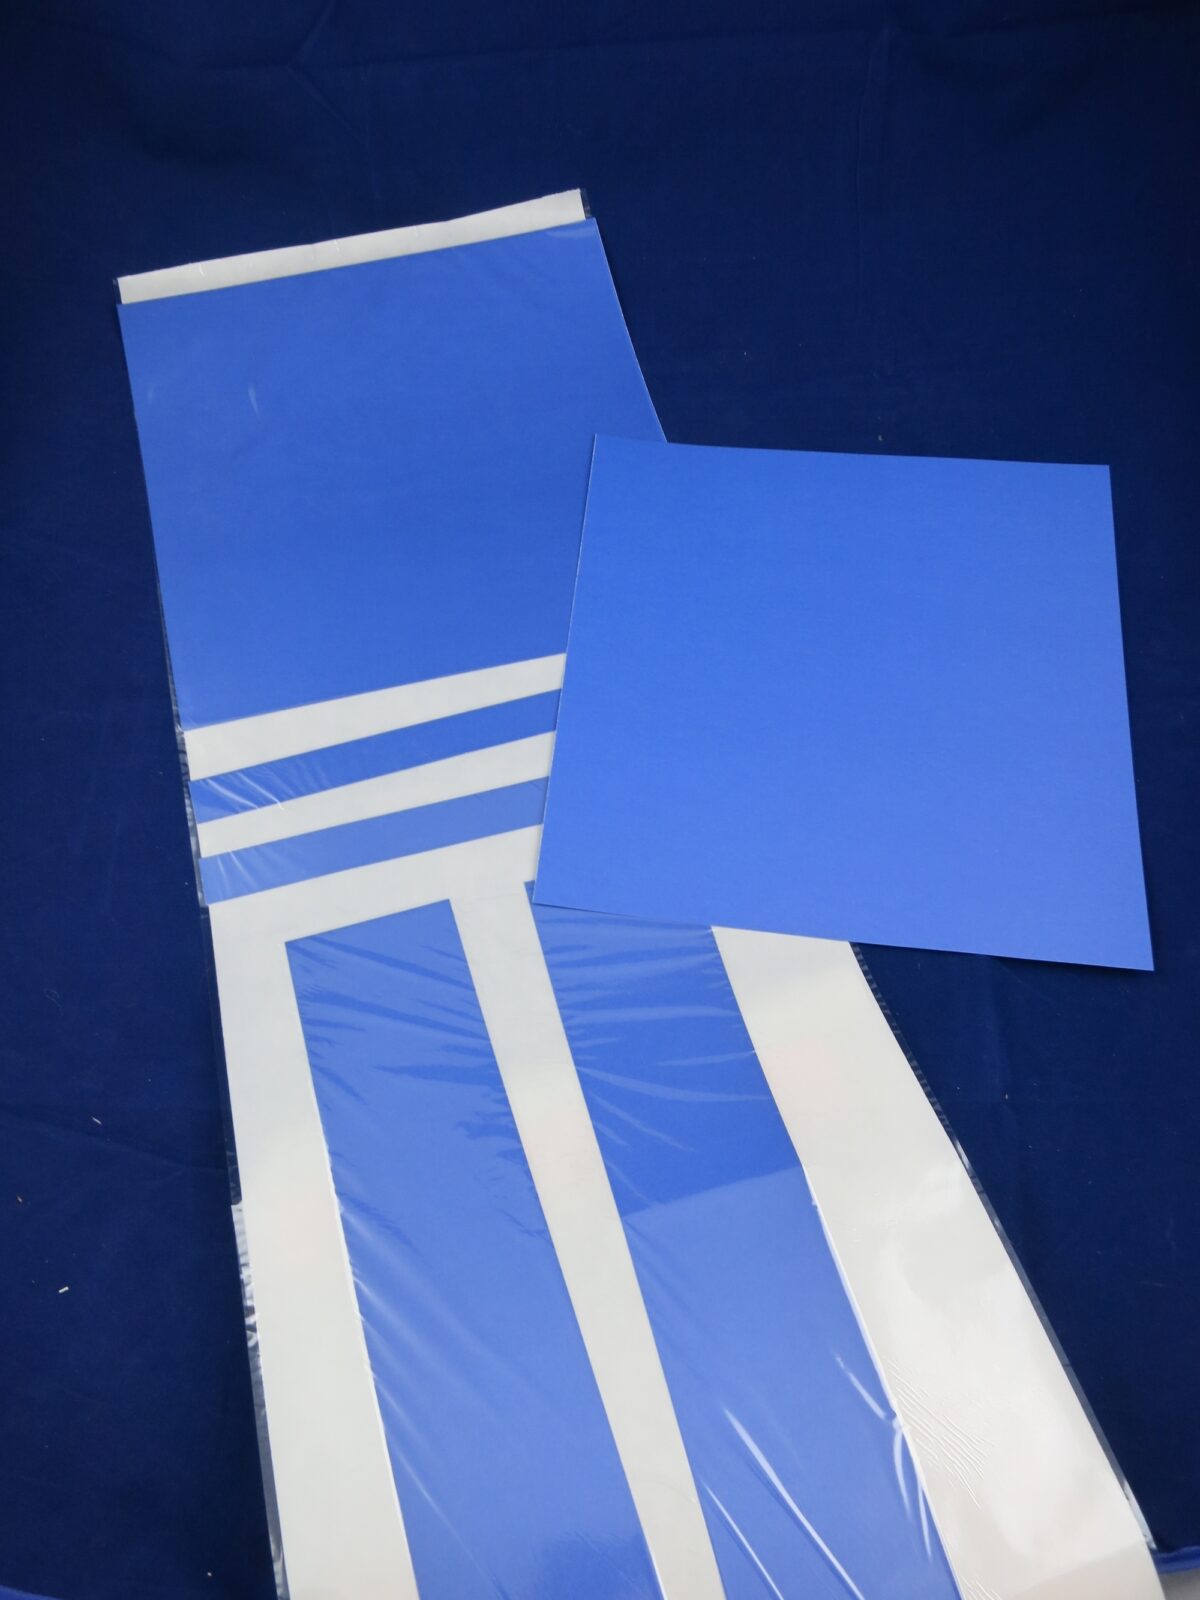

Remove the protective cover plastic and peel the pieces off one at a time. First, cover the four sides of the base box and the four sides for the lid.
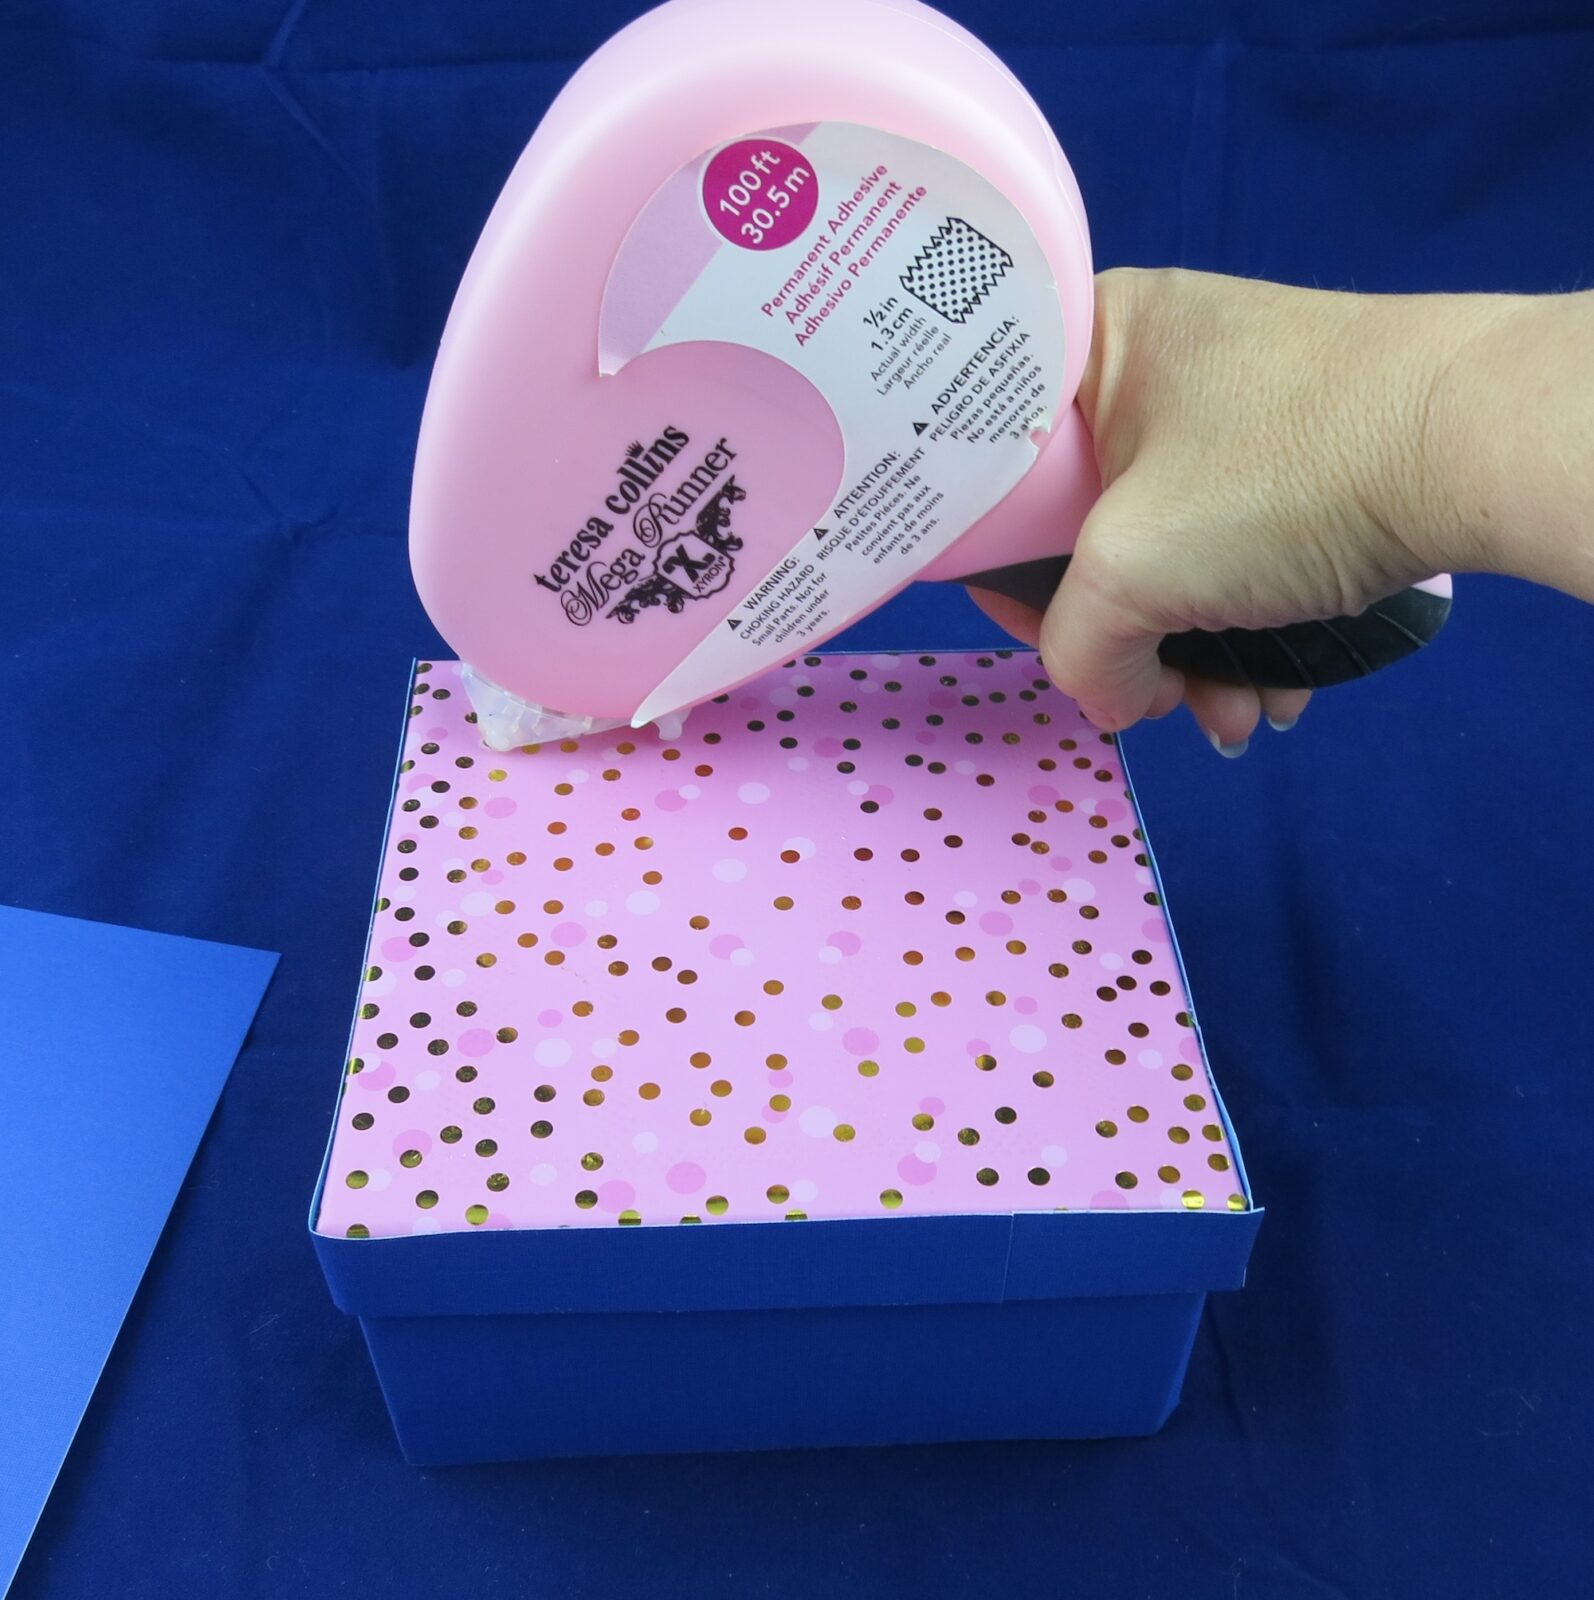
Attach the two top squares together. This will make the top sturdy so it won’t drop and sag. Use the Mega Runner to add the top to the box.
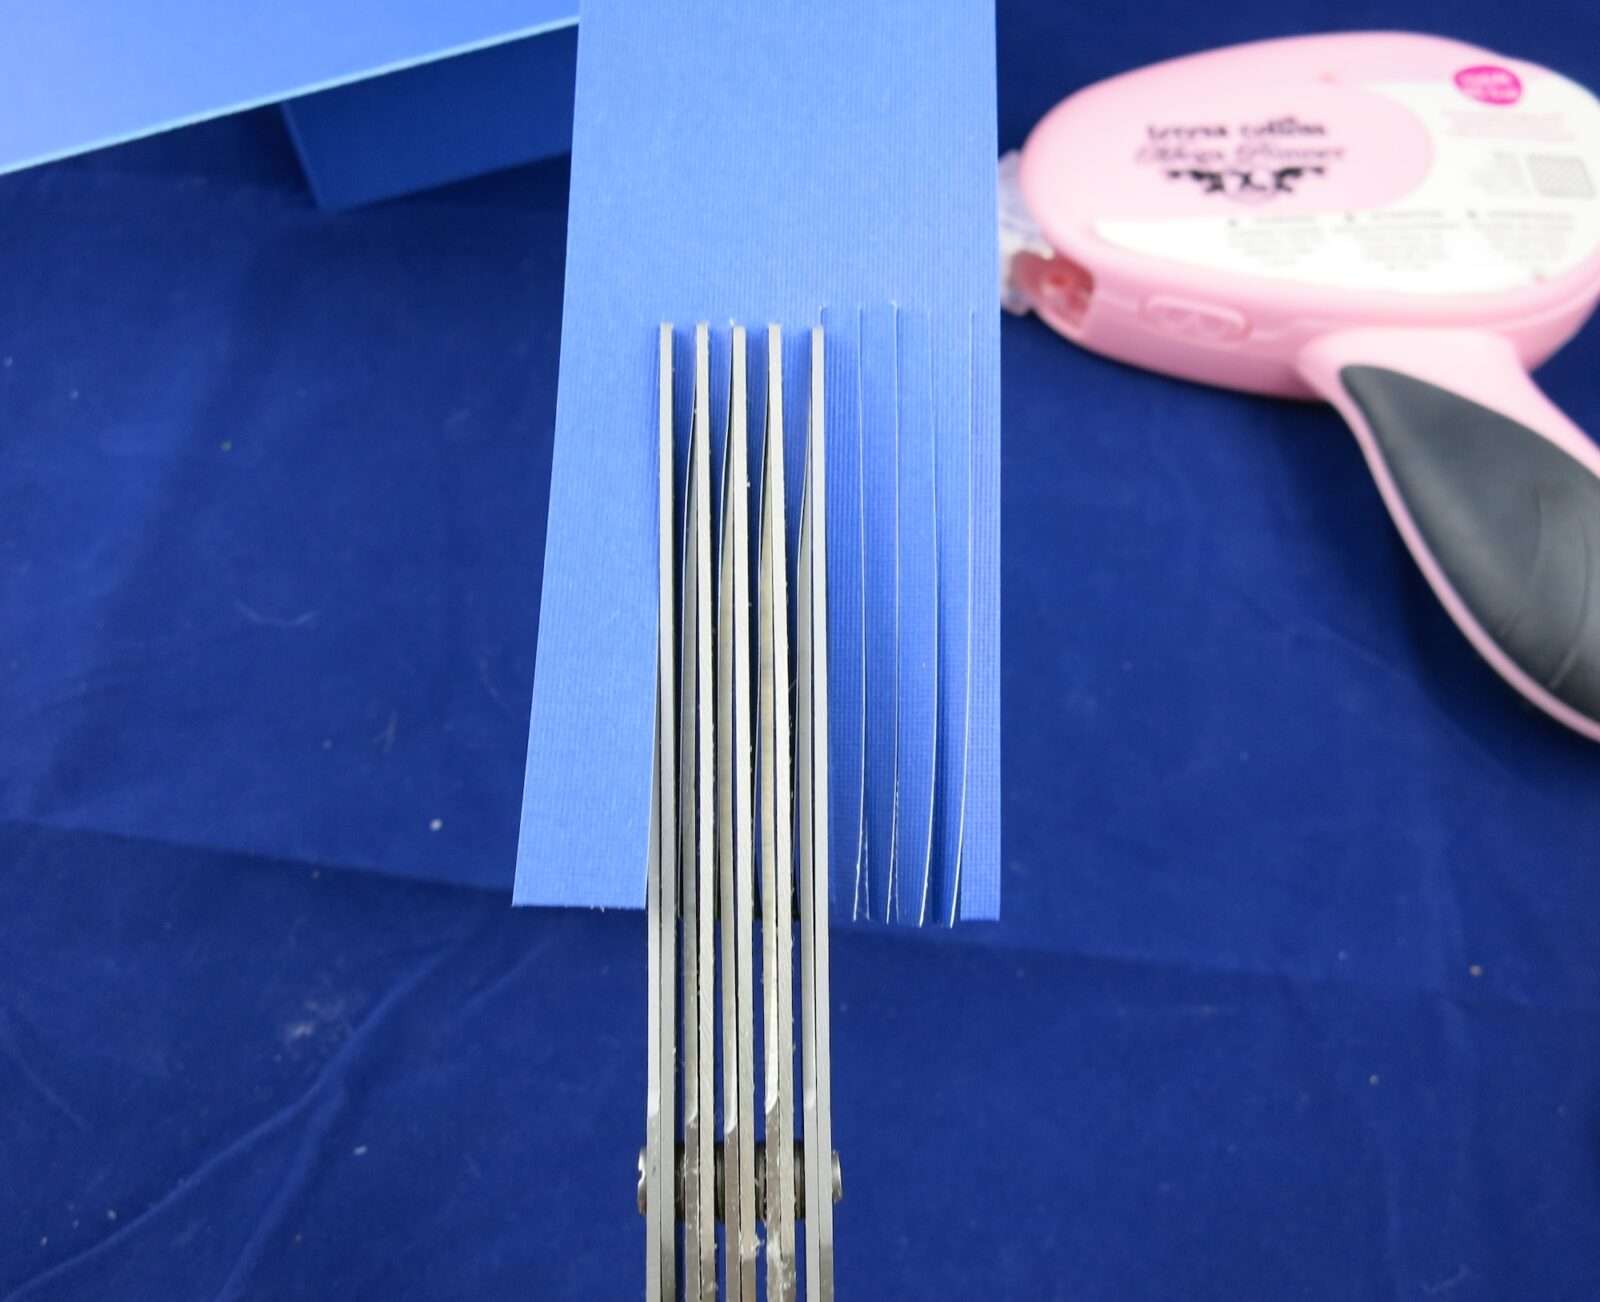
Cut a small strip of cardstock and fringe it using scissors. I’m excited to use these fun fringing scissors I hardly use!
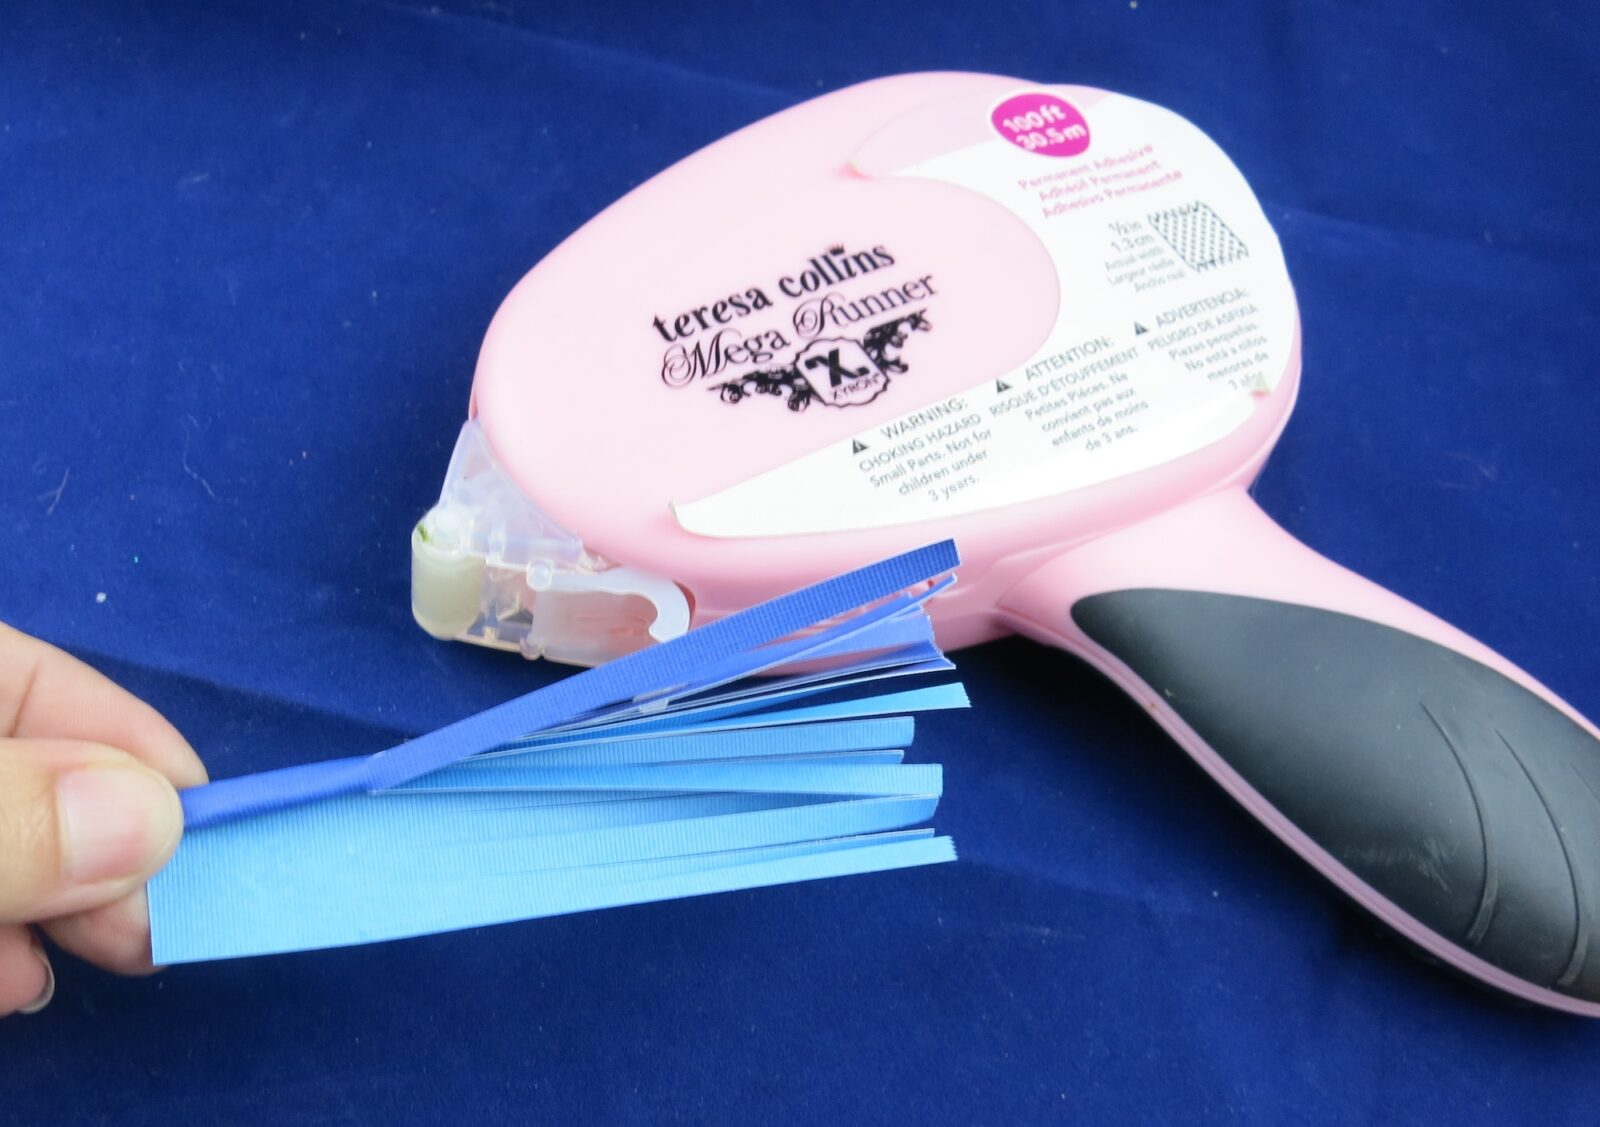
Use the Mega Runner to put adhesive on a strip of the cardstock above the fringe. Roll the paper to make a tassel. Tie the tassel with embroidery floss. Tie the other end of the floss to a button. Use a glue dot to attach the button to the graduation cap.
Once you cut the paper, these graduation cap gift boxes are very easy to make! You could quickly make a class set thanks to the quick setting Xyron adhesives!
Leave a Reply