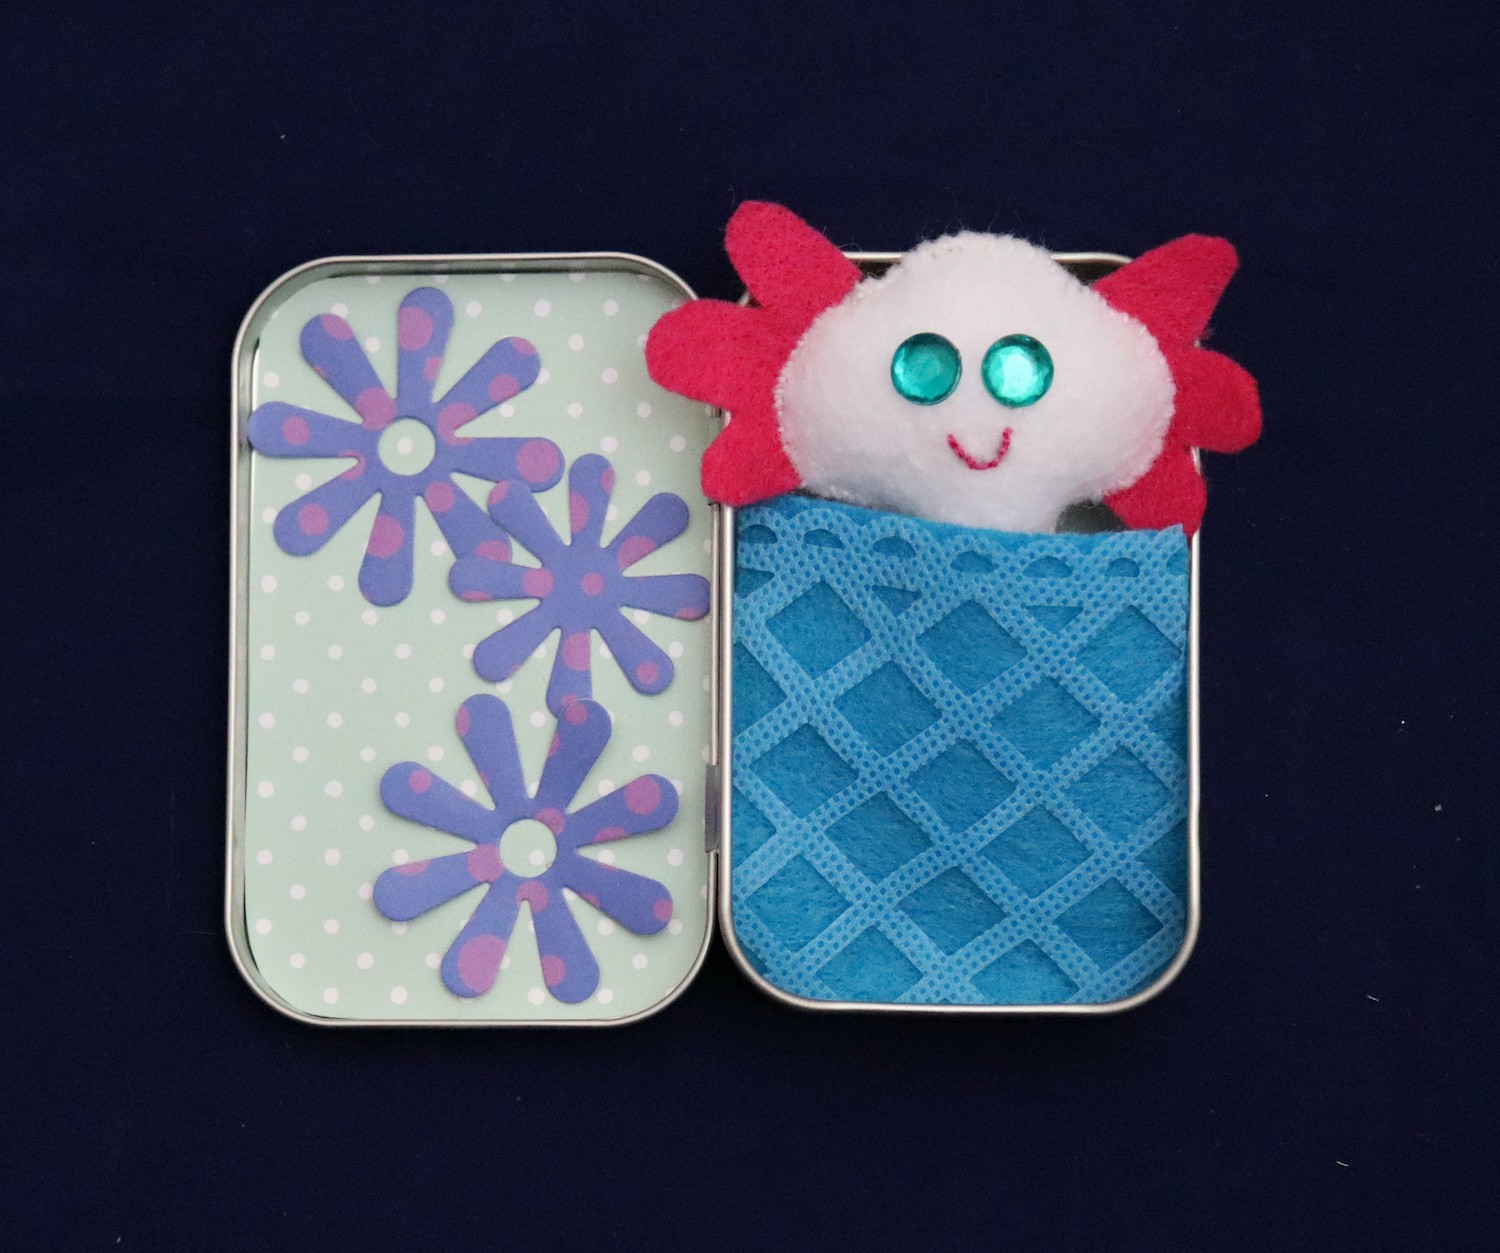
Learn how to make an axolotl plush DIY plus two other pocket pets! This is a sponsored post.
My son has been obsessed with axolotls lately, those cute little endangered critters! I thought it would be fun to make him an itty bitty version, complete with a little case to carry it in. I used ultra-plush filler from Fairfield World.
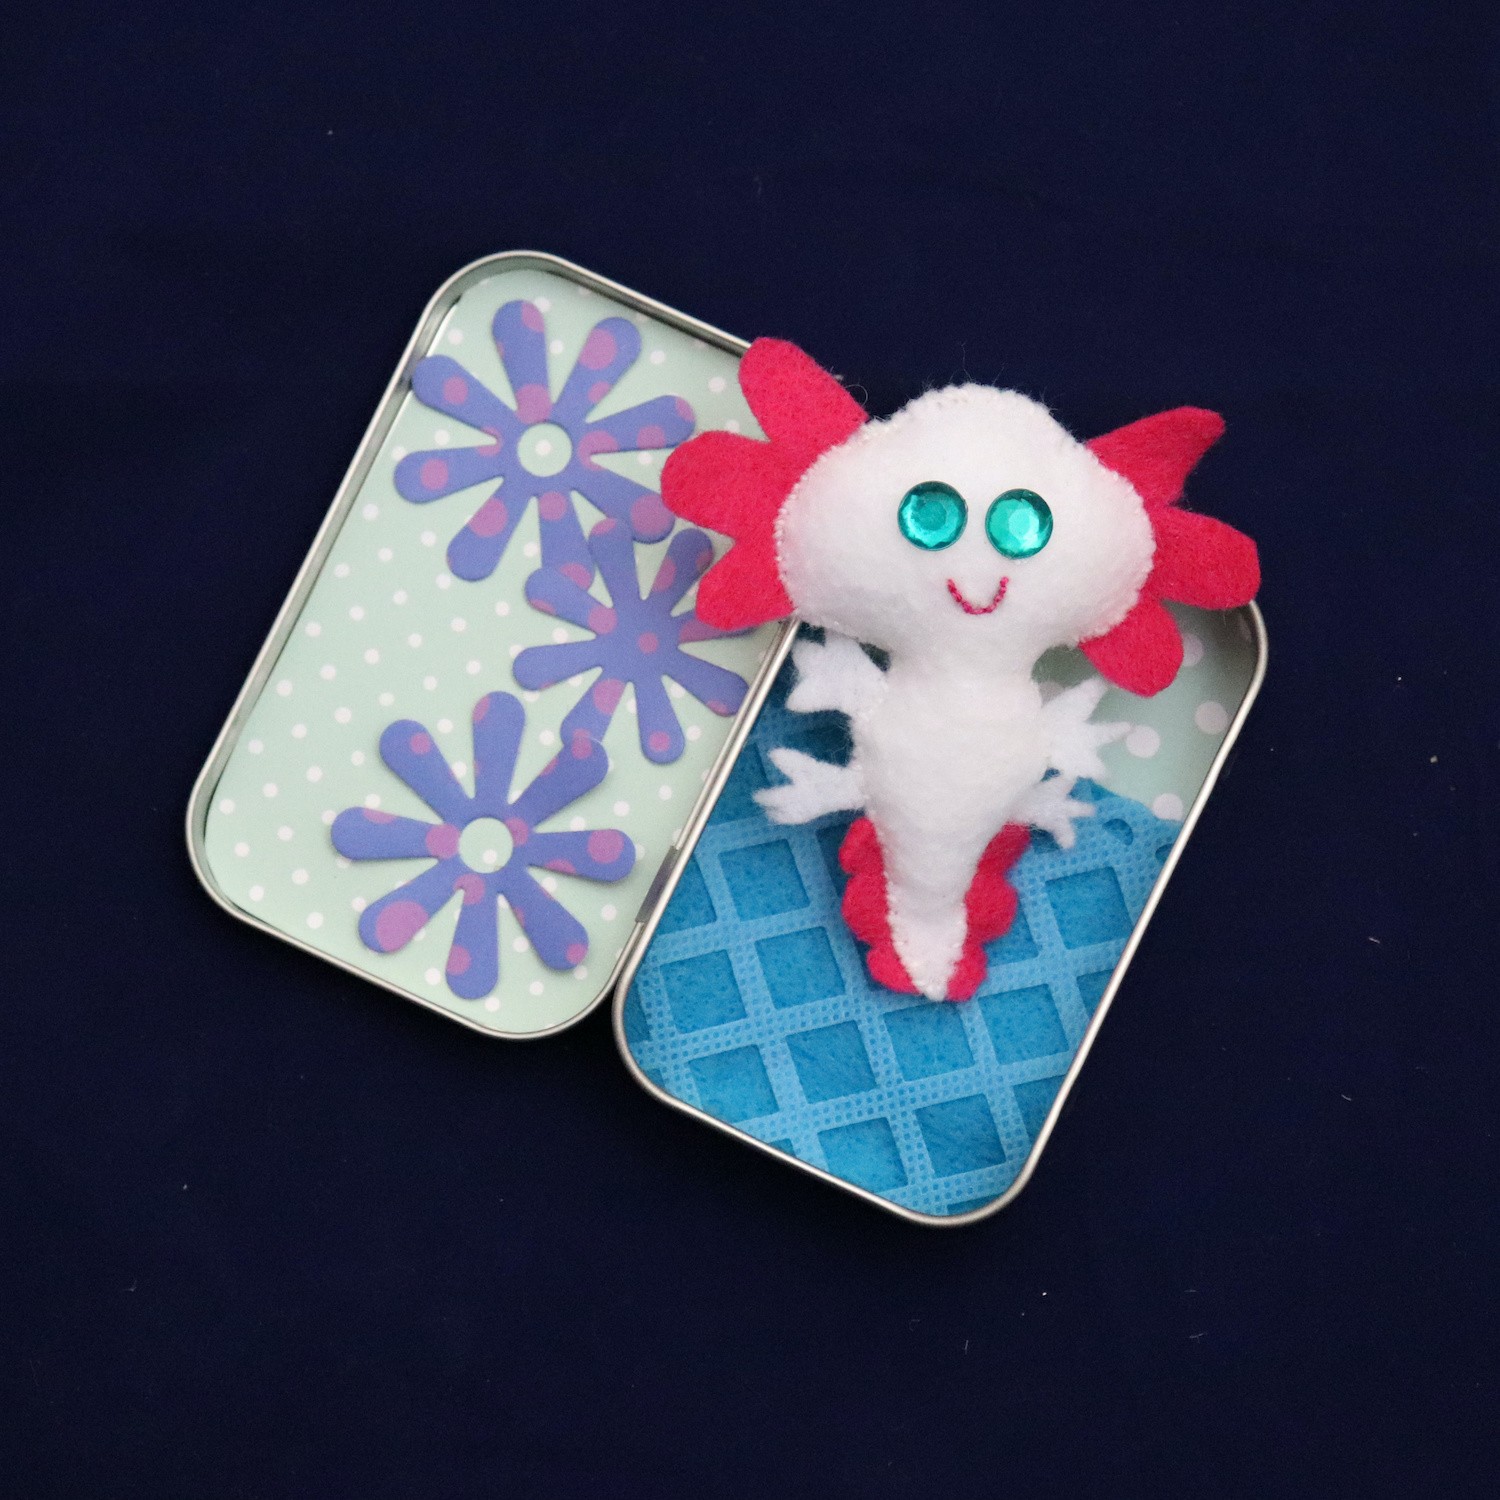
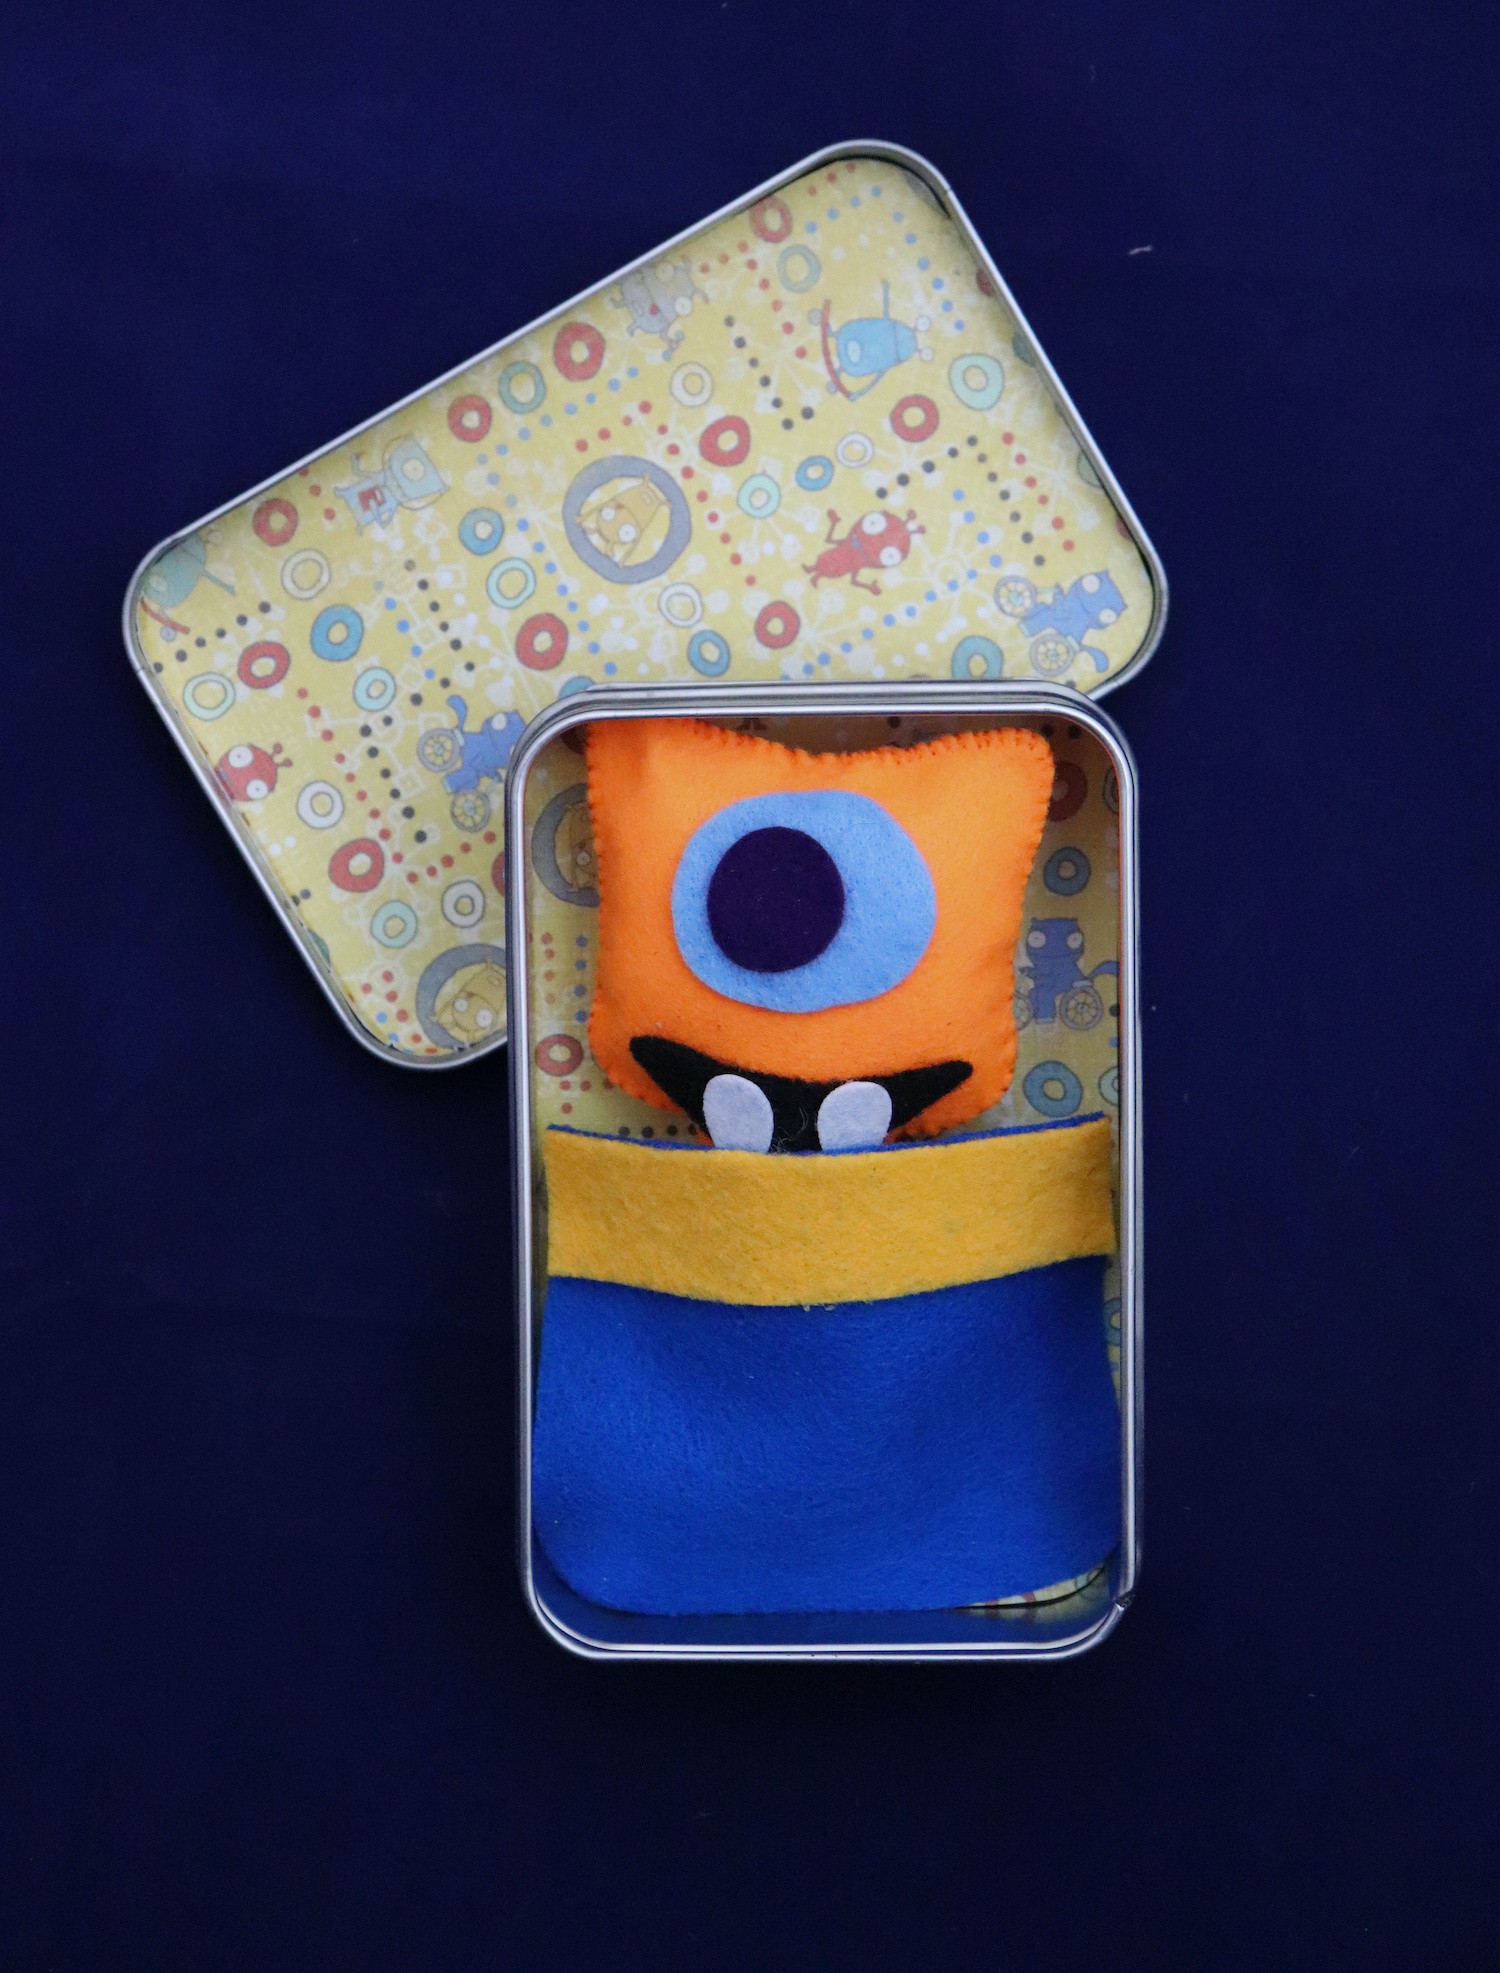
With Earth Day being this month, I wanted to add some recyclables to this project. Repurposed mint tins make the perfect “home” for these pocket pets. Add a little “wallpaper” and a blanket to complete this project. These cute little plushies are ready to go with you anywhere!
Axolotl Plush DIY Supplies
- Felt
- Poly-Fil Supreme® Ultra Plush Fiber Fill 40 ounce Bag
- Embroidery Floss
- Mint Tin
- Oly-Fun Fabric
- Fabri Tac Fabric Glue
Please see the short video for the complete tutorial!
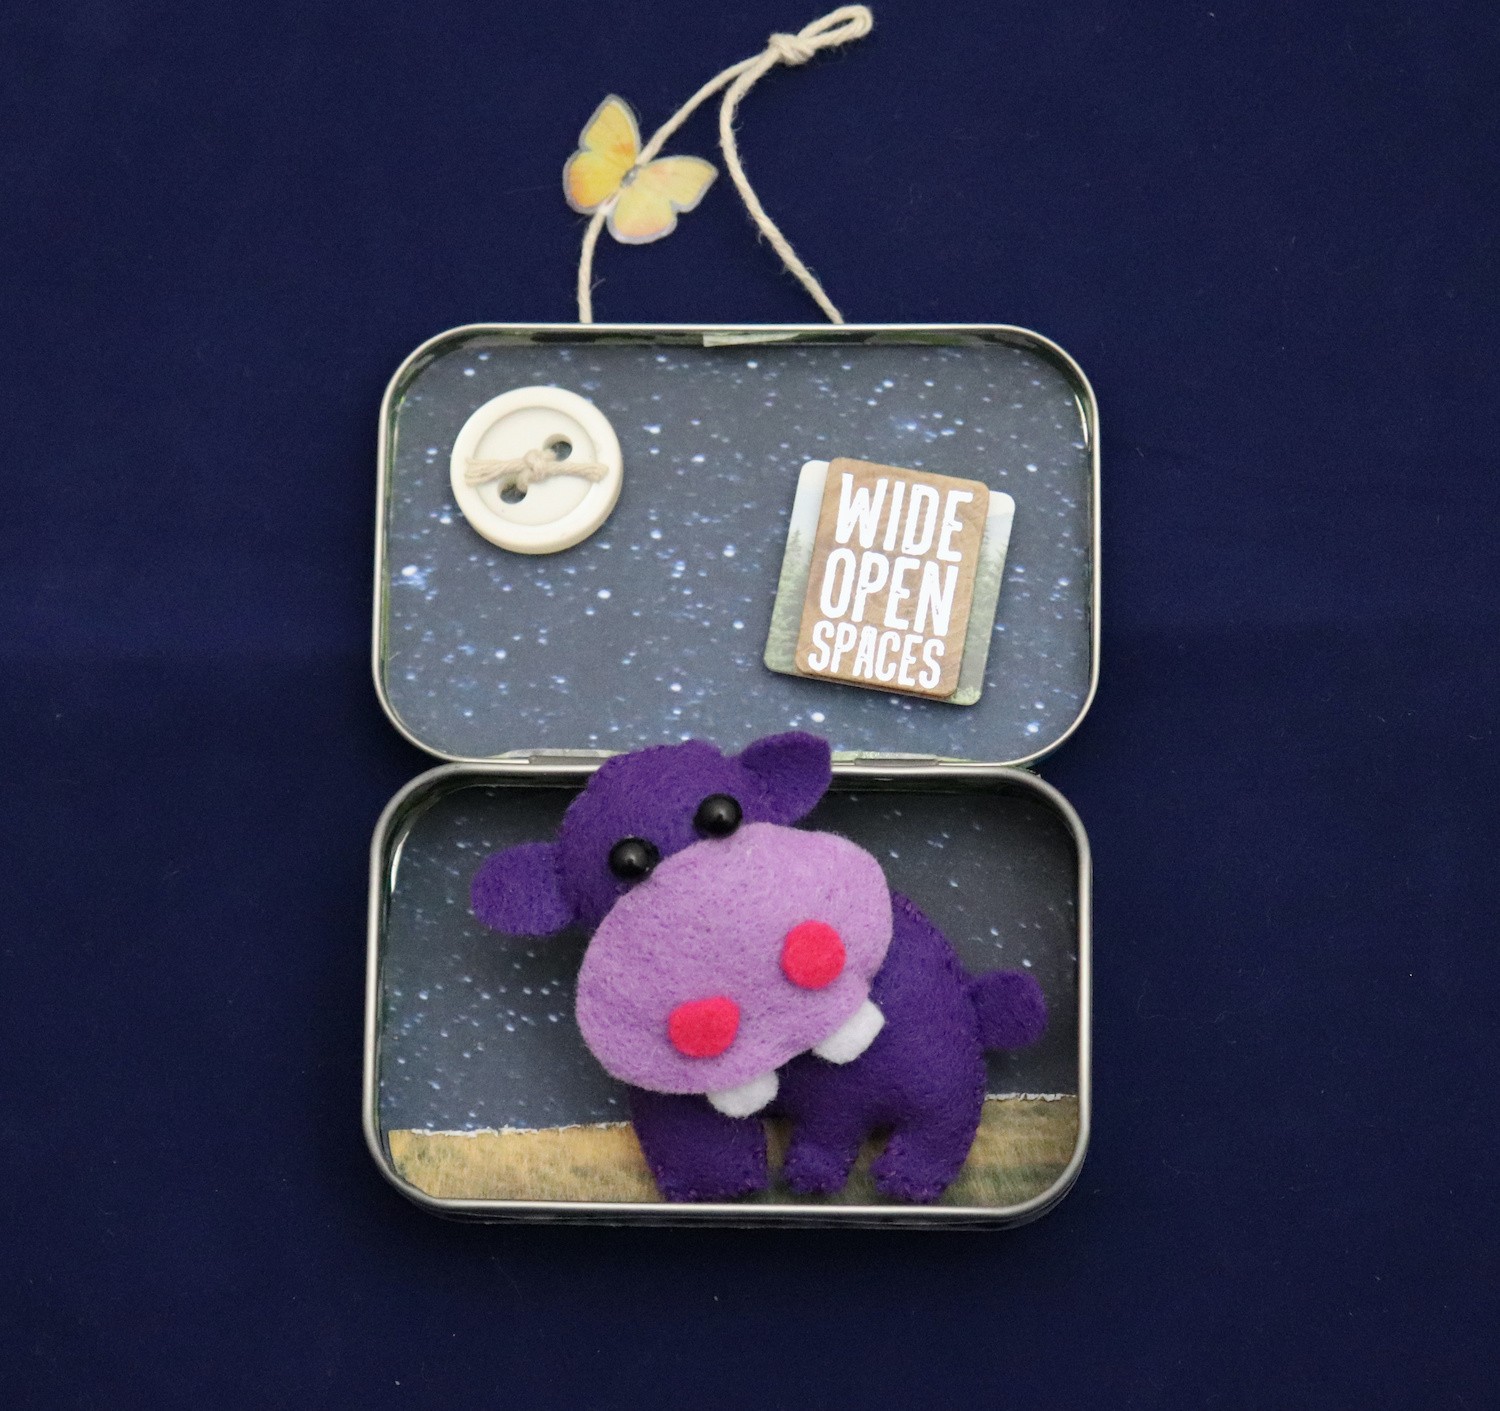
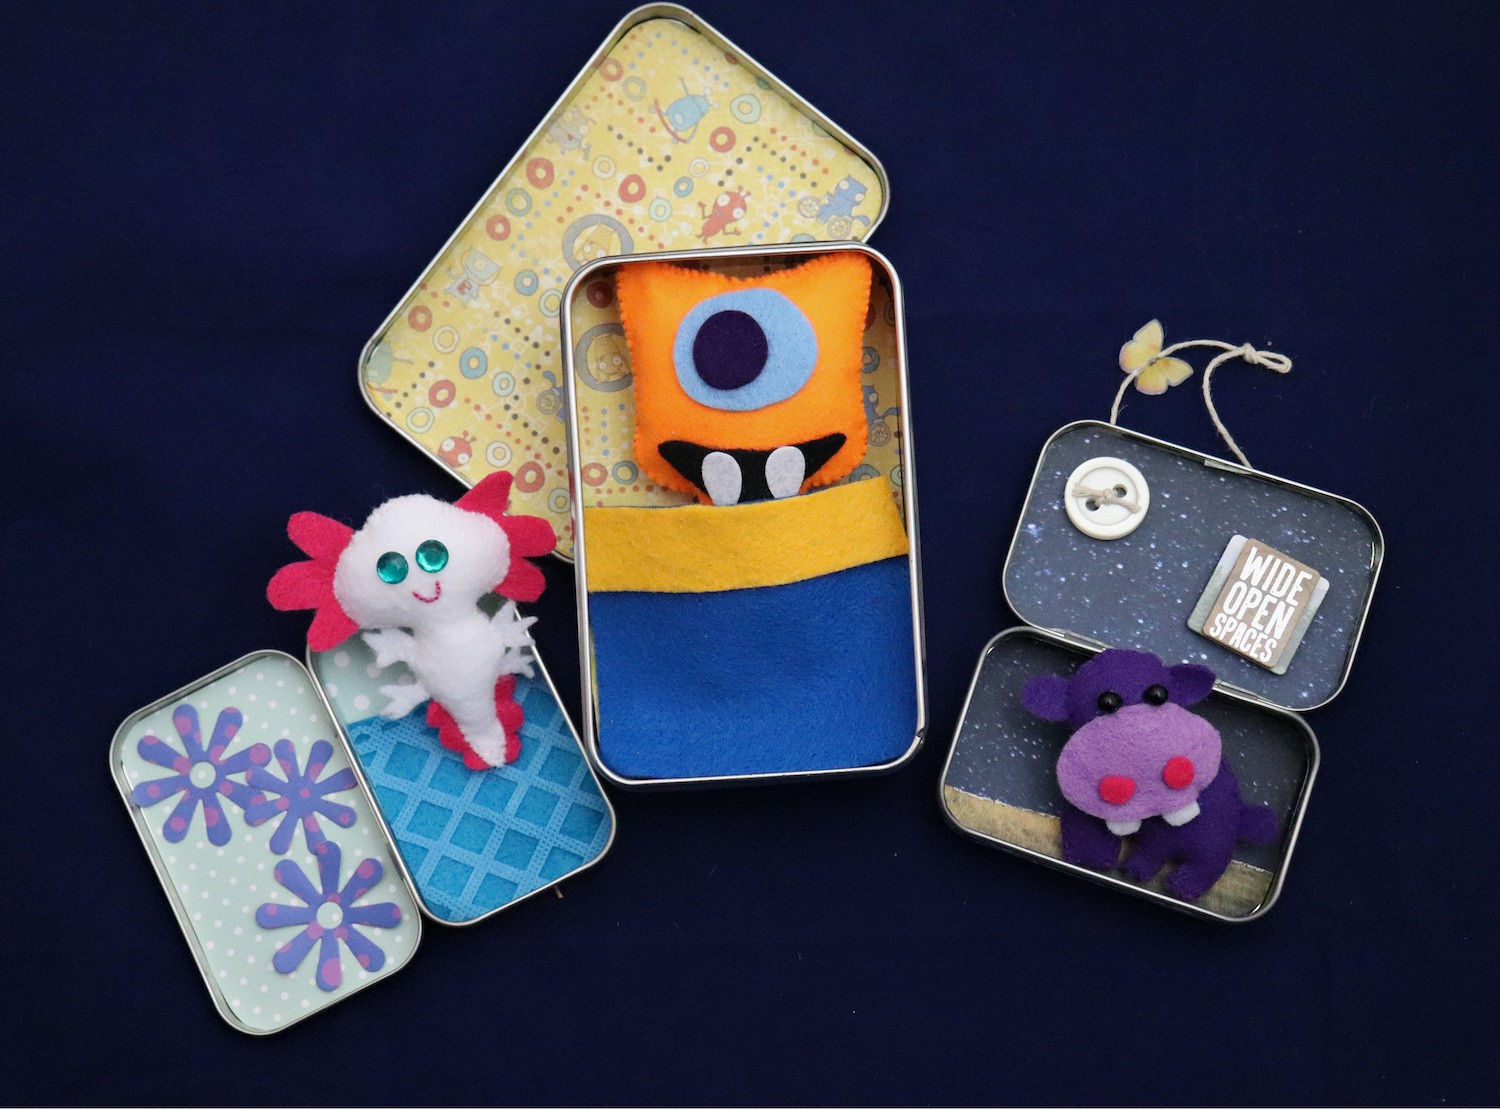
I also made a tiny hippo and a fun one-eyed monster plush. They all follow the same basic steps:
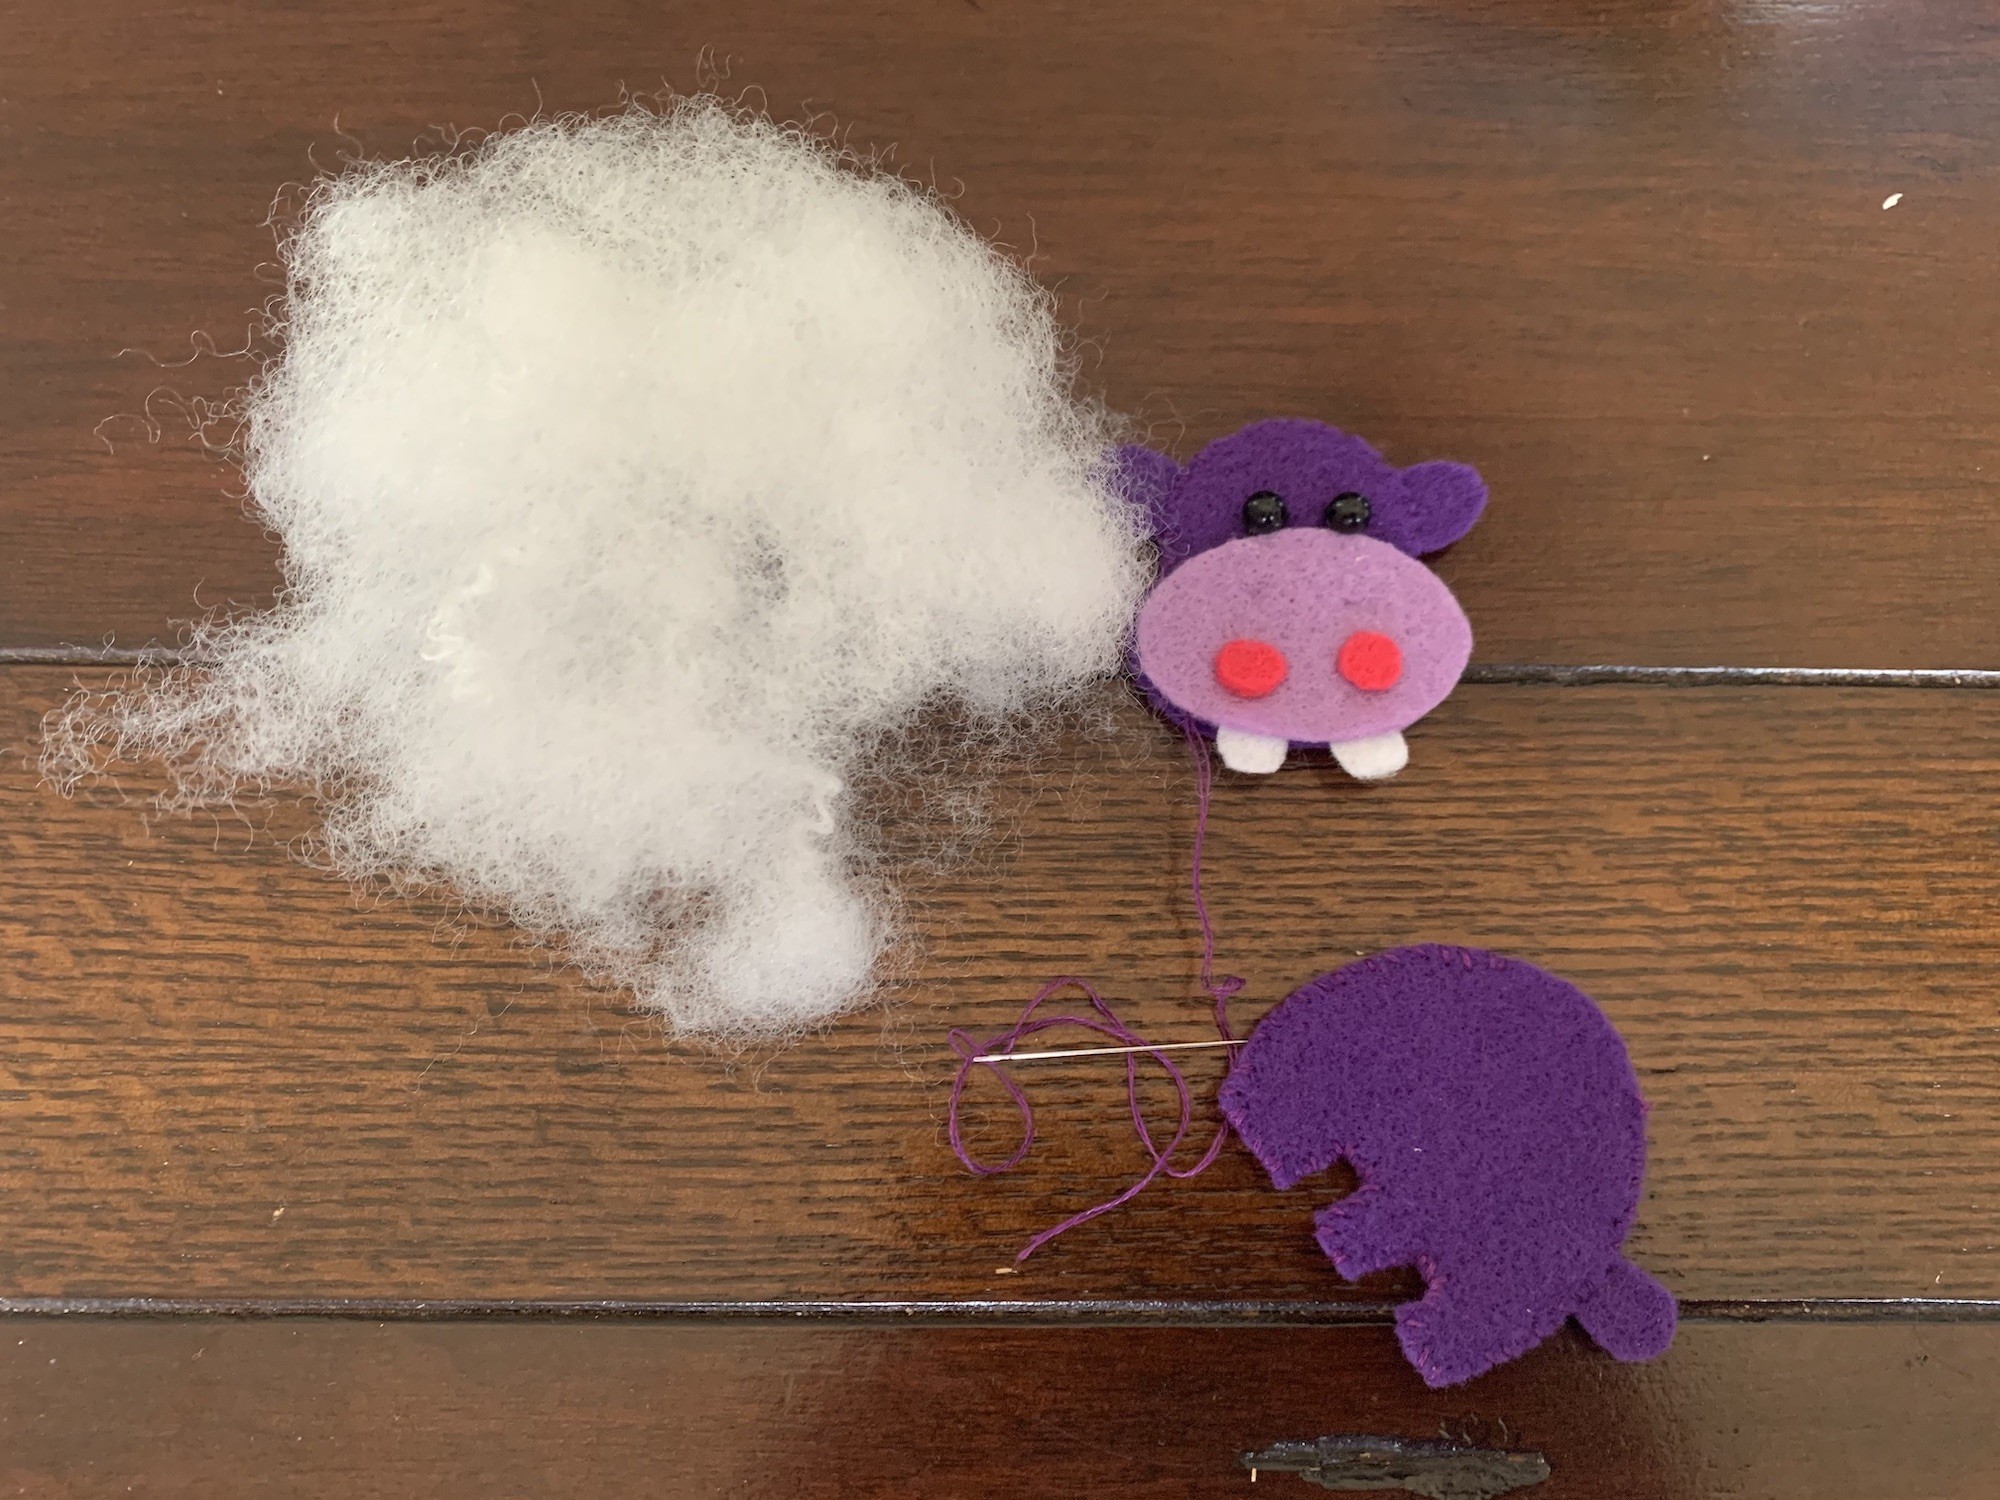
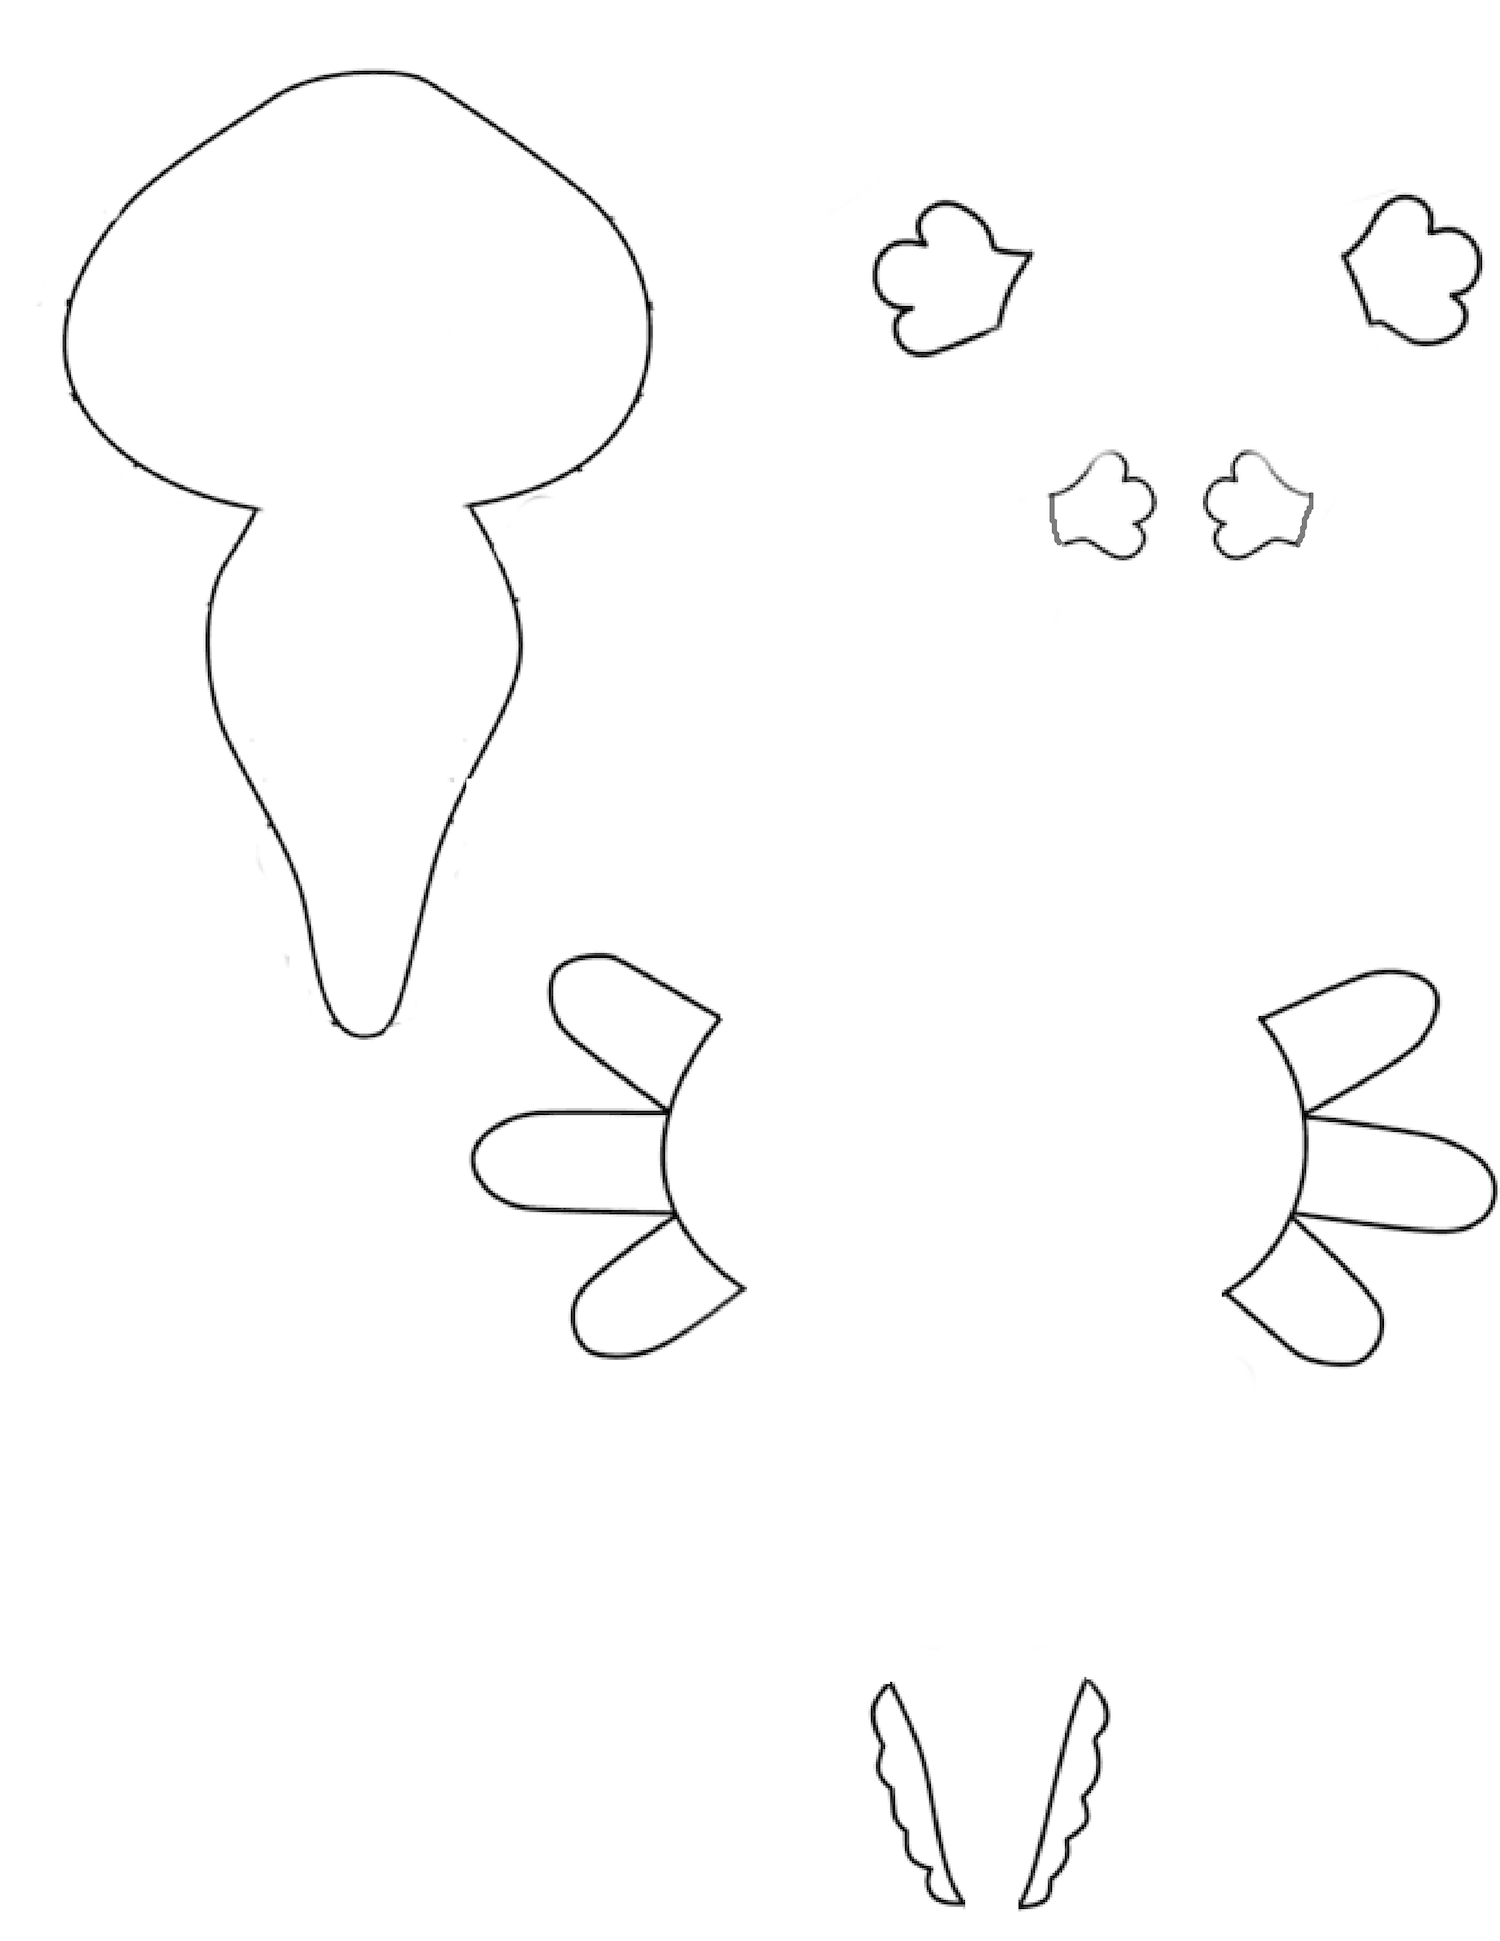
- Print the patterns out (the axolotl is below, the hippo is here, and the monster is here).
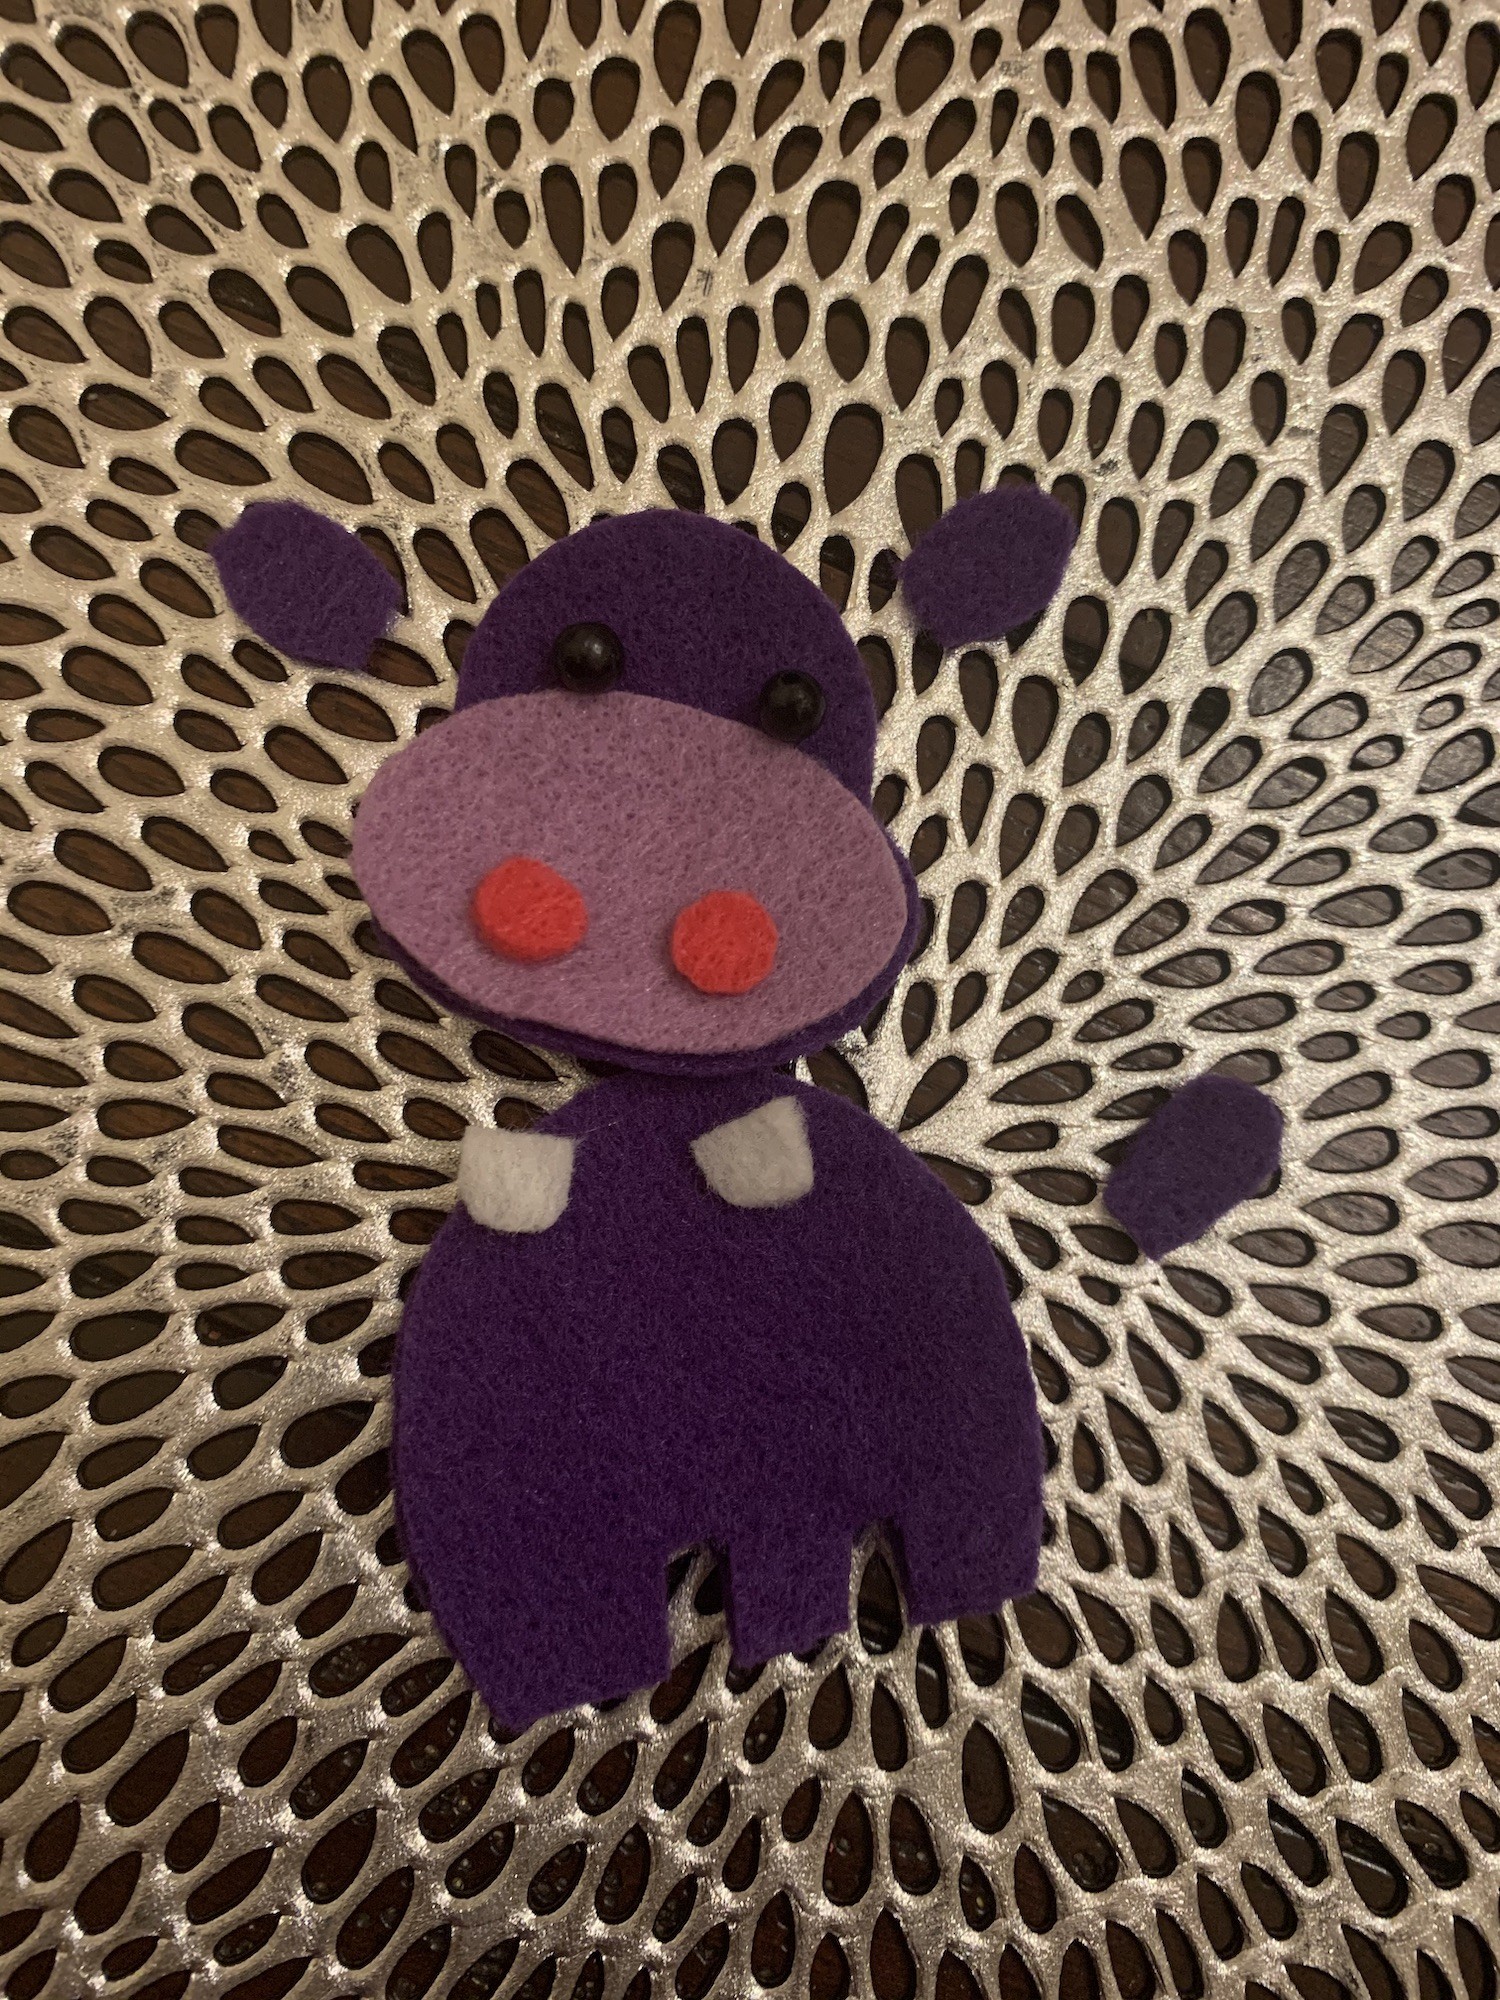
- Trace and cut the patterns from felt.
- Use embroidery floss to sew the pieces together.
- Fill with Pol-Fil Fiber Fill.
- Sew the plushie closed.
- Decorate the tin with paper and fabric.
- Make a blanket using felt.
Felt plushies are a fun way for kids to learn how to sew by hand. Choose a simple pattern, like the axolotl, so they can learn the joy of crafting! My daughter’s first handmade plush was a simple little duck, but it hooked her!
Smaller projects like these are great because kids don’t get bored and lose interest before they are done. It’s a little bit of instant gratification and a little bit of patience all rolled into one cute, cuddly project. Have fun crafting and creating pocket plushies!
Leave a Reply