This sweet little resin fairy ring tray would be fun to make for yourself or to give as a gift! This is a sponsored post with Plaid Crafts.
Shhhh, don’t wake the baby! This sweet little fairy babe will not keep a close eye on your jewelry, but it will make for a fun piece of decor on your vanity or desk! One of the things I love about working with resin is that you can control the shape and colors to create so many different projects!
Plaid Crafts has a fun new line of resin products that make it easy for anyone (even beginners) to start crafting with resin. I used one of their silicone coaster molds with a fondant mold to craft this cute piece.
Resin Fairy Ring Tray Supplies
- Plaid Crafts Resin Kit
- Plaid Crafts Silicone Coaster Mold
- Sleeping Baby Fondant Mold
- Acrylic Flower Beads
- Green and gold metallic paint
- Glitter
- Disposable Cups
- Craft Sticks
- Gloves
I made a very short video tutorial that shows you how to make this project. Here’s a brief summary of the steps, but the video has a lot more detail:
- Tint the resin pink and fill the baby mold. Set it aside to cure for 24 hours.
- Place the small flower beads in the coaster mold. Pour clear resin over the flowers only and set aside for 24 hours.
- Create three batches of resin in three different disposable containers. Tint one with green metallic paint, one with gold metallic paint, and the other with glitter.
- Swirl the three different resins into the mold and let cure for 24 hours.
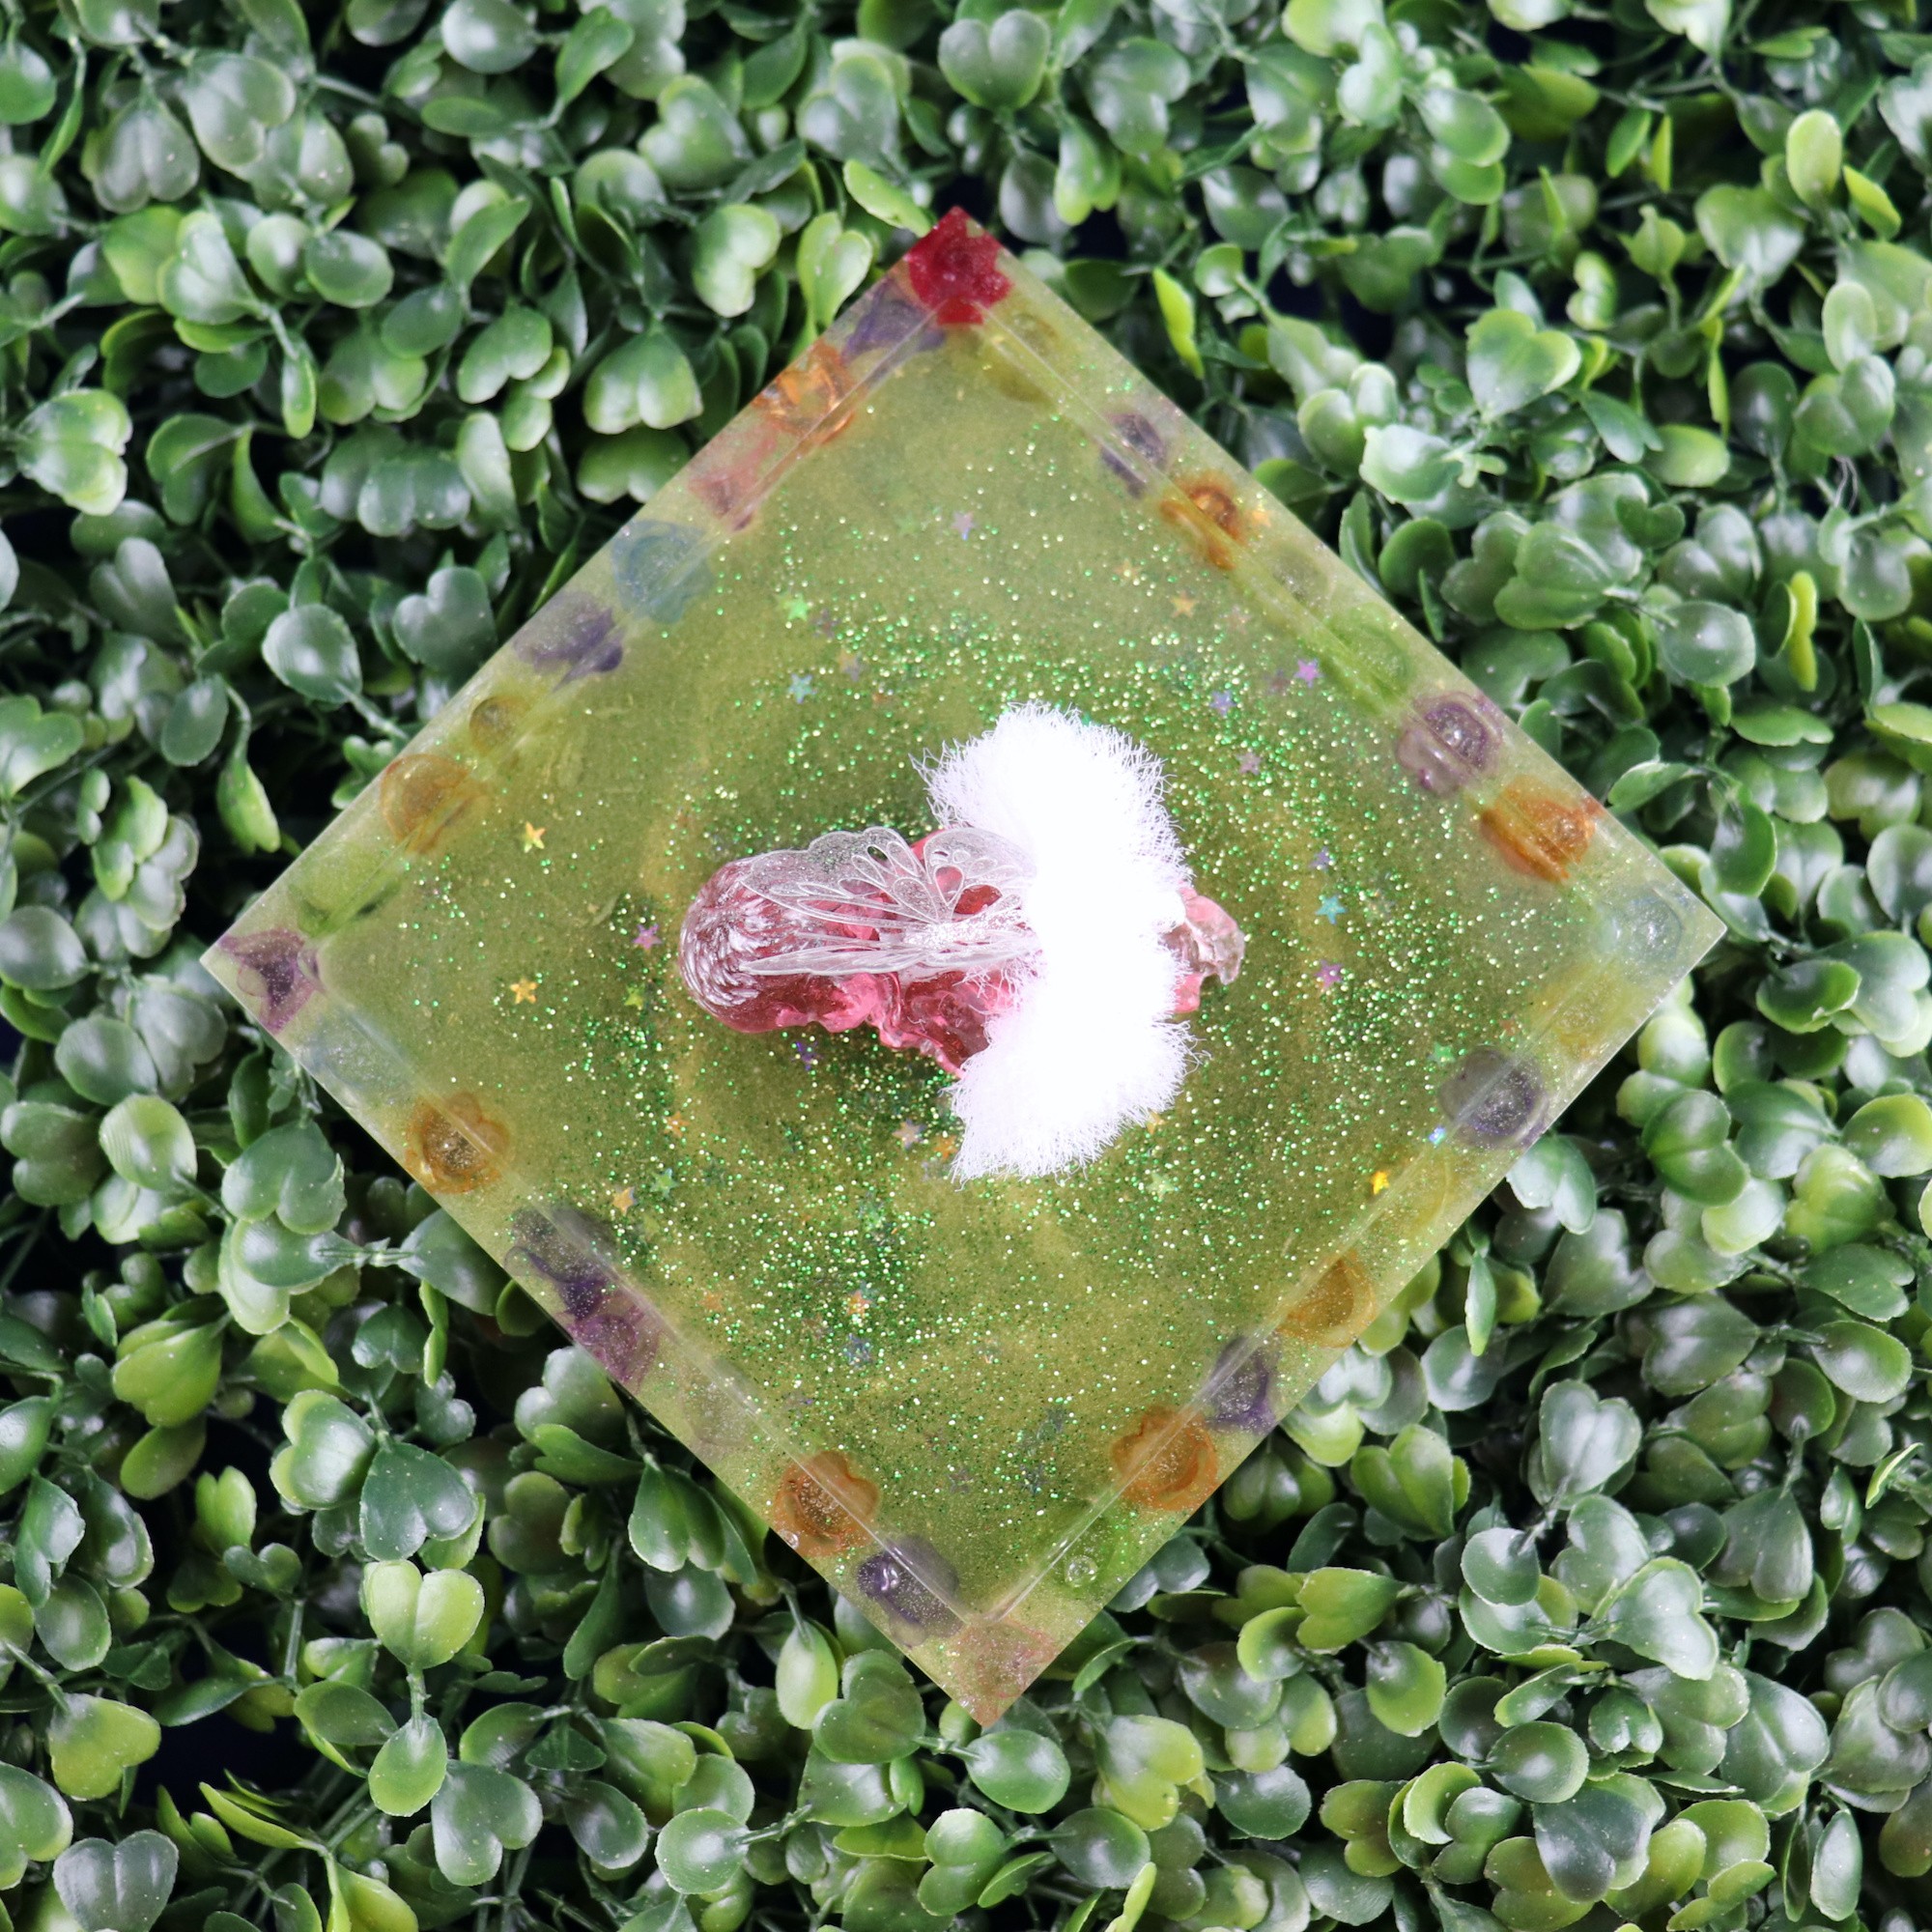
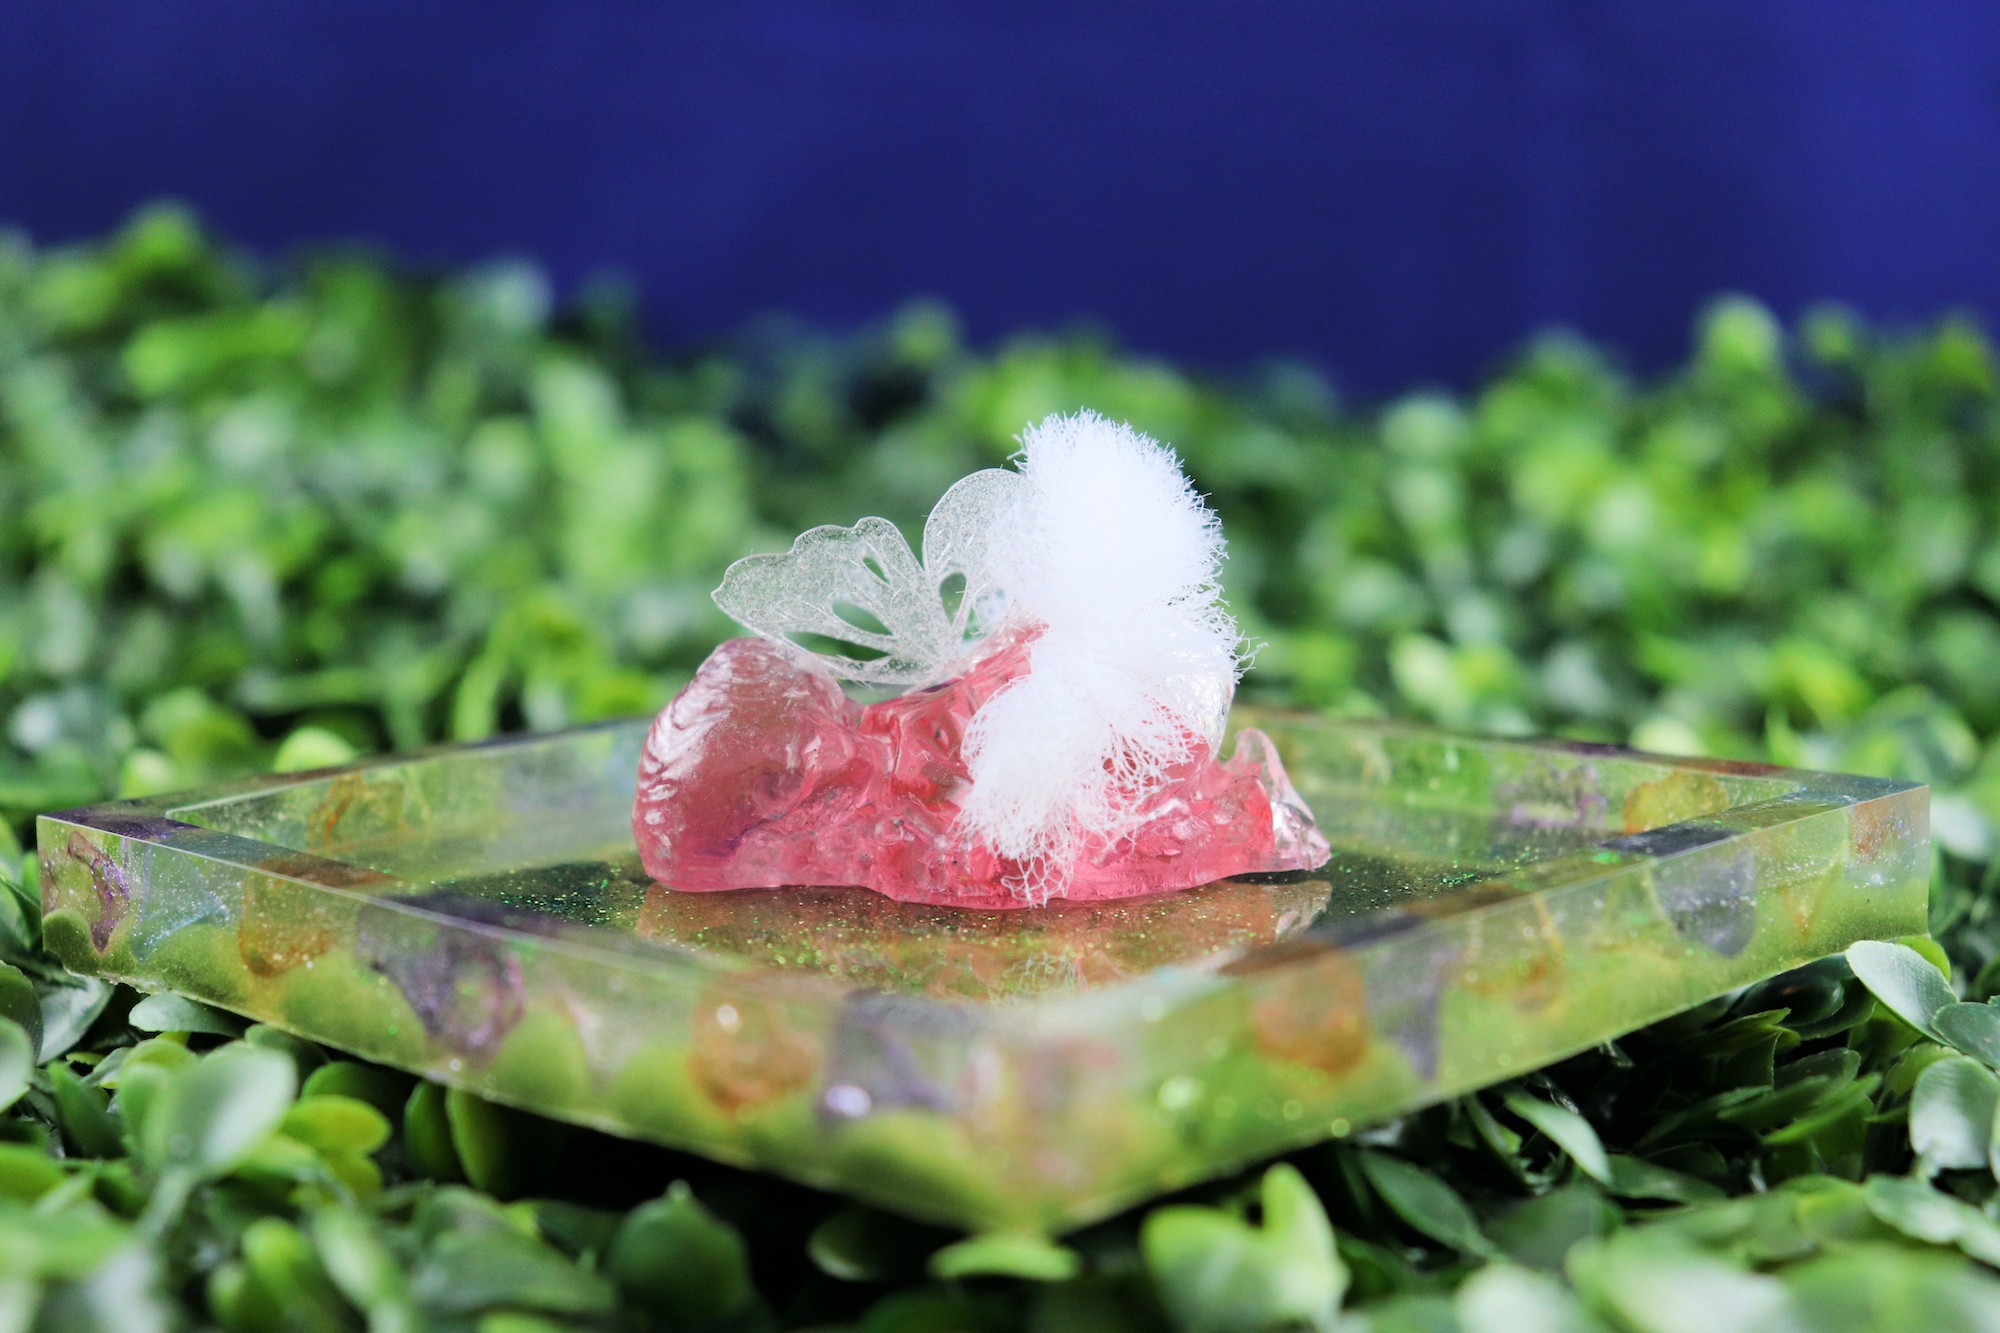
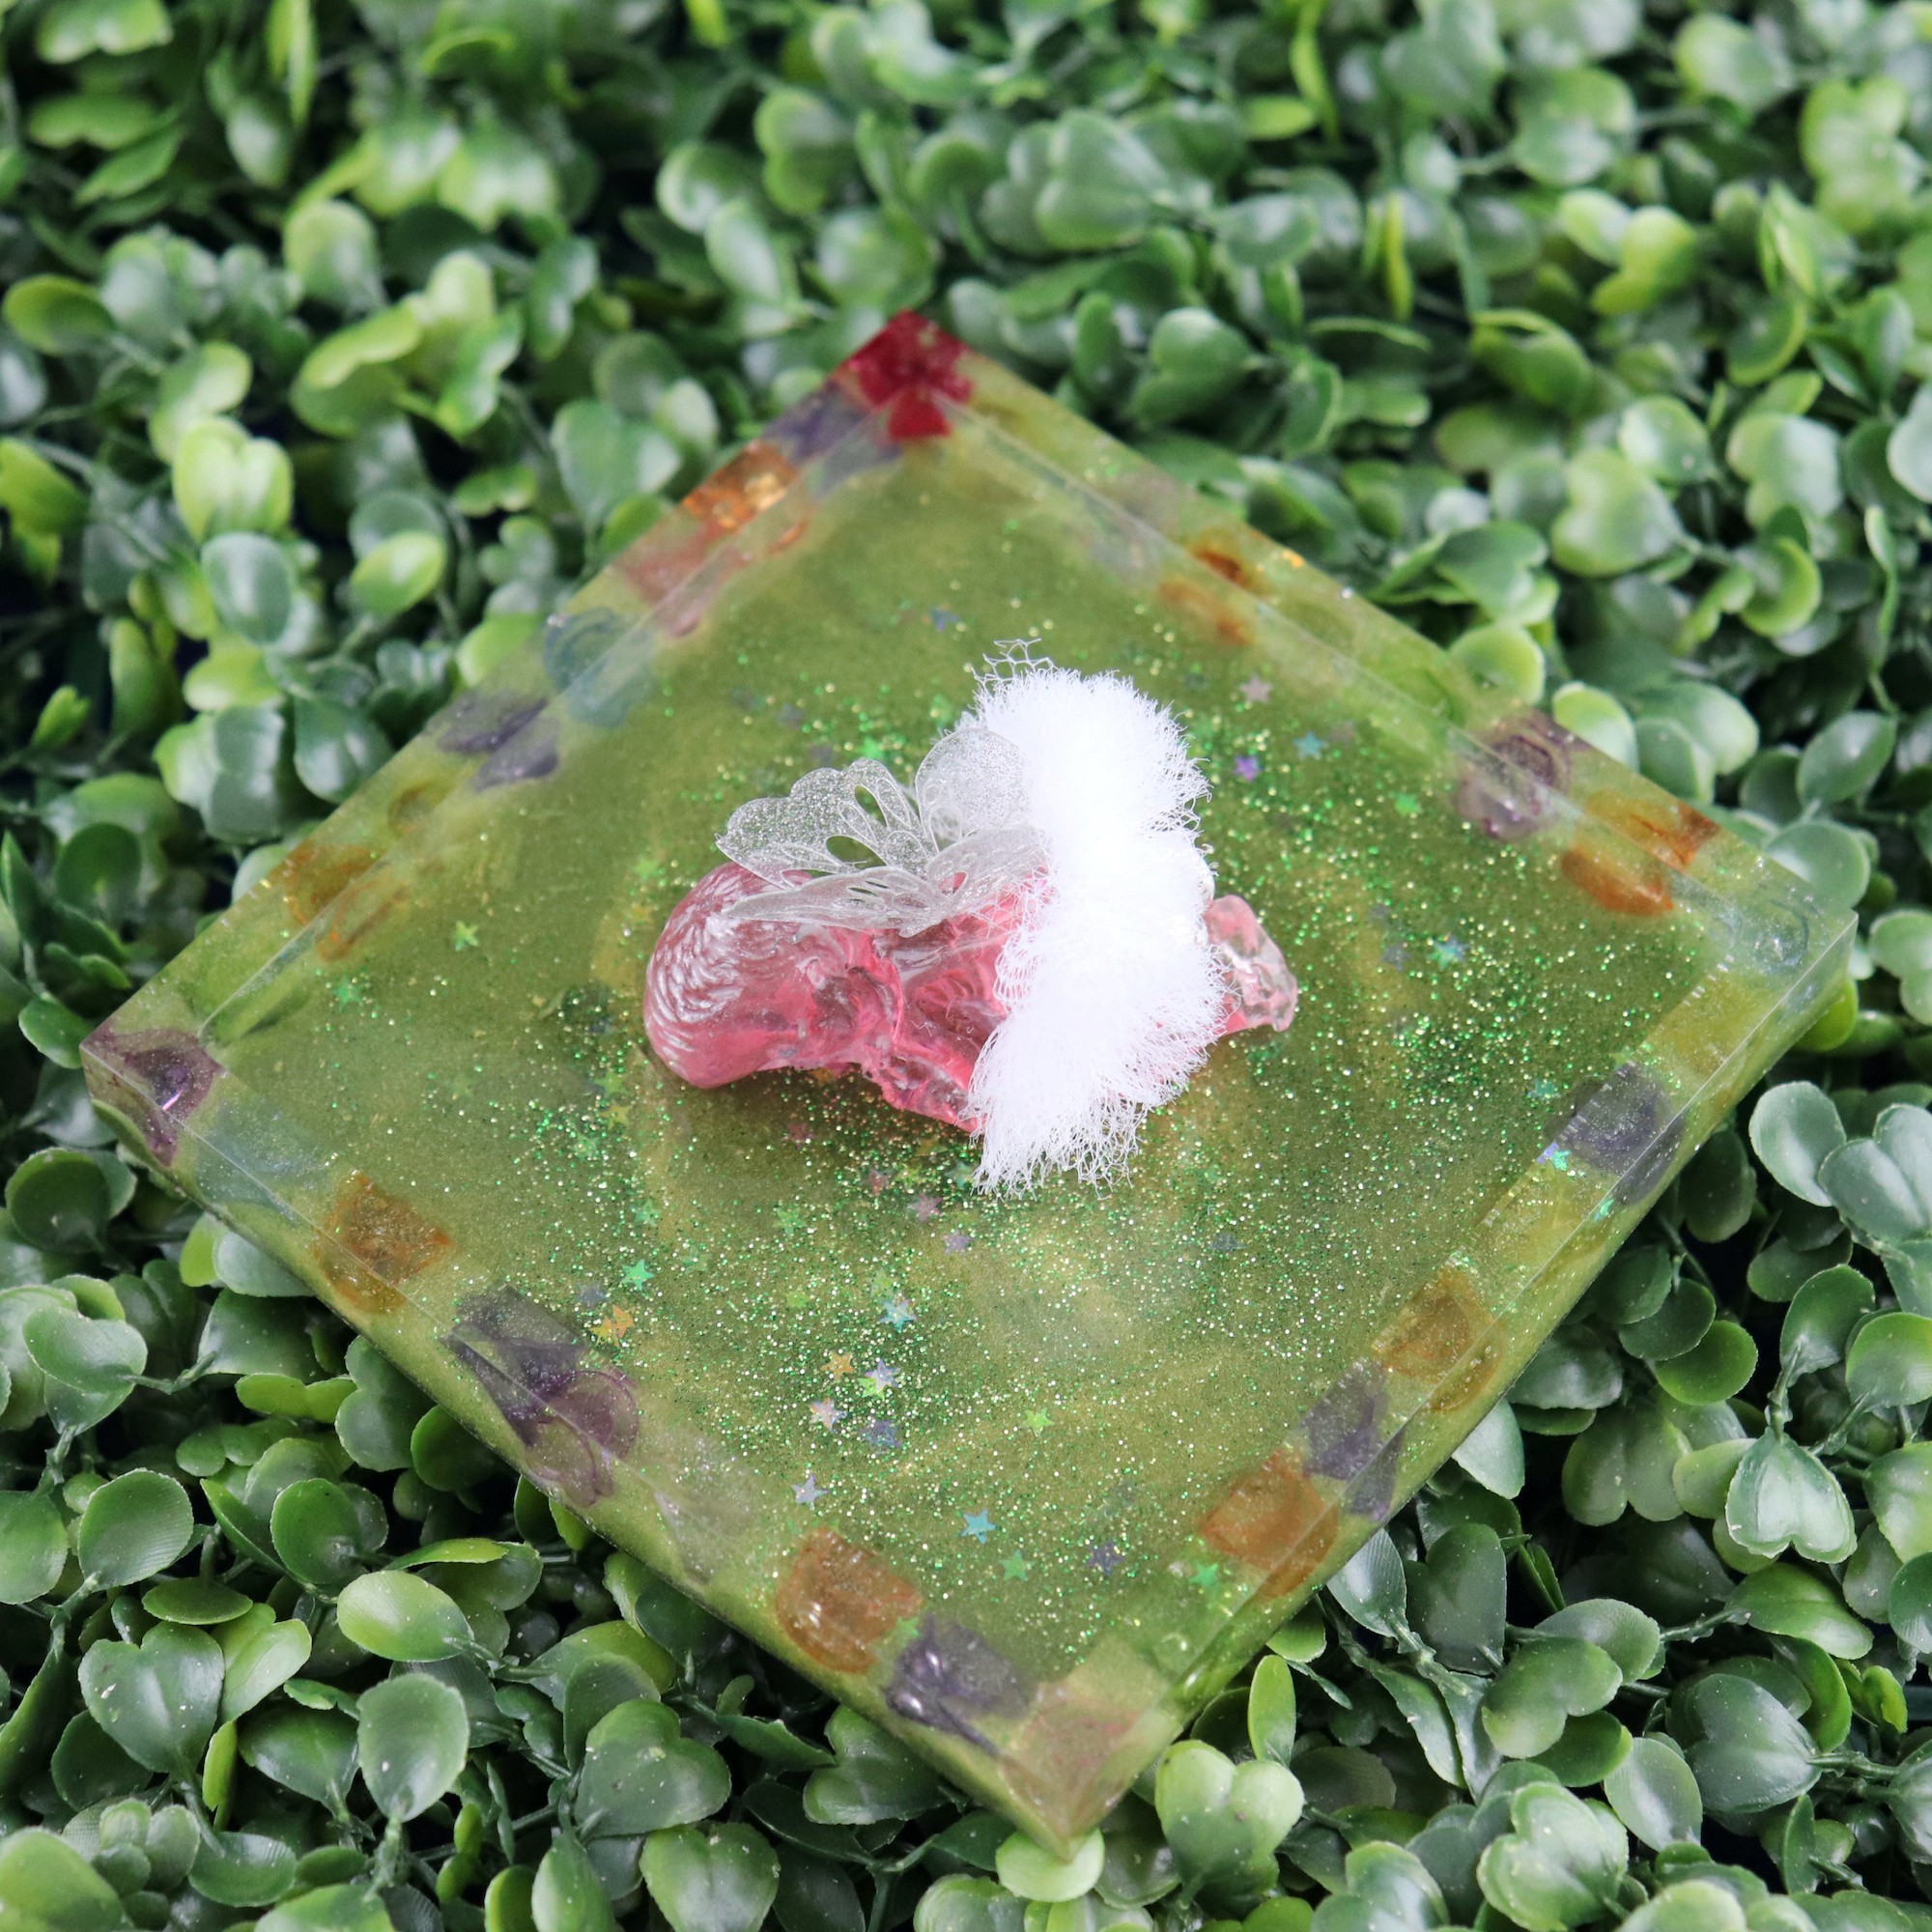
- Remove the baby from the mold. Make a tiny tutu using tulle, and use adhesive glue strips to attach them to the baby. Cut wings from glitter paper and glue on.
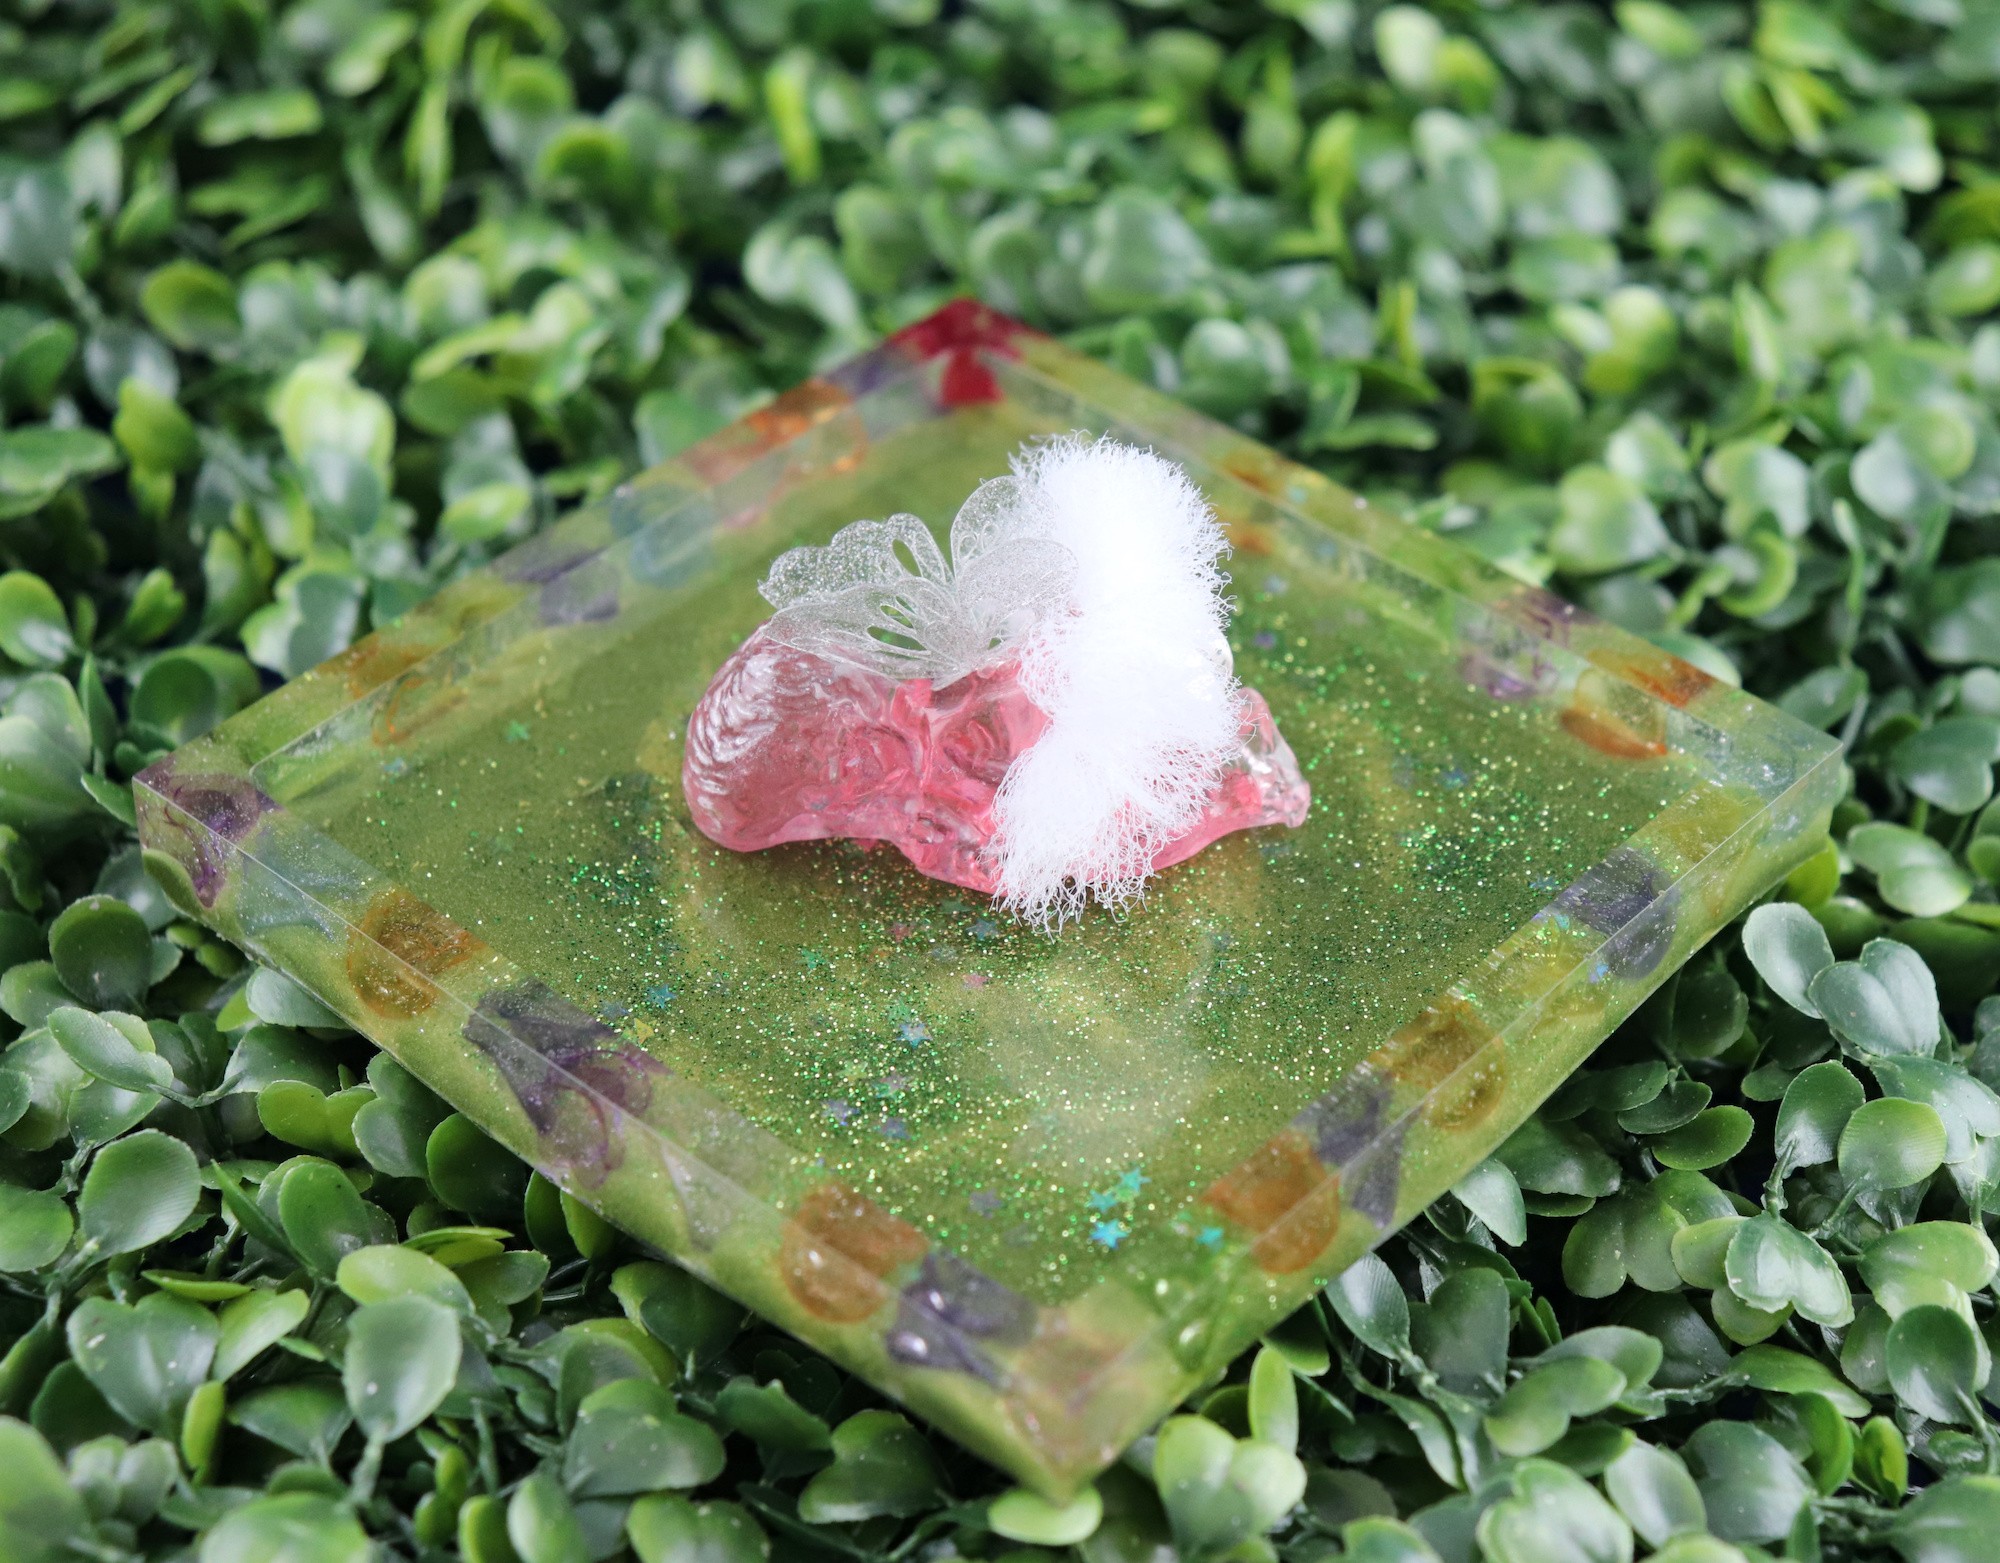
It looks like the baby fairy is sleeping on a tiny bed of flowers, grass and stars! Have fun crafting and creating with resin!
Leave a Reply