
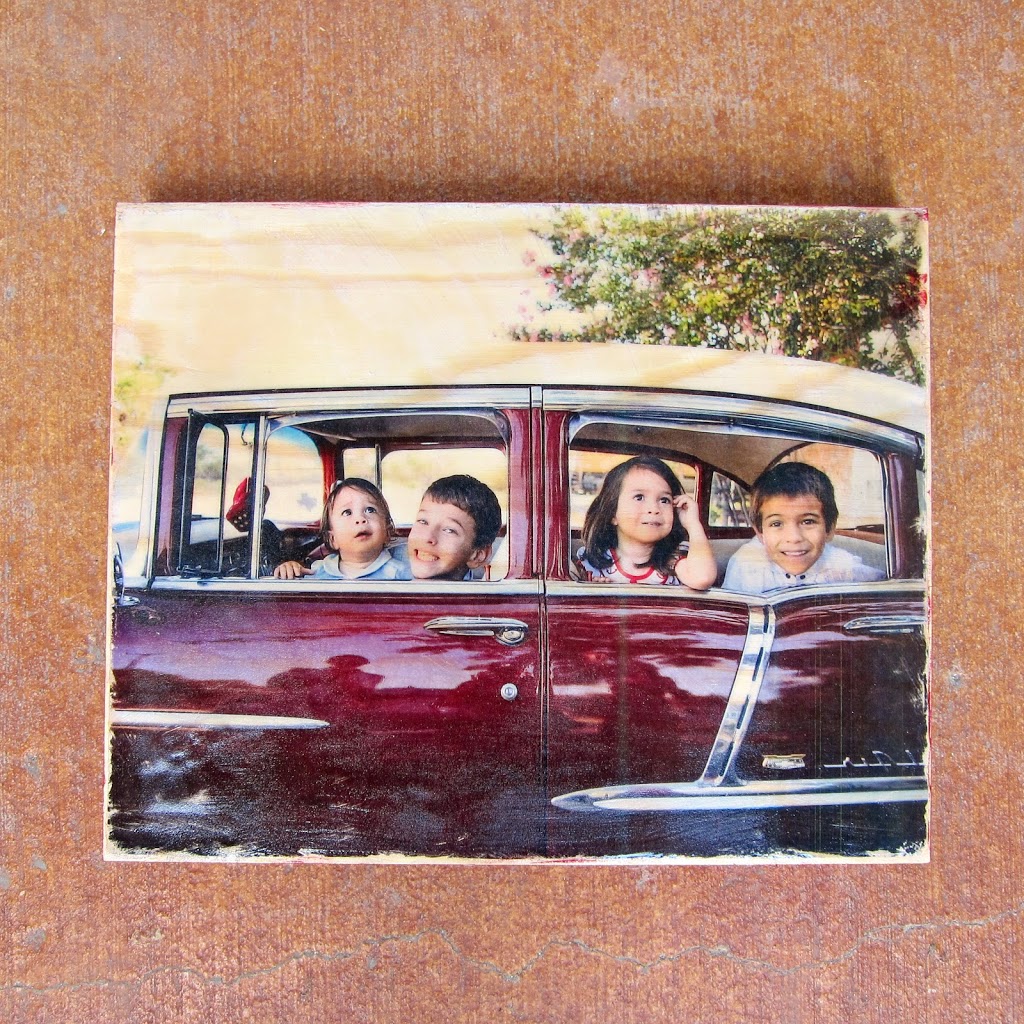
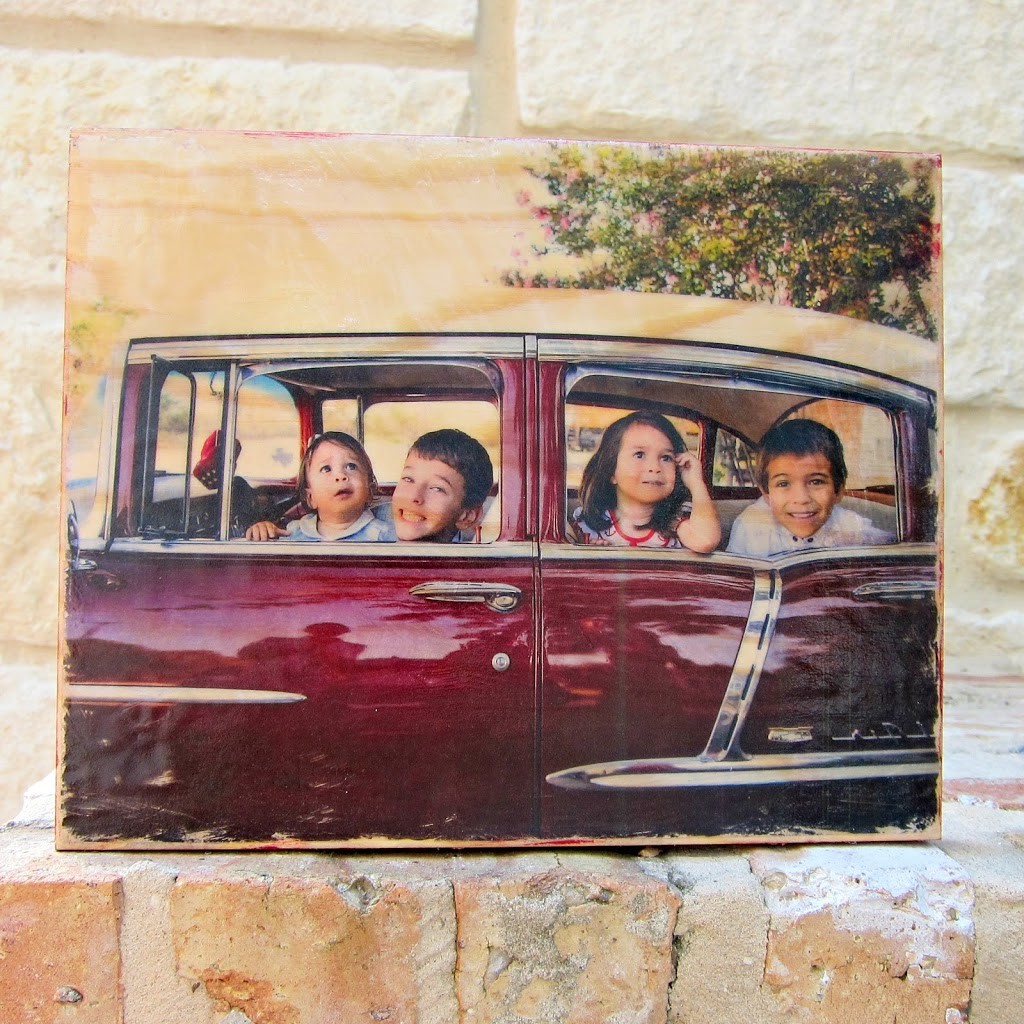
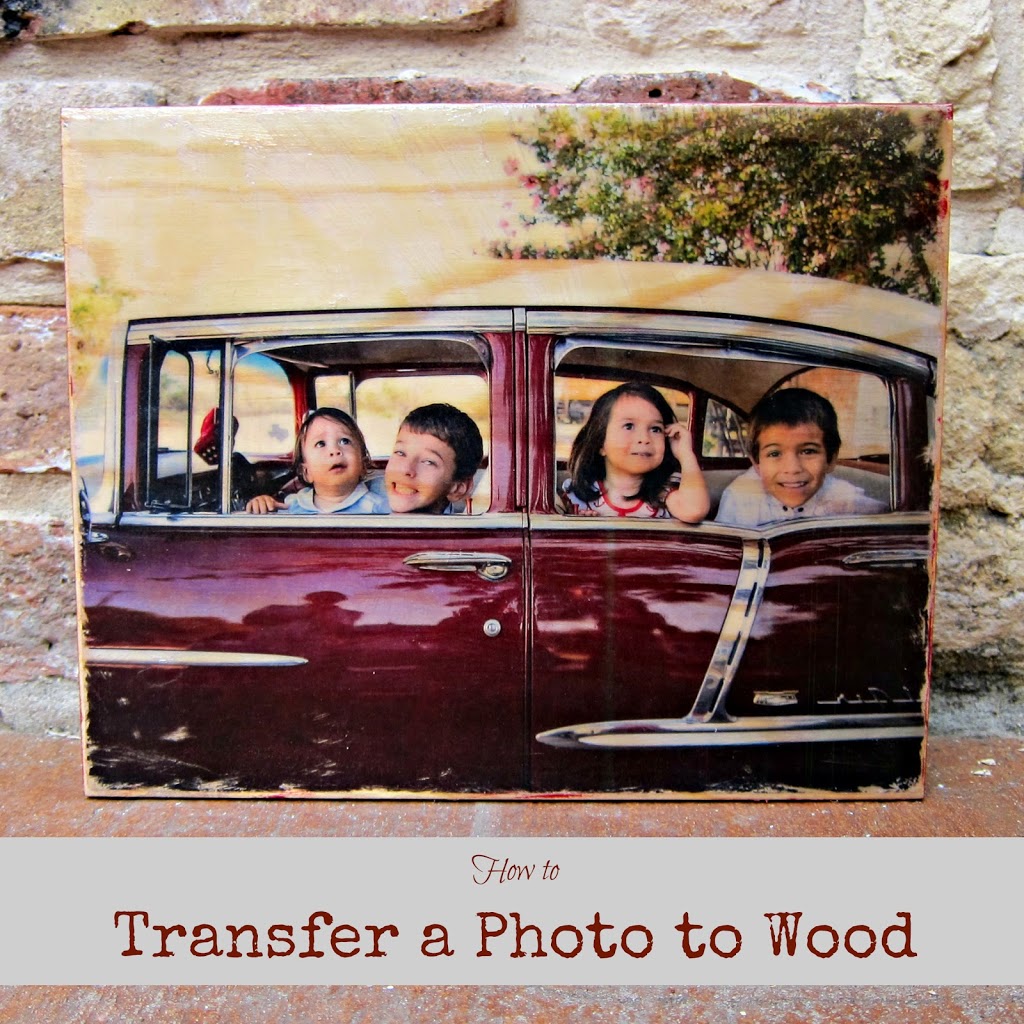
Learn how to use Mod Podge to transfer a photo to wood. Turn your favorite images into beautiful pieces of home decor.
Transferring any image I want from paper to another surface is definitely one of my favorite crafting techniques. It is so much fun and surprisingly easy to do. I’ve transferred images to fabric and even on to painted surfaces. Give this a try, and you’ll find yourself looking for more ways to apply this technique to transfer a photo!
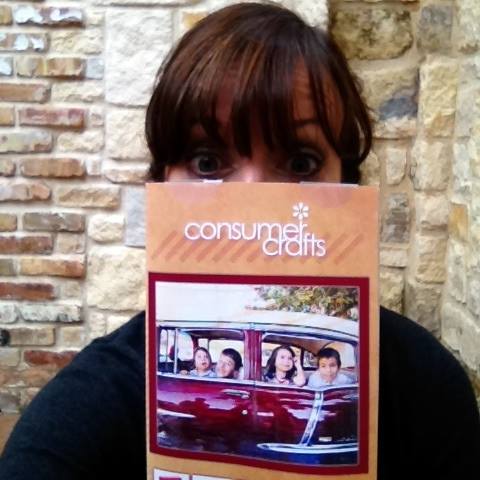
This transfer a photo to wood post first appeared at Crafts Unleashed, and even made the cover of Consumer Craft’s catalog! It was a HUGE honor and my proudest craft accomplishment to date! I received so many questions about the process that my wonderful editor at CU came up with a list of FAQs. You can find the complete list here.
To begin with, you CANNOT use an image that comes from your ink jet printer at home. The ink will smear and you’ll be disappointed. You need to use a photocopied image. I went to my local copy store to use the color copier.
Supplies:
- Unfinished Wood Painting Panel
- Photocopied Image (if there is text them make a mirror image)
- Transfer medium: Mod Podge or Mod Podge Photo Transfer Medium
- Paint
- Sanding tool
- Krylon Clear Glaze Spray
To make your own photo transfer to wood:
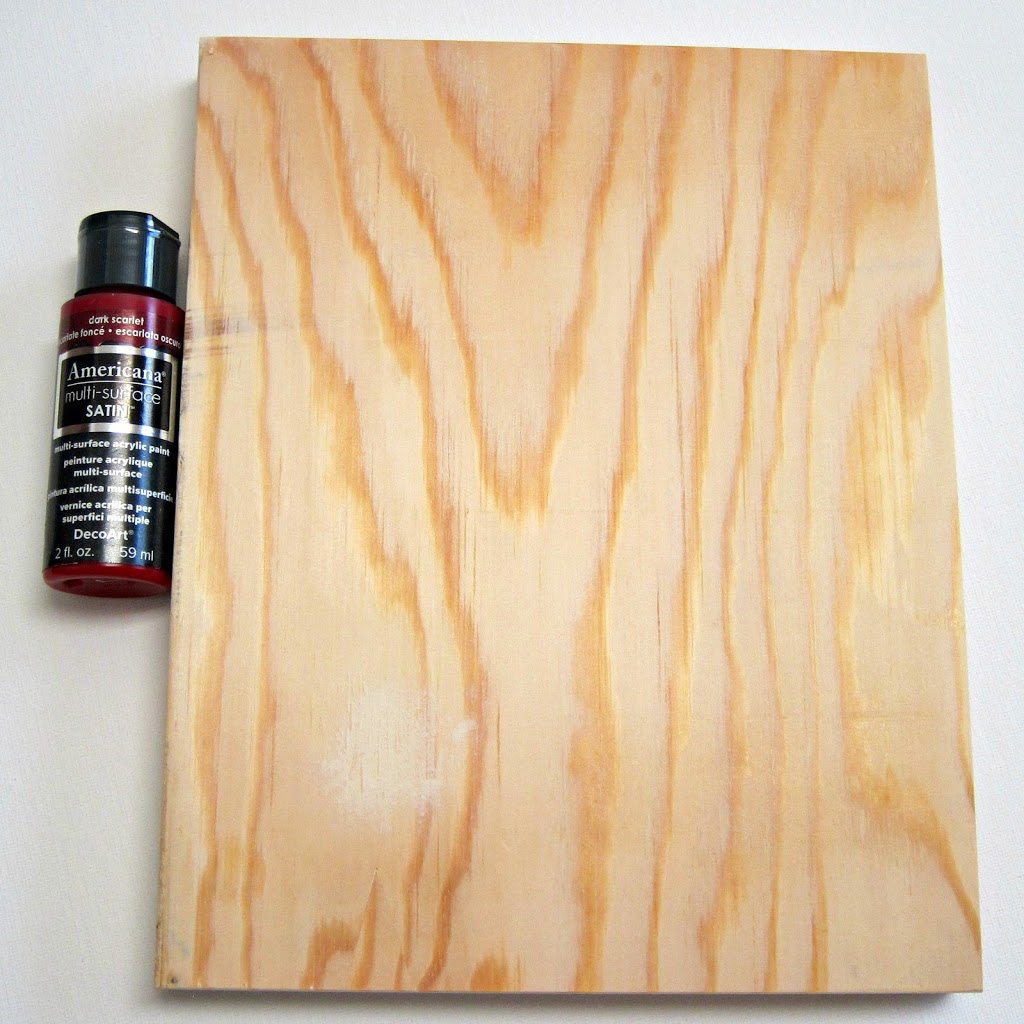
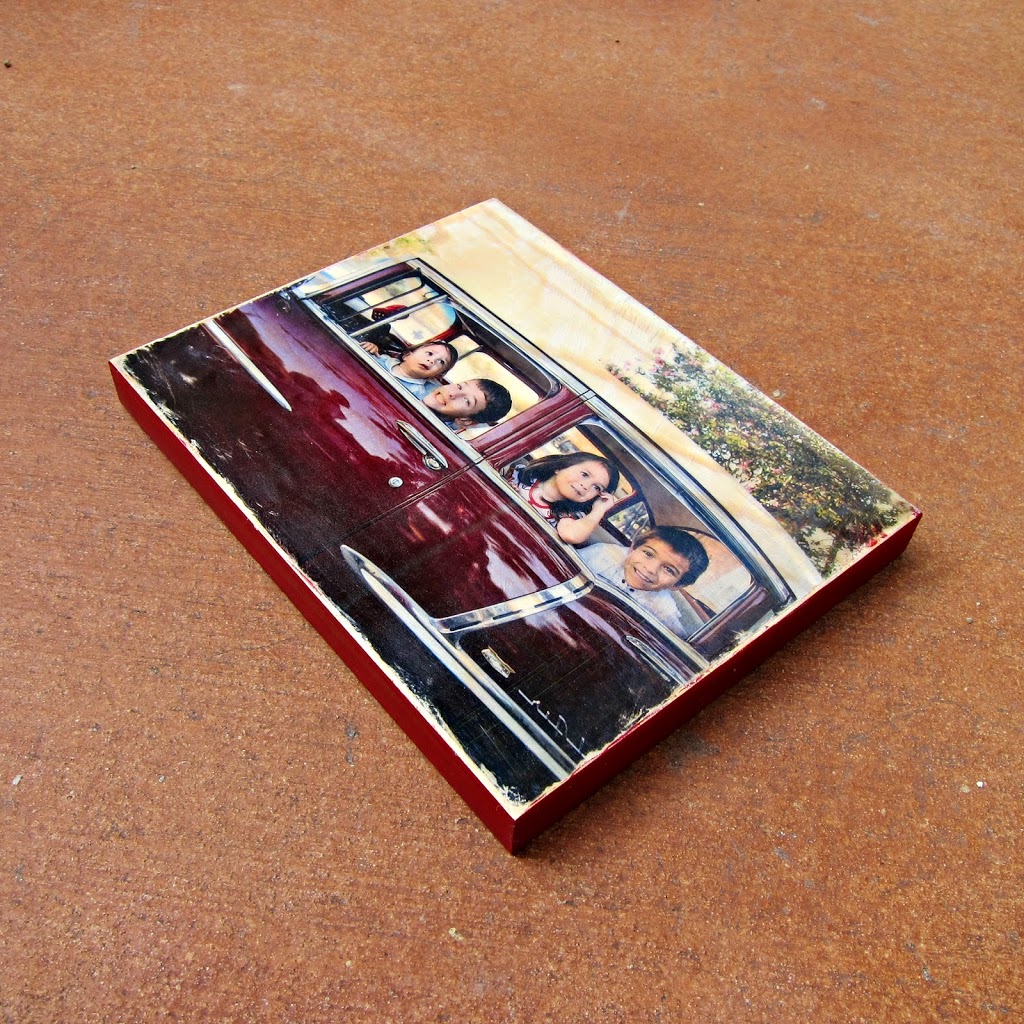
Step one: Paint the edges of the wood panel.
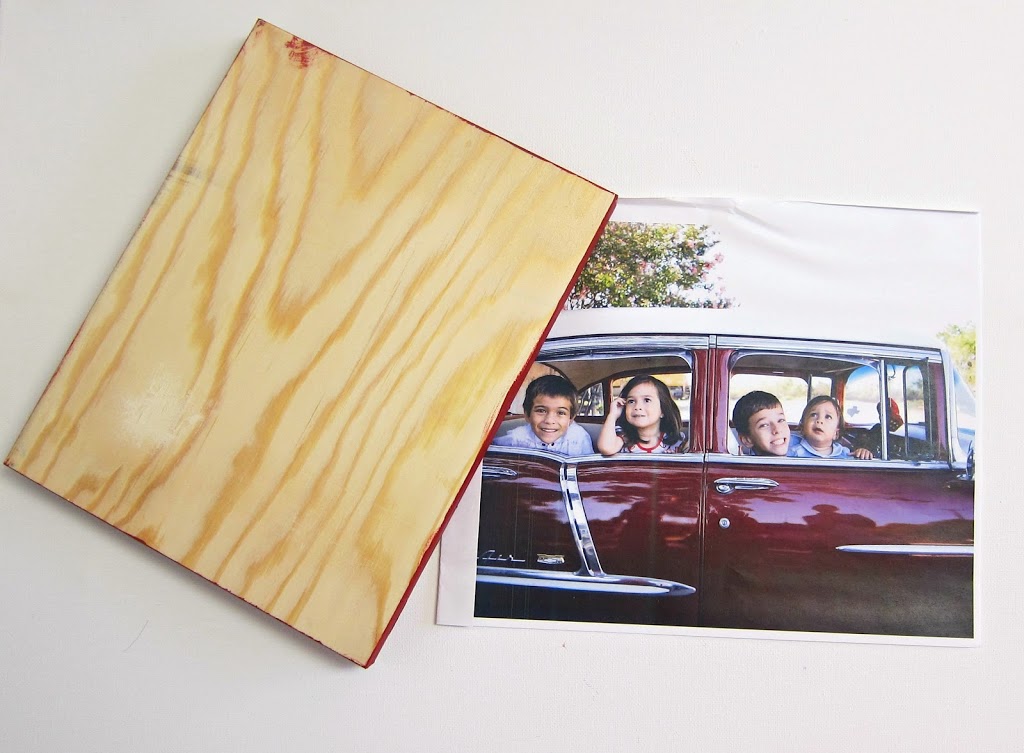
Step two: Apply a generous amount of the transfer solution to the image. It needs to be a thick layer.
Step three: Press the image, photo side down, onto the wood panel. Rub firmly to smooth out the image. It’s extremely important that you remove air bubbles! Let it dry completely. Drying time will vary based on the size of the project, but usually plan on 12-24 hours.
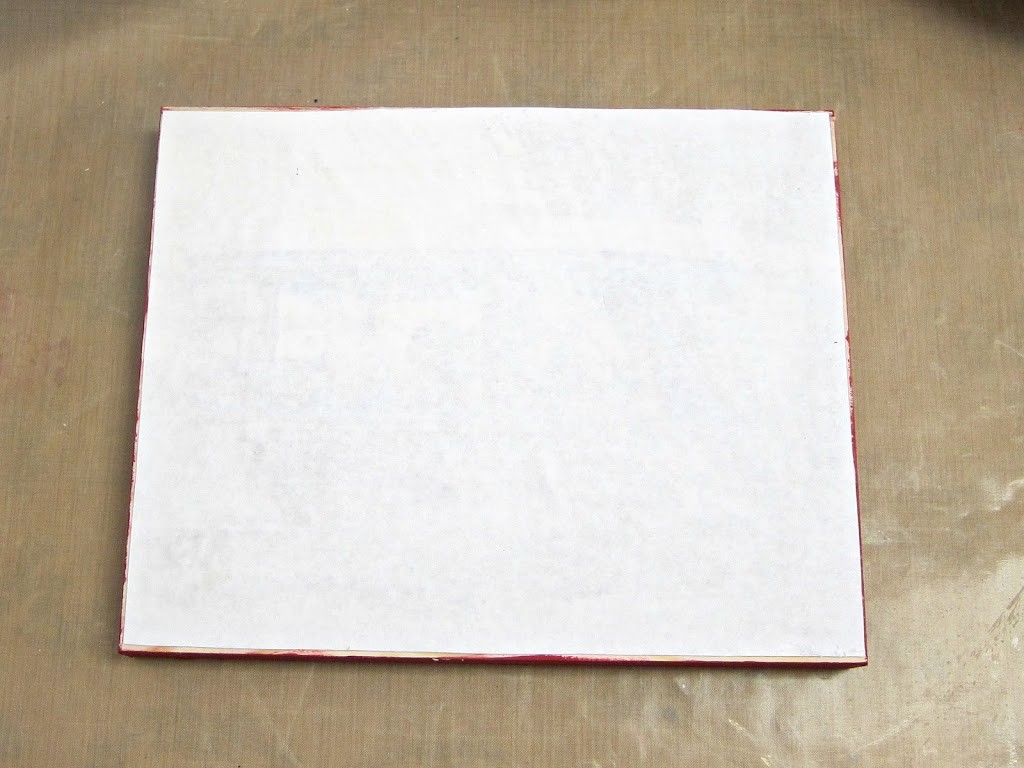
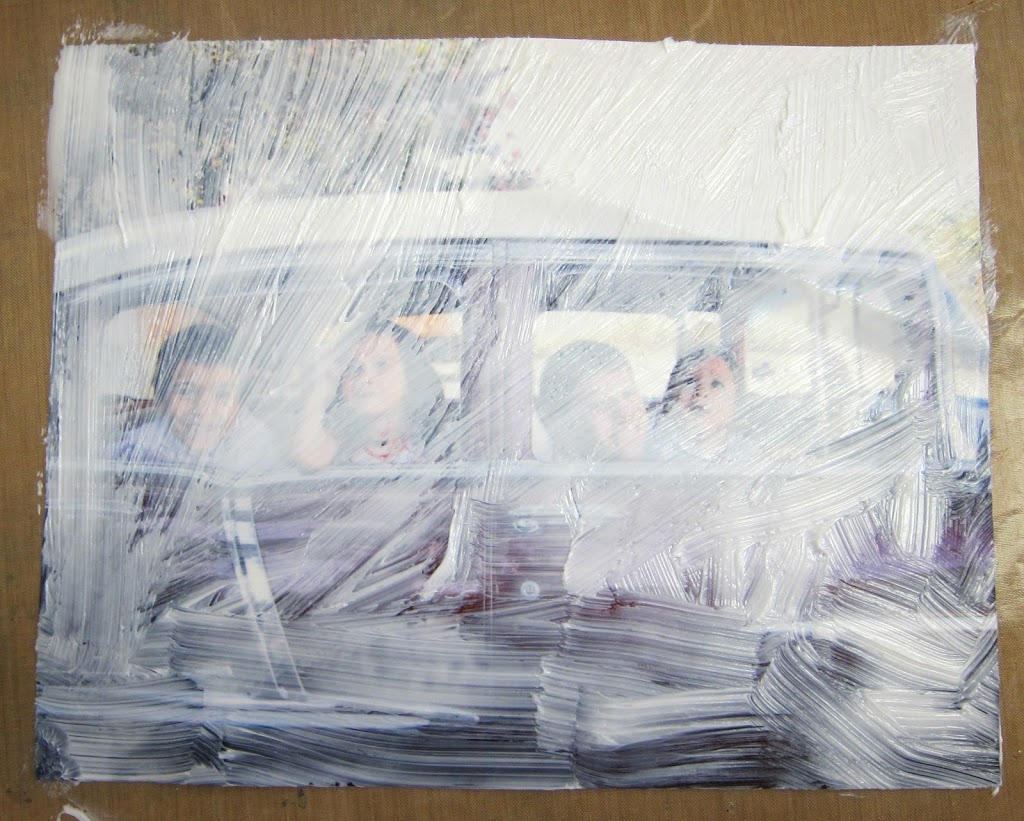
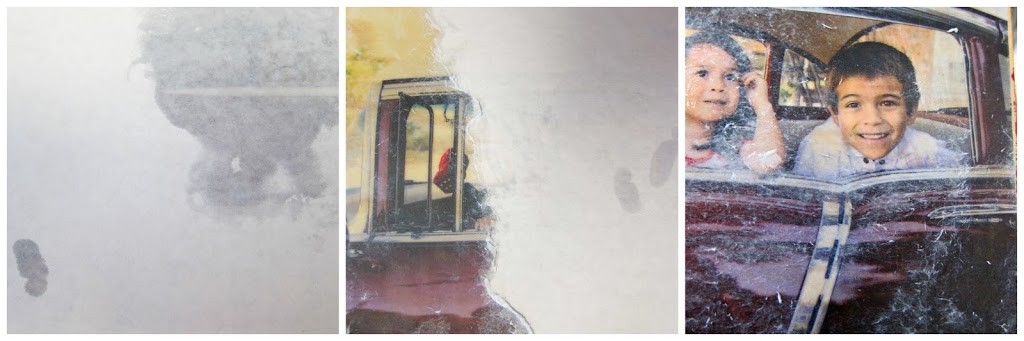
Step four: Use a damp cloth or sponge to wet one section of the paper at a time. Begin rubbing gently to remove the paper and expose the transferred image below. I like to first remove the top layer, let it dry slightly, and then repeat the process as needed to remove the “fuzzies” that were left behind.
Step five: Once you are satisfied with the image, you can sand the edges lightly. Seal the project with Mod Podge, varnish, furniture polish, or a finishing spray. Think of all the ways you could update your furniture or wardrobe with this technique! How will you transfer a photo to wood?
Leave a Reply