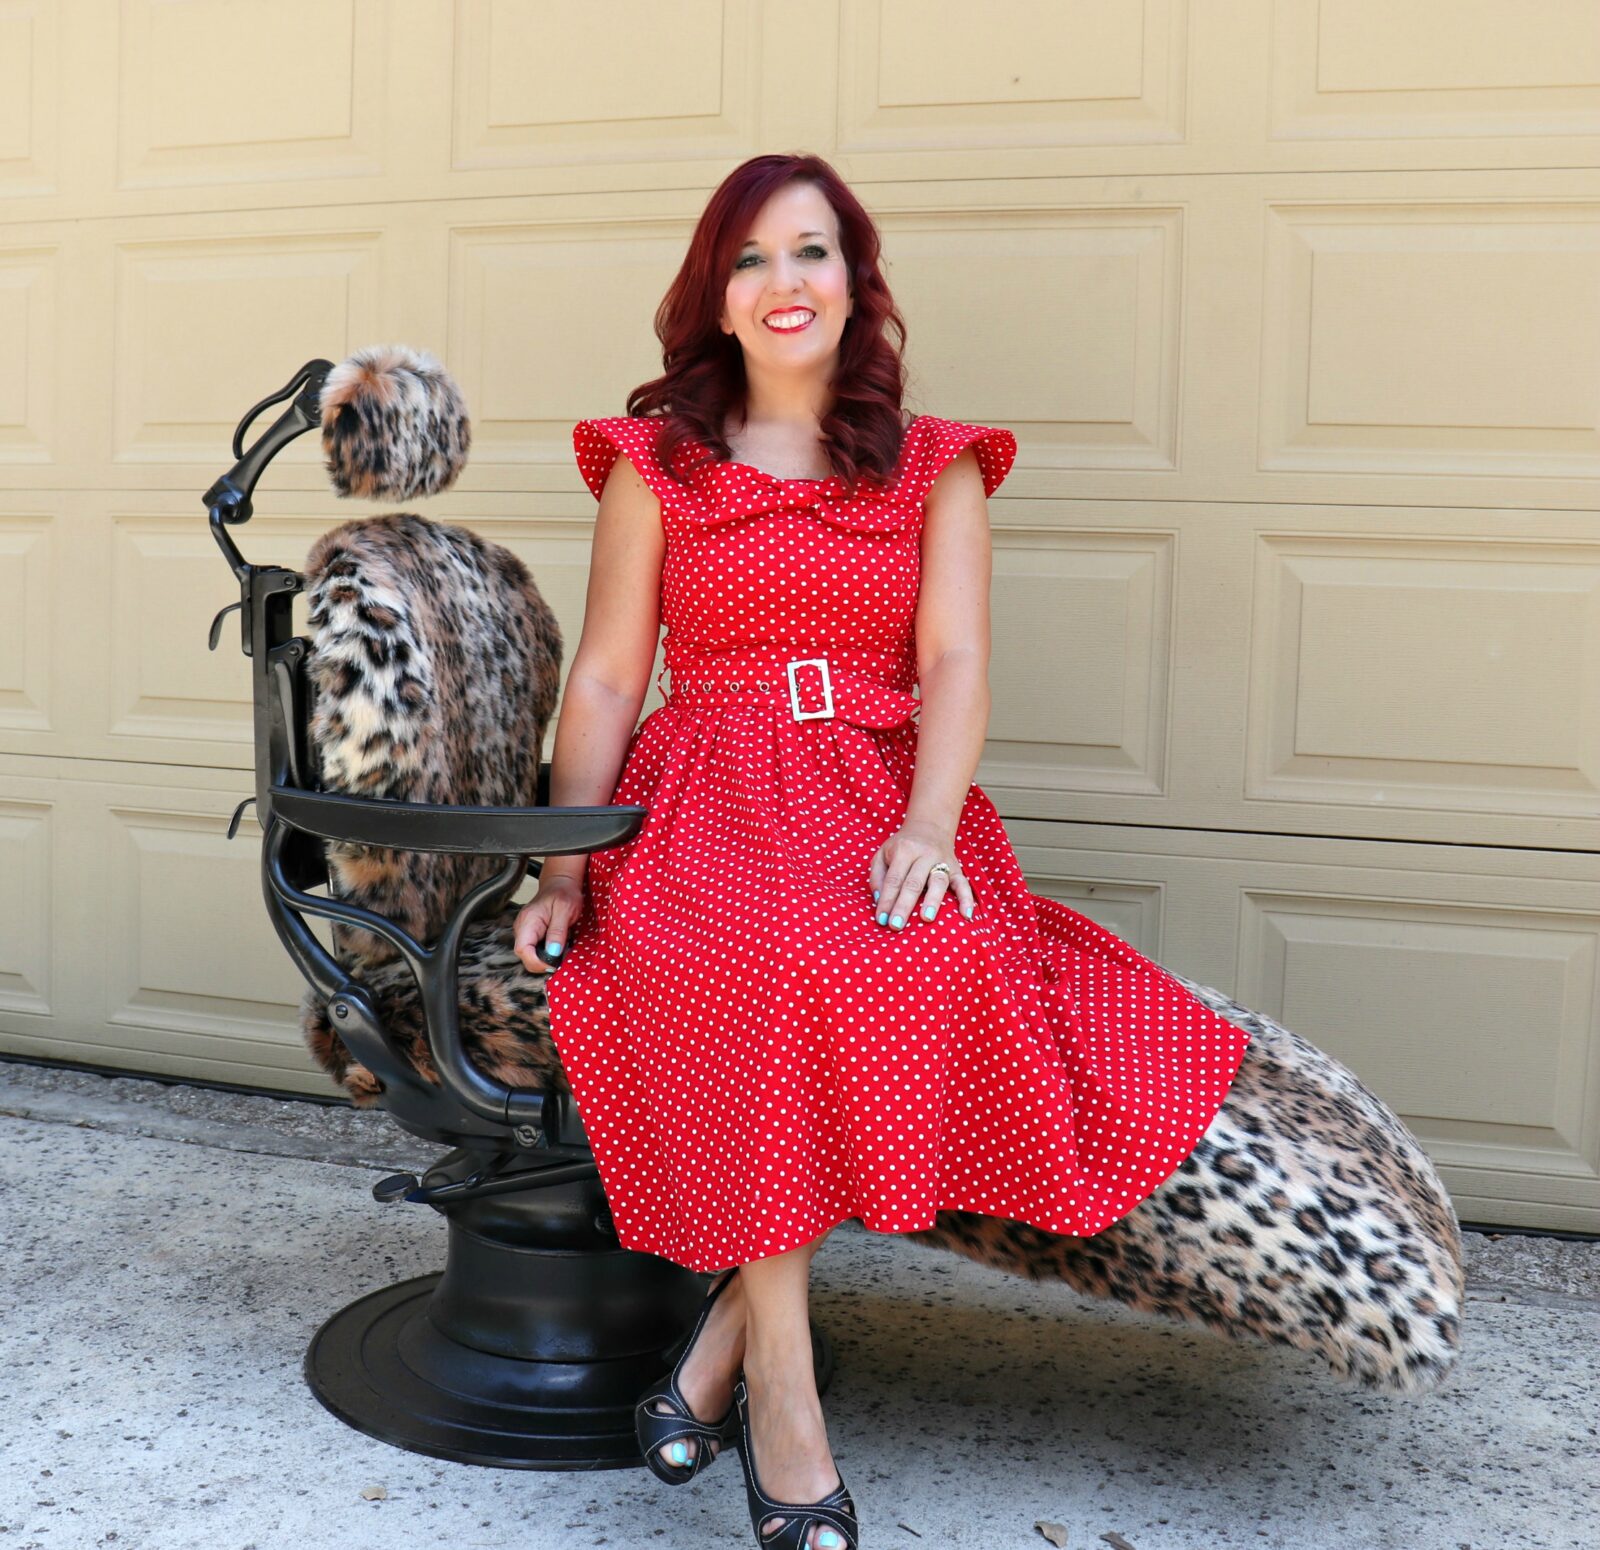
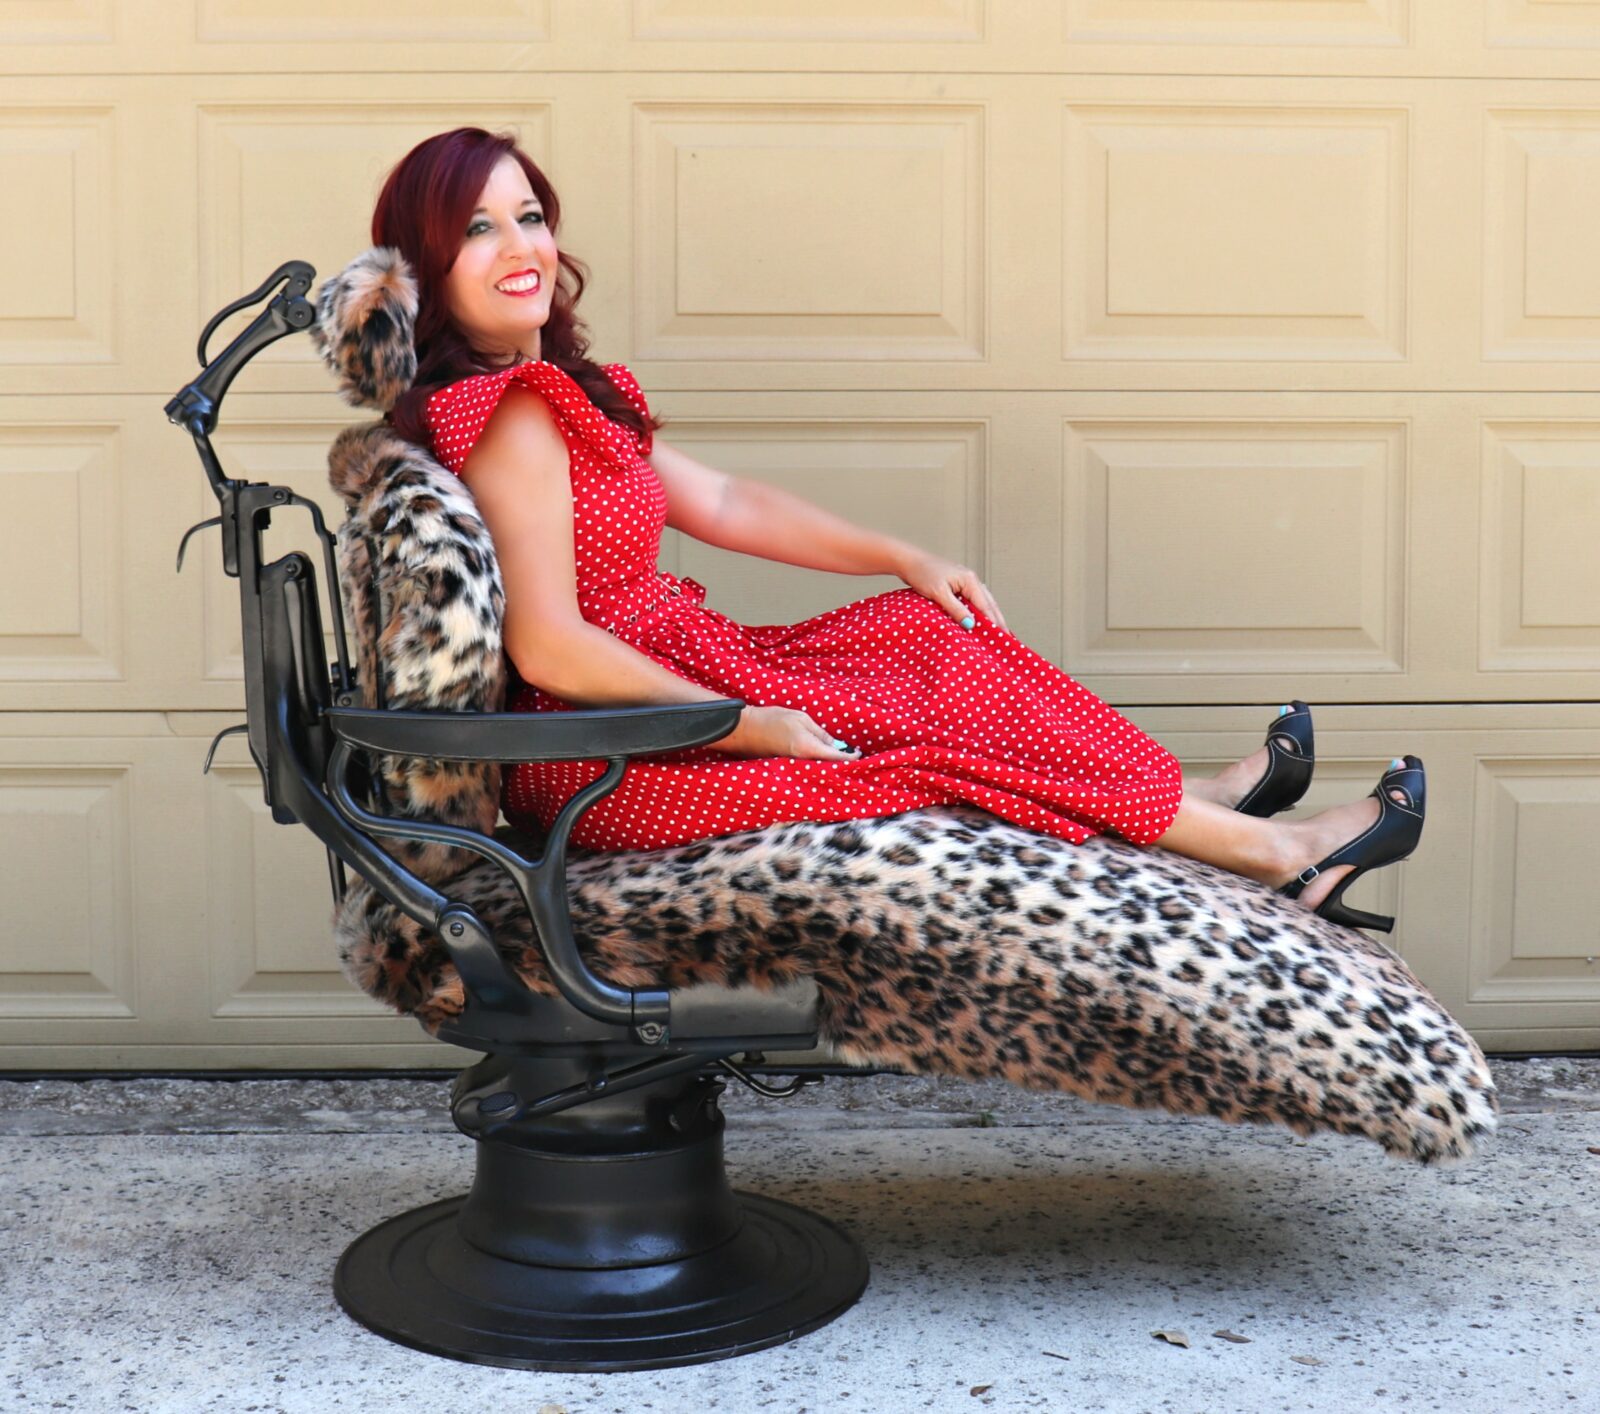
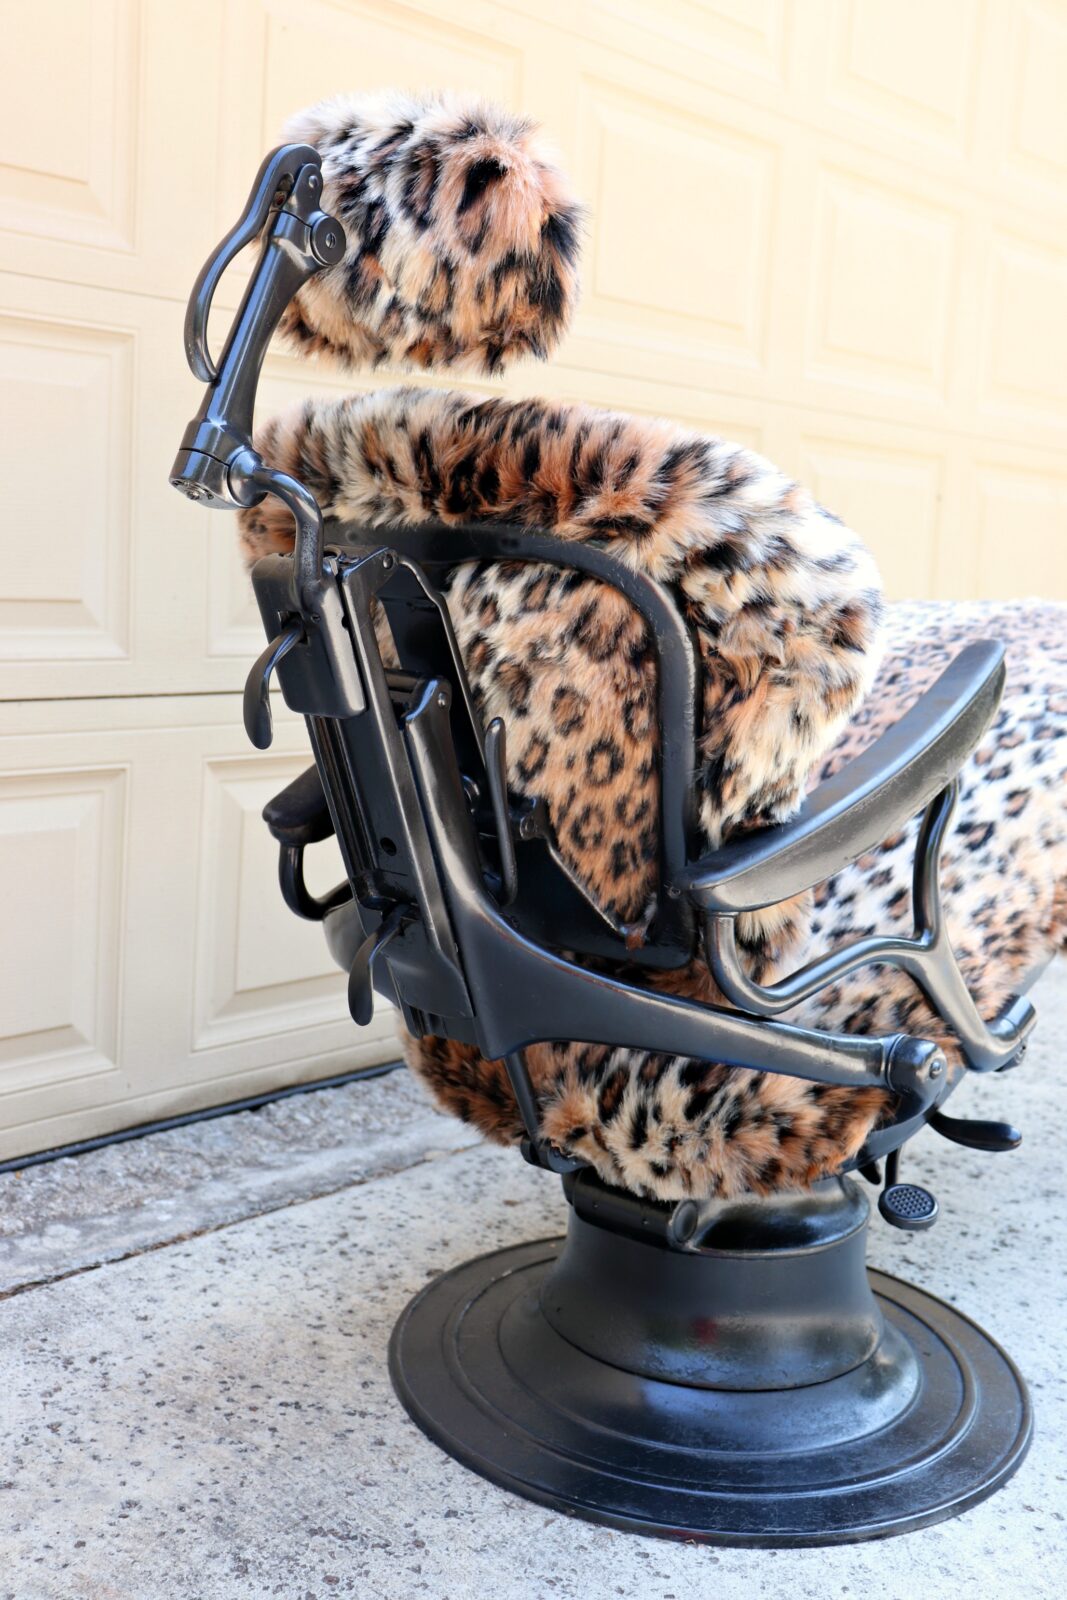
A vintage Ritter dentist chair gets a fresh new look with this furniture flip project.
I have a weakness for old chairs. It started with a 1970s yellow massage chair that I brought home from Goodwill. A friend saw my bright yellow vintage chair and told me I needed to pair it with a yellow retro dentist chair she had seen listed in a local garage sale forum. My husband was a dentist (now he’s an orthodontist) so the chair seemed like a perfect fit for us. We joked that we would start a “crazy yellow chair” collection and made plans to purchase the old dentist chair.
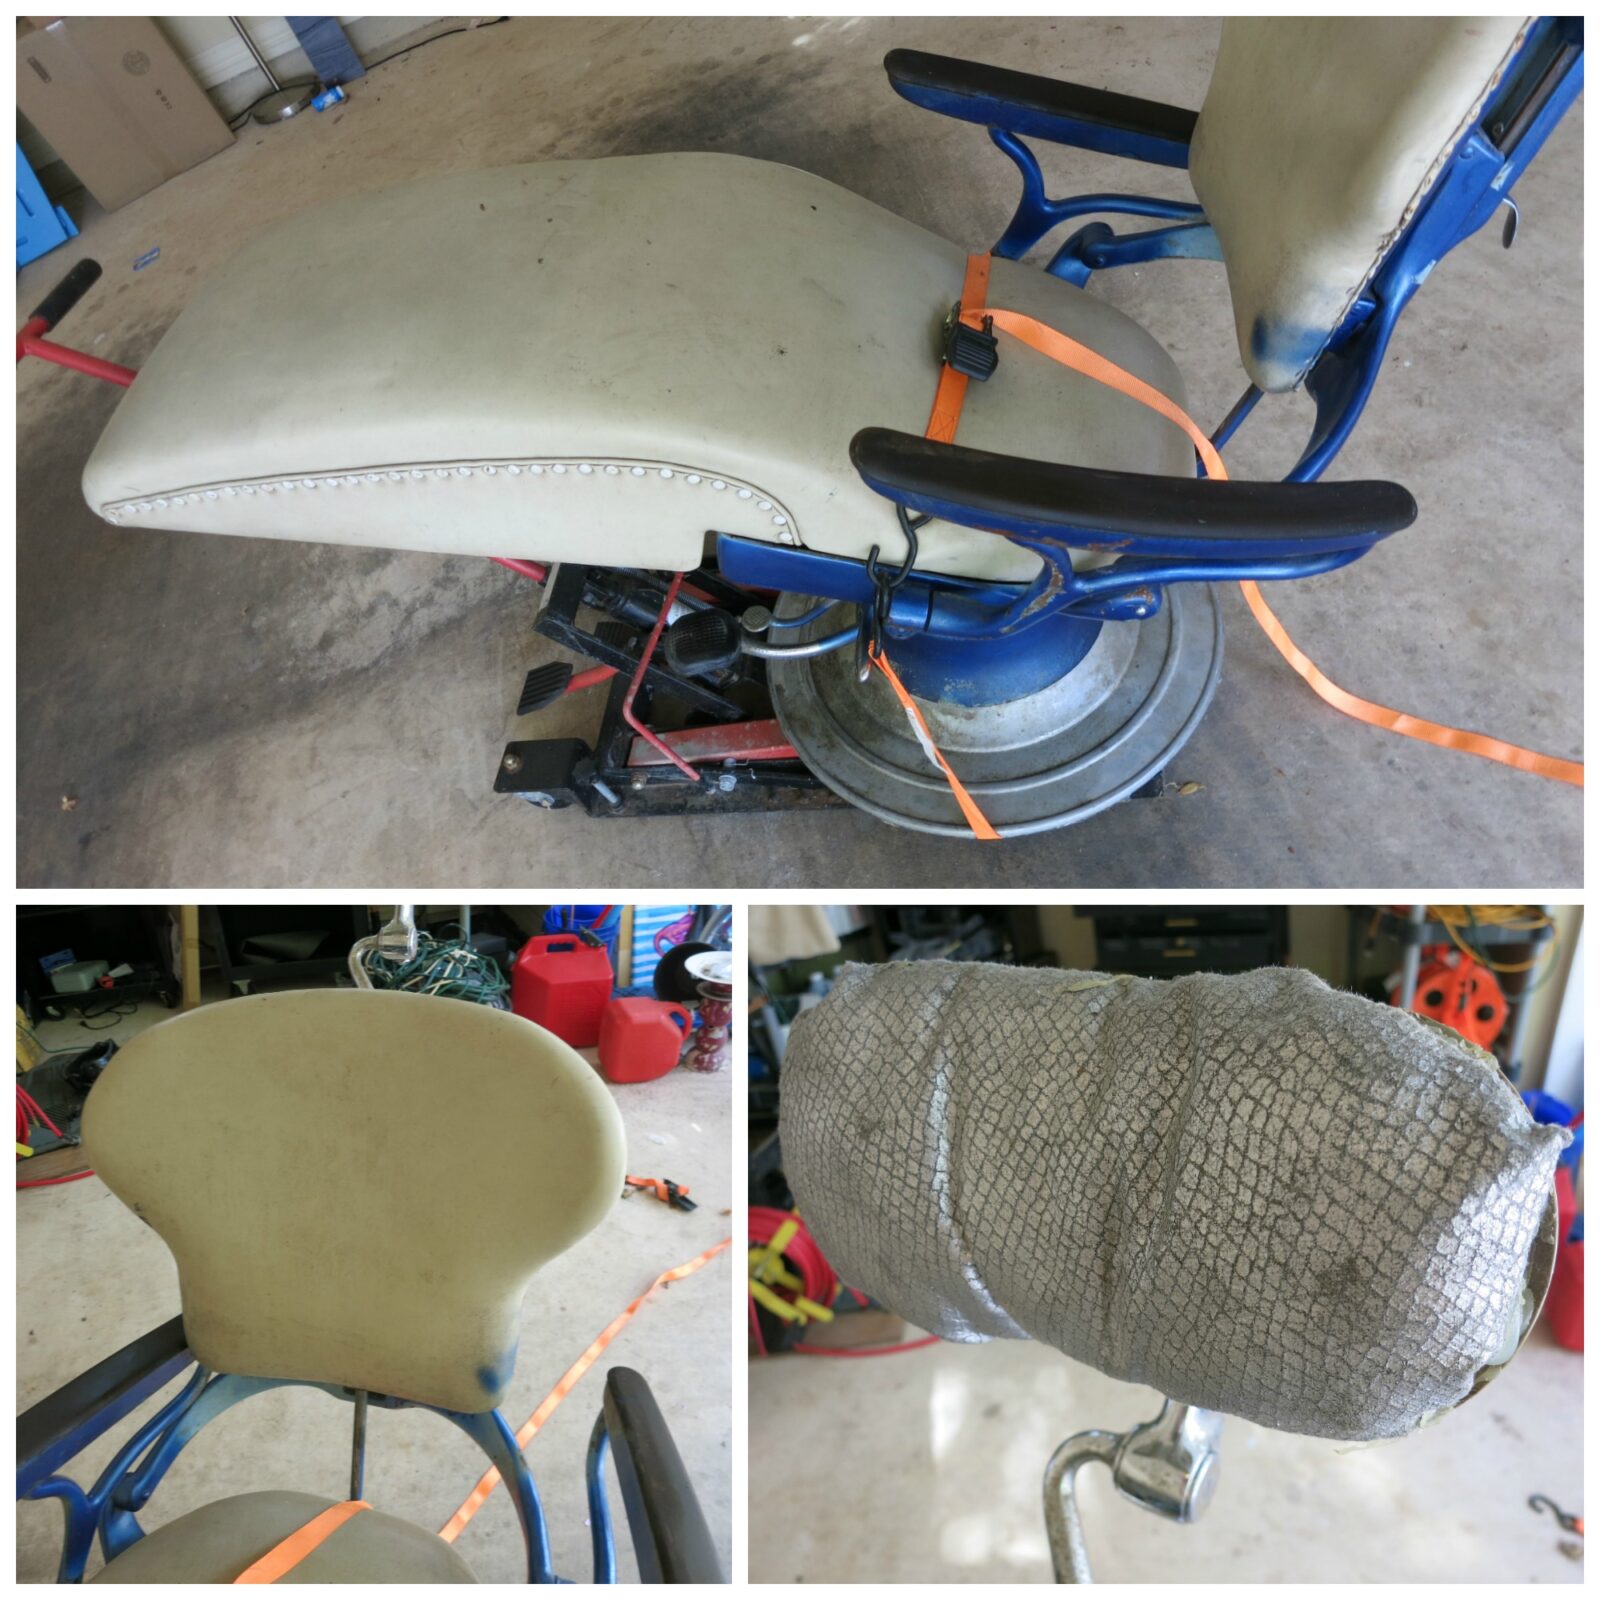
Unfortunately, the chair was neither yellow nor in the good condition that the photo posted had shown. It was rusted and dirty. They had been using the chair as part of their lawn Halloween decorating! We were there and the chair was only $30, so we loaded the behemoth (it weighs 150+ pounds) into my vehicle and took it home.
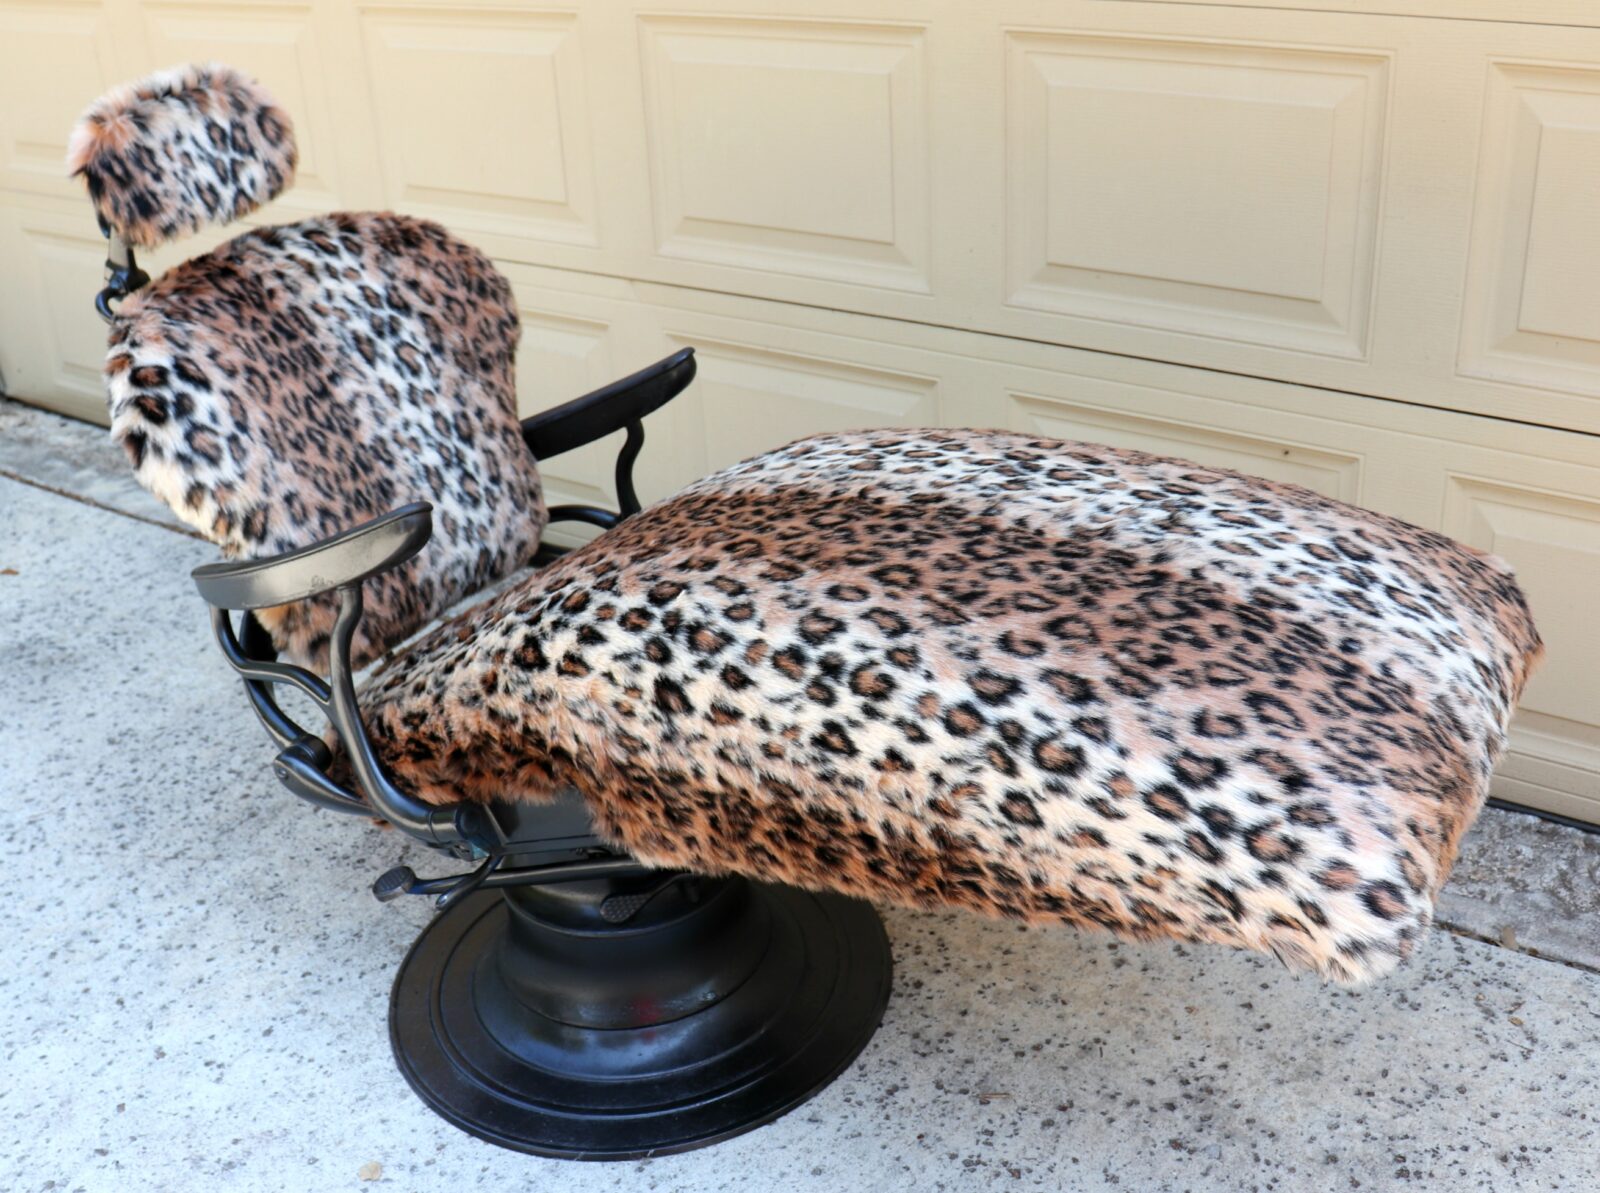
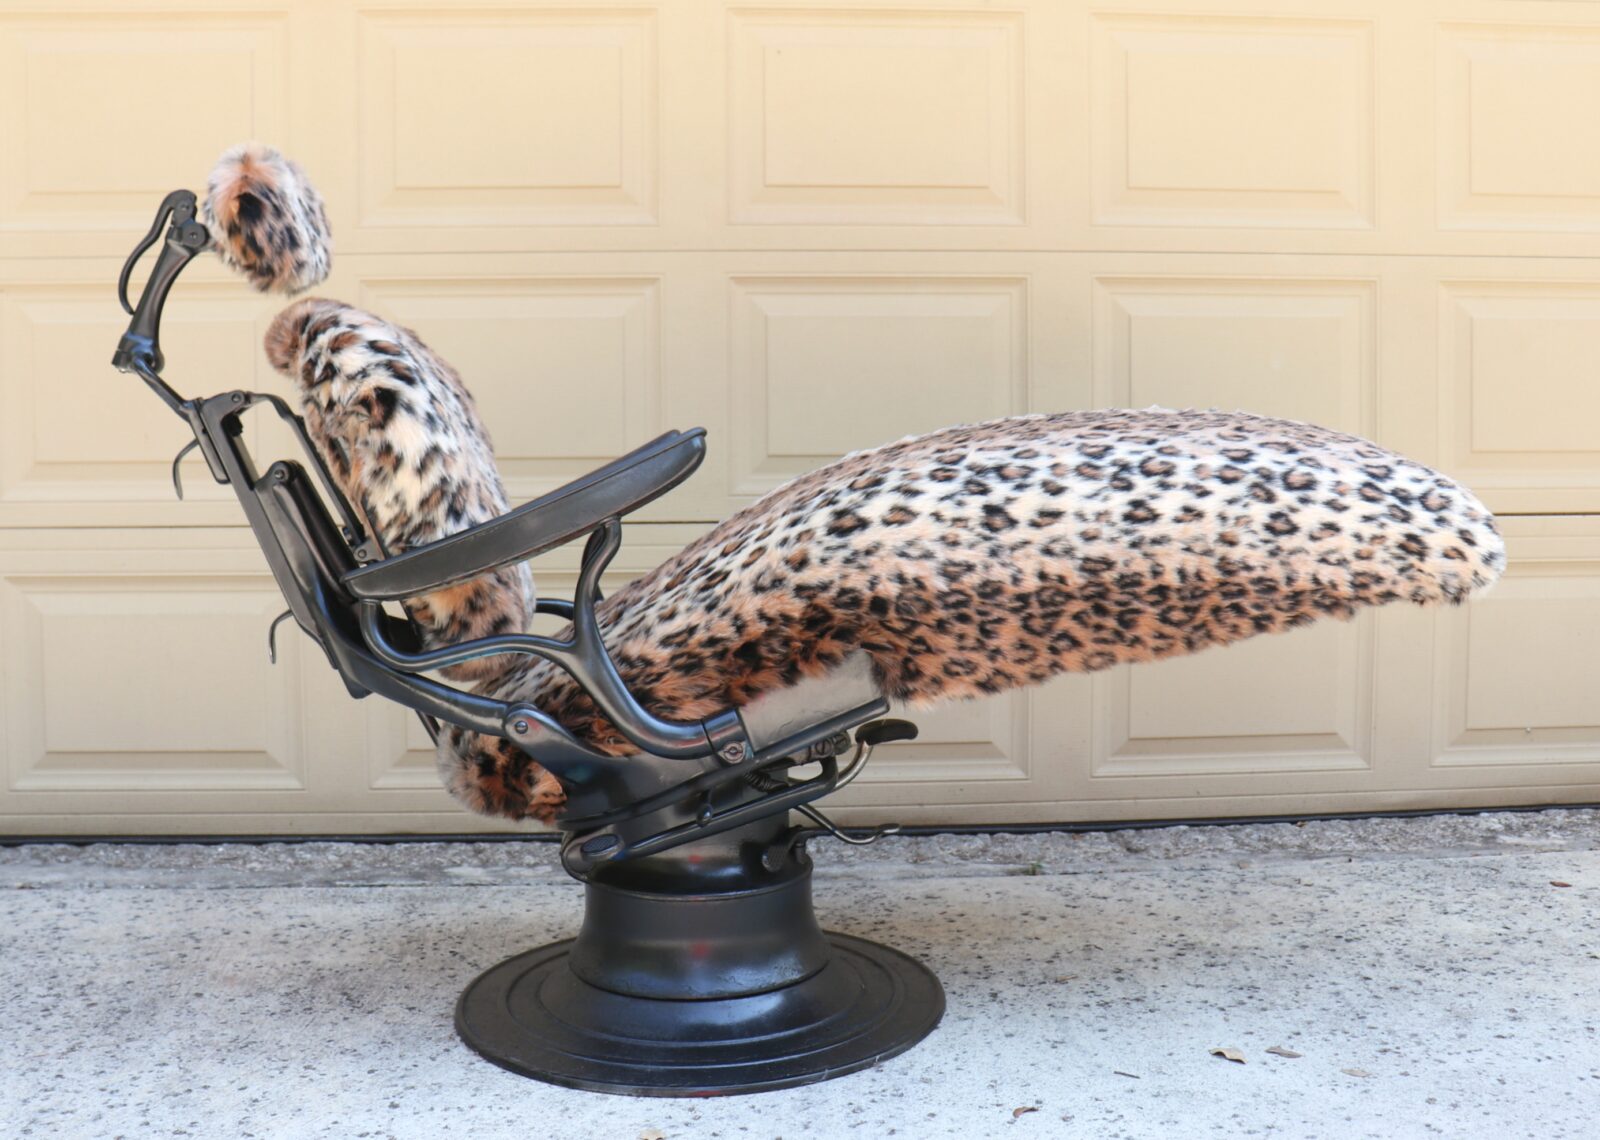
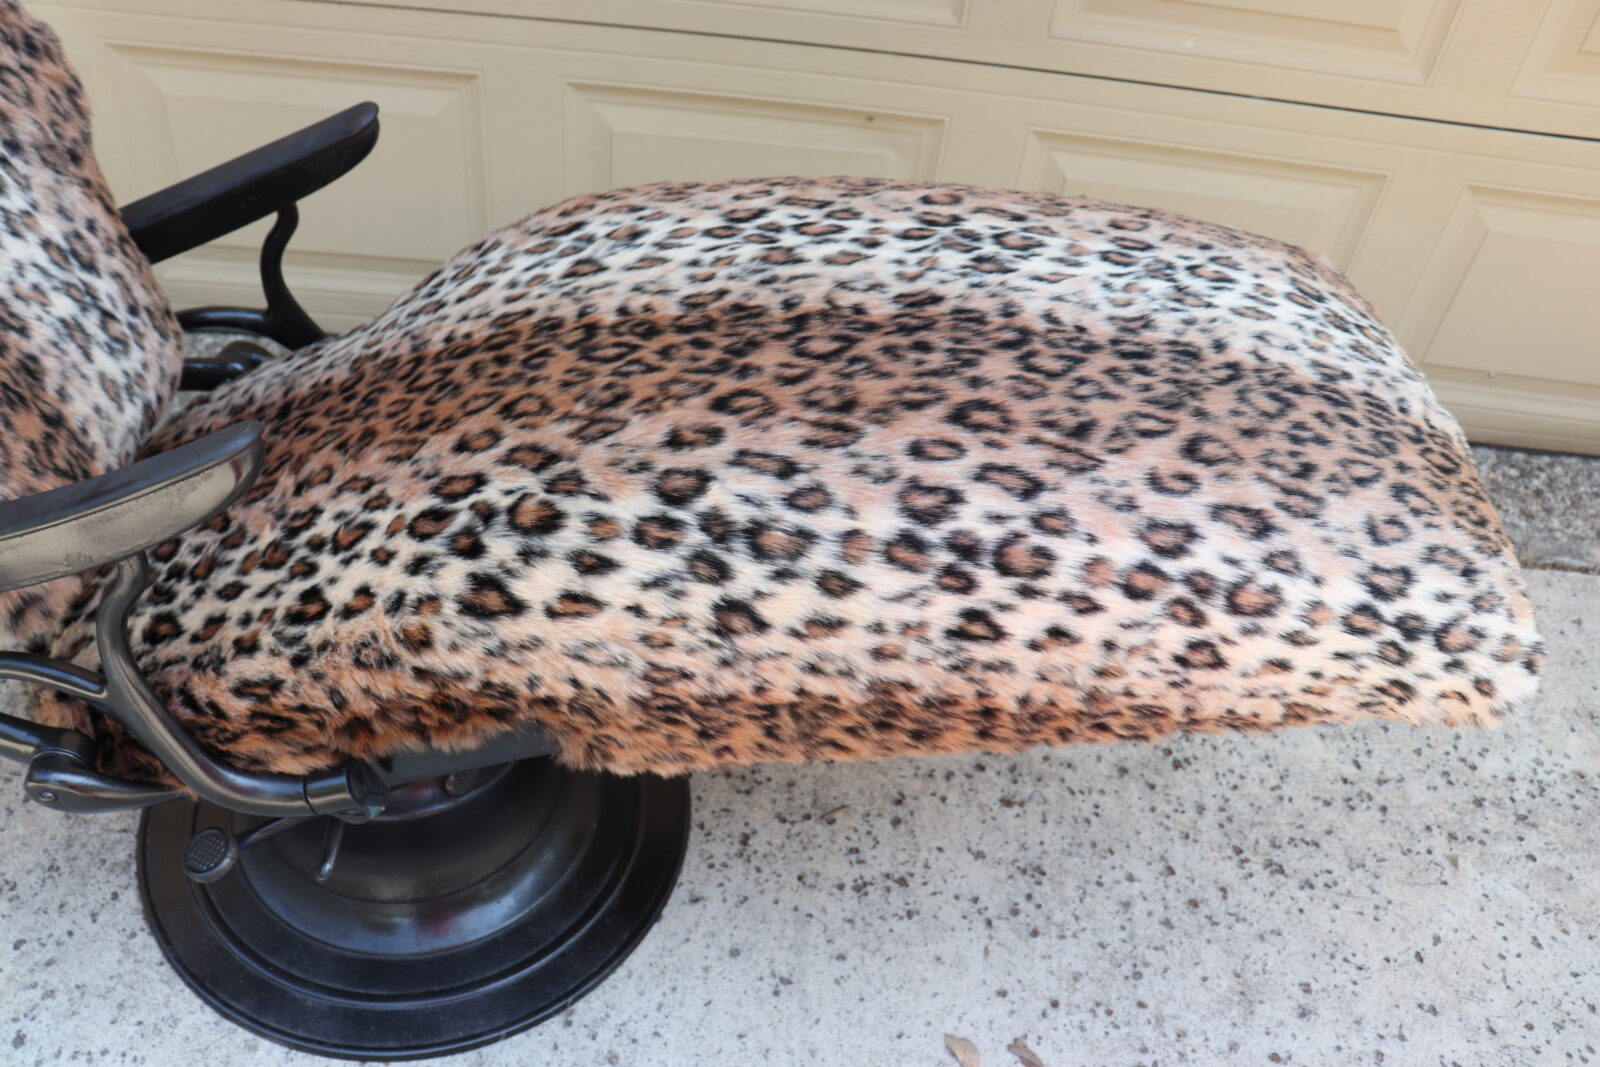
This retro find sat in my garage for over a year. People would visit and ask “is that an old dentist chair? What are you going to do with it.” My answer was always the same: I’m going to make it sexy. I decided to make the most luxe, eye catching, plush lounger anyone has ever seen. This seat is gorgeous now, and so very comfortable, too. It’s perfect for reclining in front of the TV and relaxing in style.
Supplies used for this Vintage Ritter Dentist Chair Furniture Flip
- Dental Chair
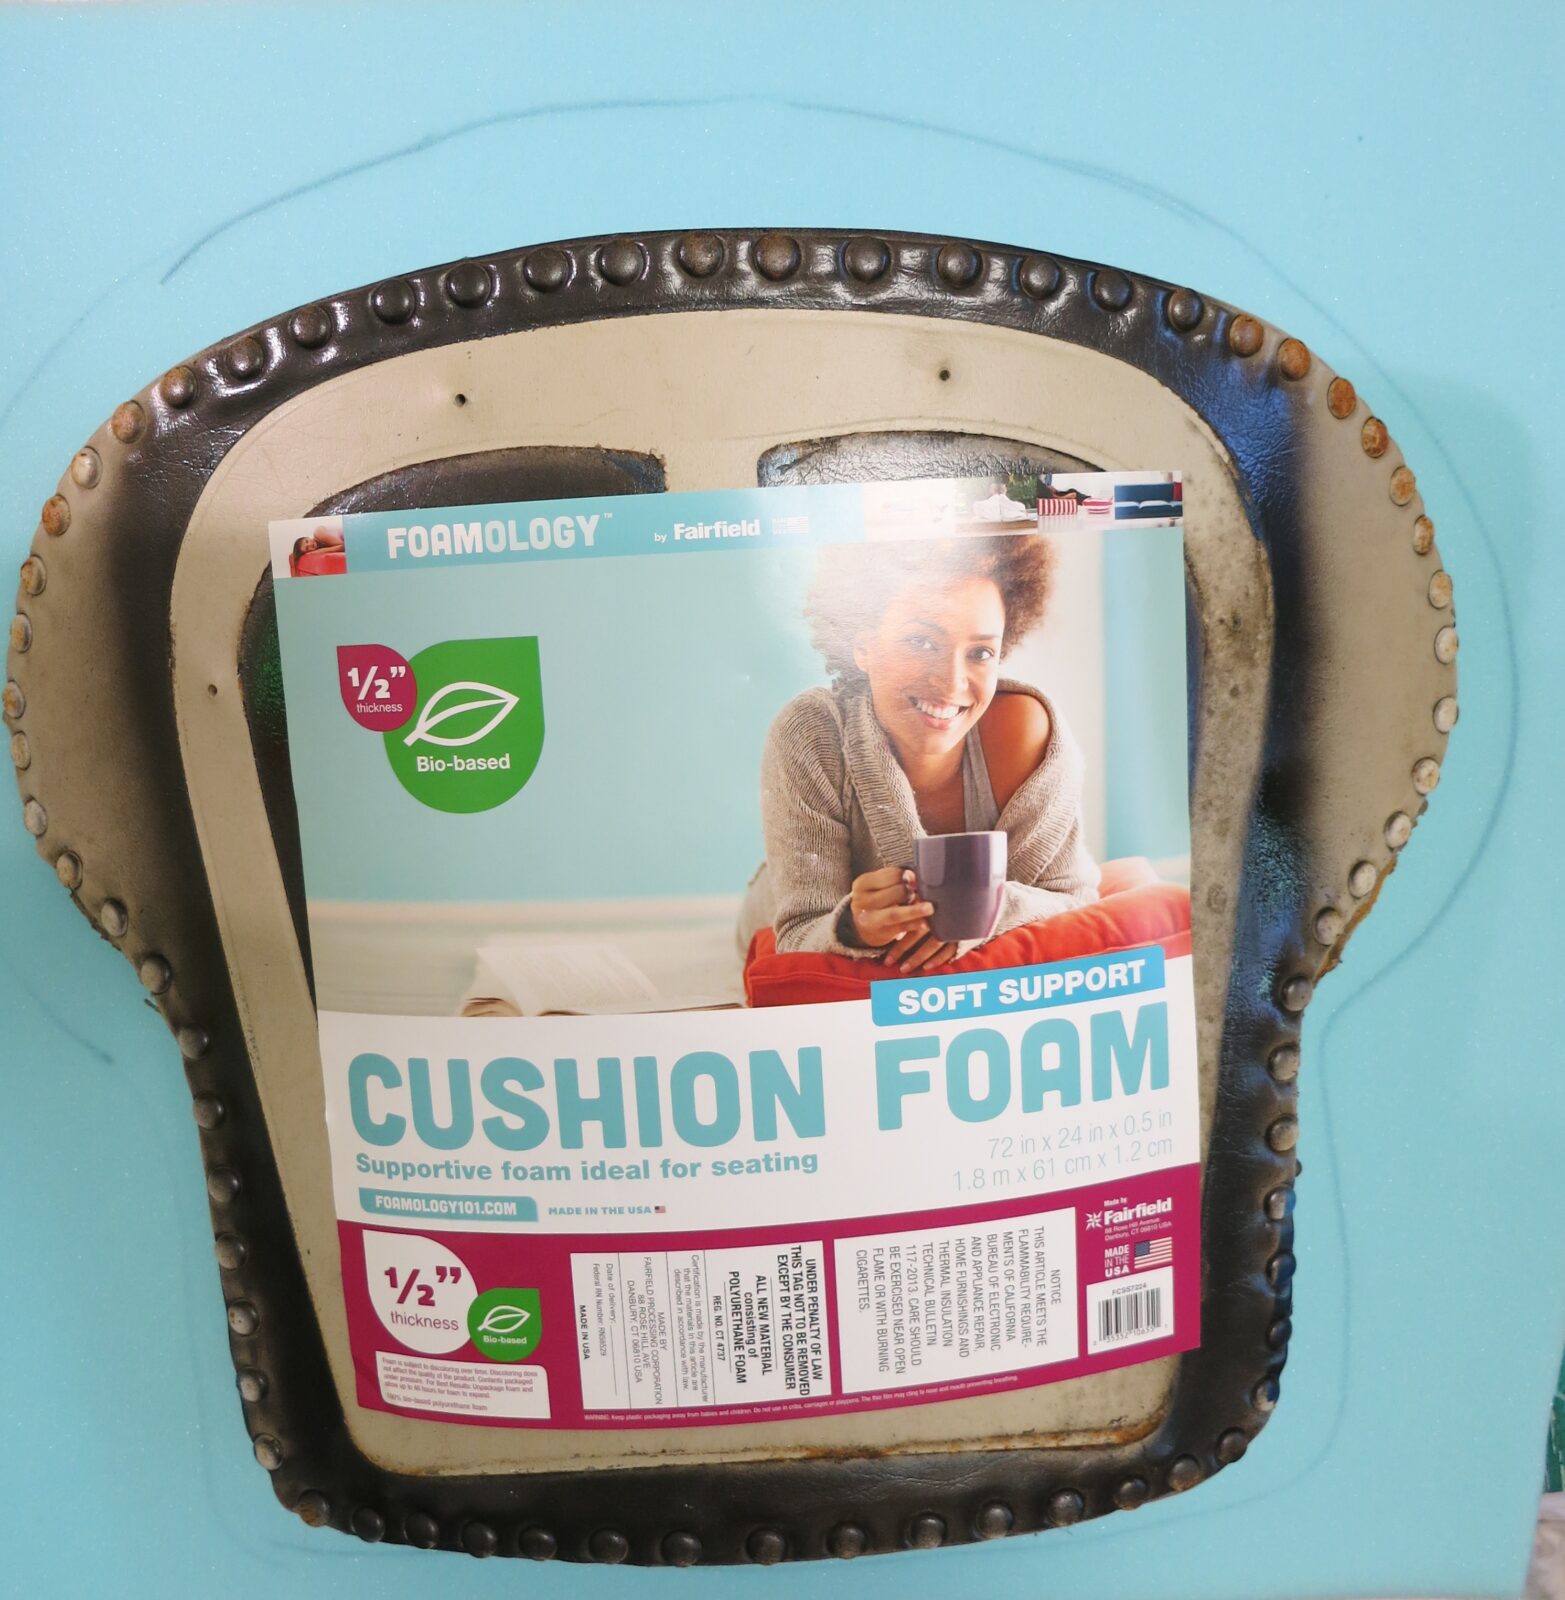
- Project Foam 24″ x 72″ x .5″
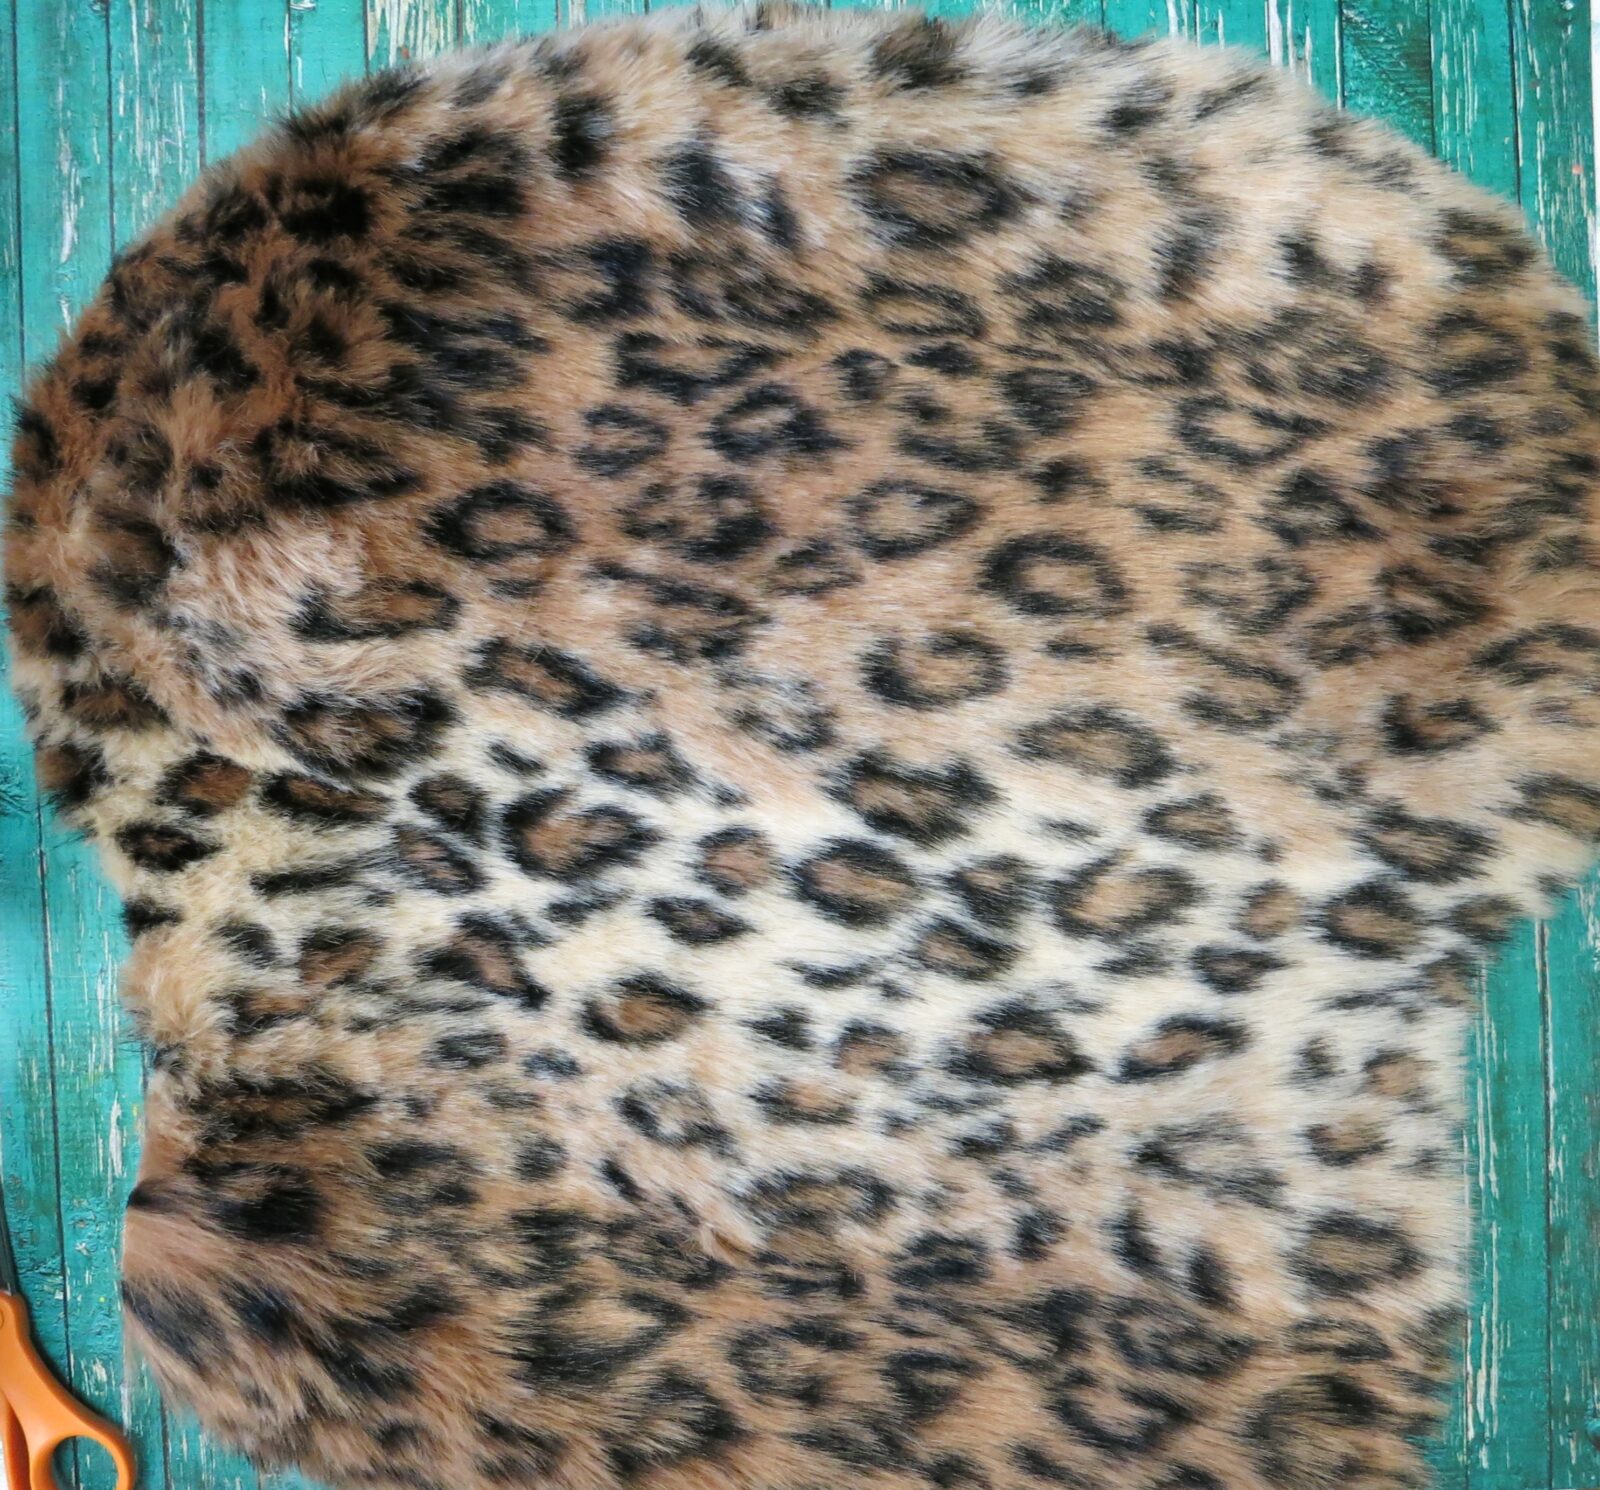
- Shannon Fabric Leopard Faux Fur
- Staple Gun
- Black Spray Paint
- Craft Razor

Wipe down the chair well to remove dust and dirt from all the surfaces.
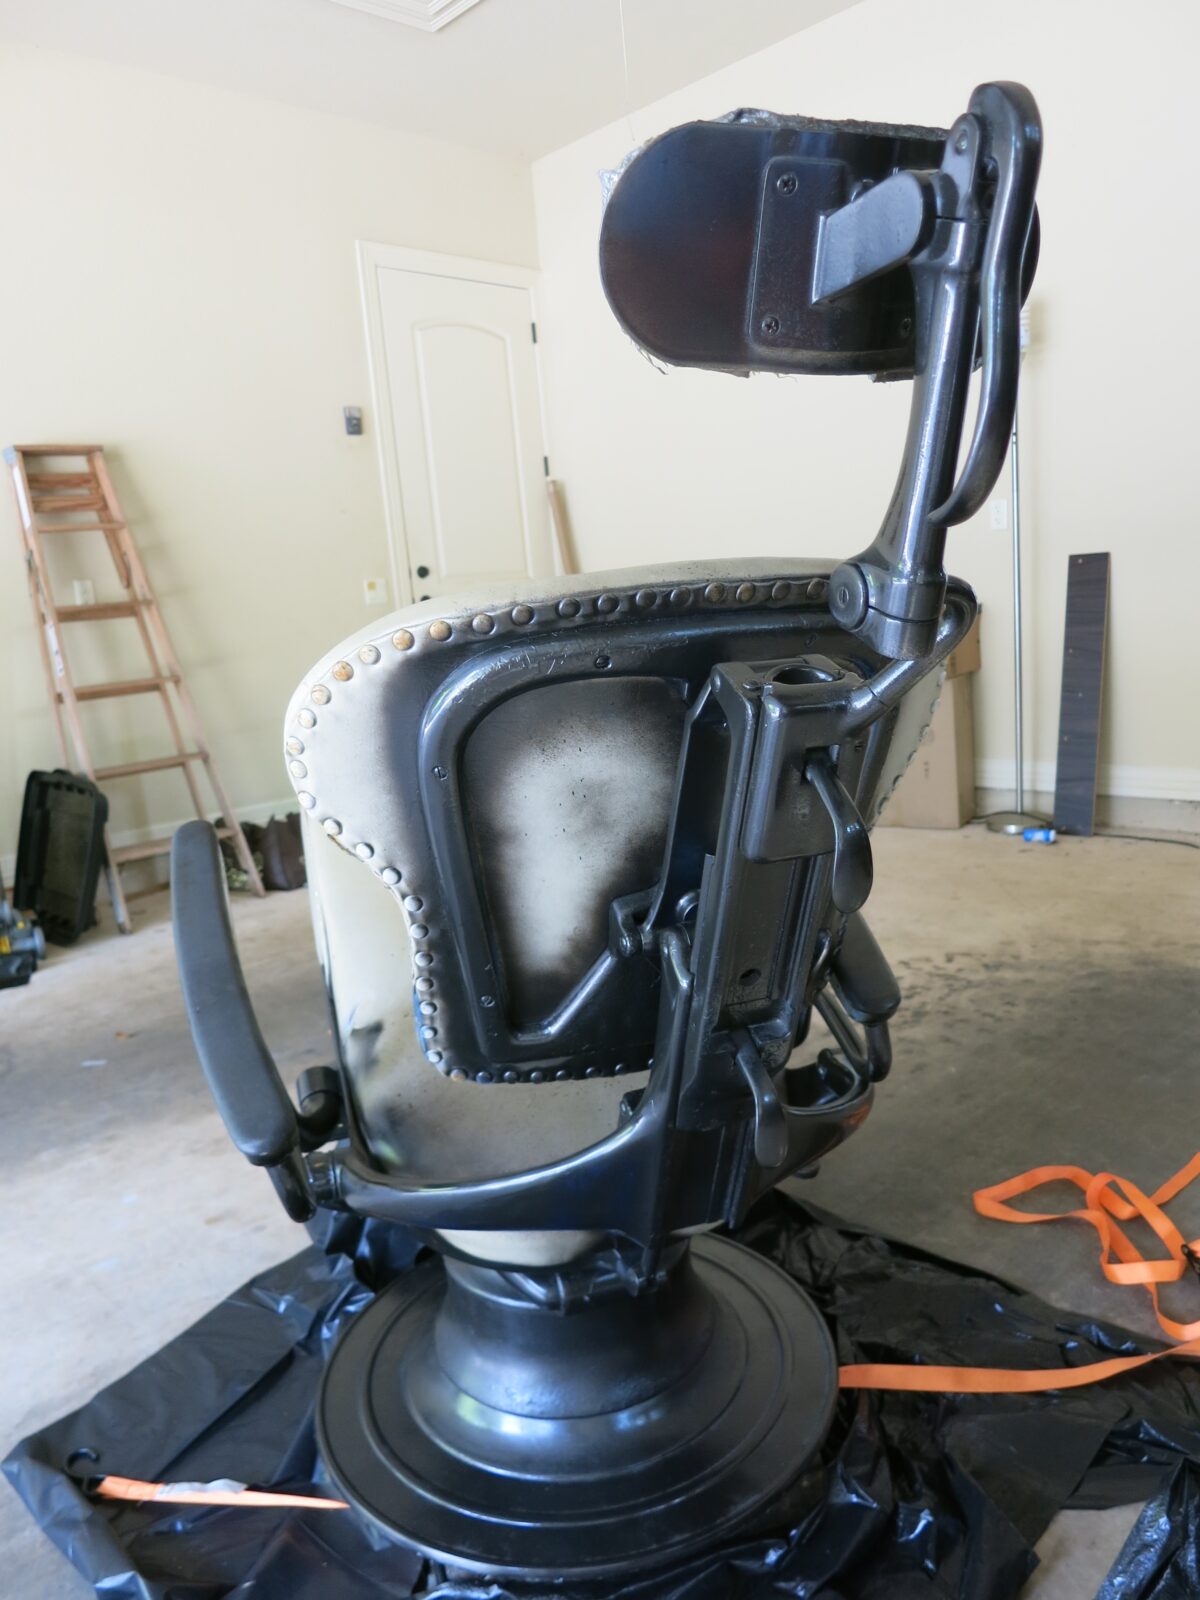
Spray paint the metal portions of the dental chair with black paint.
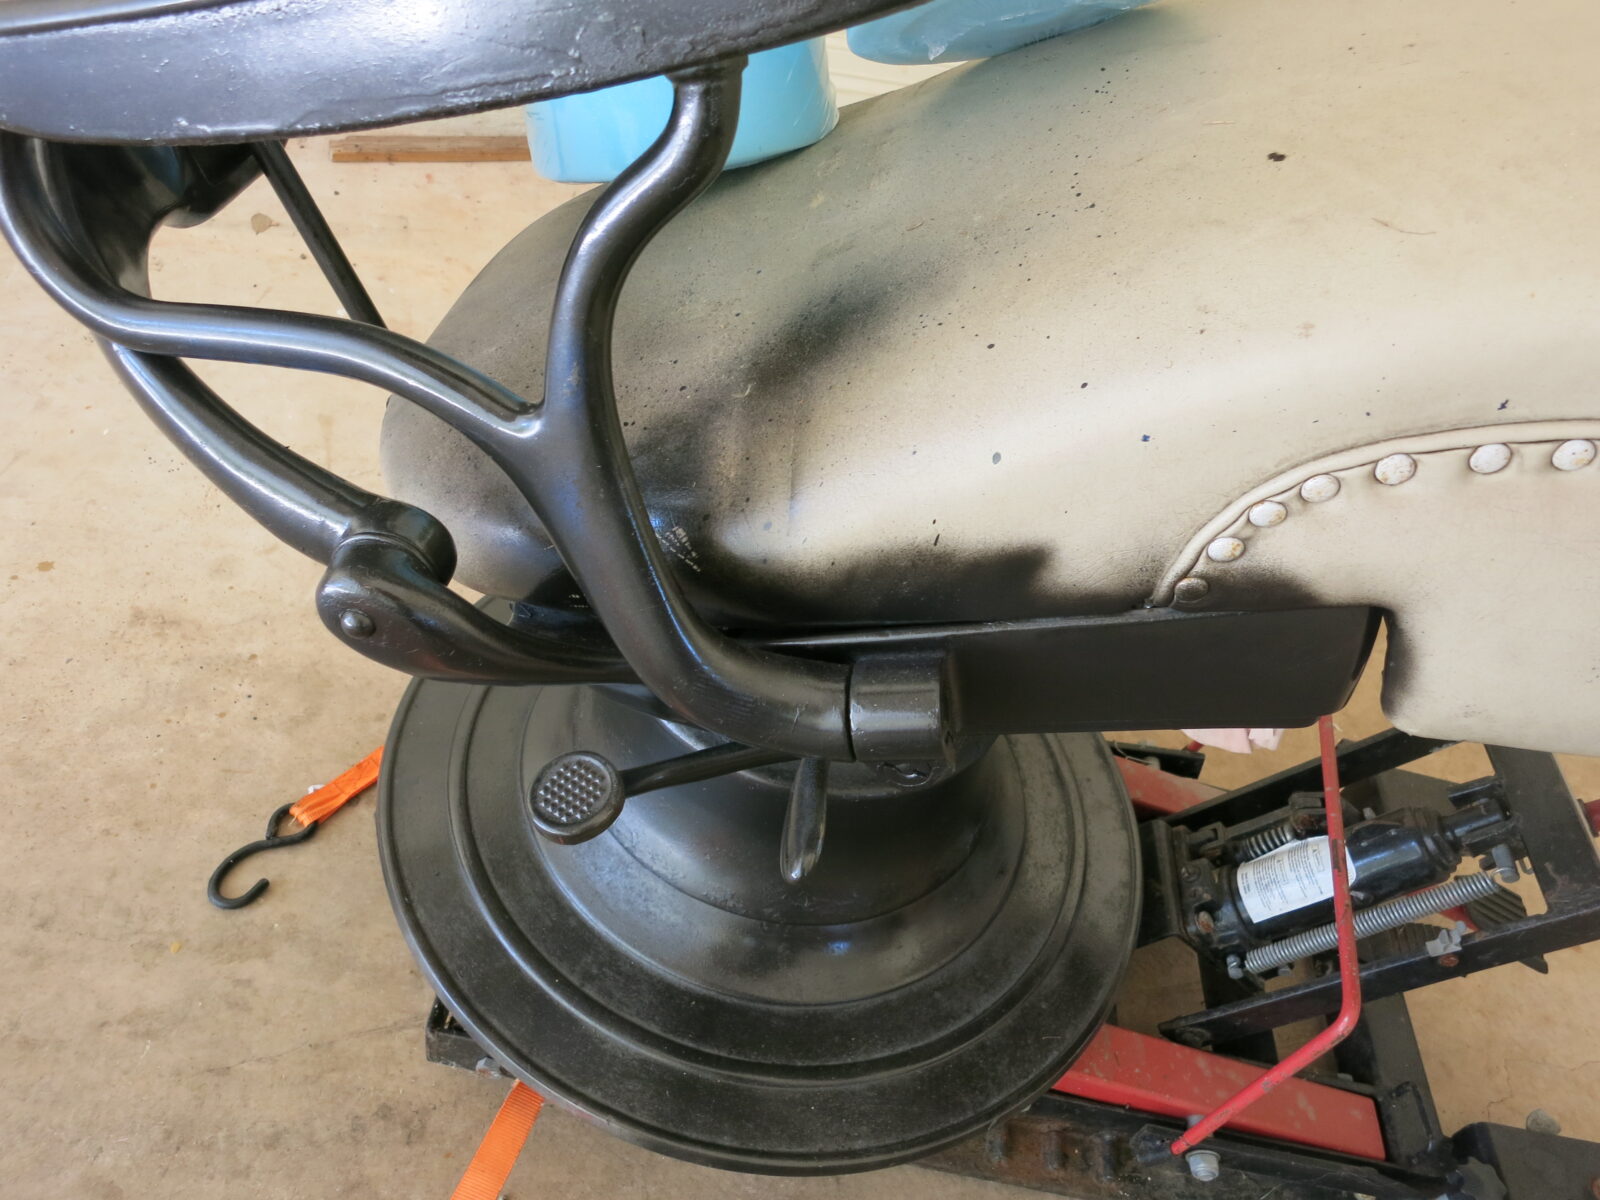
Remove the top and back cushions from the seat by unscrewing them from the frame.
Trace a piece of Project Foam to fit the chair back.
Trace the chair back onto the reverse side of the fur fabric. Add a 2 inch allowance for one tracing, and trace the other one the same size as the chair back.
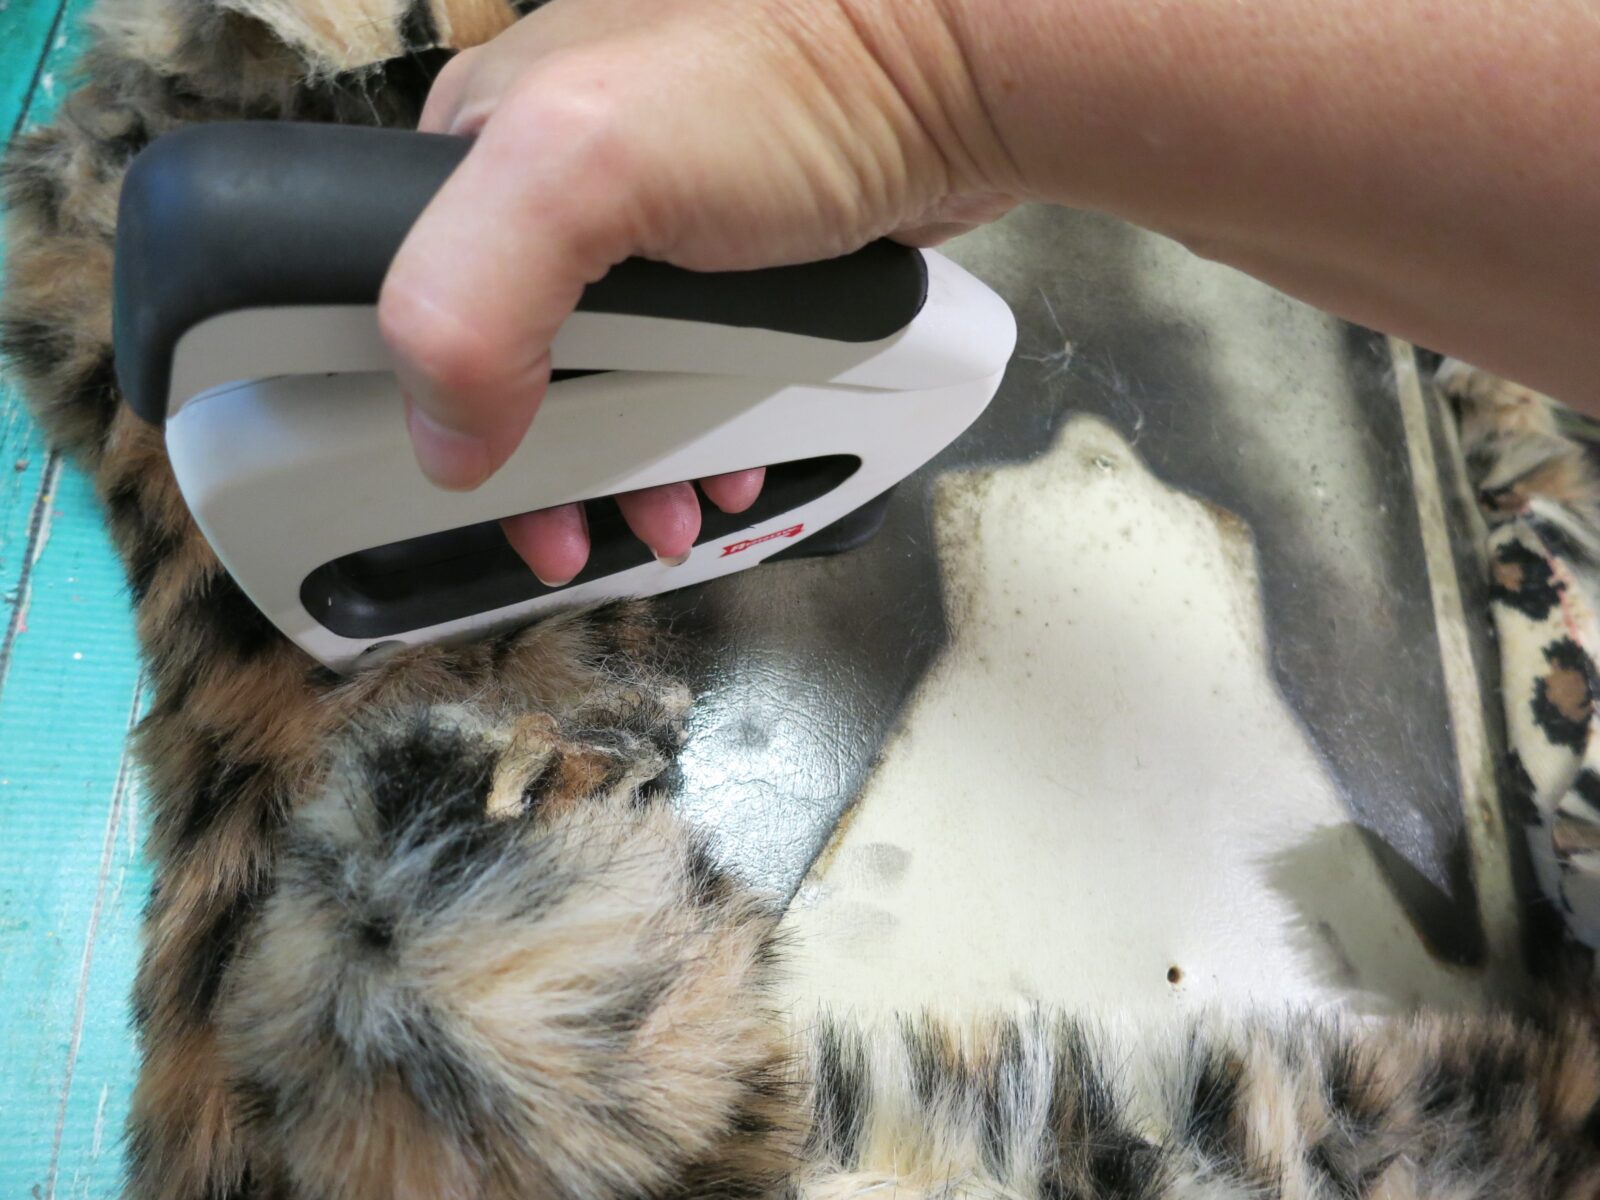
Use a craft knife to cut the backing of the fur fabric. This helps reduce the mess factor a ton!
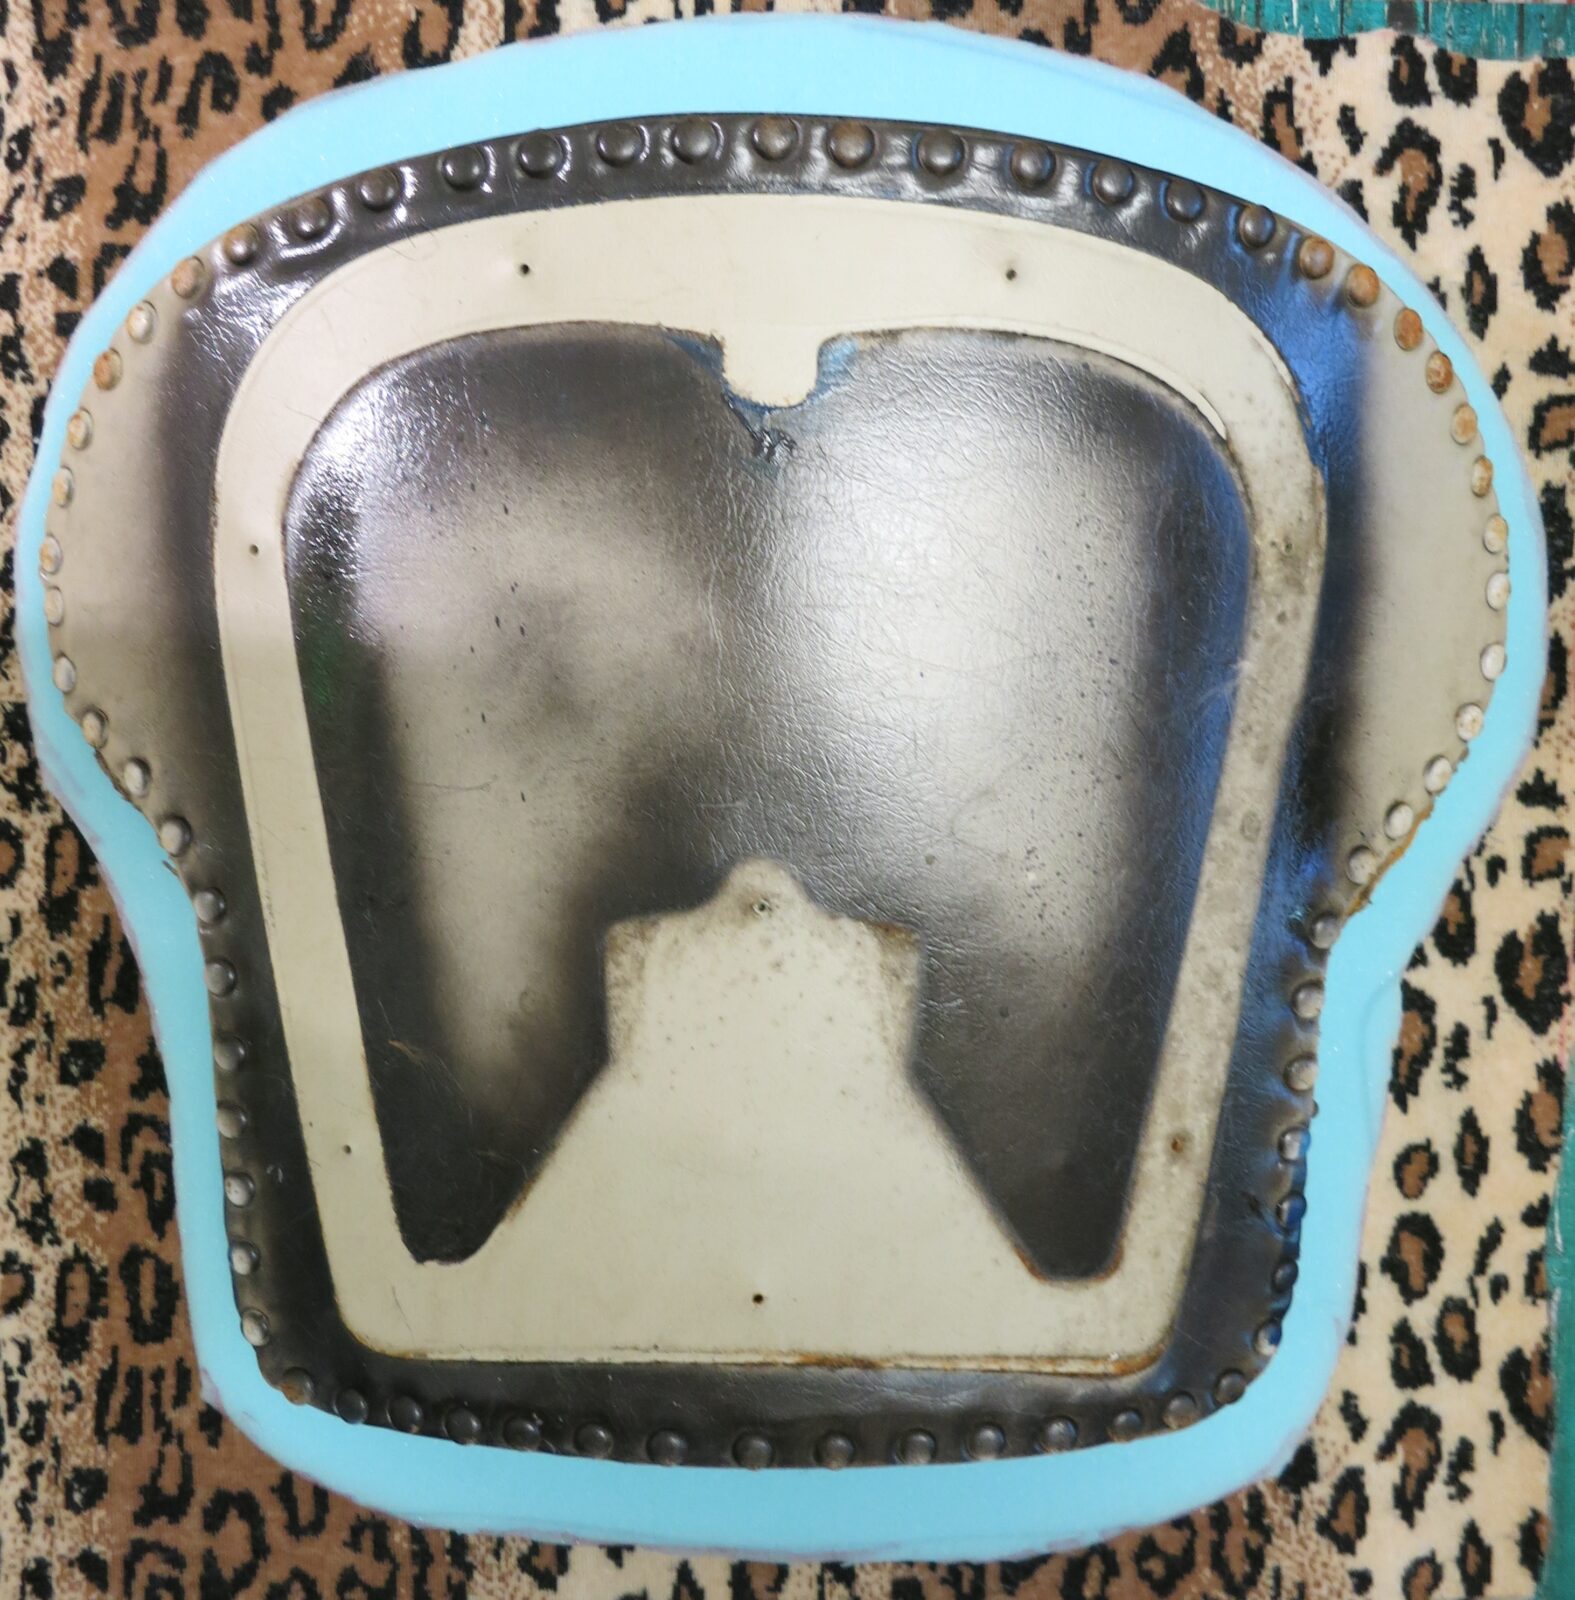
Place the larger fabric cut right side down on your work surface with the foam on top. Place the seat back on top with the back side facing you.
Pull the fabric tightly over the seat back. It has a wood frame so you can staple the fabric right onto the back.
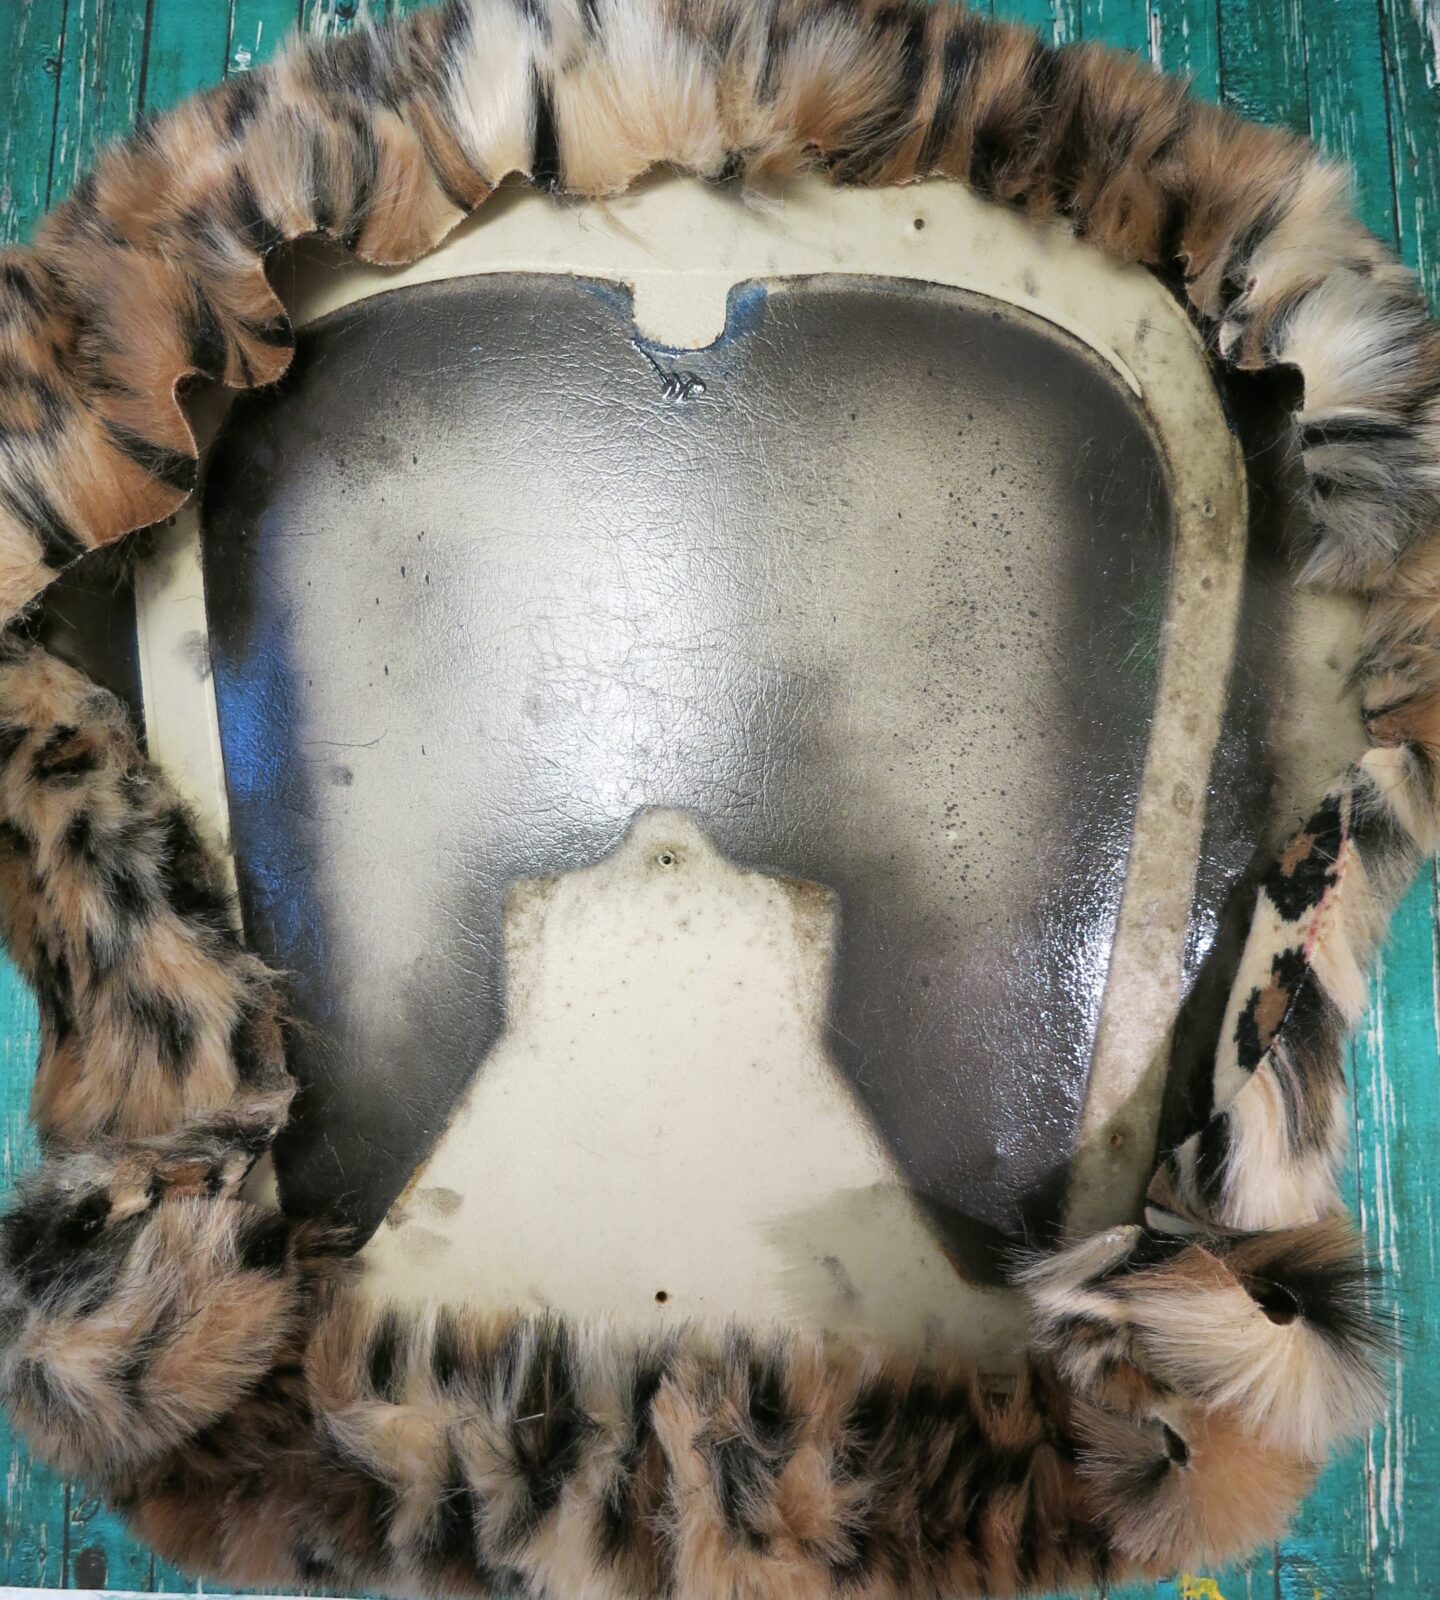
Trim off the excess fabric and place the second fabric cut over the back. Staple it in place.
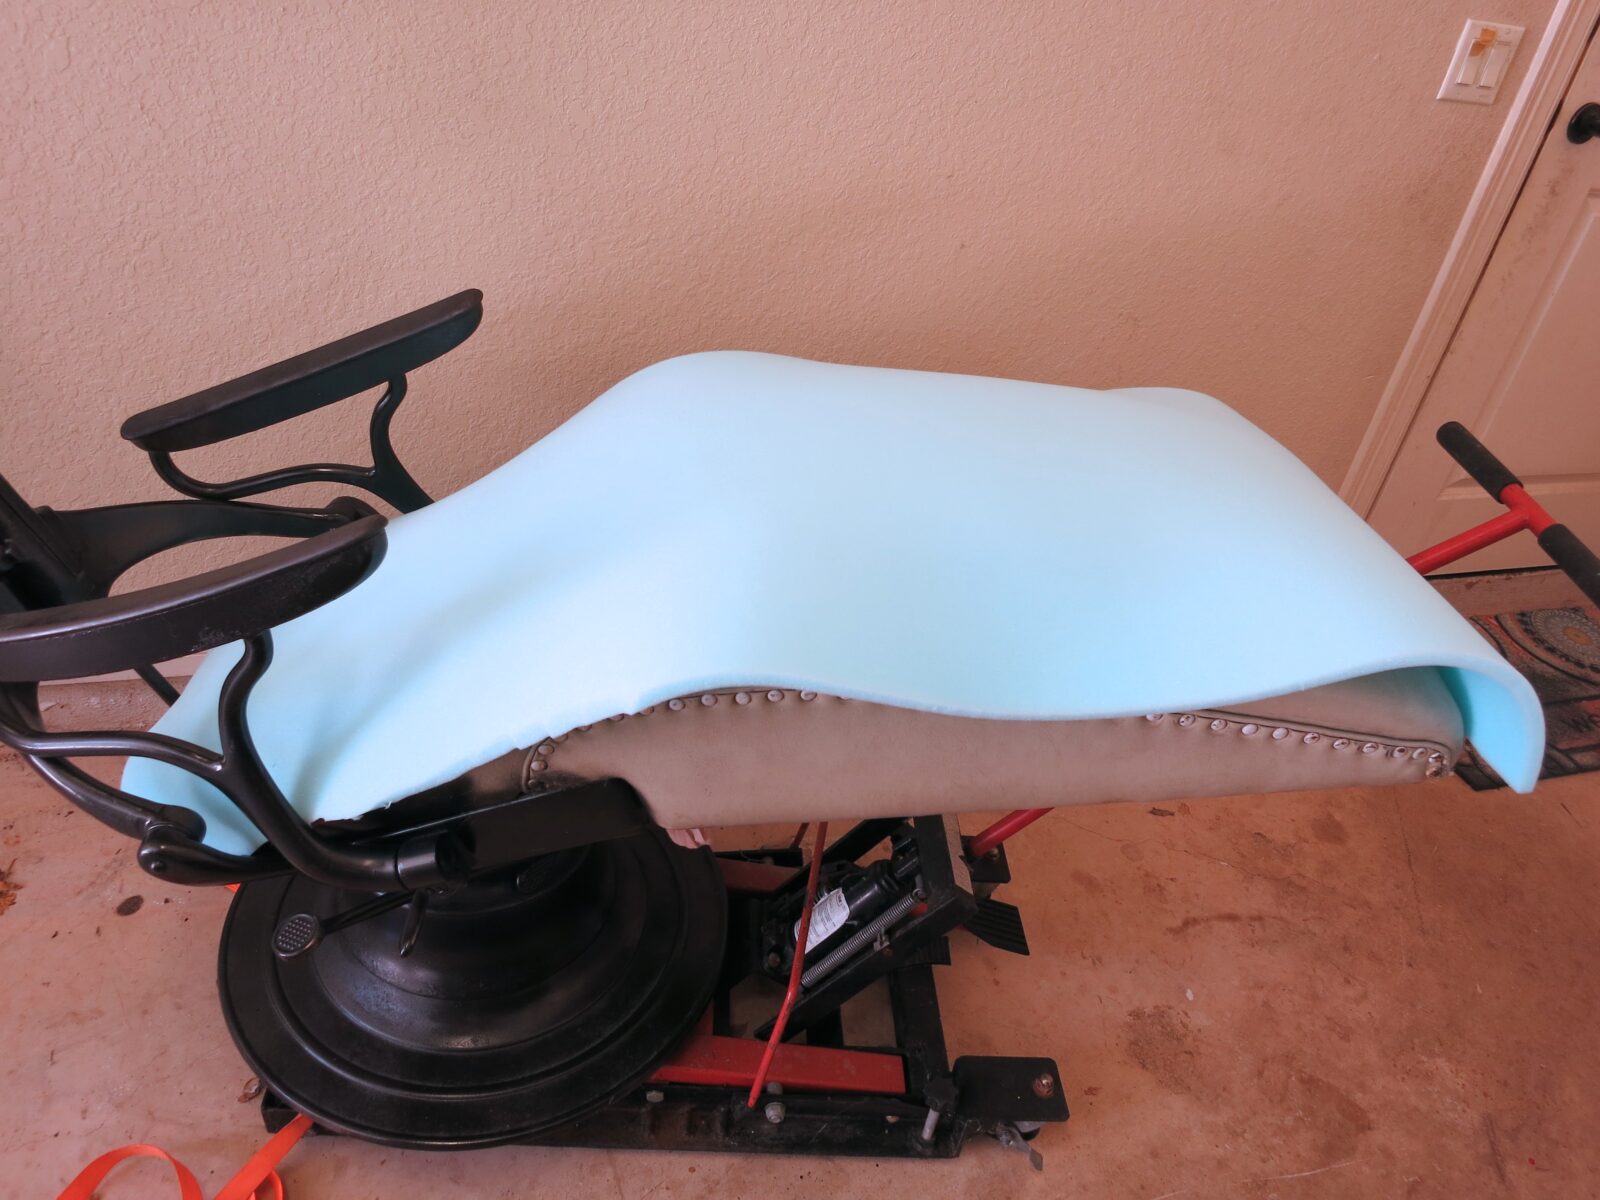
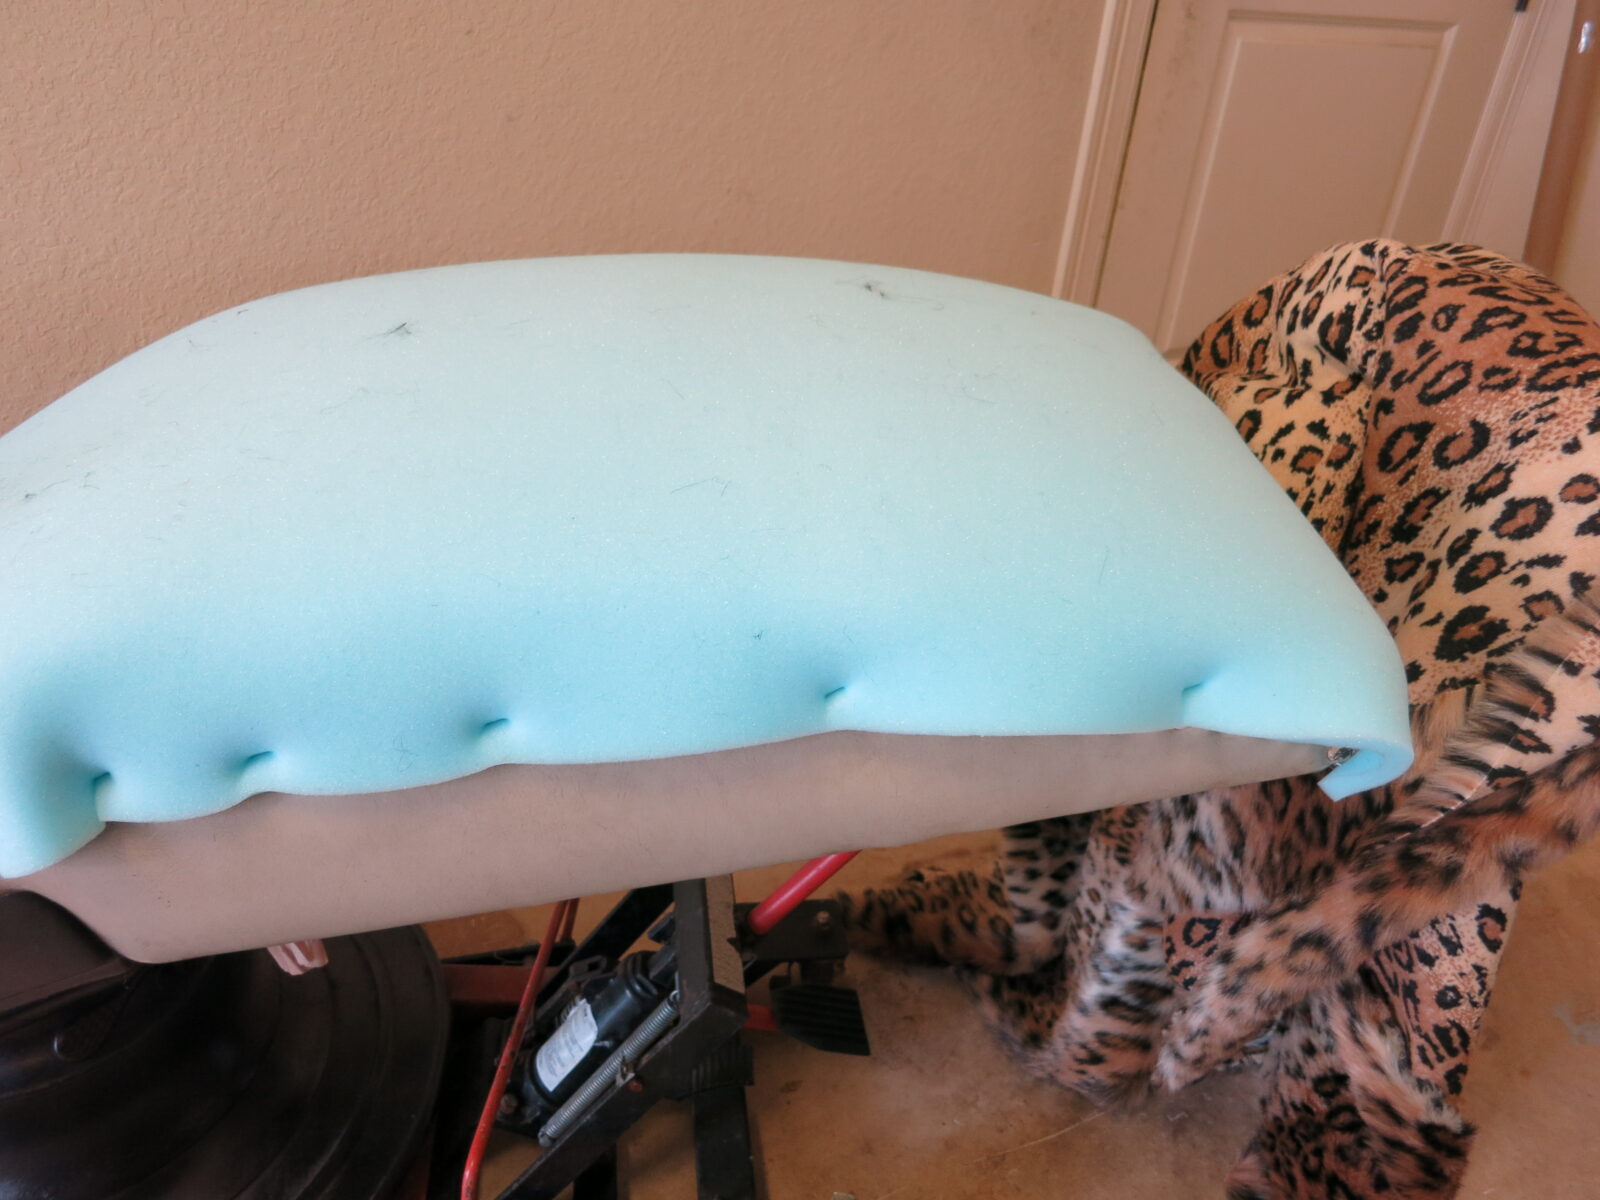
Trim a piece of foam to fit the chair bottom. Staple it in place.
Smooth the fur fabric over the cushion on the seat bottom. Pull the fabric tightly to the underside of the seat, which is wood. Staple the fabric in place. Trim off excess the fabric as needed.
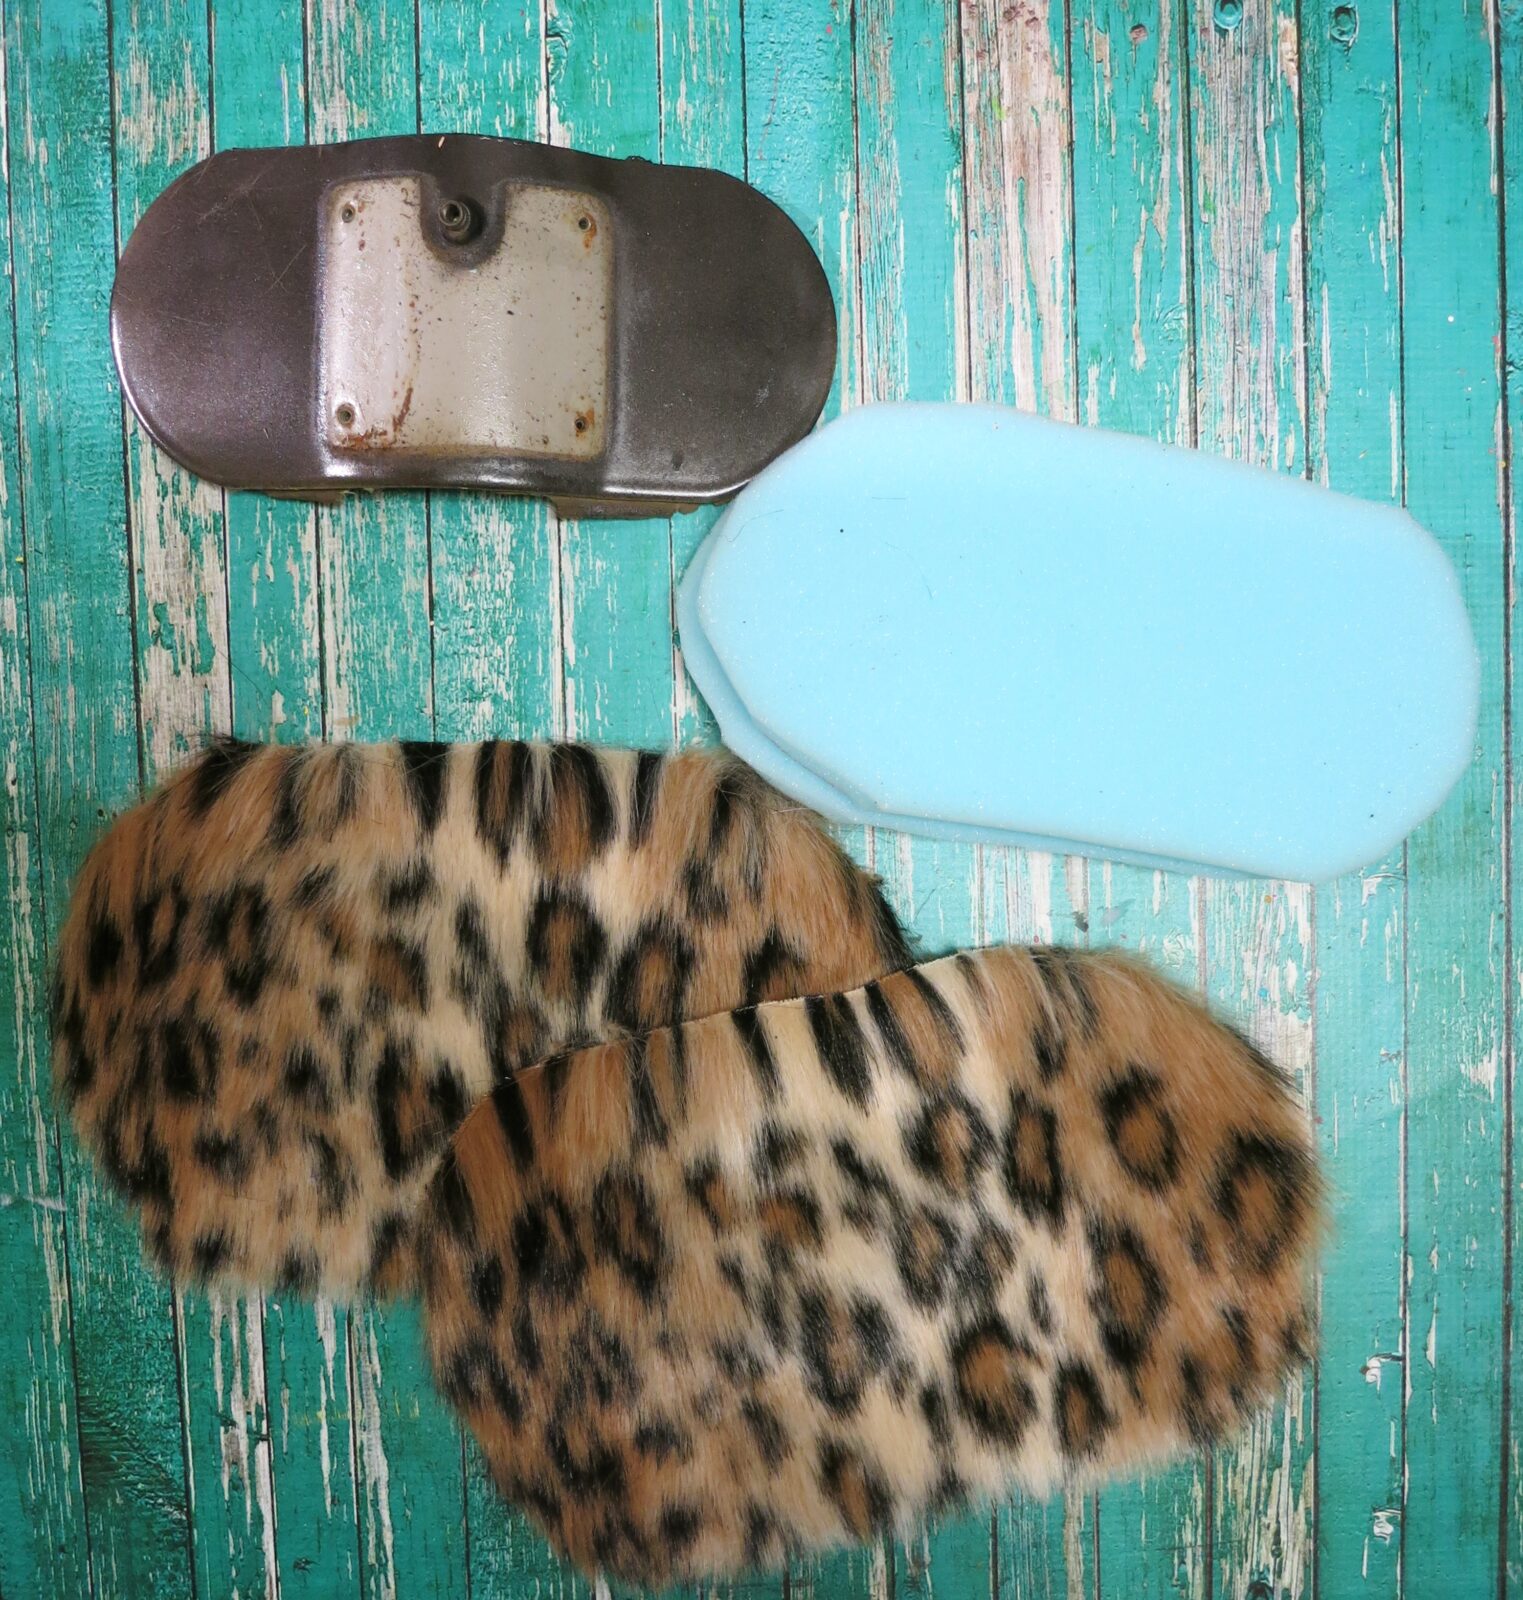
Trace the head rest onto the foam and the fabric. Cut two pieces of foam as well as two pieces of fabric.
Stitch the sides and edges of the fabric together. Slide the fabric over the head rest and place the foam pieces inside the “case”. Hand stitch the open end closed.
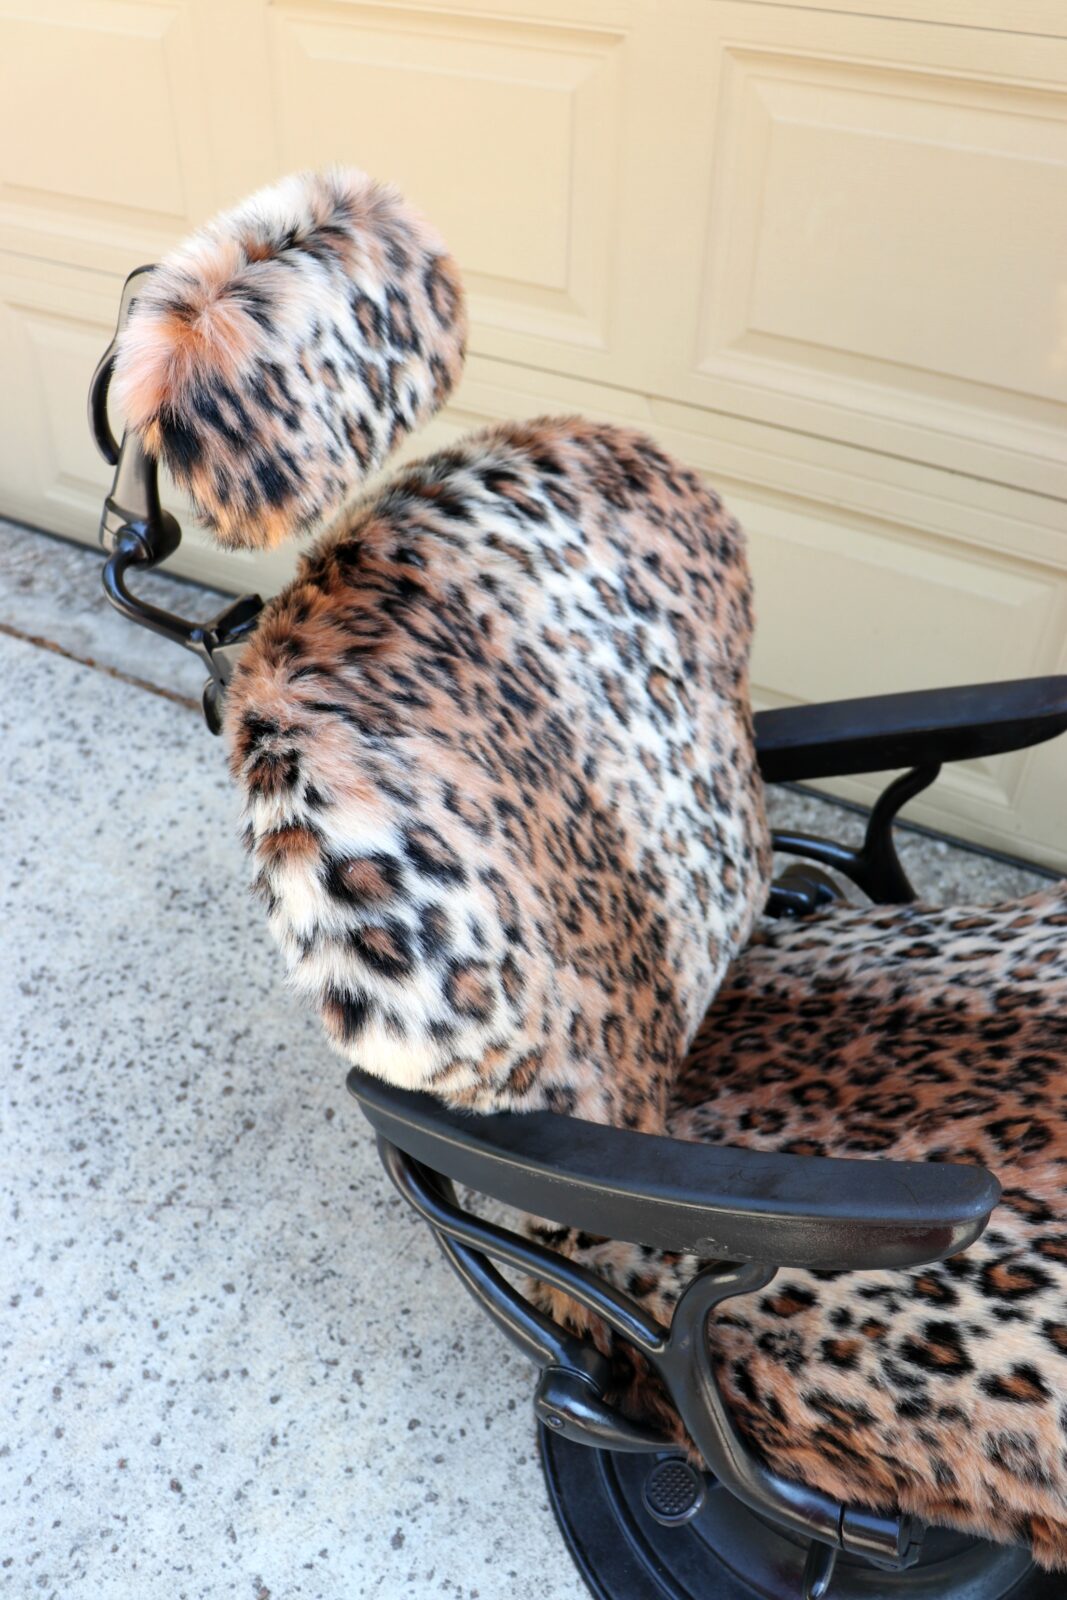
Reattach the chair back and the head rest to the chair using the original screws. Cut openings in the fabric to make it easier to drill the screws into the pieces.
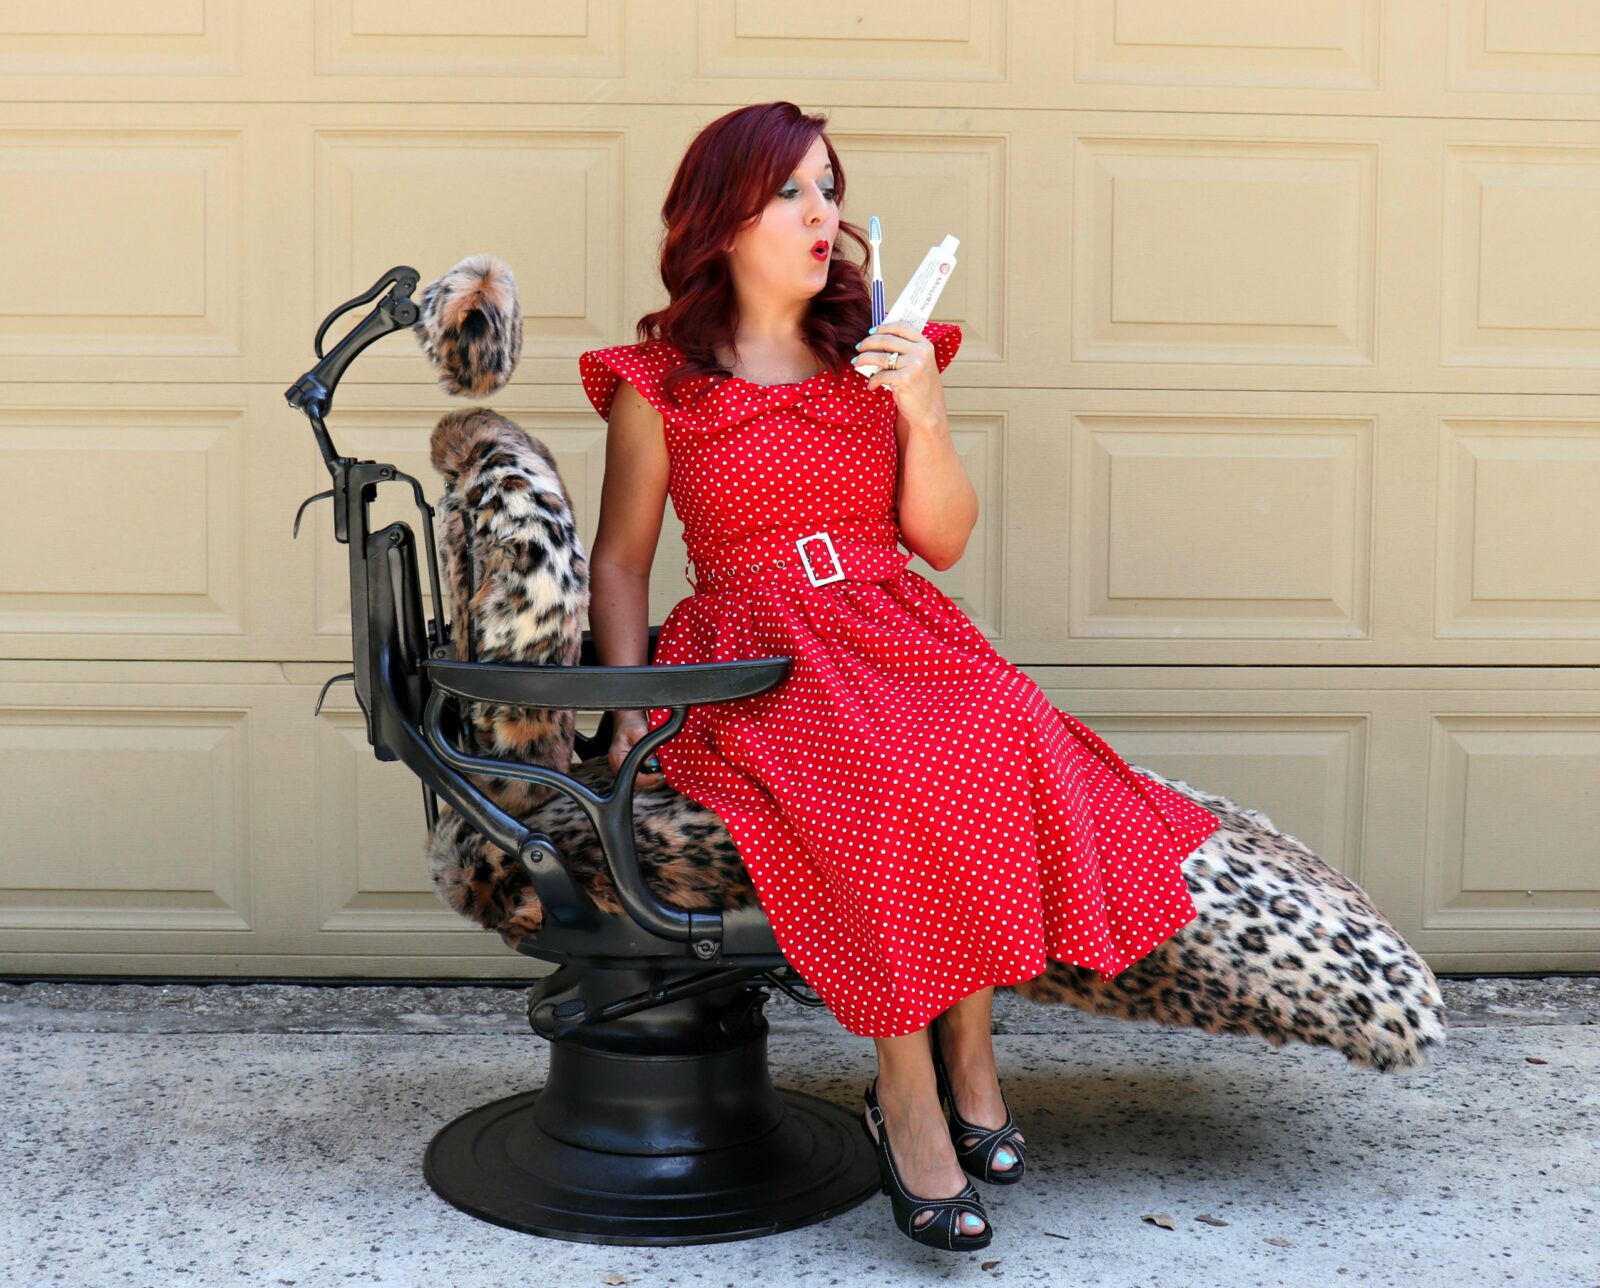
My kids were all fighting to get into this new lounger! It’s perfect for our movie room: comfy and soft, and it reclines! Just what we needed.
I originally posted this project on the Fairfield World site, where I am a Master Maker.
Leave a Reply